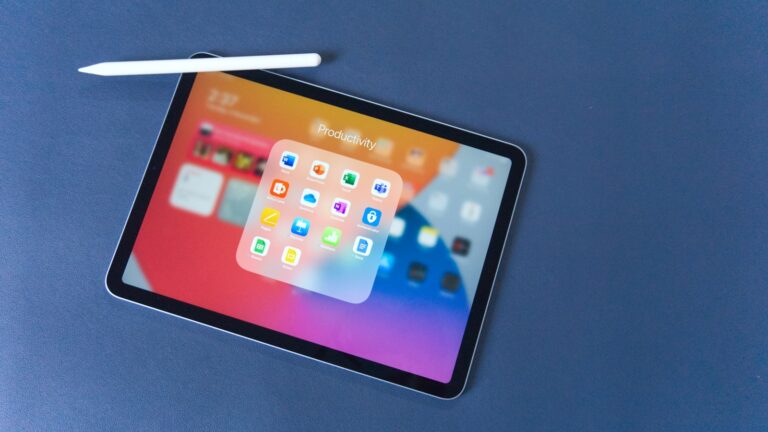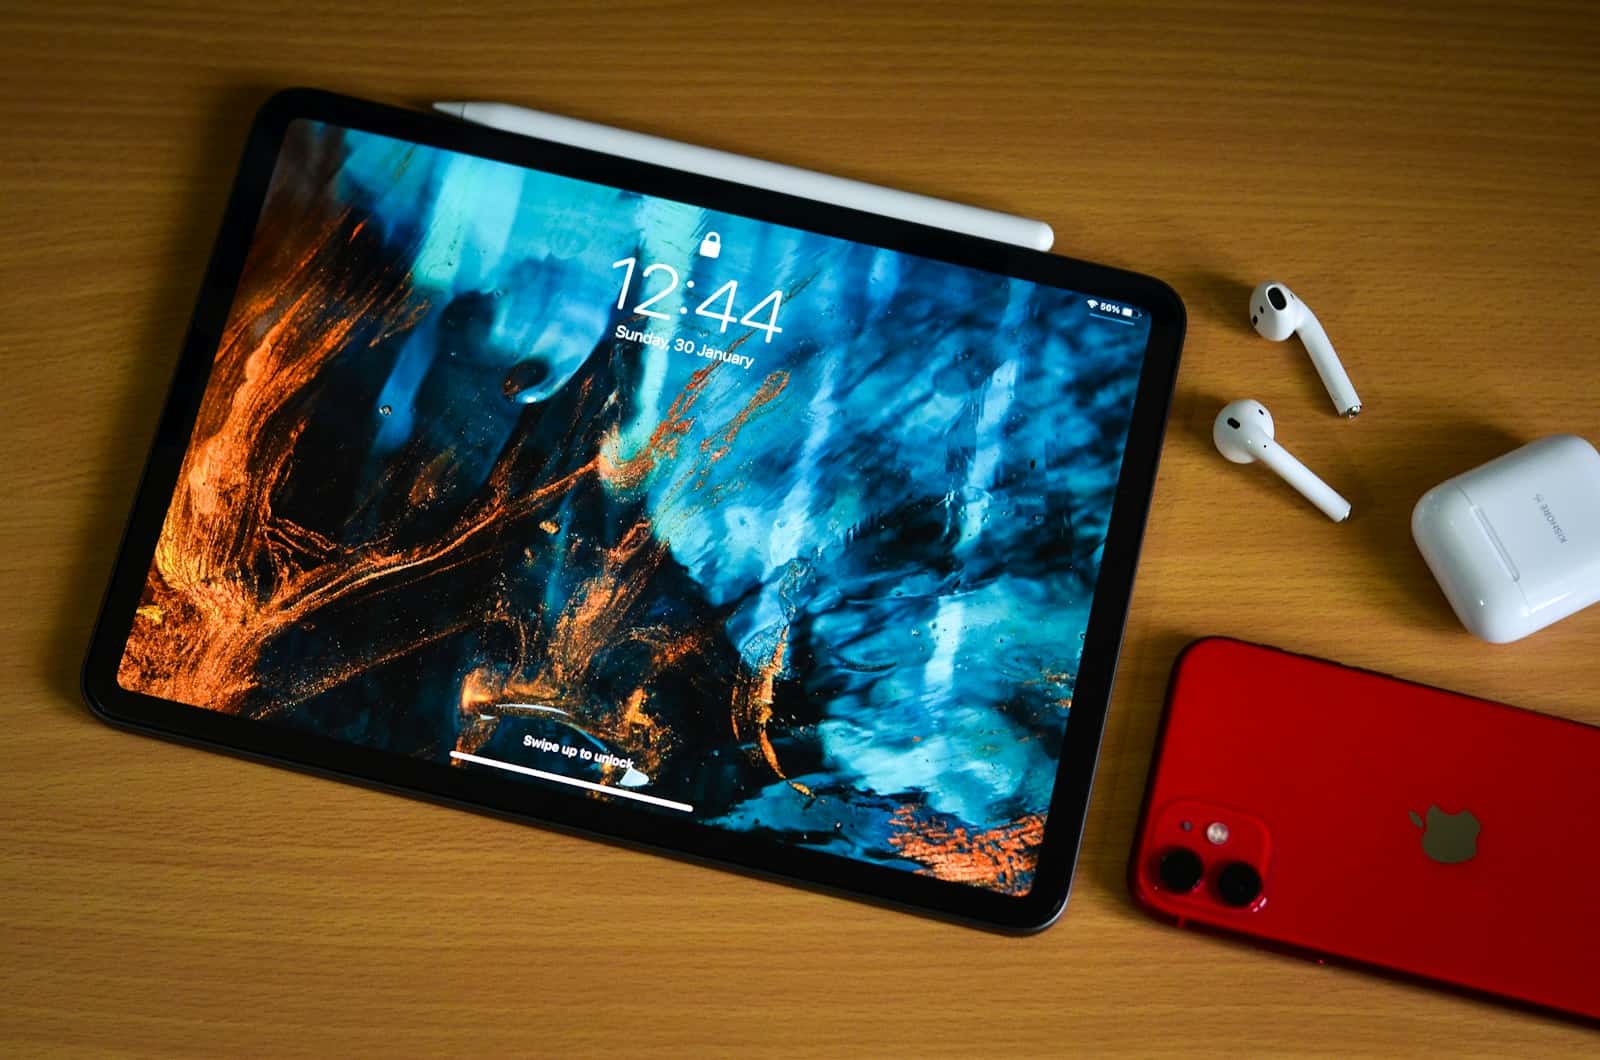
Keeping your iPad screen orientation stable (locked) can greatly improve your user experience. Many iPad users encounter the frustration of unintended screen rotations while reading, watching videos, or working. To lock your iPad screen and prevent it from rotating, simply swipe down from the top-right corner to open the Control Center, and then tap the rotation lock icon.
This quick action will keep your screen in its current orientation. The screen lock feature is helpful in various situations, such as when you’re lying down, sharing your screen with others, or using your device in tight spaces. By locking the screen orientation, you ensure that your content remains in place, allowing for uninterrupted viewing or work sessions.
Locking Your iPad Screen Orientation
Tired of your iPad screen flipping between portrait and landscape mode when you don’t want it to? You can easily lock your iPad’s screen orientation to stay in either portrait or landscape mode. Here’s how:
Using Control Center
- Open Control Center: Swipe down from the top-right corner of the screen to open Control Center.
- Tap the Orientation Lock Button: Look for the button with a lock and a circular arrow around it. Tap it to lock the orientation.
- When the icon is white with a red background, orientation lock is on.
- When the icon is white without a background, orientation lock is off.
Using Settings
- Open Settings: Go to the Settings app on your iPad.
- Select “Display & Brightness”: Tap on “Display & Brightness” in the settings list.
- Tap on “Auto-Lock”: This option is usually near the bottom of the Display & Brightness settings.
- Choose Your Preference:
- “Portrait Orientation Lock”: Locks the screen in portrait mode.
- “Landscape Orientation Lock”: Locks the screen in landscape mode.
- “Current Orientation Lock”: Locks the screen in its current orientation (either portrait or landscape).
Why Lock Screen Orientation?
- Reading: Keeps the screen from rotating while you’re reading in bed or on the go.
- Watching Videos: Ensures the video stays in full-screen landscape mode.
- Drawing and Note-Taking: Prevents accidental rotation while you’re writing or drawing.
- Gaming: Keeps the game in the desired orientation for optimal gameplay.
Table of Orientation Lock Options
| Option | Description |
|---|---|
| Portrait Orientation Lock | Locks the screen in portrait mode |
| Landscape Orientation Lock | Locks the screen in landscape mode |
| Current Orientation Lock | Locks the screen in its current orientation |
Other Useful iPad Display Settings
While you’re in the Display & Brightness settings, check out these other options:
- Night Shift: Reduces blue light to make it easier on your eyes at night.
- True Tone: Adjusts the screen’s color temperature to match the ambient light.
- Brightness: Control the screen’s brightness level.
- Text Size: Change the size of the text on your screen.
- Bold Text: Make the text on your screen bolder for easier reading.
Key Takeaways
- Screen orientation can be locked through Control Center on iPad
- Locking the screen prevents accidental rotations during use
- The rotation lock feature improves iPad usability in various positions
Understanding iPad Lock Features
iPad offers several screen locking options to enhance user control and accessibility. These features allow users to manage screen orientation, limit access, and customize touch controls.
Orientation Lock
Orientation Lock prevents the iPad screen from rotating when the device is turned. Users can enable this feature through Control Center. Swipe down from the top-right corner of the screen to access Control Center. Tap the lock icon with a circular arrow to activate Orientation Lock. This keeps the screen in portrait or landscape mode, regardless of how the iPad is held.
Orientation Lock is useful for reading in bed, viewing photos, or using apps that work best in a specific orientation. When enabled, a small lock icon appears in the status bar at the top of the screen. To disable Orientation Lock, simply tap the icon in Control Center again.
Guided Access Overview
Guided Access temporarily restricts iPad to a single app. This feature helps users stay focused or prevents accidental navigation away from the current task. To set up Guided Access, go to Settings > Accessibility > Guided Access and turn it on.
To start a session, open the desired app and triple-click the side button (or Home button on older models). Users can disable certain screen areas, set time limits, and require a passcode to exit. Guided Access is particularly helpful for children, students taking tests, or individuals with attention difficulties.
Accessibility Features for Screen Control
iPad offers additional accessibility options for screen control. AssistiveTouch provides an on-screen menu for easier device navigation. Users can customize gestures, create shortcuts, and adjust touch sensitivity.
Switch Control allows users to navigate the iPad using external switches or the device’s camera. This feature is beneficial for users with limited mobility. VoiceOver, while primarily for visually impaired users, can also help control on-screen elements through audio feedback and gestures.
These accessibility features can be found in Settings > Accessibility. Users can experiment with different options to find the best combination for their needs.
Setting Up Security Features
Protecting your iPad with security features is essential for safeguarding your personal information. These features include passcodes, Touch ID, and Face ID.
How to Set a Passcode
Setting a passcode on your iPad adds a crucial layer of security. To set up a passcode:
- Open the Settings app
- Tap “Face ID & Passcode” or “Touch ID & Passcode”
- Select “Turn Passcode On”
- Choose a 6-digit numeric code or a custom alphanumeric passcode
For enhanced security, avoid using easily guessable combinations like birthdates or sequential numbers. Change your passcode regularly to maintain optimal protection.
Using Touch ID and Face ID
Touch ID and Face ID offer convenient and secure ways to unlock your iPad. To set up Touch ID:
- Go to Settings > Touch ID & Passcode
- Tap “Add a Fingerprint”
- Follow the on-screen instructions to register your fingerprint
For Face ID:
- Open Settings > Face ID & Passcode
- Tap “Set Up Face ID”
- Position your face in the camera frame and follow the prompts
Both methods allow quick access while maintaining strong security. Users can register multiple fingerprints or an alternate appearance for Face ID to improve recognition in various situations.
Activating Screen Lock Functions
iPad users can prevent accidental screen rotations and unwanted touches. Two key methods enable this functionality: Guided Access and Control Center options.
Start Guided Access Session
Guided Access locks the iPad into a single app, preventing unintended exits or inputs. To activate:
- Open Settings
- Tap Accessibility
- Select Guided Access
- Toggle on Guided Access
To start a session:
- Open the desired app
- Triple-click the Home button or Side button
- Set options like disabling screen areas or hardware buttons
- Tap Start
End the session by triple-clicking the Home or Side button and entering your passcode.
Guided Access proves useful for presentations, children’s use, or focused work sessions.
Control Center Usage
The Control Center offers a quick way to lock screen orientation:
- Swipe down from the top-right corner (or up from the bottom on older models)
- Look for the lock icon with a circular arrow
- Tap to enable rotation lock
This method keeps the screen in its current orientation, preventing automatic rotations when the iPad moves.
To disable, simply tap the icon again in Control Center.
Control Center also allows users to adjust brightness, potentially reducing accidental touches on a dimmed screen.
Frequently Asked Questions
iPad users often encounter situations where they need to lock their screens or limit interactions. These common queries address various scenarios and provide practical solutions.
How can the iPad screen be locked to prevent movement during touch?
Users can enable the Orientation Lock feature. This prevents the screen from rotating when the iPad is tilted. To activate it, swipe down from the top-right corner of the screen to open Control Center. Tap the Orientation Lock icon, which looks like a padlock with a circular arrow.
What steps are needed to lock the iPad screen for toddlers to avoid unwanted interactions?
Guided Access is ideal for this purpose. Go to Settings > Accessibility > Guided Access and turn it on. Set a passcode. To use it, open the desired app and triple-click the side or home button. Tap Start to begin the session.
What is the process to lock the screen on an iPad while viewing videos to avoid accidental touches?
The AssistiveTouch feature can help. Go to Settings > Accessibility > Touch > AssistiveTouch and turn it on. A floating button appears on the screen. Tap it and choose Device > Lock Screen to lock the iPad without touching the physical buttons.
How can I set my iPad to stay within a single app without responding to touch input?
Use Guided Access for this. Once enabled, triple-click the side or home button in the desired app. Tap Options and turn off Touch. This keeps the app open but prevents screen interactions.
Is there a way to freeze the iPad screen for tracing activities, especially on models without a Home button?
For iPads without a Home button, use the Side button for Guided Access. Enable it in Settings, then triple-click the Side button in the app you want to freeze. Adjust options to disable touch if needed.
How can screen rotation be disabled on an iPad to maintain a fixed display orientation?
Use the Orientation Lock in Control Center. Swipe down from the top-right corner and tap the lock icon. This keeps the screen in its current orientation, whether portrait or landscape, until you turn it off.

