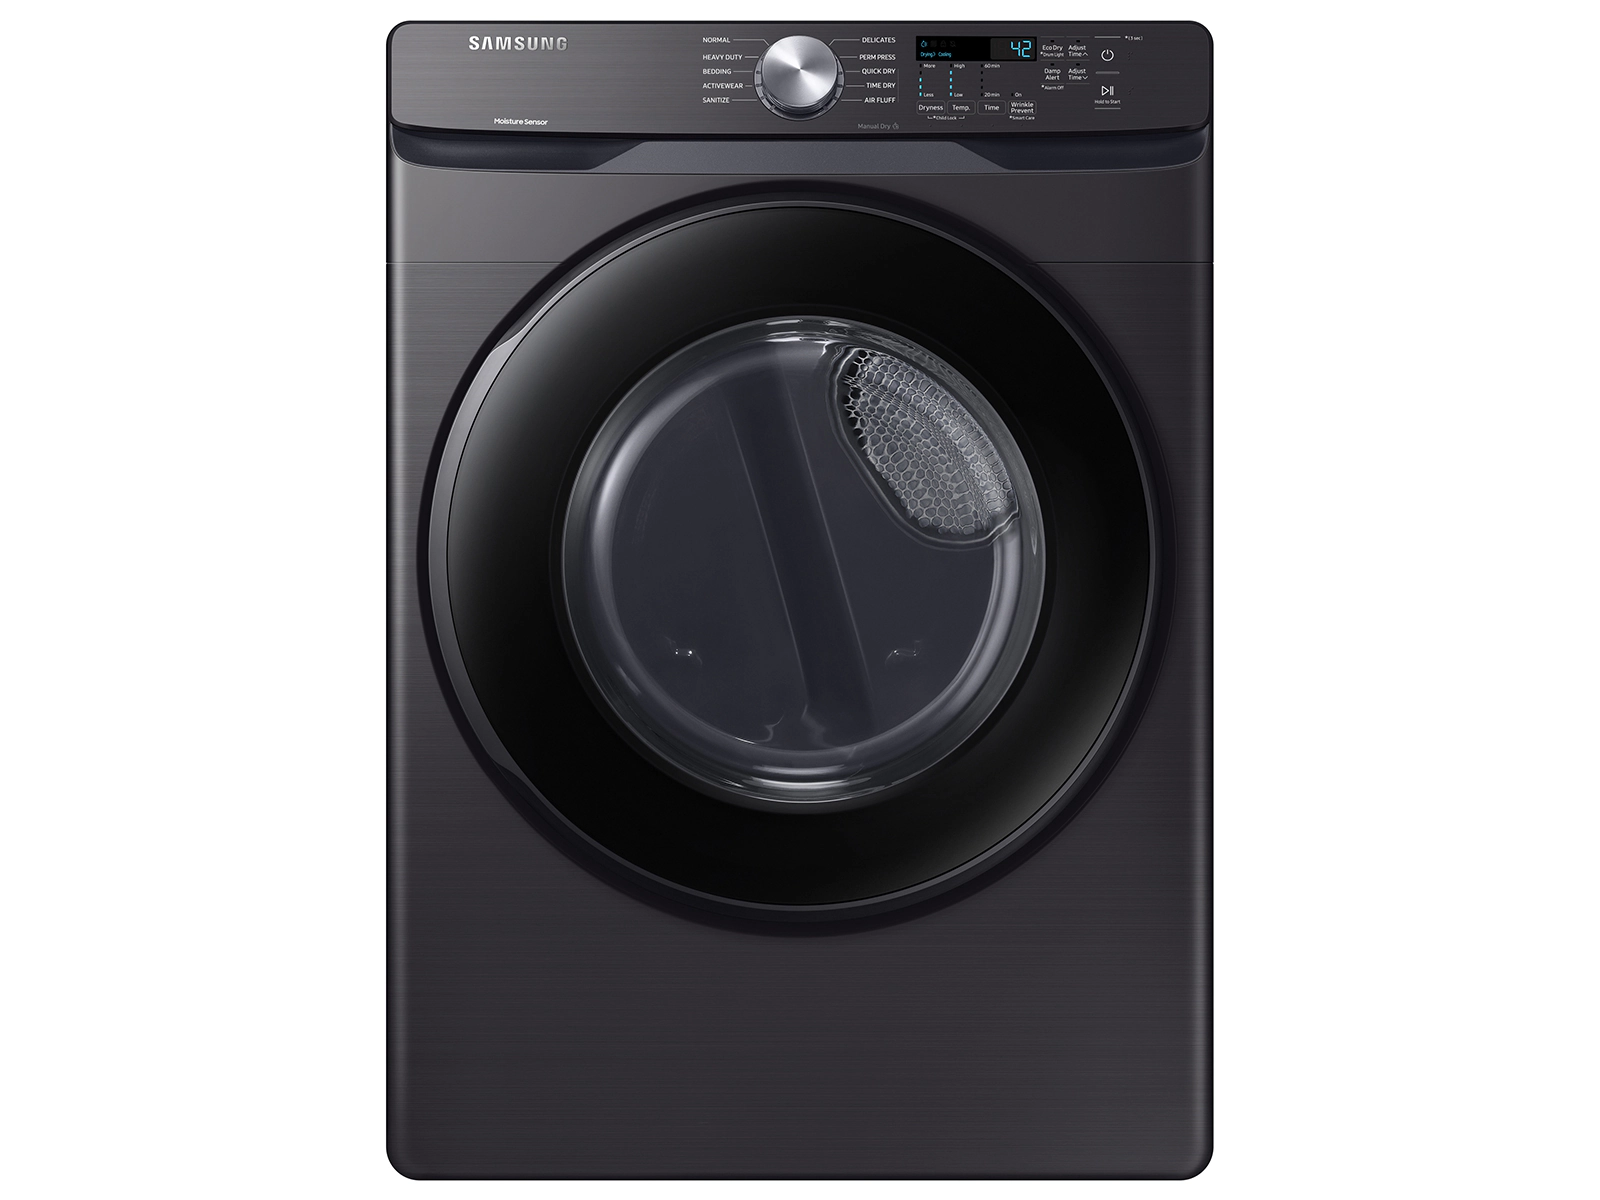
A dryer that is not working properly can be a significant inconvenience. Fortunately, many common dryer problems can be easily resolved with some basic troubleshooting and maintenance. By following the tips in this article, you can save time and money by fixing your dryer yourself. Always prioritize safety and consult your dryer’s manual for specific instructions. When faced with dryer issues, many homeowners wonder who can fix their appliance.
Professional repair services, such as Mr. Appliance or Sears Home Services, provide expert solutions for both electric and gas dryers. These technicians possess the skills and tools to efficiently diagnose and repair various dryer problems. For those who prefer a DIY approach, some common dryer issues can be addressed at home. Simple tasks like cleaning the lint filter, checking the power supply, and ensuring proper ventilation can often restore your dryer’s functionality.
However, complex problems, especially those involving electrical components, are best left to professionals to ensure safety and proper repair. Deciding between DIY fixes and professional repair depends on the nature of the problem and your comfort level with appliance maintenance. While minor issues might be solvable with online tutorials, persistent problems or those affecting the dryer’s core components require expert attention. Professional repair services can provide lasting solutions and often offer warranties on their work.
Easy DIY Fixes for Common Dryer Problems
Dryers are essential appliances, but they can experience issues from time to time. Many common dryer problems can be fixed with simple DIY solutions. This can save you money and the hassle of calling a repair technician. Here are some of the most common dryer problems and how to fix them yourself.
Dryer Not Heating
If your dryer is not heating, several possible causes exist.
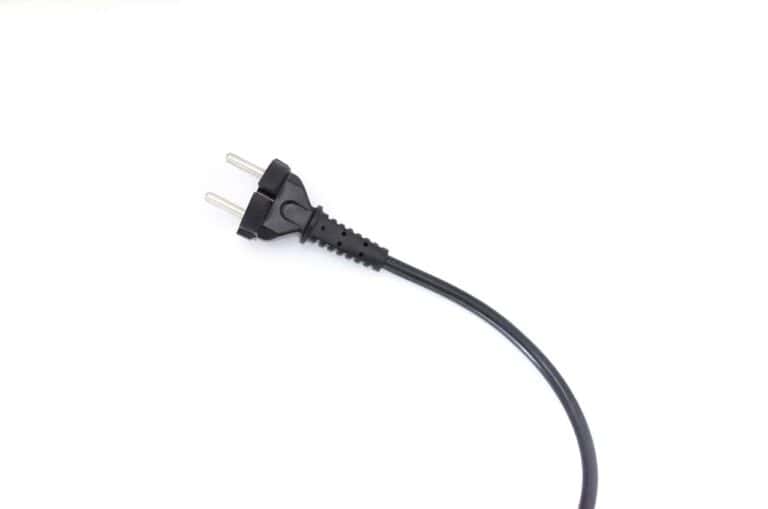
- Check the power cord: Make sure the dryer is plugged in securely and the outlet is working. Test the outlet with another appliance or use a voltage tester.
- Inspect the thermal fuse: The thermal fuse is a safety device that cuts off power to the heating element if it overheats. If the fuse is blown, you will need to replace it. You can test it with a multimeter for continuity.
- Examine the heating element: The heating element is responsible for generating heat. If it is faulty, the dryer will not heat. You can test the heating element with a multimeter for continuity.
- Check the gas supply (gas dryers): Ensure the gas supply valve is turned on. If you smell gas, turn off the gas supply and contact a qualified technician.
- Clean the lint trap: A clogged lint trap can restrict airflow and cause the dryer to overheat. Clean the lint trap after each use.
Dryer Not Tumbling
If your dryer is not tumbling, the problem may be with the drive belt.
- Inspect the drive belt: The drive belt connects the motor to the drum. If the belt is broken or loose, the drum will not turn. You can usually access the drive belt by removing the dryer’s back panel.
- Check the drum rollers: The drum rollers support the drum and allow it to rotate. If the rollers are worn out or damaged, they may need to be replaced.
- Inspect the motor: In some cases, the problem may be with the dryer’s motor. If the motor is not running, you may need to replace it.
Dryer Making Noise
A noisy dryer can be caused by several factors.
- Check for loose objects: Make sure there are no loose objects, such as coins or buttons, inside the dryer drum.
- Inspect the drum rollers and supports: Worn or damaged drum rollers or supports can cause noise.
- Check the blower wheel: The blower wheel helps circulate air. If it is damaged or obstructed, it can create noise.
- Lubricate squeaky parts: Apply lubricant to any squeaky parts, such as the drum rollers or idler pulley.
Dryer Not Drying Clothes Properly
If your dryer is not drying clothes efficiently, there are a few things to check.
- Clean the lint trap and vent: A clogged lint trap or vent can restrict airflow and reduce drying efficiency.
- Check the heating element: A faulty heating element can prevent the dryer from reaching the desired temperature.
- Reduce the load size: Overloading the dryer can reduce drying efficiency.
- Separate heavy items: Dry heavy items, like towels, separately from lighter items.
Dryer Door Not Closing
If your dryer door is not closing properly, the door latch may be damaged or obstructed.
- Inspect the door latch: Check the door latch for any signs of damage or obstruction. Clean the latch and remove any debris.
- Check the door strike: The door strike is the part of the dryer that the latch engages with. If the strike is damaged, it may need to be replaced.
- Adjust the door hinges: If the door is not aligned properly, you may need to adjust the hinges.
Additional Tips
- Consult your dryer’s manual: Your dryer’s manual can provide specific troubleshooting information and instructions for your model.
- Safety first: Always disconnect the power supply before attempting any repairs.
- When in doubt, call a professional: If you are unsure about any repair or encounter a problem you cannot fix yourself, contact a qualified appliance repair technician.
Maintaining Your Dryer
Regular maintenance is important to keep your dryer running efficiently and prevent problems.
- Clean the lint trap after each use: This helps prevent fires and improves drying efficiency.
- Clean the dryer vent regularly: A clogged vent can restrict airflow and cause the dryer to overheat.
- Inspect the hoses and connections: Check for any leaks or damage.
- Clean the dryer drum: Wipe down the dryer drum to remove any residue.
- Check the door seal: Make sure the door seal is intact and free of debris.
By following these simple DIY fixes and maintenance tips, you can keep your dryer running smoothly for years to come.
Key Takeaways
- Professional repair services offer expert solutions for both electric and gas dryers
- Some common dryer issues can be resolved through DIY methods
- Choose between DIY fixes and professional repair based on the problem’s complexity and your skill level
Identifying Common Dryer Problems
Dryer issues can range from simple to complex. Recognizing the signs of common problems helps homeowners diagnose and potentially fix their appliances without professional help.
Dryer Won’t Start
A non-starting dryer often stems from electrical issues. Check the power cord for damage and ensure it’s plugged in securely. Test the outlet with another device to confirm it’s working.
If power isn’t the problem, examine the door switch. A faulty switch prevents the dryer from starting. Press the switch manually to see if it clicks. Replace it if it’s broken.
The thermal fuse may have blown. This safety device cuts power if the dryer overheats. Locate the fuse using the owner’s manual and test it with a multimeter. A blown fuse needs replacement.
Dryer Not Drying Clothes
Poor drying performance usually involves airflow problems. Clean the lint filter before each use. A clogged filter restricts air circulation, extending drying time.
Inspect the exhaust vent for blockages. Disconnect the vent from the dryer and clear any lint buildup. Ensure the outdoor vent flap opens freely when the dryer runs.
Check the heating element in electric dryers. If clothes tumble but stay cold, the element may have failed. Test it with a multimeter and replace if necessary.
For gas dryers, verify the gas supply is on. Listen for the igniter clicking when starting a cycle. No sound could indicate a faulty igniter or gas valve.
Dryer Overheats
Overheating can damage clothes and create fire hazards. A clogged exhaust vent is often the culprit. Clean the entire vent system from the dryer to the outside.
Examine the cycling thermostat. This component regulates temperature. A faulty thermostat may not shut off the heat properly. Replace it if it’s not working correctly.
The heating element might be stuck in the “on” position. Unplug the dryer and test the element with a multimeter. Replace it if it shows continuity when it shouldn’t.
Check for objects caught in the drum seal. Small items can create friction and excess heat. Remove any debris found around the drum.
Choosing the Right Repair Approach
Fixing a dryer involves deciding between DIY repairs and professional services. The choice depends on the problem, your skills, and budget.
DIY vs. Professional Repair
DIY repairs can save money for simple issues. These include cleaning vents, replacing belts, or fixing door switches. Basic tools and online tutorials often suffice for these tasks.
Professional repairs are best for complex problems. Technicians have specialized tools and expertise. They can diagnose issues quickly and fix them safely. This is crucial for gas dryers or electrical problems.
Safety is paramount. If unsure, it’s better to call a pro. They can handle potentially dangerous situations. Professional repairs also often come with warranties.
Selecting the Right Parts
Using correct parts is vital for dryer repairs. Original equipment manufacturer (OEM) parts match your dryer’s specifications. They often last longer but cost more.
Aftermarket parts are cheaper alternatives. They may work well but can vary in quality. Research brands and read reviews before buying.
Consider your dryer’s age when choosing parts. For older models, OEM parts might be hard to find. In such cases, high-quality aftermarket parts are a good option.
Understanding Repair Costs
Repair costs vary based on the problem and dryer type. Labor charges range from $50 to $100 per hour. Parts can cost from $10 to $200 or more.
Common repairs and their average costs:
- Heating element replacement: $150-$250
- Belt replacement: $100-$200
- Thermostat repair: $100-$150
Compare repair costs to the price of a new dryer. If repairs exceed 50% of a new dryer’s cost, replacement might be more economical. Factor in the dryer’s age and overall condition when deciding.
Preventative Maintenance and Care
Regular maintenance keeps dryers running efficiently and safely. Proper care extends appliance lifespan and prevents common issues.
Regular Dryer Vent Cleaning
Dryer vent cleaning is crucial for appliance performance and safety. Lint buildup in vents reduces airflow, making the dryer work harder and increasing fire risk.
Clean the lint trap after each use. Remove lint from the filter screen and wipe the area around it. For thorough cleaning, use a vacuum attachment to remove lint from inside the lint trap housing.
Schedule professional dryer vent cleaning annually. Experts use specialized tools to remove lint and debris from the entire vent system. This service improves dryer efficiency and reduces fire hazards.
Routine Inspection and Maintenance
Regular inspections help identify potential issues before they become major problems. Check the venting system monthly for signs of wear or damage.
Examine the exhaust vent outside your home. Ensure it’s clear of obstructions like leaves or bird nests. Verify that the vent flap opens fully when the dryer is running.
Inspect the dryer drum for rust or scratches. Clean the drum with a damp cloth to remove residue. Check the door seal for cracks or gaps that could affect performance.
Test the dryer’s heating element and thermostat annually. Unusual noises or longer drying times may indicate problems. Schedule professional maintenance for these checks and any necessary repairs.
When to Consult a Professional
Dryer issues can range from simple fixes to complex problems. Some common problems homeowners can tackle include cleaning lint filters and vents.
For more serious issues, it’s time to call an appliance repair technician. Signs that warrant professional help include:
• Unusual noises or vibrations
• No heat or inconsistent heating
• Failure to start or tumble
• Electrical problems (tripped breakers, blown fuses)
• Gas odors (for gas dryers)
Technicians have specialized tools and expertise to diagnose and repair complicated issues safely. They can also source hard-to-find parts for older or discontinued models.
Professional repair is recommended when:
- The problem involves electrical or gas components
- DIY attempts haven’t resolved the issue
- The dryer is still under warranty (to avoid voiding it)
- You lack the time or confidence to attempt repairs yourself
Consulting a professional can save time and prevent potential safety hazards. It may also be more cost-effective in the long run, especially for older dryers nearing the end of their lifespan.
Before calling a technician, gather information about your dryer’s make, model, and symptoms. This helps the repair service provide accurate quotes and prepare for the visit.
Frequently Asked Questions
Dryer repair services can address various issues and qualifications. Finding a reliable service and determining repair costs are important considerations.
What qualifications should I look for in a dryer repair service?
A reputable dryer repair service should have licensed and insured technicians. Look for certifications from appliance manufacturers or industry organizations. Experience in repairing various dryer models is crucial.
Technicians should stay updated on the latest dryer technologies. Good communication skills and professionalism are also important qualities to consider.
What are common issues that a dryer repair service can address?
Dryer repair services can fix many problems. These include:
- Dryer not heating
- Excessive noise during operation
- Failure to start or turn on
- Clothes not drying completely
- Dryer drum not spinning
- Broken belts or motors
They can also handle issues with timers, thermostats, and control panels.
How can I find a reliable appliance repair service near me for my dryer?
Start by asking friends and family for recommendations. Check online review platforms for local appliance repair services. Look for companies with high ratings and positive customer feedback.
Contact multiple services for quotes. Ask about their experience with your specific dryer model. Verify their licensing and insurance before hiring.
What factors should I consider to decide if my dryer is worth repairing?
Age is a key factor. If the dryer is over 10-15 years old, replacement might be more cost-effective. Compare repair costs to the price of a new dryer.
Consider the frequency of breakdowns. Repeated repairs may indicate it’s time for a replacement. Energy efficiency is another important factor to weigh.
Can I troubleshoot and repair common dryer problems myself?
Some simple issues can be resolved at home. Check if the dryer is plugged in and the circuit breaker hasn’t tripped. Clean the lint filter and exhaust vent regularly.
For more complex problems, professional help is recommended. Attempting repairs without proper knowledge can be dangerous and may void warranties.
How much should I expect to pay for a typical dryer repair?
Repair costs vary depending on the issue and dryer model. Simple fixes like replacing a belt might cost $100-$200. More complex repairs involving motors or control boards can range from $200-$400.
Diagnostic fees are often charged separately. Some companies waive this fee if you proceed with their repair service.

