Connecting an Arduino to Azure IoT Hub may sound complex, but it’s actually quite simple with the right tools. By using the Arduino library for Azure IoT, users can connect their devices with minimal effort. This process opens up opportunities for real-time data collection and analysis, allowing for smarter decisions and efficient operations.
Azure IoT Hub offers secure and seamless integration of IoT devices like Arduino. It supports protocols like MQTT, making the communication straightforward. With detailed tutorials available, even beginners can follow along and set up their environment without any hassle.
Once the connection is established, users can monitor, manage, and transform their data efficiently. With the power of Azure’s cloud services, you can scale your IoT projects seamlessly, utilizing the simplicity of Arduino.
Bridge the Physical and Digital Worlds: Your Arduino and Azure IoT Hub
Connecting your Arduino device to the Azure IoT Hub opens up a world of possibilities for data collection, remote control, and automation. While it might sound complex, the process is surprisingly straightforward with the right tools and guidance. Let’s break it down step by step:
Prepare Your Tools
Before diving in, ensure you have the following:
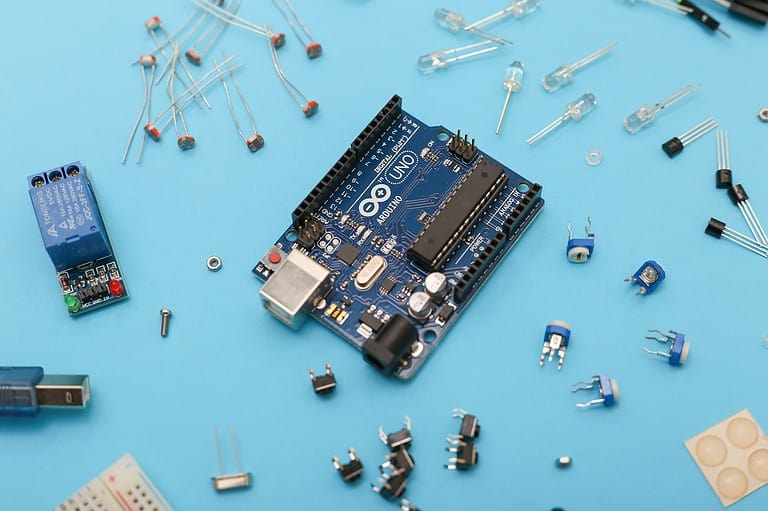
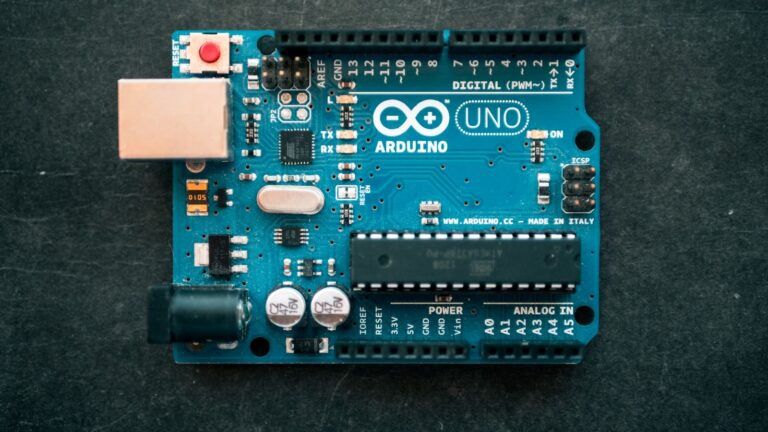
- Arduino Board: Choose an Arduino board with internet connectivity, like the MKR WiFi 1010 or the Nano 33 IoT.
- Azure Account: Create a free Azure account if you don’t have one already.
- Arduino IDE: Install the latest version of the Arduino IDE software on your computer.
- Libraries: Install the necessary libraries for Azure IoT Hub integration. You can find these in the Arduino Library Manager.
Steps to Connect
Follow these steps to connect your Arduino to the Azure IoT Hub:
- Create an IoT Hub: In the Azure portal, create a new IoT Hub instance. Note down your IoT Hub connection string.
- Register Your Arduino Device: In the IoT Hub, register your Arduino device and obtain the device connection string.
- Configure Your Arduino Code: In the Arduino IDE, open the example sketch for Azure IoT Hub. Update the sketch with your Wi-Fi credentials, IoT Hub connection string, and device connection string.
- Upload and Monitor: Upload the code to your Arduino board. Use the Serial Monitor in the Arduino IDE to verify the connection and monitor data transmission.
Troubleshooting Tips
If you encounter any problems, here are some common issues and their solutions:
| Issue | Possible Solution |
|---|---|
| Arduino fails to connect to Wi-Fi | Double-check your Wi-Fi credentials in the code. Ensure a stable internet connection. |
| Arduino fails to connect to IoT Hub | Verify the IoT Hub and device connection strings. Check for typos and ensure they are correct. |
| Data not showing up in IoT Hub | Check the Serial Monitor for any error messages. Make sure you are sending data in the correct format. |
Additional Tips
- Use the Azure IoT Device Workbench: This tool simplifies the process of connecting and managing IoT devices in Azure.
- Explore Sample Projects: Azure offers a variety of sample projects and tutorials to get you started with different IoT scenarios.
- Secure Your Connection: Consider using SSL/TLS encryption for added security when transmitting data to and from your Arduino.
- Experiment and Innovate: The Azure IoT Hub provides a robust platform for building creative and practical IoT applications.
Once connected, your Arduino can send data to the cloud, receive commands, and interact with other devices in the Azure ecosystem. The possibilities are endless, from monitoring environmental sensors to remotely controlling home automation systems.
Smart Home Automation With Arduino and Azure
Integrating the Power of Arduino with Azure’s Cloud Capabilities
Want to create a smart home system that’s both powerful and customizable? Combining the versatility of Arduino with the cloud capabilities of Azure IoT provides a fantastic platform for DIY home automation.
Why Arduino and Azure IoT?
- Arduino: This open-source platform is perfect for tinkering. It’s affordable, easy to use, and has a huge community for support. You can connect various sensors and actuators to control lights, appliances, and more.
- Azure IoT: Microsoft’s Azure cloud platform offers a suite of tools for IoT projects. Azure IoT Hub allows you to securely connect and manage your devices, collect data, and create automation rules.
What You Can Build
The possibilities are endless! Here are some examples:
- Smart Lighting: Control your lights remotely, schedule them to turn on/off, or even create mood lighting based on sensor data.
- Automated Appliances: Turn your coffee maker on automatically in the morning, or have your slow cooker start cooking while you’re at work.
- Environmental Monitoring: Monitor temperature, humidity, and air quality in your home. Receive alerts if conditions go outside a desired range.
- Security Systems: Build a DIY security system with door/window sensors and motion detectors. Get notifications on your phone if any activity is detected.
Getting Started
- Gather Your Hardware: You’ll need an Arduino board (like the Arduino Uno WiFi), sensors (temperature, humidity, motion, etc.), actuators (relays, motors), and connecting wires.
- Set Up Azure IoT Hub: Create an IoT Hub instance in the Azure portal. This will be the central point for managing your devices.
- Install Arduino IDE and Libraries: Download and install the Arduino IDE and the Azure IoT Hub library.
- Connect Your Arduino to Azure: Write code to connect your Arduino to the IoT Hub using your Wi-Fi credentials and the connection string from the Azure portal.
- Build Your Project: Connect your sensors and actuators, and write code to control them based on sensor data or commands sent from the Azure cloud.
Example: Smart Light with Arduino and Azure
| Step | Description |
|---|---|
| Hardware | Arduino Uno WiFi, relay module, light bulb, connecting wires |
| Azure Setup | Create an IoT Hub, register your Arduino device, obtain the device connection string. |
| Arduino Code | Include the Azure IoT Hub library. Connect to Wi-Fi and Azure IoT Hub. Write code to send data from a light sensor to Azure and receive commands to turn the light on/off. |
| Azure Logic App (optional) | Create a Logic App in Azure to automate actions. For example, turn on the light when the sun sets (using a weather service) or send a notification if the light sensor detects darkness unexpectedly (indicating a potential power outage). |
| Controlling the Light | You can control the light through the Azure portal, a custom web app, or even voice assistants like Alexa or Google Assistant by integrating with Azure services like Azure Functions and Azure Bot Service. |
This is a basic example, but it illustrates the power of combining Arduino with Azure IoT. You can expand on this to create complex automation systems tailored to your needs.
By leveraging the flexibility of Arduino and the scalability of Azure, you can build a truly smart and connected home.
Key Takeaways
- Connect Arduino to Azure IoT easily with available libraries.
- Set up a secure connection using MQTT for seamless data communication.
- Monitor and manage IoT devices using Azure’s powerful cloud services.
Setting Up the Environment
Before diving into coding and hardware setups, it’s crucial to set up the environment for connecting an Arduino to Azure IoT Hub. This includes configuring Azure IoT Hub, preparing the Arduino IDE, and establishing a Wi-Fi connection.
Configuring Azure IoT Hub
First, create an Azure account and sign in to the Azure portal. After logging in, create a new IoT Hub instance by navigating to the IoT Hub section and clicking Add. Fill in the necessary information such as subscription, resource group, and region.
Once the IoT Hub is created, add a new device by going to the IoT devices tab and clicking on New. Name the device and set its authentication type to symmetric key.
Copy the Connection string—primary key as this will be used later for connecting the Arduino to Azure IoT Hub.
Preparing the Arduino IDE
Install the Arduino IDE from the Arduino official website. Ensure you have the latest version for better compatibility. Open the IDE, and go to File -> Preferences.
Add the necessary library URLs for your board’s package in the Additional Boards Manager URLs. For the Arduino MKR NB 1500, ESP32, or ESP8266, go to Tools -> Board -> Boards Manager and search for and install the relevant board libraries.
Next, under Sketch -> Include Library -> Manage Libraries, install the required libraries such as WiFi.h, ArduinoBearSSL, and PubSubClient.h. This ensures that the Arduino can connect and communicate securely with the Azure IoT Hub.
Establishing Wi-Fi Connection
To connect your Arduino to Wi-Fi, include the WiFi.h library in your sketch. Define your Wi-Fi SSID and password in the sketch and use the WiFi.begin(ssid, password) function to connect to the network.
Check the connection status using WiFi.status() and wait until the connection is successful. For boards like ESP8266 or ESP32, additional configuration steps may be needed, but the principles remain the same.
This will allow the Arduino to have internet access and communicate with Azure IoT Hub effectively.
Implementing the Connection
In this section, you will learn how to create a secure connection between your Arduino device and the Azure IoT Hub, send telemetry data, and receive messages from the cloud.
Creating a Secure MQTT Connection
To securely connect an Arduino to Azure IoT Hub, use the Azure IoT SDK for C library. This library includes tools and sample code for establishing secure MQTT connections.
Steps to create the connection:
- Install the necessary libraries: Add the Azure IoT SDK for C and MQTT libraries to your Arduino IDE.
- Set up Wi-Fi: Ensure your Arduino is connected to Wi-Fi. Use the
WiFiClientSecureclass to handle the secure connection. - Configure connection details: Provide the Device ID, IoT Hub name, and SharedAccessSignature (SAS token).
- Initiate MQTT connection: Connect to the MQTT broker using the
PubSubClientlibrary.
WiFiClientSecure wifiClient;
PubSubClient mqttClient(wifiClient);

mqttClient.setServer(iotHubName, 8883);
By following these steps, you ensure your connection is secure and able to communicate with Azure IoT Hub.
Sending Telemetry Data
After establishing the connection, the next step is sending telemetry data to Azure IoT Hub. Telemetry data can include any sensor readings or information you wish to monitor.
Steps to send telemetry data:
- Prepare the payload: Gather sensor data and format it as a JSON payload.
- Publish the data: Use the MQTT
publishfunction to send the telemetry payload to the appropriate MQTT topic.
String payload = "{\"temperature\": 23.5, \"humidity\": 60}";
mqttClient.publish("devices/myDevice/messages/events/", payload.c_str());
- Ensure periodic updates: Use a delay function to send data at regular intervals.
delay(10000); // Sends telemetry every 10 seconds.
By consistently sending telemetry data, you can monitor the device’s status and performance in real-time from Azure IoT Hub.
Receiving Cloud-to-Device Messages
To allow the device to receive commands or messages from the cloud, implement functionality to handle Cloud-to-Device (C2D) messages.
Steps to receive C2D messages:
- Subscribe to the C2D topic: Listen for messages from the cloud by subscribing to the C2D topic.
mqttClient.subscribe("devices/myDevice/messages/devicebound/#");
- Message callback: Define a callback function that processes incoming messages.
mqttClient.setCallback(callbackFunction);

void callbackFunction(char* topic, byte* payload, unsigned int length) {
    // Process the incoming message
    Serial.print("Message arrived [");
    Serial.print(topic);
    Serial.println("]");
    // Further processing of payload...
}
- Handle message in loop: Ensure the client checks for new messages within the main application loop.
mqttClient.loop();
By following these steps, the Arduino device can receive and act on commands from Azure IoT Hub, completing the bidirectional communication setup.
Frequently Asked Questions
Connecting an Arduino device to Azure IoT Hub involves several steps, tools, and configurations. Below, find the answers for common questions about this process.
What are the steps to integrate an Arduino device with Azure IoT Hub?
- Install the Arduino IDE.
- Download the Azure IoT Hub libraries.
- Update the Wi-Fi credentials and IoT Hub information in the
iot_config.hfile. - Program your Arduino device to connect to Azure IoT Hub.
- Monitor the data using the Azure IoT Hub portal.
How can I use the Azure IoT SDK for C with an Arduino board?
- Search for the Azure SDK for C library in the Arduino IDE.
- Select and install the library.
- Use the provided samples to update your device’s configuration.
- Upload the configuration to your Arduino board.
- Verify the connection via the Azure IoT Hub.
What is the procedure for connecting Arduino MKR NB 1500 to Azure IoT Central?
- Insert a SIM card into the Arduino MKR NB 1500.
- Configure the cellular network credentials in your sketch.
- Install the required libraries in Arduino IDE.
- Add your Arduino device to the Azure IoT Central application.
- Upload and test your sketch for successful connections.
Can you provide an example of using ESP32 with Azure IoT services?
To use ESP32 with Azure IoT:
- Open the Arduino IDE and install the necessary libraries.
- Write or use a sample sketch to configure MQTT and SAS tokens.
- Upload the sketch to your ESP32.
- Check the connection status in the Azure IoT Hub portal.
What are the requirements for sending data from an Arduino to Azure IoT Hub?
- A compatible Arduino board (e.g., ESP8266, ESP32).
- Azure IoT Hub and credentials.
- Appropriate libraries installed in the Arduino IDE.
- Active internet connection, either via Wi-Fi or cellular.
How can I use Arduino Cloud to interface with Azure IoT Hub?
- Sign up for Arduino Cloud.
- Create a new Thing in Arduino Cloud.
- Configure the Thing with your device’s information.
- Use the Azure IoT library to connect your device.
- Link Arduino Cloud and Azure IoT Hub through the appropriate APIs.