Integrating Arduino with Visual Studio Code can revolutionize your IoT projects by providing a powerful, flexible development environment. Visual Studio Code offers modern debugging features and a seamless setup process for Arduino developers. Using this integrated approach, you can manage and deploy IoT projects more efficiently.
Visual Studio Code not only supports various programming languages but also includes an extension specifically for Arduino. This extension simplifies the coding process, enabling you to focus more on the development and less on configuration. Additionally, users can benefit from the rich ecosystem of plugins and tools that VS Code offers.
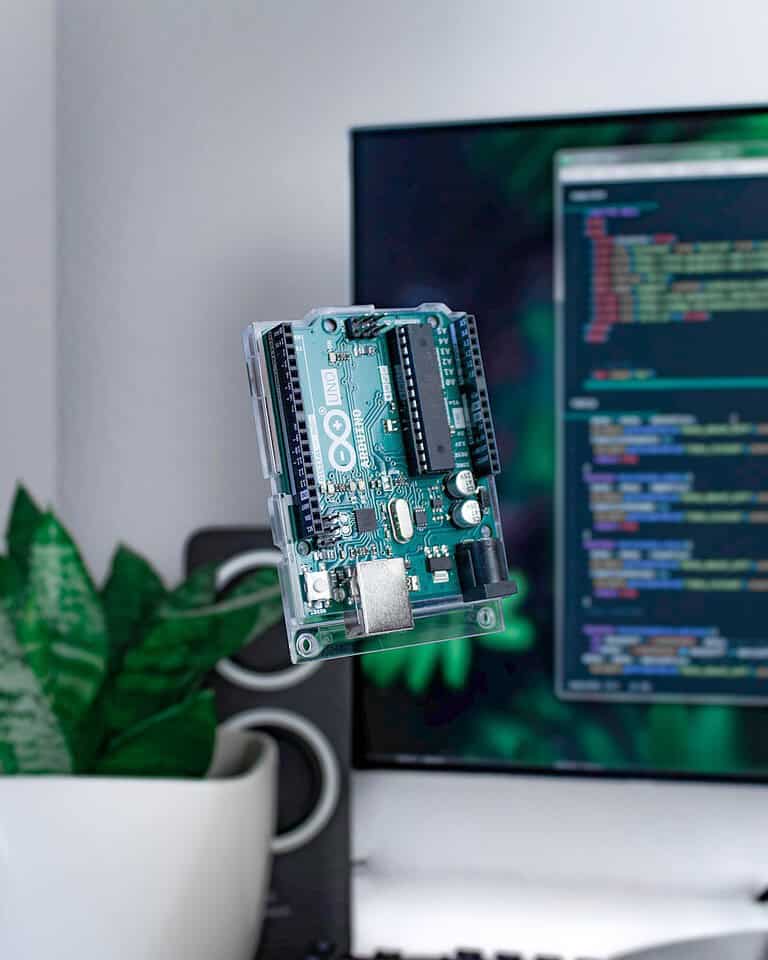
Power Up Your Arduino IoT Projects with VS Code
Why Choose Visual Studio Code for Arduino IoT?
Visual Studio Code (VS Code) isn’t just for web developers anymore. It’s a versatile code editor that, with the right extensions, becomes a powerful tool for Arduino IoT development. It offers a rich feature set including code completion, debugging, and integrated terminal for flashing your board. Plus, it’s free and open-source!
Getting Started: Essential Extensions
To unleash the full potential of VS Code for Arduino, here are some must-have extensions:
- Arduino: This official extension provides essential features like IntelliSense, code verification, and uploading sketches.
- PlatformIO IDE: This powerful extension streamlines project management, library dependency handling, and build processes.
- C/C++ Extension Pack: Enhances your coding experience with improved IntelliSense, debugging, and formatting for C/C++ code.
Table: Key VS Code Extensions for Arduino IoT
| Extension | Description |
|---|---|
| Arduino | Official Arduino support, code verification, and uploading |
| PlatformIO IDE | Project management, library handling, and build automation |
| C/C++ Extension Pack | Improved IntelliSense, debugging, and formatting for C/C++ code |
Additional Tips for Streamlining Development
- Customize Your Workspace: Tailor VS Code to your preferences with themes, keyboard shortcuts, and extensions that suit your workflow.
- Use Snippets: Speed up your coding by using snippets for common Arduino code blocks.
- Debug Your Code: VS Code’s debugging tools can help you identify and fix errors in your Arduino sketches.
VS Code offers a flexible and efficient environment for Arduino IoT development. By leveraging its features and extensions, you can streamline your workflow and build innovative IoT projects with ease.
Key Takeaways
- VS Code provides modern debugging features for Arduino IoT development.
- The Arduino extension in VS Code simplifies programming tasks.
- This setup makes managing and deploying IoT projects more efficient.
Setting Up the Development Environment
This section guides you through installing and configuring Visual Studio Code for Arduino IoT development. It also explains how the Arduino extension enhances the development experience.
Installation and Configuration
Installing Visual Studio Code (VS Code) is the first step. Windows and Ubuntu users can download VS Code from Visual Studio Code’s official website.
- Download and install VS Code by following the on-screen instructions.
- Open VS Code
- Press
Ctrl + PorCmd + P(Mac) - Type
ext install vscode-arduinoand press Enter
Alternatively, access the extension marketplace:
- Click File > Preferences > Extensions
- Search for “vscode-arduino”
- Install the extension
Next, configure VS Code with Arduino settings:
- Click File > Preferences > Settings
- In the search box, type “Arduino”, and adjust settings like Arduino: Additional URLs.
This configures the IDE to work with Arduino boards.
Understanding the Arduino Extension
The Arduino extension adds essential features to VS Code for Arduino development.
Key features:
- IntelliSense and syntax highlighting for Arduino sketches
- Board and library manager for managing dependencies
- Verify and upload features to check and upload code
- Built-in examples to help you get started quickly
To use these features, open an .ino file in VS Code. Connect your Arduino board to your computer. Then, press F5 or the start button in the debug view to begin uploading and debugging your sketch.
This process ensures your code is tested and working properly on your device, making development more efficient and streamlined for Arduino projects.
Developing and Managing IoT Projects
Developing and managing IoT projects with Arduino and Visual Studio Code can be efficient and straightforward. This section covers the essential steps, from writing and uploading code to integrating with cloud services like Azure.
Writing and Uploading Code
Start by installing the Arduino Extension for Visual Studio Code from the Visual Studio Marketplace. This extension supports various microcontrollers, such as ESP8266, Arduino M0 Pro, and Adafruit WICED WiFi Feather.
Create a new Arduino sketch through the Command Palette by selecting Arduino: Initialize. It sets up basic project scaffolding. Use IntelliSense for code completion and syntax highlighting which can prevent common mistakes.
Upload your code to the board via USB. Select the correct board and port under “Arduino: Select Board” and “Arduino: Select Serial Port”. Click the upload button or use the command Arduino: Upload.
Utilizing Libraries and Managing Boards
Adding libraries is simple with the Library Manager. Open the Library Manager via the Command Palette and search for needed libraries. For example, you might use the Azure IoT library for connecting devices to cloud services.
Manage different boards by setting up the supported board configurations in C_cpp_properties.json. This file helps in defining paths for libraries and board-specific settings.
Update libraries and boards regularly through the Library and Board Manager to ensure compatibility and get the latest features. You can find updates in the Arduino Extension updates section, which keeps your platform current.
Debugging and Integrating with Cloud Services
Debugging in Visual Studio Code is supported through various extensions. Use the C/C++ Extension for debugging Arduino sketches. Set breakpoints and step through code to find errors. Serial monitor helps in real-time monitoring and debugging. Start it from the Command Palette with Arduino: Open Serial Monitor.
Integrate with Azure IoT services using the Azure IoT Tools for VS Code. Install the extension pack for seamless interaction with the Azure IoT Hub. Use provided tutorials and example lists to get started quickly.
Enable Auto-Complete and Code Navigation for quick code edits. Check the issue tracker on GitHub to report bugs or request features. Contribute via pull requests under the open-source MIT License.
This guide provides a solid foundation for anyone starting out with IoT development using Arduino and Visual Studio Code.
Frequently Asked Questions
This section covers how to set up and work with the Vscode-Arduino extension for Arduino IoT development in Visual Studio Code. It includes steps for configuration, importing libraries, and working with IntelliSense.
How do I configure the Vscode-Arduino extension for Arduino IoT development?
First, open Visual Studio Code. Access the command palette by pressing Ctrl+Shift+P. Type “Install Extension” and select it. Then, search for “vscode-arduino” and install it. This extension helps in writing, verifying, and uploading Arduino sketches seamlessly.
What steps are involved in setting up Visual Studio Code for Arduino development?
Begin by installing Visual Studio Code. Then, add the Arduino extension as mentioned above. You also need to install the Arduino IDE, as it is required for board configurations and other back-end tasks. Once everything is installed, you can start writing and uploading Arduino code.
How can I use Arduino-cli with Visual Studio Code for IoT projects?
Install Arduino-cli from its official website. After installing, configure it by setting up the paths to the Arduino CLI executable in Visual Studio Code settings. This allows you to compile and upload sketches directly from the command line within VS Code, integrating smoothly with the development environment.
What is the process for importing an Arduino library into Visual Studio Code?
To import a library, first open your Arduino sketch file in Visual Studio Code. Use the built-in library manager by pressing Ctrl+Shift+P, then select “Arduino: Library Manager”. Search for the required library and click “Install”. The library will be added to your project and available for use.
How can I select and manage Arduino board configurations within Visual Studio Code?
Connect your Arduino board to your computer. Open the command palette and select “Arduino Board Configuration”. This will allow you to choose your connected board from a list. To manage configurations, you can access board settings via the extension, enabling custom configurations for different projects.
What are the best practices for using Arduino IntelliSense in Visual Studio Code?
Ensure your Arduino extension is installed and updated. Keep libraries and board definitions up to date. Use proper syntax and comments in your code to leverage IntelliSense fully. Always verify and compile code frequently to catch errors early.