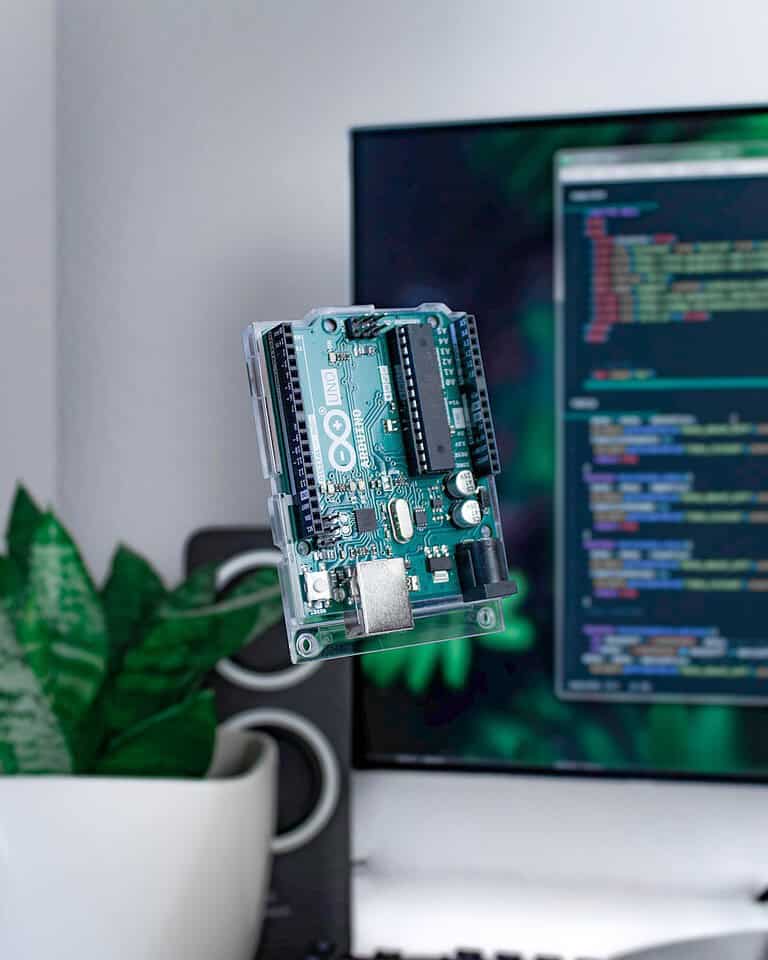
Have you ever wanted to make your own smart devices at home? Arduino offers a simple way to get started with the Internet of Things (IoT). With just a few tools, you can build exciting projects that connect to the internet and control various devices. Arduino boards are perfect for beginners and include great resources to help you learn quickly.
Begin by choosing an Arduino board, like the popular Arduino Uno. This board can connect to different sensors and devices to gather data and perform actions. Follow easy tutorials to set up the board and install the software. Soon you’ll be programming your first IoT device.
Another crucial step is learning how to write the code for your projects. Arduino uses a language similar to C/C++. You’ll find plenty of sample codes and libraries that simplify tasks like connecting to the internet and reading sensor data. By experimenting with different codes and projects, you’ll soon become comfortable with creating your own smart devices.
Your First Steps into Arduino IoT
What You’ll Need
To embark on your Arduino IoT journey, gather these essentials:
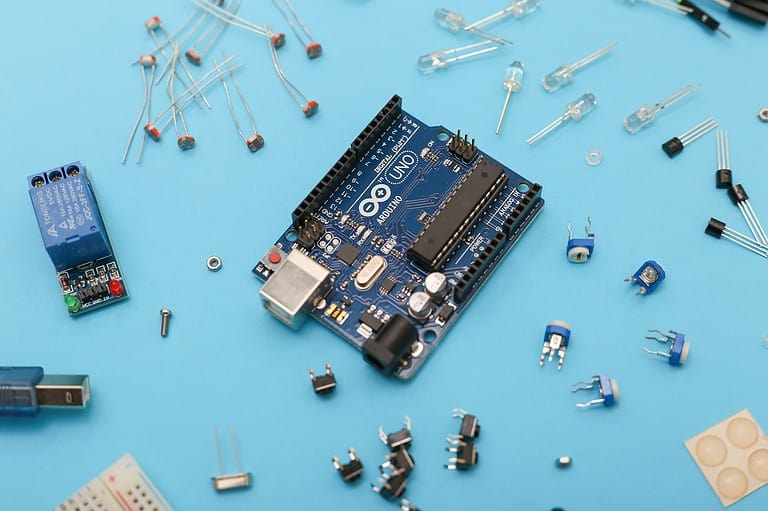
- Arduino Board: Start with the Arduino Uno, a beginner-friendly microcontroller.
- Wi-Fi Module: The ESP8266 is a popular, affordable choice for connecting your Arduino to the internet.
- Sensors: Choose sensors based on your project goals. Temperature, humidity, light, and motion sensors are common starting points.
- Jumper Wires: These colorful wires connect your components.
Setting Up Your Arduino IoT Project
- Connect the Hardware: Attach the Wi-Fi module to your Arduino using jumper wires. Follow the specific module’s instructions for pin connections.
- Install Libraries: Download and install necessary libraries for your Wi-Fi module and sensors. The Arduino IDE makes this easy.
- Code Your Project: Write the code to control your sensors, connect to Wi-Fi, and send/receive data. Plenty of online tutorials and resources can help.
- Connect to the Cloud: Consider using platforms like Arduino IoT Cloud or Blynk to monitor and control your project remotely.
Simple Arduino IoT Project Ideas
- Weather Station: Monitor temperature, humidity, and other environmental conditions, and display the data online.
- Smart Home Automation: Control lights, appliances, or other devices using your smartphone or voice commands.
- Plant Monitoring System: Keep track of soil moisture and light levels to ensure your plants thrive.
Table: Popular Arduino Boards for IoT
| Board | Wi-Fi Built-in | Processing Power | Ideal for |
|---|---|---|---|
| Arduino Uno WiFi Rev2 | Yes | Moderate | Beginner-friendly, versatile, suitable for small projects |
| Arduino Nano 33 IoT | Yes | Low | Compact and power-efficient, perfect for wearable projects or when space is limited |
| Arduino MKR WiFi 1010 | Yes | Moderate | Designed for IoT projects, with built-in security features and compatibility with Arduino IoT Cloud |
| ESP32 | Yes | High | Powerful microcontroller with extensive IoT capabilities, ideal for more complex projects |
Remember, this is just the beginning. With Arduino and IoT, the possibilities are endless. Explore, experiment, and create amazing projects!
Key Takeaways
- Arduino is ideal for beginners in IoT
- Arduino boards and tutorials simplify getting started
- Learning Arduino code helps create smart devices
Getting Started with Arduino and IoT
Beginning with Arduino and IoT involves understanding both hardware essentials and setting up the software environment. This guide walks you through what you need to get started.
Exploring Arduino Hardware Essentials
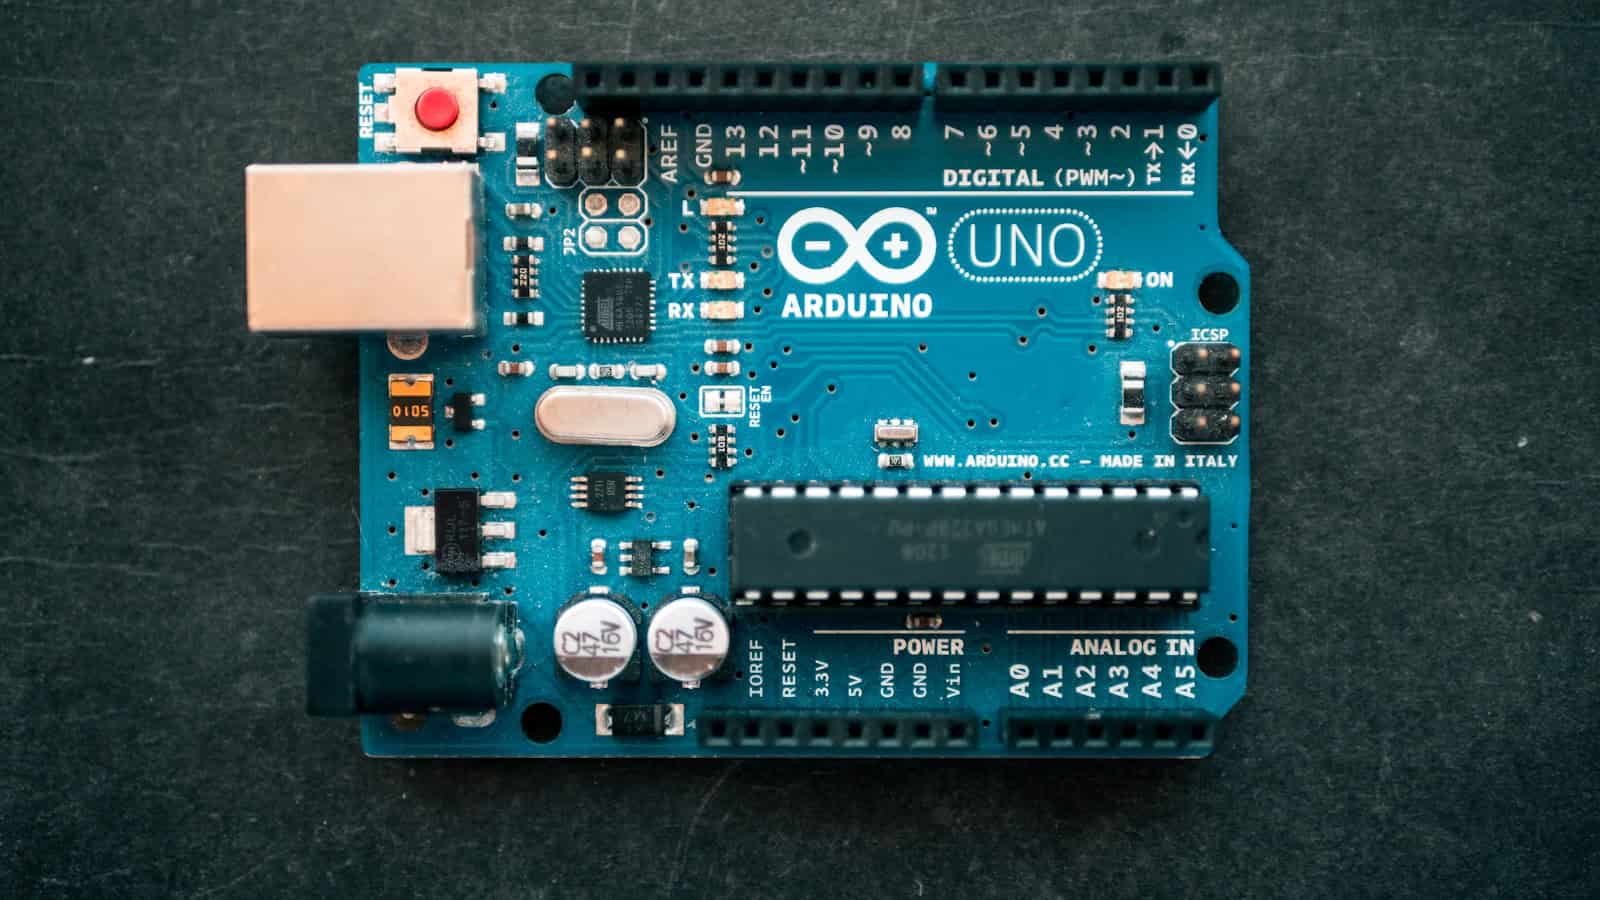
To start, you need an Arduino Uno board. This board includes the ATmega328P microcontroller. Connect it to your computer using a USB cable. The board has several Input/Output pins for attaching sensors and actuators. Common components include LEDs, motors, and LCD displays.
The microcontroller manages data and communication. It operates on 5V provided through the USB or an external power source. The board also includes voltage regulators to ensure stable operation. Additionally, resistors may be required to protect your components.
Setting Up the Arduino Software Environment
Download the Arduino software (IDE) from the Arduino website. Install the IDE on your computer. Open the IDE, and select “Arduino Uno” under Tools > Board. Next, go to Tools > Port and select the serial port for your board.
The IDE supports a simple programming language based on C++. It allows you to write and upload code to the Arduino board. Use the Library Manager in the IDE to install necessary libraries. You can also access a wide range of documentation and tutorials on the Arduino website.
Arduino Programming Fundamentals
This section covers essential aspects of Arduino programming. These include using the Arduino IDE, basic coding structures, and implementing common IoT features.
Understanding the Arduino IDE
The Arduino IDE (Integrated Development Environment) is the primary tool for writing, compiling, and uploading Arduino code. It supports the Arduino programming language (based on C++), and includes many built-in libraries for easy project development.
The first step is to install the Arduino IDE from the official website. Once installed, users should familiarize themselves with the interface, which includes tools like the code editor, serial monitor, and options to manage Arduino libraries.
In the IDE, sketches refer to Arduino programs. Each sketch contains two main functions: setup() and loop(). The setup() function runs once when the program starts, while the loop() function runs continuously until the board is turned off. These two functions form the core structure of any Arduino code.
Basic Coding Structures for IoT Projects
Arduino programming relies on simple but powerful coding structures. The basics include variables, functions, and control structures like if-else statements and loops.
- Variables: Used to store data that your program will process.
- Functions: Blocks of code designed to perform specific tasks, such as setup() and loop().
Basic input/output functions essential for IoT projects include pinMode(), digitalRead(), and digitalWrite(). For instance, to blink an LED, you set the pin mode and then use digitalWrite() to toggle the LED’s state.
void setup() {
  pinMode(13, OUTPUT); // Configure LED pin
}

void loop() {
  digitalWrite(13, HIGH); // Turn LED on
  delay(1000);            // Wait for a second
  digitalWrite(13, LOW);  // Turn LED off
  delay(1000);            // Wait for a second
}
This simple example illustrates how coding structures come together to control hardware.
Implementing Common IoT Features with Arduino
Arduino makes implementing common IoT features straightforward, allowing users to create projects like smart home systems and automated lighting.
One frequent feature is connectivity. Using the WiFi library, an Arduino can connect to the internet to send data to cloud services for logging or remote monitoring. Another key feature is sensor integration through libraries for temperature, humidity, and motion sensors.
To read data from a sensor, use the analogRead() function. For instance, to read temperature data:
void loop() {
  int sensorValue = analogRead(A0); // Read from sensor
  float voltage = sensorValue * (5.0 / 1023.0); // Convert to voltage
  Serial.println(voltage); // Output voltage to serial monitor
  delay(1000); // Wait and repeat
}
Libraries enhance the functionality of sketches. For example, the DHT library makes it easier to interact with temperature and humidity sensors. Real-time data can be sent to a serial monitor or a web dashboard for real-time monitoring.
By understanding these fundamentals, users can begin to create effective and innovative IoT projects using Arduino.
Frequently Asked Questions
Find answers to common questions related to getting started with Arduino IoT projects and specific hardware and software requirements. Each section provides quick insights to help beginners navigate the initial steps of their IoT journey.
What are the initial steps to get started with the Arduino IoT Cloud?
To start with the Arduino IoT Cloud, sign up for an account at Arduino’s official website. Then, configure your device by following the setup wizard, which guides you step by step. Connect your Arduino board to your computer, and install the necessary drivers.
How does an ESP8266 integrate with the Arduino IoT Cloud?
The ESP8266 module can be used with the Arduino IoT Cloud to provide Wi-Fi connectivity. First, ensure you have the necessary libraries installed in the Arduino IDE. Then, connect the ESP8266 to your Arduino board and configure it through the IoT Cloud interface.
Where can one find examples of projects using the Arduino IoT Cloud?
Examples of projects using the Arduino IoT Cloud can be found on the Arduino Project Hub and various educational platforms. These examples range from simple tutorials to advanced guides. You can also find video tutorials on sites like YouTube.
How to download and set up the Arduino Create Agent for IoT projects?
To download the Arduino Create Agent, go to the official Arduino website and find the download link under the Software section. After downloading, install the agent on your computer. Follow the prompts to complete the setup and connect your Arduino board.
What programming languages can be used to develop applications in Arduino IoT?
For developing IoT applications with Arduino, C++ is commonly used. The Arduino environment supports a simplified version of C++, making it easier for beginners to learn. Additionally, some projects may use JavaScript when interacting with web APIs.
What are the basic hardware requirements for creating an Arduino IoT project?
The basic hardware required includes an Arduino board (such as Arduino Uno or Nano), a compatible sensor or actuator, and connectivity modules like Wi-Fi or Bluetooth. A USB cable for connecting the board to your computer and a power source are also essential.