Uninstalling VALORANT from your computer requires a careful approach to make sure that the game and its anti-cheat software, Vanguard, are fully removed. The process involves more than just deleting the game itself – you’ll also need to remove all support files and programs that came with it. This guide provides step-by-step instructions to help you cleanly remove VALORANT and its components from your computer.
This guide offers a step-by-step walkthrough on how to successfully remove both Valorant and Vanguard from your Windows system, ensuring a clean and complete uninstallation. Whether you’re facing technical issues or simply taking a break from the game, this guide will help you smoothly uninstall Valorant and free up valuable storage space on your PC.
Uninstall Valorant: A Complete Guide for Windows
Step 1: Disable Riot Vanguard
First, you need to disable Riot Vanguard, the anti-cheat software that comes with Valorant. Locate the Vanguard icon in your system tray (usually in the bottom right corner of your screen). Right-click on it and select “Exit Vanguard.”
Step 2: Uninstall Riot Vanguard
Next, uninstall Riot Vanguard through the Windows Control Panel:
- Press the Windows key + I to open the Settings app.
- Go to “Apps” > “Apps & features.”
- Find “Riot Vanguard” in the list of apps and click “Uninstall.”
- Follow the on-screen prompts to complete the uninstallation.
Step 3: Uninstall Valorant
Now that Vanguard is gone, you can uninstall Valorant itself:
- Go back to the “Apps & features” section in the Settings app.
- Find “Valorant” in the list and click “Uninstall.”
- Follow the instructions to remove the game.
Step 4: Remove Leftover Files (Optional)
After uninstalling Valorant and Vanguard, some residual files may remain. You can manually delete them if you want to clean up your system:
- Open File Explorer (Windows key + E).
- Navigate to
C:\Program Files\and delete the “Riot Vanguard” folder if it still exists. - Navigate to
C:\Riot Games\and delete the “VALORANT” folder if it still exists.
Troubleshooting
If you encounter issues during uninstallation, try these tips:
- Close all Riot-related processes: Use Task Manager (Ctrl + Shift + Esc) to end any running Riot processes.
- Restart your computer: Sometimes a fresh start can help resolve software conflicts.
- Use a third-party uninstaller: Tools like Revo Uninstaller can help remove stubborn files and registry entries.
- Contact Riot support: If you’re still having trouble, Riot’s support team can assist you.
Key Takeaways
- Uninstalling VALORANT involves multiple steps, including Vanguard anti-cheat removal.
- Precise instructions are crucial for preventing future complications with your PC.
- Ensuring a clean uninstallation allows for a trouble-free reinstallation if desired.
Uninstalling Valorant and Vanguard
Uninstalling Valorant from your PC involves removing not only the game but also the associated anti-cheat system, Riot Vanguard. This ensures that all components are thoroughly removed to free up disk space and eliminate potential conflicts.
Preparing for Uninstallation
Before initiating the uninstallation process, ensure that both Valorant and Vanguard are not running. To do this, first close the Riot Client and then check the system tray and task manager to confirm that the processes have stopped. It’s crucial to disable Vanguard, Riot Games’ anti-cheat software, which may require a reboot.
Executing the Uninstall Process
To uninstall Valorant, access the Control Panel and navigate to Add or Remove Programs. In the list that appears, find and select Valorant, and choose to uninstall. To remove Vanguard, you may need to enter specific commands in the command prompt with administrative privileges such as:
sc delete vgcsc delete vgk
After entering these commands, reboot your PC to finalize the removal of the anti-cheat system.
Clearing Residual Files
Following uninstallation, check for leftover files in File Explorer to recover additional disk space. Navigate to the directory where Valorant was installed and delete any remaining files or folders. In addition, use the registry editor to clear entries related to Valorant and Vanguard with caution, as incorrect modifications can affect system stability.
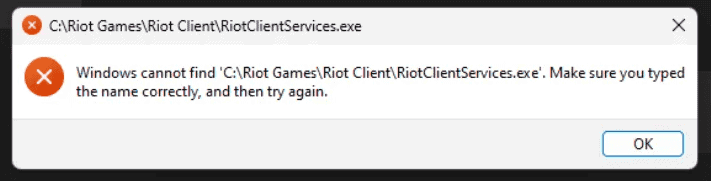
Handling Common Uninstallation Issues
If you encounter errors during the uninstall process, visit the Riot Support page for assistance. Common issues may involve not being able to uninstall due to the game still running, in which case double-check all Valorant and Vanguard processes are indeed terminated. If problems persist, Riot Support can provide specialized guidance to resolve issues tied to your Riot Account or PC-specific configurations.