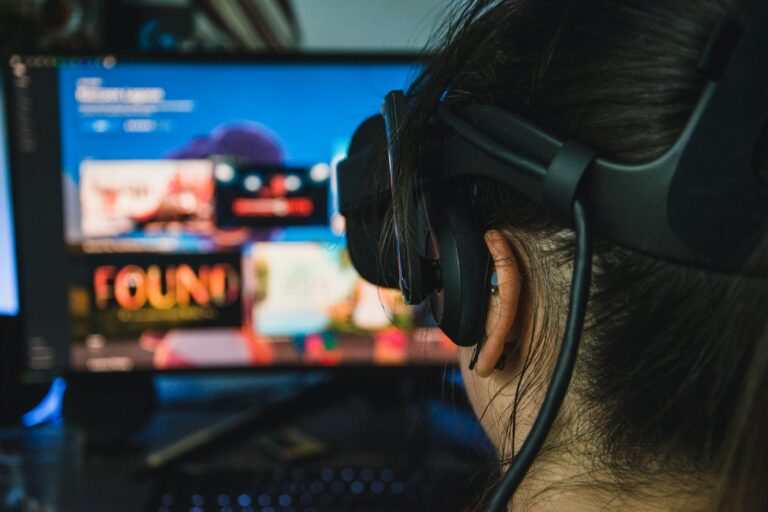
The Meta Quest 3 provides an immersive VR gaming experience with easy-to-use built-in screen recording features. Here’s how to capture your favorite moments.
Quest 3 Recording Guide
The Meta Quest 3 boasts built-in screen recording capabilities, making it a breeze to capture your VR adventures and share them with friends or on social media. Here’s how to make the most of this handy feature:
Native Recording: Quick and Convenient
- Launch the app or game you want to record: Immerse yourself in the virtual world and get ready for action.
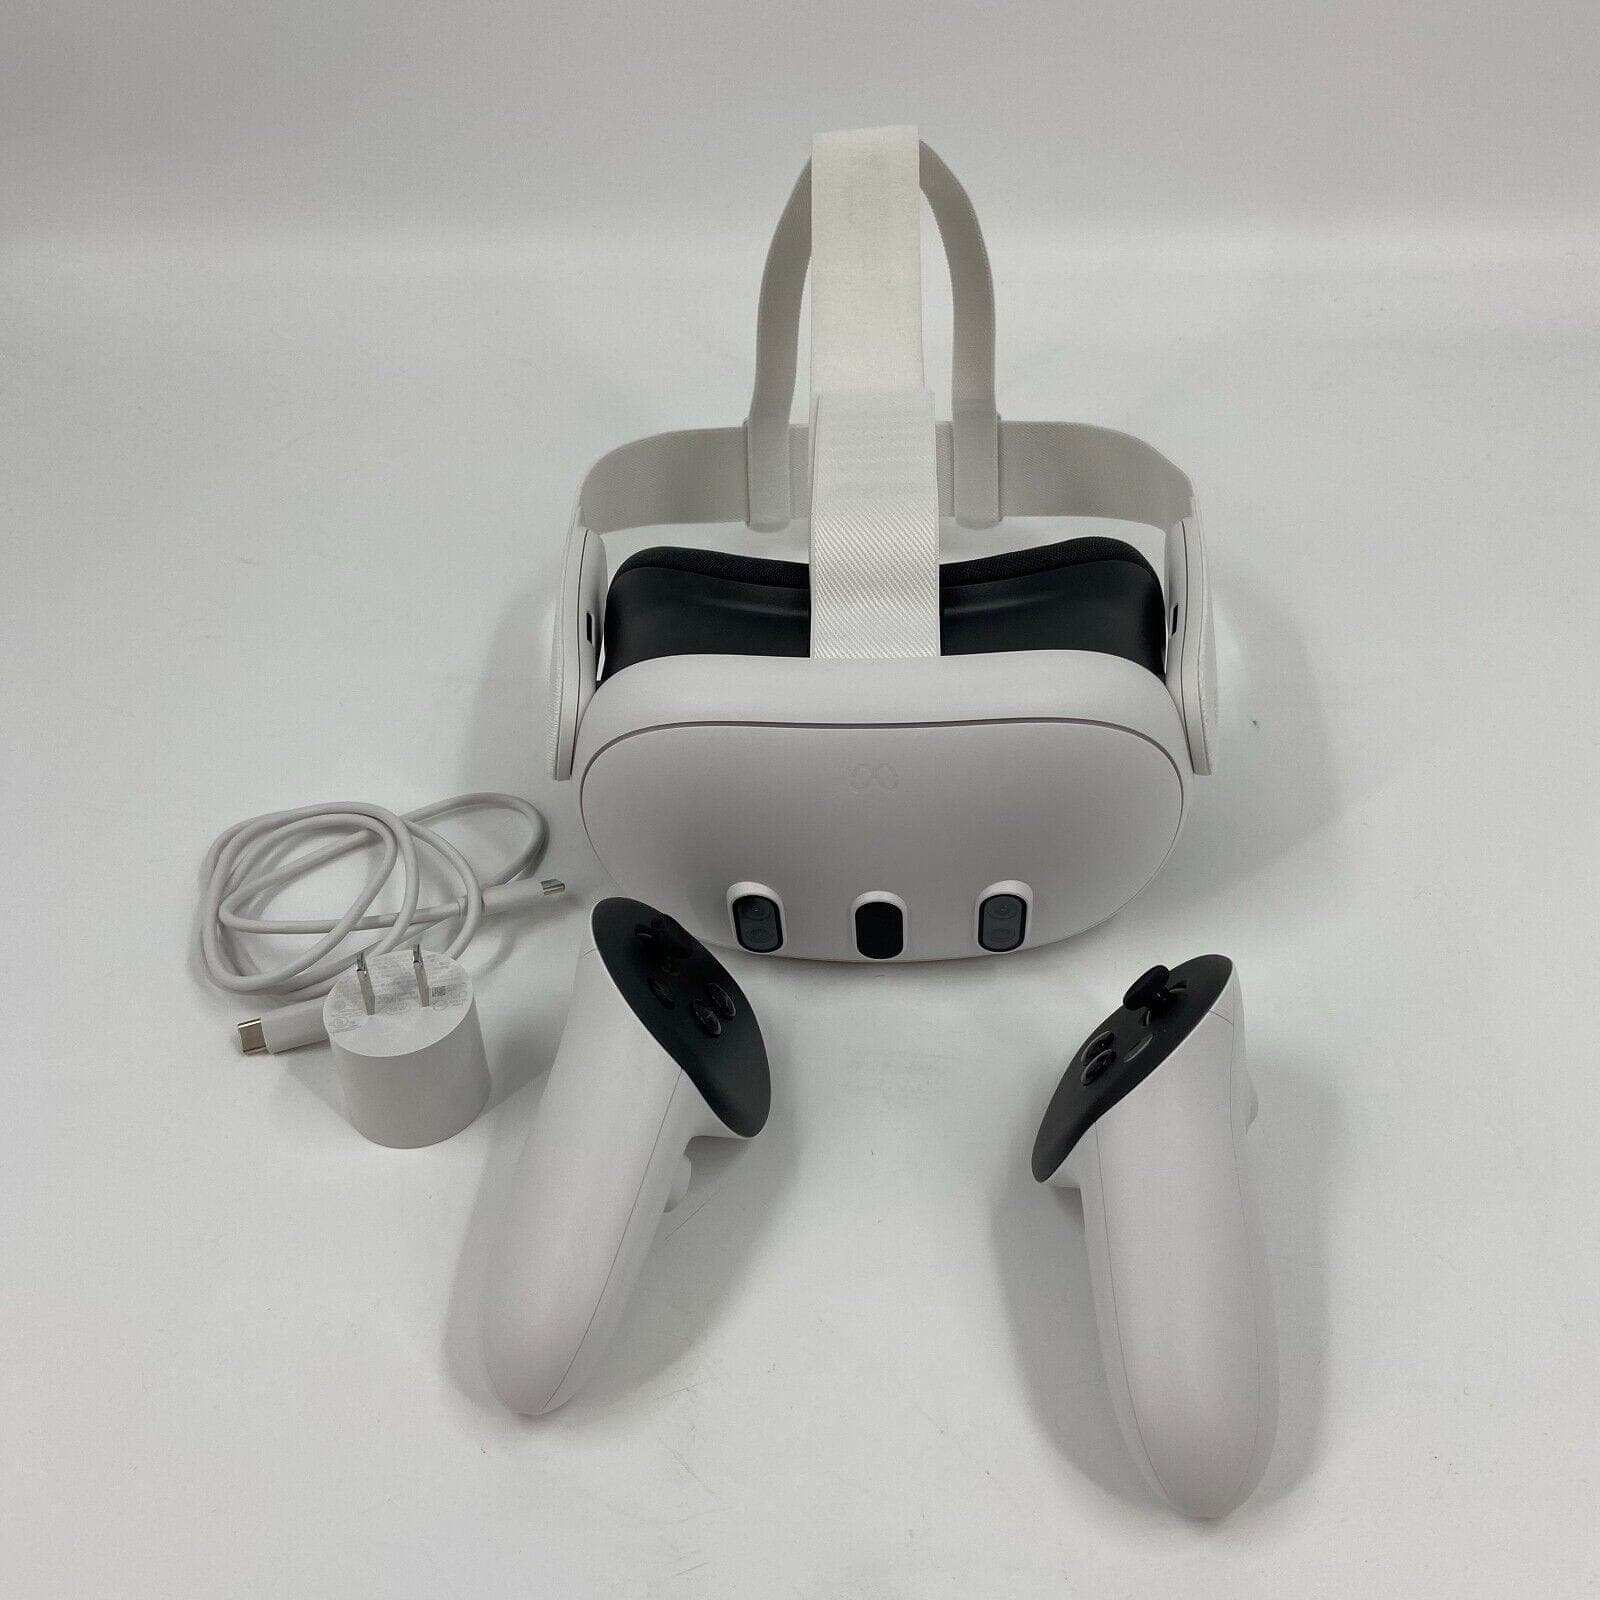
- Press and hold the record button: Locate the record button on your right Touch Plus controller (it’s the small button with a dot). Press and hold it for a few seconds.
- Start recording: A voice prompt will confirm that recording has started. You’ll also see a red dot in your headset’s view.
- Stop recording: Press and hold the record button again to stop recording. Another voice prompt will confirm the end of the recording.
Recording Options and Settings
You can customize your recording settings to suit your preferences:
- Resolution: Choose between 720p or 1080p resolution.
- Frame Rate: Select 30fps or 60fps for smoother footage.
- Microphone Audio: Toggle on or off to include your voice in the recording.
- Storage Location: Save recordings to your headset or a microSD card (if inserted).
Additional Recording Tips
- Experiment with angles: Move your head and controllers to capture dynamic footage.
- Narrate your experience: Add commentary to enhance your videos.
- Trim and edit: Use the Oculus mobile app or video editing software to refine your recordings.
- Share your creations: Upload your videos to social media or share them with friends directly from the Oculus app.
Alternative Recording Methods
If you need more advanced recording features, consider these options:
- Oculus Casting: Cast your Quest 3 screen to a PC and use third-party software like OBS Studio for more control over recording settings.
- External Capture Cards: Connect your Quest 3 to a capture card and PC for professional-grade recording.
Recording Settings Comparison
| Setting | Native Recording | Oculus Casting | External Capture Card |
|---|---|---|---|
| Resolution | 720p/1080p | Up to 1080p | Up to 4K or higher |
| Frame Rate | 30fps/60fps | Up to 60fps | Up to 120fps or higher |
| Audio | Microphone only | Microphone/PC | Multiple audio sources |
| Ease of Use | High | Moderate | Low |
No matter your skill level or desired output, the Quest 3 offers versatile options for capturing and sharing your VR experiences.
Recording Your Meta Quest 3 Adventures
How to Start Recording on Quest 3
In order to start recording your VR gameplay you’ll need to follow these steps:
- Press the button located on the right touch controller to view the main menu.
- Once there, navigate to the Sharing tab and select “Cast.”
- From there, select either “Record” or “Start Casting”
- Load your favorite VR game.
This will allow you to capture your gameplay and share it with others.
How to Find Your Recordings
When you’ve finished recording, your videos will be available in the “VR Recordings” section of your Meta Quest 3 headset. Here’s how to find them:
- Open the Files app on your Quest 3 headset.
- Select Device Storage.
- Navigate to the Oculus folder.
- You should find the Videos folder where your recordings are stored.
Ways to Share Your Recordings:
The Meta Quest 3 makes it easy to share your exciting gameplay moments with the world. Here are your options:
- Upload directly to social media: Platforms like Facebook and YouTube support VR video uploads.
- Transfer to your phone or computer: Connect your headset with a USB cable and transfer files for editing or sharing.
Troubleshooting Recording Issues
If you encounter issues while recording, here are some troubleshooting tips:
| Issue | Possible Solutions |
|---|---|
| Recording not starting | * Check your headset’s storage space. You might need to free up space for recordings. * Restart your Meta Quest 3 headset. |
| Low video quality | * Adjust recording settings in the Sharing tab of your headset’s menu. * Make sure your Wi-Fi signal is strong for casting recordings. |
Enjoy making amazing memories of your most thrilling Meta Quest 3 adventures!
Introduction to Screen Recording on Meta Quest 3
Screen recording on the Meta Quest 3 takes capturing unforgettable moments to the next level. Users can document their adventures within a wide array of video games and immersive experiences. With the push of a few buttons, engaging gameplay and personal commentary can be combined into a single video, perfect for sharing or revisiting at a later time.
Recording Gameplay: To begin recording, Quest 3 users need to press and hold the ‘O’ or ‘M’ button, depending on their controller layout. This simple command kick-starts the recording feature. It’s quick and doesn’t pull you out of the action for too long.
Items to Note:
- Audio Inclusion: Recording includes in-game sounds and when desired, the user’s own voice via the microphone, adding a personal touch to the recorded content.
- Saving Videos: Recorded footage is stored directly within the headset, making it easy to transfer to a computer or share online afterward.
- Privacy: Keep in mind, always respect privacy and ensure you have the right to share the content from the games or apps being recorded.
Screen recording on Meta Quest 3 is designed for ease of use, enabling gamers to effortlessly save their experiences and share their gaming prowess with a broader audience. While it’s a straightforward process, it also opens up an array of creative possibilities for capturing and sharing content from the virtual world. Whether you’re solving puzzles, battling foes, or exploring new worlds, your Quest 3 recordings can bring those moments into the spotlight for friends and communities to enjoy.
Setting Up Your Meta Quest 3 for Recording
Recording gameplay or experiences on your Meta Quest 3 requires some prep to ensure smooth operation. Here’s how to get your device ready for capturing those memorable moments.
Enabling Developer Mode
To start recording on your Meta Quest 3, Developer Mode needs to be enabled. This mode lets you access more advanced features and settings:
- Download the Meta Quest mobile app on your smartphone.
- Log in with your Oculus account.
- In the app, go to Devices.
- Select your Quest 3 headset.
- Find More Settings, and tap on Developer Mode.
- Turn on Developer Mode.
After enabling this, you might need to restart your headset.
Understanding ADB for Screen Recording
ADB, which stands for Android Debug Bridge, is a tool that allows for more technical control of your device. Using ADB for screen recording involves:
- Connecting your Meta Quest 3 to a computer via a USB cable.
- Running specific commands in a command prompt or terminal window to initiate recording.
Here’s an essential command for recording:
adb shell screenrecord /sdcard/video.mp4
This command starts recording your Meta Quest’s screen and saves the video as video.mp4 on the device.
Using SideQuest for Additional Features
SideQuest is a third-party platform that offers a variety of extra capabilities for your Meta Quest 3, including improved screen recording options. To use SideQuest:
- Install SideQuest on your computer.
- Connect your Meta Quest 3 to the computer.
- Use SideQuest’s user-friendly interface to manage and launch recording on your headset.
SideQuest also provides access to unofficial apps and games, which can enhance your Meta Quest 3 experience even further.
Starting and Managing Recordings
Screen recording on the Meta Quest 3 is streamlined for an effortless experience. Whether it’s to share gameplay or create a tutorial, managing recordings is just a few steps away.
How to Start Recording on Quest 3
To begin recording, he or she will need to press the button on the right touch controller to pull up the main menu. Once there, they’ll navigate to the Camera app. By selecting Record video, the Quest 3 will start capturing their virtual experience immediately.
Controlling Recordings With the Controller
During a recording session, the controller remains the pilot’s joystick. A quick tap halts the recording, while a longer press can trigger additional recording features, catering to on-the-fly adjustments without interrupting the gameplay or experience.
Accessing and Managing Your Recordings
After capturing their endeavors, users can find their recordings either on the headset itself or by connecting to the Meta Quest mobile app. There, they can download, edit, or share the videos with friends, making the management of the recorded content as simple as saying “action.”
Advanced Recording Settings
The Meta Quest 3 offers various options that allow for a customized screen recording experience. Here users can adjust the video quality, incorporate their own voice, and even record in 3D or 360-degrees to capture immersive content.
Adjusting Video Quality and Format
Users have the power to select their desired video quality in the Meta Quest 3’s settings. It’s possible to record up to 4k resolution at 60 frames per second, ensuring videos are crisp and fluid. Adjusting these settings can help tailor the end result for different platforms, whether it’s for sharing on social media or professional editing.
- Resolution: Choose up to 4k quality.
- Frame Rate: Select up to 60FPS for smooth footage.
Incorporating Microphone Audio
For those who desire to add commentary or ambient sounds, the Include mic audio setting is crucial. This feature enables the microphone audio to be captured during a screen recording session, allowing the user’s voice to be part of the final video output.
- To activate this feature:
- Navigate to the Camera app.
- Select the Record video option.
- Activate the Include mic audio toggle.
Recording 3D and 360-Degree Videos
Recording content in 3D or 360-degrees takes the immersive experience to a new level. When using this feature, the Meta Quest 3 captures spatial information so that viewers can enjoy a realistic sense of depth and space. This capability is especially appealing for content creators focused on delivering a virtual reality experience.
- 3D Video Recording: Ensures the capture includes depth data.
- 360 Video Recording: Allows for a full panoramic view, providing a comprehensive visual experience.
Sharing and Uploading Content
Sharing your virtual adventures from the Meta Quest 3 is all about having the right steps at your fingertips. With a couple of clicks, you can bring your VR experiences into the view of your friends and family on various platforms, including YouTube.
Syncing and Downloading Recordings to Other Devices
Syncing to your personal devices allows you to manage your VR recordings easily. After recording a video on your Meta Quest 3, you can download the file directly by connecting the headset to a computer using a USB cable. Make certain the Meta Quest 3 is powered on and select the device from your computer’s file system. Navigate to the Oculus folder, then find the VideoShots directory to access your recordings. From here, it’s just a drag-and-drop away to get your videos onto your PC or Mac.
Sharing Your VR Experiences on YouTube
To share your gameplay or VR experience on YouTube, first ensure your video is downloaded to a device where you can access YouTube’s upload feature. Before you upload, consider editing your video to enhance the viewing experience for your audience. Once satisfied, sign in to your YouTube account, click on the video camera icon with a “+” sign, and select “Upload Video.” Follow the prompts to choose your video file, fill in the details like the title and description, and then set the visibility of the video before clicking on “Publish” to make your VR adventures available for the world to see. It’s important to maintain a strong internet connection during this process to prevent any uploading issues.
Utilizing External Software for Screen Recording
External software can be leveraged to enhance the screen recording capabilities on the Meta Quest 3. These tools offer more flexibility and features that may not be present in the built-in recording function.
How to Use ADB Commands for Recording
Android Debug Bridge (ADB) is a versatile command line tool that allows for communication with an Android device. The Meta Quest 3, running on a version of Android, can use ADB to initiate screen recordings. Below is a simple outline on how to achieve this:
-
Install ADB on a computer.
-
Connect the Meta Quest 3 to the computer with a USB cable.
-
Enable USB debugging on the Quest 3 to allow the computer to interface with the device.
-
Open a command prompt or terminal and type the following command to start recording:
adb shell screenrecord /sdcard/video.mp4 -
Stop recording by pressing
Ctrl + Cin the command prompt or terminal.
This process generates a video file directly onto the device, which can then be transferred to the computer.
Using FFmpeg for Advanced Recording Options
FFmpeg is a powerful media tool that can be used for more sophisticated screen recording options, including various file formats, resolutions, and codecs. Here’s how you could use FFmpeg with the Meta Quest 3:
-
Install FFmpeg on a computer.
-
Enable USB debugging as with ADB to allow connections over USB.
-
Combine ADB commands with FFmpeg to capture the screen by entering the following commands into the command prompt or terminal:
adb exec-out screenrecord --output-format=h264 - | ffmpeg -i - video.mp4 -
Stop recording by closing the command or terminal window or pressing
Ctrl + C.
The command above captures the video feed and pipes it directly to FFmpeg, which then encodes it into an MP4 file on the computer. Users can customize the FFmpeg command to change the output resolution, bitrate, or file format to their liking.
Integrating the Mobile App for Enhanced Functionality
When using the Meta Quest 3, the accompanying mobile app significantly boosts the headset’s capabilities. To harness these features, users should link their headset with a smartphone using the app. This integration offers a few tricks that aren’t just cool but also quite useful.
For starters, sharing memorable moments from the virtual environment becomes a breeze. By connecting the Meta Quest app with your headset, you can easily record videos or take screenshots:
-
Open the Meta Quest app on your mobile device.
-
Wear the VR headset and access the main menu with the right touch controller.
-
Navigate to the ‘Camera’ app within the menu.
Here, users have options:
- Take a Photo: Snap a screenshot to capture still images of your virtual experience.
- Record Video: Start video recording to document dynamic gameplay or tours.
To make sure you grab audio along with your video, toggle the ‘Include mic audio‘ option before hitting ‘Start recording‘. This ensures your reactions and commentary get captured too!
After recording content, the app eases the process of transferring these files to your mobile device. With everything securely in your phone, sharing with friends or social media is just a few taps away. It’s a simple yet effective way to bridge your virtual adventures with the real world.
Best Practices for Screen Recording on Quest 3
Capturing your VR gameplay can be as smooth as the games themselves if you follow the best practices for screen recording on your Meta Quest 3 headset. High-quality video files that show off your gaming skills are just a few steps away.
Tips for Creating High-Quality Game Recordings
When setting out to record your favorite game on the Quest 3, achieving high-quality video should be your top priority. Here’s how one can make sure their recordings stand out:
- Camera Settings: Navigate to the ‘Camera’ app on your Quest 3 and select ‘Record video’ for the best in-game visuals. Make sure to check that you’re recording at the highest resolution available to ensure a sharp, clear video file.
- Audio Inclusion: For a complete sensory experience, activate the ‘Include mic audio’ option. This lets viewers not only see the action but also hear your reactions and commentary, making for a more immersive tutorial or gameplay video.
- Indicator Adjustment: A red indicator will notify you when recording is in progress. You can manage its presence through your headset’s ‘Settings’ to avoid it distracting your audience.
Maintaining Performance While Recording
Your Quest 3 can handle a lot, but recording takes its toll on performance. Keep these points in mind for an uninterrupted recording session:
- Optimize Settings: Before hitting ‘Start recording,’ ensure that other applications are closed to free up system resources. This maintains smooth gameplay and recording quality.
- Storage Management: Regularly transfer your video files to another device or cloud storage. This not only keeps your headset’s memory from filling up but also prevents potential lag or performance issues.
- Battery Life: Screen recording is battery-intensive. Start with a full charge, and consider using a power bank for longer sessions. This way you won’t be caught mid-game with a dead VR headset.
Frequently Asked Questions
Screen recording on the Meta Quest 3 is simple and accessible, allowing users to capture their virtual experiences directly from the device.
How can I record gameplay on the Meta Quest 3 for YouTube sharing?
To share gameplay on YouTube, first record your session by selecting the ‘Share’ button on your Meta Quest 3 menu and then choosing ‘Record Video.’ Once completed, transfer the video file to your computer and upload it to your YouTube channel.
What are the steps to capture screen content directly on the Meta Quest 3 device?
Capture screen content by pressing the ‘Oculus’ button on your right controller, accessing the navigation bar, and selecting the ‘Record’ option from the ‘Sharing’ section.
Is it possible to record gameplay on the Meta Quest 3 without the need for a PC?
Yes, gameplay can be recorded directly on the Meta Quest 3 without a PC by using the built-in screen recording function accessible through the device’s ‘Sharing’ menu.
How can I use my iPhone to record the screen of my Meta Quest 3?
Currently, the Meta Quest 3 does not support direct screen recording using an iPhone. Instead, you can record the gameplay on the headset and then transfer the file to your iPhone.
Can the Meta Quest 3 capture passthrough video, and how is it done?
Recording passthrough video is not a standard feature offered on the Meta Quest 3, so you can’t capture real-world footage through the headset’s cameras.
What method should be followed to record mixed reality videos using the Meta Quest 3?
Recording mixed reality videos typically requires additional software and possibly external cameras. The Meta Quest 3 doesn’t natively support mixed reality recording, but third-party solutions may be available.