Laptop fans play a crucial role in keeping your computer cool and functioning optimally. Over time, dust and debris can accumulate, causing the fan to work harder and potentially leading to overheating issues. Cleaning your laptop fan regularly can improve performance, extend the lifespan of your device, and reduce noise levels.
Cleaning a laptop fan is a straightforward process that can be done with or without opening the device. For a basic clean, you can use compressed air to blow out dust through the laptop’s vents. This method is quick and doesn’t require disassembly. For a more thorough cleaning, you may need to open the laptop and access the fan directly.
Before starting, gather the necessary tools such as compressed air, a soft brush, and a screwdriver if you plan to open the laptop. Always consult your laptop’s manual or manufacturer’s website for specific instructions, as the process can vary between models.
Laptop Overheating? A Guide to Cleaning Your Cooling Fan
A noisy or overheating laptop can be a sign of a dusty and clogged cooling fan. Dust buildup can obstruct airflow, reducing your laptop’s ability to cool itself effectively. This can lead to performance issues, unexpected shutdowns, and even potential hardware damage. Fortunately, cleaning your laptop fan is a relatively simple task that can significantly improve its performance and longevity.
Before You Begin: Gather Your Tools
You’ll need a few essential tools for this cleaning mission:
- Compressed Air: A can of compressed air is the primary tool for removing dust from your laptop fan.
- Screwdriver: You’ll need a small screwdriver to open your laptop’s back panel. The type of screwdriver will depend on your laptop model.
- Soft Cloth or Brush: A soft cloth or brush can be helpful for removing stubborn dust or debris.
- Optional: Vacuum Cleaner with a Brush Attachment: A vacuum cleaner can be used to suck up dust, but be careful not to touch any sensitive components inside your laptop.
Step-by-Step Cleaning Guide
- Power Off and Unplug: Completely shut down your laptop and unplug it from the power source.
- Open the Back Panel: Use the screwdriver to carefully remove the screws holding the back panel in place. Consult your laptop’s manual or online resources if you’re unsure how to access the fan.
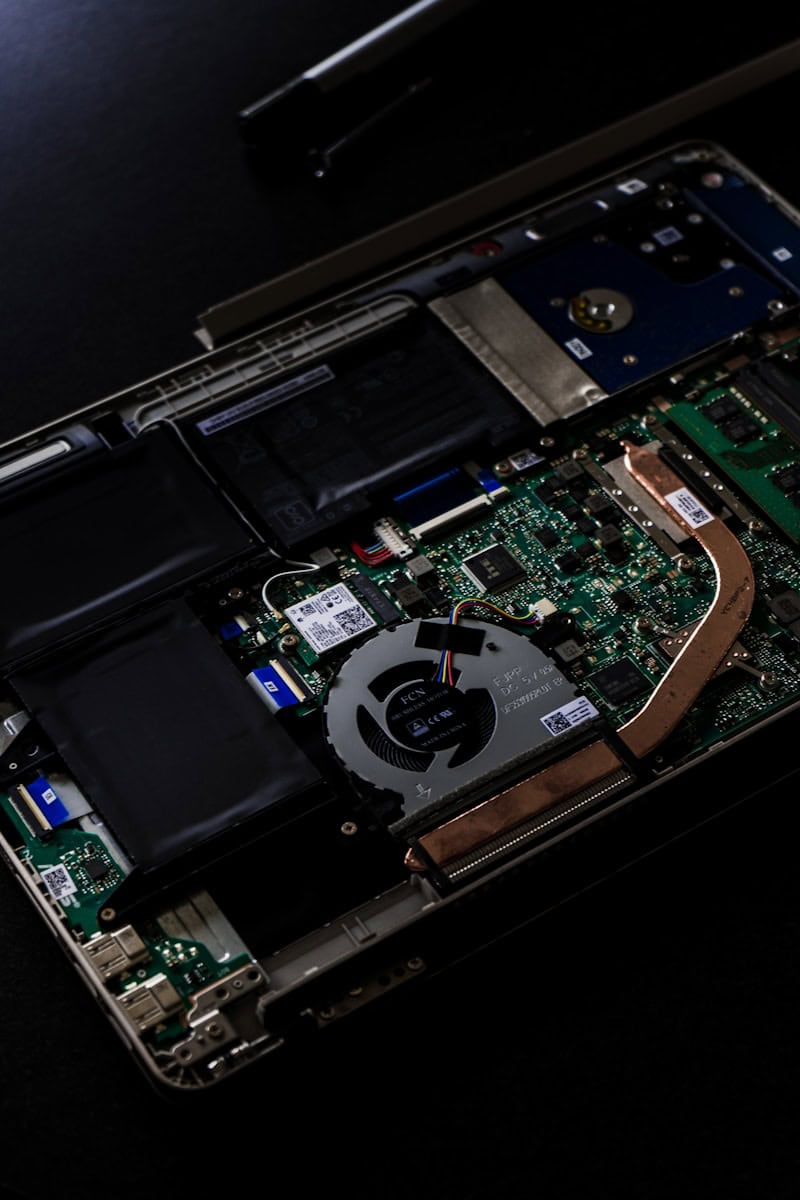
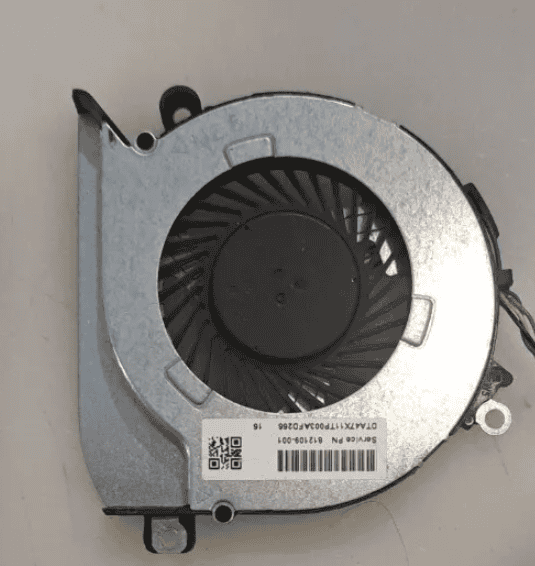
- Locate the Fan: Once the back panel is removed, locate the cooling fan. It’s usually a small, square or rectangular component with blades.
- Use Compressed Air: Hold the can of compressed air upright and use short bursts to blow air into the fan blades and surrounding areas. Rotate the fan blades manually to ensure you remove dust from all angles.
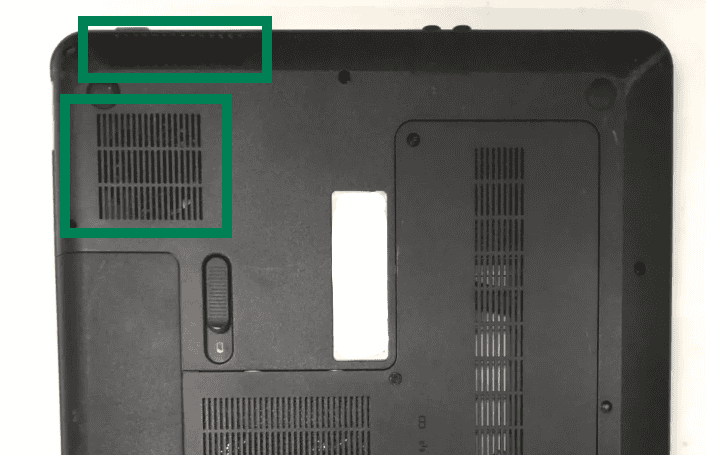
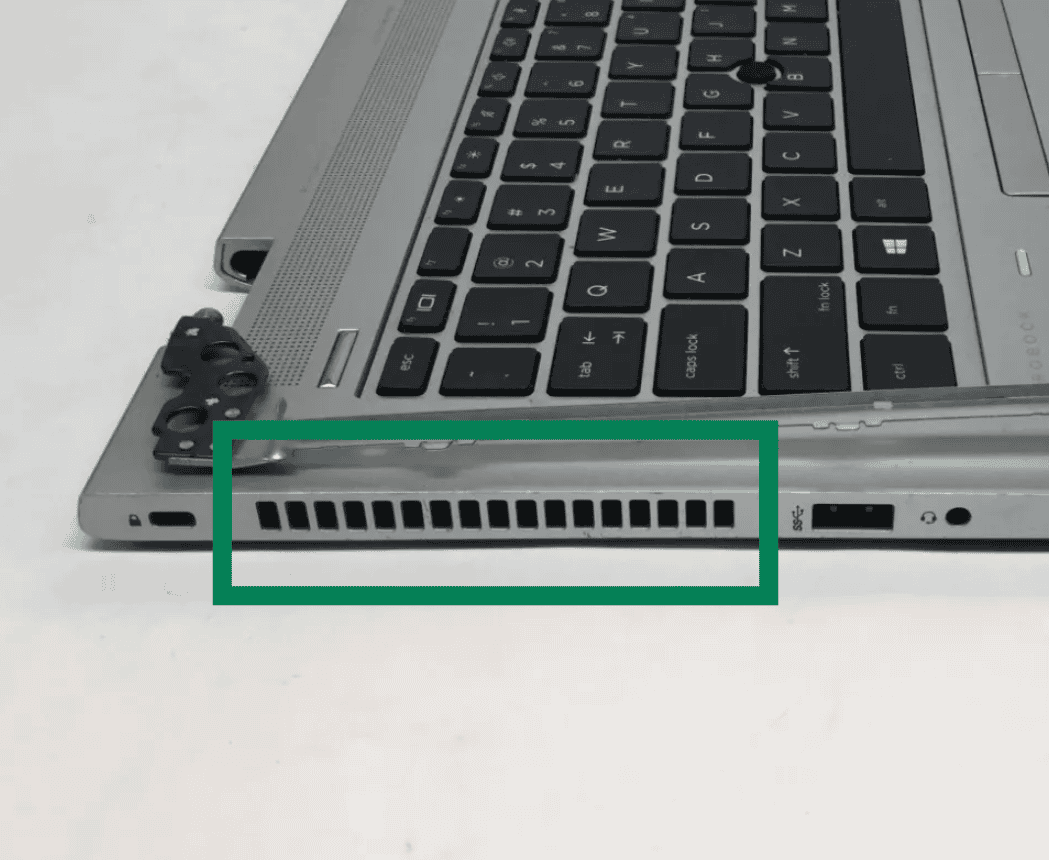
- Clean the Vents: Use compressed air to clean the air vents on your laptop’s case. These vents allow air to flow in and out of the laptop, so it’s important to keep them clear of dust.
- Optional: Use a Vacuum Cleaner: If you have a vacuum cleaner with a brush attachment, you can carefully use it to suck up any remaining dust. Be extra cautious not to touch any sensitive components inside your laptop.
- Reassemble Your Laptop: Once you’ve finished cleaning, carefully reattach the back panel and screws.
Important Tips and Precautions
- Avoid Using Excessive Force: Be gentle when cleaning the fan and surrounding components. Excessive force can damage delicate parts.
- Don’t Use Liquids or Harsh Chemicals: Never use liquids or harsh chemicals to clean your laptop fan. These can damage the fan or other internal components.
- Ground Yourself: Before touching any internal components, ground yourself to prevent static electricity damage. You can do this by touching a metal object or wearing an anti-static wrist strap.
- Consult Your Laptop’s Manual: If you’re unsure about accessing or cleaning your laptop fan, refer to your laptop’s manual or online support resources.

Beyond Cleaning: Other Cooling Tips
- Use a Cooling Pad: A cooling pad can help improve airflow and reduce your laptop’s temperature.
- Avoid Blocking Vents: Ensure that the air vents on your laptop are not blocked by objects or surfaces.
- Monitor CPU Temperature: Use a system monitoring tool to keep an eye on your CPU temperature. If it consistently runs hot, you might need to consider reapplying thermal paste or seeking professional assistance.
Cleaning Your Laptop Fan: A Quick Guide
| Step | Description |
|---|---|
| 1 | Power off and unplug your laptop. |
| 2 | Open the back panel. |
| 3 | Locate the cooling fan. |
| 4 | Use compressed air to clean the fan blades and vents. |
| 5 | Optional: Use a vacuum cleaner with a brush attachment. |
| 6 | Reassemble your laptop. |
Key Takeaways
- Regular fan cleaning improves laptop performance and longevity
- Basic cleaning can be done with compressed air without opening the laptop
- Thorough cleaning may require disassembly and direct access to the fan
Preparing for Cleaning
Before cleaning your laptop fan, it’s crucial to take safety measures and gather the right tools. This ensures a smooth and effective cleaning process without risking damage to your device.
Safety Precautions
Turn off your laptop and unplug it from any power source. Remove the battery if possible. This step prevents electrical shock and protects the internal components. Let the laptop cool down for at least 30 minutes if it’s been running. Heat can cause burns or damage to sensitive parts.
Work in a well-lit, clean area with a flat surface. This helps you see what you’re doing and keeps small parts from getting lost. Ground yourself by touching a metal object to discharge static electricity. Static can harm electronic components.
Gathering Necessary Tools
Collect the items you’ll need before starting. A can of compressed air is essential for blowing out dust without touching delicate parts. Get a small Phillips-head screwdriver if you plan to open the laptop.
A soft brush or unused toothbrush helps loosen stubborn dirt. Have a lint-free or microfiber cloth ready to wipe surfaces gently. Avoid using regular cloths that may leave fibers behind.
Isopropyl alcohol can clean tough spots, but use it sparingly. Consider getting an anti-static wrist strap for extra protection against static discharge. If you’re opening the laptop, prepare a container to hold small screws.
Frequently Asked Questions
Cleaning laptop fans is crucial for maintaining performance and preventing overheating. The following questions address common concerns about fan cleaning methods, safety precautions, and specific laptop models.
What is the recommended method to clean an HP laptop fan without disassembly?
Use compressed air to blow dust out of the vents. Hold the can upright and spray in short bursts. Avoid tilting the can or spraying continuously. Prop up the laptop to allow dust to fall out easily.
Are there any safe techniques to remove dust from laptop fans without opening the case?
Vacuum cleaners with brush attachments can help remove dust from external vents. Use low suction to avoid damaging internal components. A soft brush can also gently dislodge dust from visible areas.
How does one safely open a laptop to clean its fan components?
Power down and unplug the laptop. Remove the battery if possible. Consult the user manual for screw locations. Use the correct screwdriver size to avoid stripping. Work on a clean, static-free surface.
What precautions should be taken when cleaning a laptop fan using compressed air?
Keep the can upright to prevent liquid propellant from escaping. Spray in short bursts to avoid condensation. Hold fan blades steady to prevent overspinning. Work in a well-ventilated area.
Can cleaning a laptop fan improve its performance and reduce overheating?
Yes, clean fans run more efficiently. Dust-free fans move air better, cooling components more effectively. This can lead to improved performance and reduced risk of heat-related damage.
What are the steps for maintaining a clean fan in Lenovo laptops specifically?
Locate fan vents on the laptop’s bottom or sides. Use compressed air to blow out dust. For thorough cleaning, consult Lenovo’s service manual for safe disassembly steps. Clean the fan blades with a cotton swab dipped in rubbing alcohol.