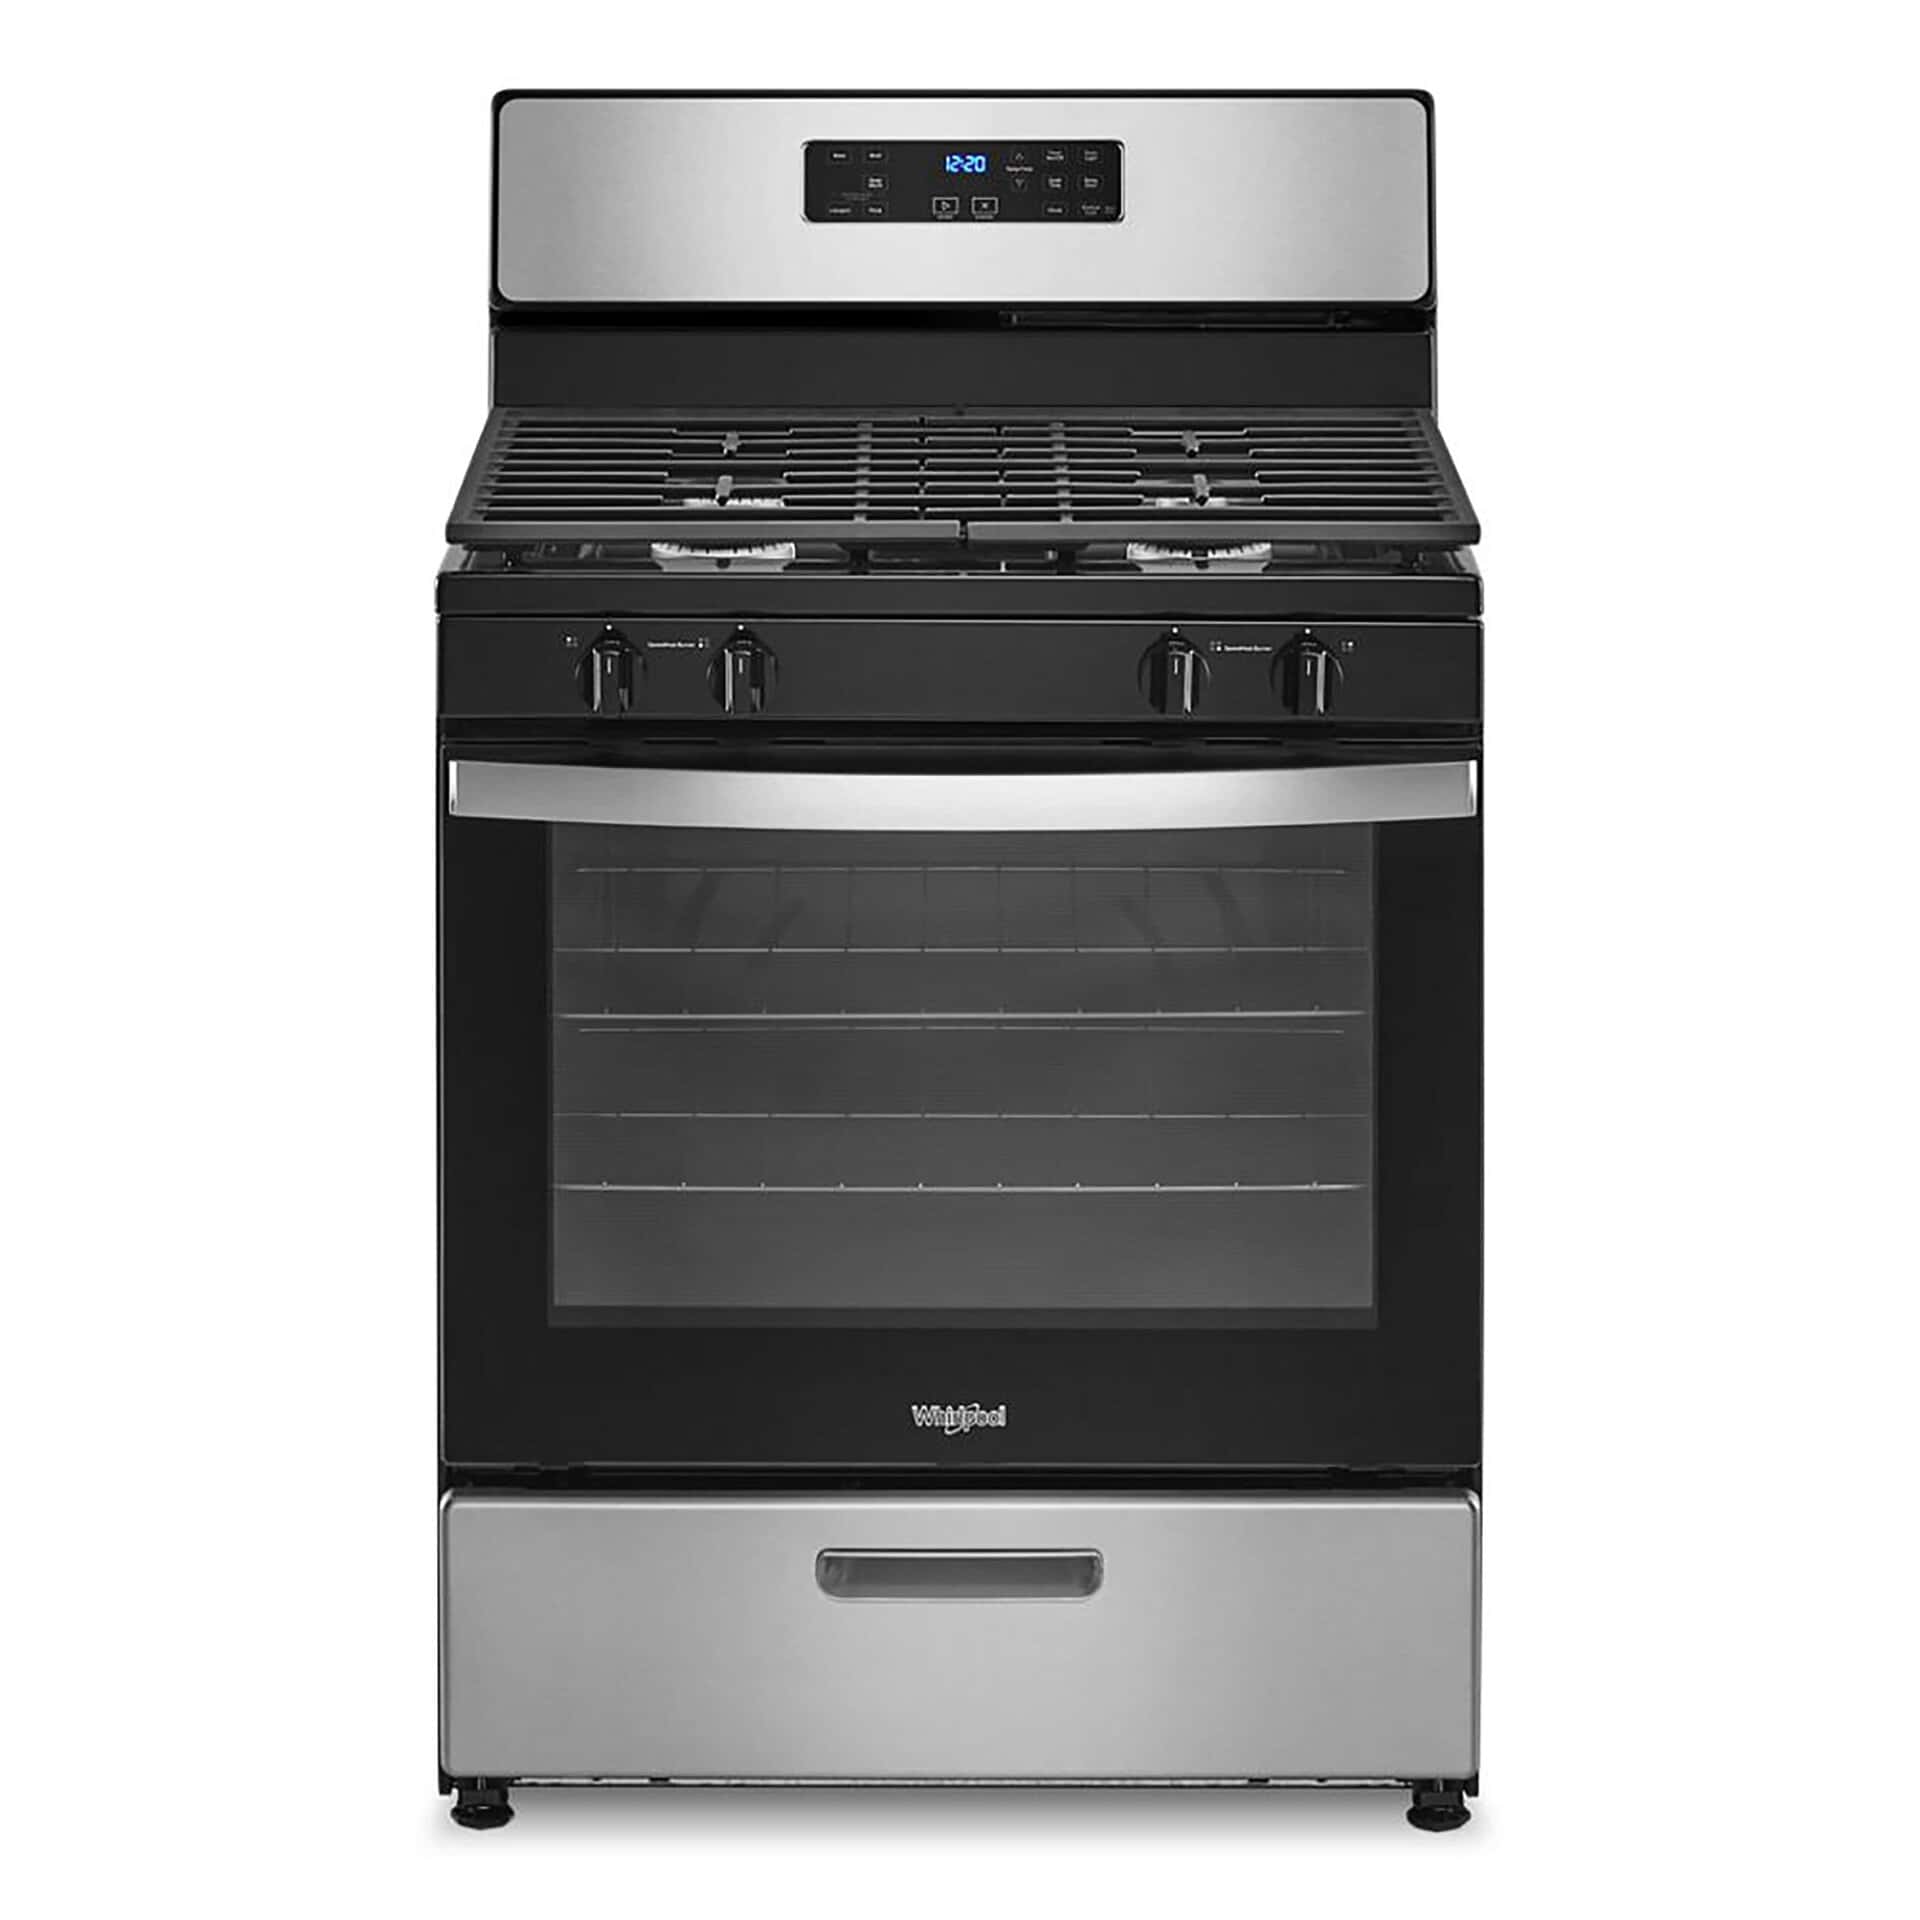
Installing a gas stove can enhance your cooking experience and add value to your kitchen. To hook up a gas stove safely, you need to connect the flexible gas line to the stove’s connector and the main gas pipe, using proper sealing techniques and tools. This process requires careful attention to detail and adherence to safety protocols.
Gas stove installation involves several key steps. These include preparing the area, ensuring proper ventilation, and having the right tools on hand. A level surface is crucial for the stove’s stability and even cooking performance. Before starting, it’s essential to turn off the main gas supply and clear the installation area of any obstacles.
Safety is paramount when dealing with gas appliances. After connecting the gas line, it’s crucial to test for leaks using a soapy water solution. If bubbles form, this indicates a leak that needs immediate attention. Professional assistance is recommended for those unfamiliar with gas line installations to ensure proper setup and compliance with local building codes.
Connecting Your Gas Stove: A Step-by-Step Guide for Safe and Successful Installation
Installing a gas stove can seem like a daunting task, but with the right knowledge and precautions, it can be a manageable DIY project. This guide provides a clear and concise walkthrough of the process, ensuring a safe and successful installation.
Safety First
Before you begin, prioritize safety:
- Turn Off Gas Supply: Locate the main gas shut-off valve for your home and turn it off.
- Ventilate the Area: Ensure proper ventilation in the work area to prevent gas buildup.
- Check for Leaks: After connecting the gas line, use a soapy water solution to check for leaks at the connections.
Tools and Materials
Gather the necessary tools and materials:
- New Gas Line Connector: Purchase a new flexible gas line connector that is specifically designed for gas ranges.
- Wrench: Use an adjustable wrench to tighten the connections.
- Pipe Thread Sealant: Use yellow Teflon tape or pipe thread sealant to ensure a gas-tight seal.
- Leak Detector: Consider using a gas leak detector for added safety.
Step-by-Step Installation
- Disconnect the Old Stove: If replacing an old stove, carefully disconnect the gas line and electrical supply (if applicable).
- Prepare the New Stove: Consult the manufacturer’s instructions for any specific preparation steps for your new stove.
- Connect the Gas Line: Apply pipe thread sealant to the threaded gas inlet on the stove. Connect the flexible gas line connector to the stove, ensuring a tight seal.
- Connect to the Gas Supply: Apply pipe thread sealant to the gas shut-off valve. Connect the other end of the flexible gas line connector to the shut-off valve, tightening it securely with a wrench.
- Check for Leaks: Turn the main gas supply back on. Apply a soapy water solution to the connections and look for any bubbles, which indicate a gas leak. If you find a leak, tighten the connection or reapply sealant as needed.
- Test the Stove: Turn on the stove burners to ensure they ignite properly and the flames are blue and even.
Additional Tips
- Consult Local Codes: Check local building codes and regulations for any specific requirements for gas stove installations.
- Consider Professional Help: If you’re unsure about any part of the process, don’t hesitate to contact a qualified plumber or gas appliance installer for assistance.
- Regular Maintenance: Periodically inspect the gas line and connections for any signs of wear or damage.
Understanding Gas Stove Safety
- Ventilation: Ensure adequate ventilation in your kitchen to prevent carbon monoxide buildup.
- Gas Leak Detection: Familiarize yourself with the smell of gas and know how to detect a gas leak.
- Carbon Monoxide Detectors: Install carbon monoxide detectors in your home to alert you to any dangerous levels of carbon monoxide.
Common Gas Stove Issues and Troubleshooting
Even with proper installation, gas stoves can sometimes experience issues. Here are some common problems and troubleshooting tips:
- Burner Won’t Light:
- Check if the gas supply is turned on.
- Clean the burner ports to remove any debris.
- Ensure the igniter is working correctly.
- Uneven Flames:
- Adjust the air shutter on the burner to regulate the air-to-gas mixture.
- Clean the burner ports to ensure proper gas flow.
- Gas Odor:
- If you smell gas, immediately turn off the gas supply and ventilate the area.
- Contact a qualified technician to inspect and repair any leaks.
| Problem | Solution |
|---|---|
| Burner won’t light | Check gas supply, clean burner ports, check igniter |
| Uneven flames | Adjust air shutter, clean burner ports |
| Gas odor | Turn off gas supply, ventilate, contact technician |
Key Takeaways
- Connect the gas line to the stove and main pipe using proper sealing techniques
- Prepare the area and ensure a level surface for stable stove placement
- Conduct thorough leak tests and consider professional help for safe installation
Preparing for Gas Stove Installation
Proper preparation is crucial for a safe and successful gas stove installation. This involves assessing your kitchen, gathering necessary tools, and understanding safety protocols.
Assessing Your Kitchen Setup
Check your kitchen’s layout and existing gas line. Measure the space for the new stove to ensure a proper fit. Locate the gas shutoff valve. It’s typically near the floor behind the stove or in a nearby cabinet.
Examine the current gas line connection. Note its size and type. This information helps when purchasing a new gas connector.
Verify that your kitchen has adequate ventilation. A range hood or exhaust fan is essential for a gas stove. If you don’t have one, plan to install it before the stove.
Consider the electrical outlet placement. Gas stoves still need electricity for igniters and controls.
Acquiring the Necessary Tools and Materials
Gather these essential tools:
- Adjustable wrench
- Pipe wrench
- Screwdriver set
- Gas leak detector
- Teflon tape
- Pipe thread compound
Purchase a gas connector kit from a hardware store or home center. Choose a kit that matches your gas line size and stove connection type.
Buy a gas leak detection solution or make your own with dish soap and water. This is crucial for safety checks after installation.
Get a level tool to ensure the stove sits evenly on the floor. Uneven placement can affect cooking performance and gas flow.
Understanding Safety Protocols
Safety is paramount when working with gas appliances. Always turn off the main gas supply before starting work. Open windows for ventilation during installation.
Learn how to detect gas leaks. The smell of rotten eggs is a clear sign. Use your gas leak detector on all connections after installation.
Know when to call a professional. If you’re unsure about any step, contact a licensed plumber or gas fitter. Some areas require certified professionals for gas appliance installations.
Check local building codes and regulations. Many jurisdictions require permits for gas line work. Failure to comply can result in fines or insurance issues.
The Installation Process
Installing a gas stove requires careful attention to safety and proper connections. The process involves connecting the gas line, securing the stove in place, and finalizing the setup for safe operation.
Connecting the Gas Line
Turn off the main gas supply before starting. Use an adjustable wrench to disconnect the old stove from the gas pipe. Clean the pipe threads and apply pipe thread sealant. Attach the flexible gas hose to the pipe, tightening it securely.
Connect the other end of the hose to the stove’s gas inlet. Use two wrenches to tighten the connection – one to hold the stove fitting and another to tighten the hose nut. This prevents damage to the stove’s gas valve.
Check all connections for leaks using a soap and water solution. If bubbles form, tighten the connections or replace faulty parts.
Securing the Stove
Position the stove in its designated space. Mark the floor where the anti-tip bracket will be installed. Move the stove and attach the bracket to the floor using appropriate screws.
Slide the stove back into place, ensuring it engages with the anti-tip bracket. This safety feature prevents the stove from tipping forward if weight is placed on an open oven door.
Level the stove by adjusting the legs. Use a carpenter’s level to check both front-to-back and side-to-side alignment. Proper leveling ensures even cooking and prevents pans from sliding.
Finalizing the Setup
Plug the stove’s power cord into a grounded electrical outlet. This powers the stove’s electronic features like the clock, oven light, and igniters.
Open the gas shut-off valve slowly to restore gas flow. Light the burners to purge air from the gas line. Check for proper flame color – it should be steady and blue.
Test all burners, the oven, and any additional features like the broiler. Ensure igniters are working correctly and that gas flow stops when burners are turned off.
Verify that the oven door seals properly and that all controls function as intended. Clean any fingerprints or marks from the stove’s surface. The installation is complete when all functions are operational and safety checks are passed.
Post-Installation Safety Checks
After hooking up a gas stove, safety checks are crucial. These tests ensure the installation is secure and free from potentially dangerous gas leaks.
Performing a Gas Leak Test
Start by turning off all burners and the oven. Apply a soap and water solution to all gas connections using a spray bottle or brush. Turn on the gas supply valve. Watch for bubbles forming at connection points. Bubbles indicate a leak.
If bubbles appear, turn off the gas immediately. Tighten connections and retest. For persistent leaks, call a professional.
Use a gas leak detector for an extra layer of safety. These devices can detect even small amounts of gas in the air.
Check the stove’s manual for model-specific testing procedures. Some newer stoves have built-in leak detection systems.
Repeat the leak test periodically, especially after moving the stove or disconnecting gas lines for any reason.
Frequently Asked Questions
Installing a gas stove involves several key steps and considerations. Safety, cost, and proper installation techniques are crucial factors to keep in mind.
What are the necessary steps for installing a gas stove?
The installation process includes shutting off the gas supply, connecting the gas line, and testing for leaks. Proper placement of the stove and ensuring adequate ventilation are also important steps.
Are professional services required for gas stove hookup?
Professional services are highly recommended for gas stove installation. Licensed plumbers or gas fitters have the expertise to ensure safe and proper connections.
How much does it cost to install a gas stove?
The cost of installing a gas stove varies widely. Prices range from $125 to $2,000, depending on existing infrastructure and the complexity of the installation.
What safety precautions should be taken when connecting a gas stove?
Safety precautions include using a gas leak detector, applying pipe thread sealant, and double-checking all connections. Proper ventilation and following manufacturer guidelines are essential.
How can a gas stove be connected without an existing gas line?
Connecting a gas stove without an existing line requires running a new gas line. This process is more complex and costly, typically ranging from $260 to $820.
What is the correct method for attaching a flexible hose to a gas cooker?
The correct method involves wrapping Teflon tape around threaded connections, hand-tightening the flexible hose, and using an adjustable wrench for final tightening. Following manufacturer torque specifications is crucial.

