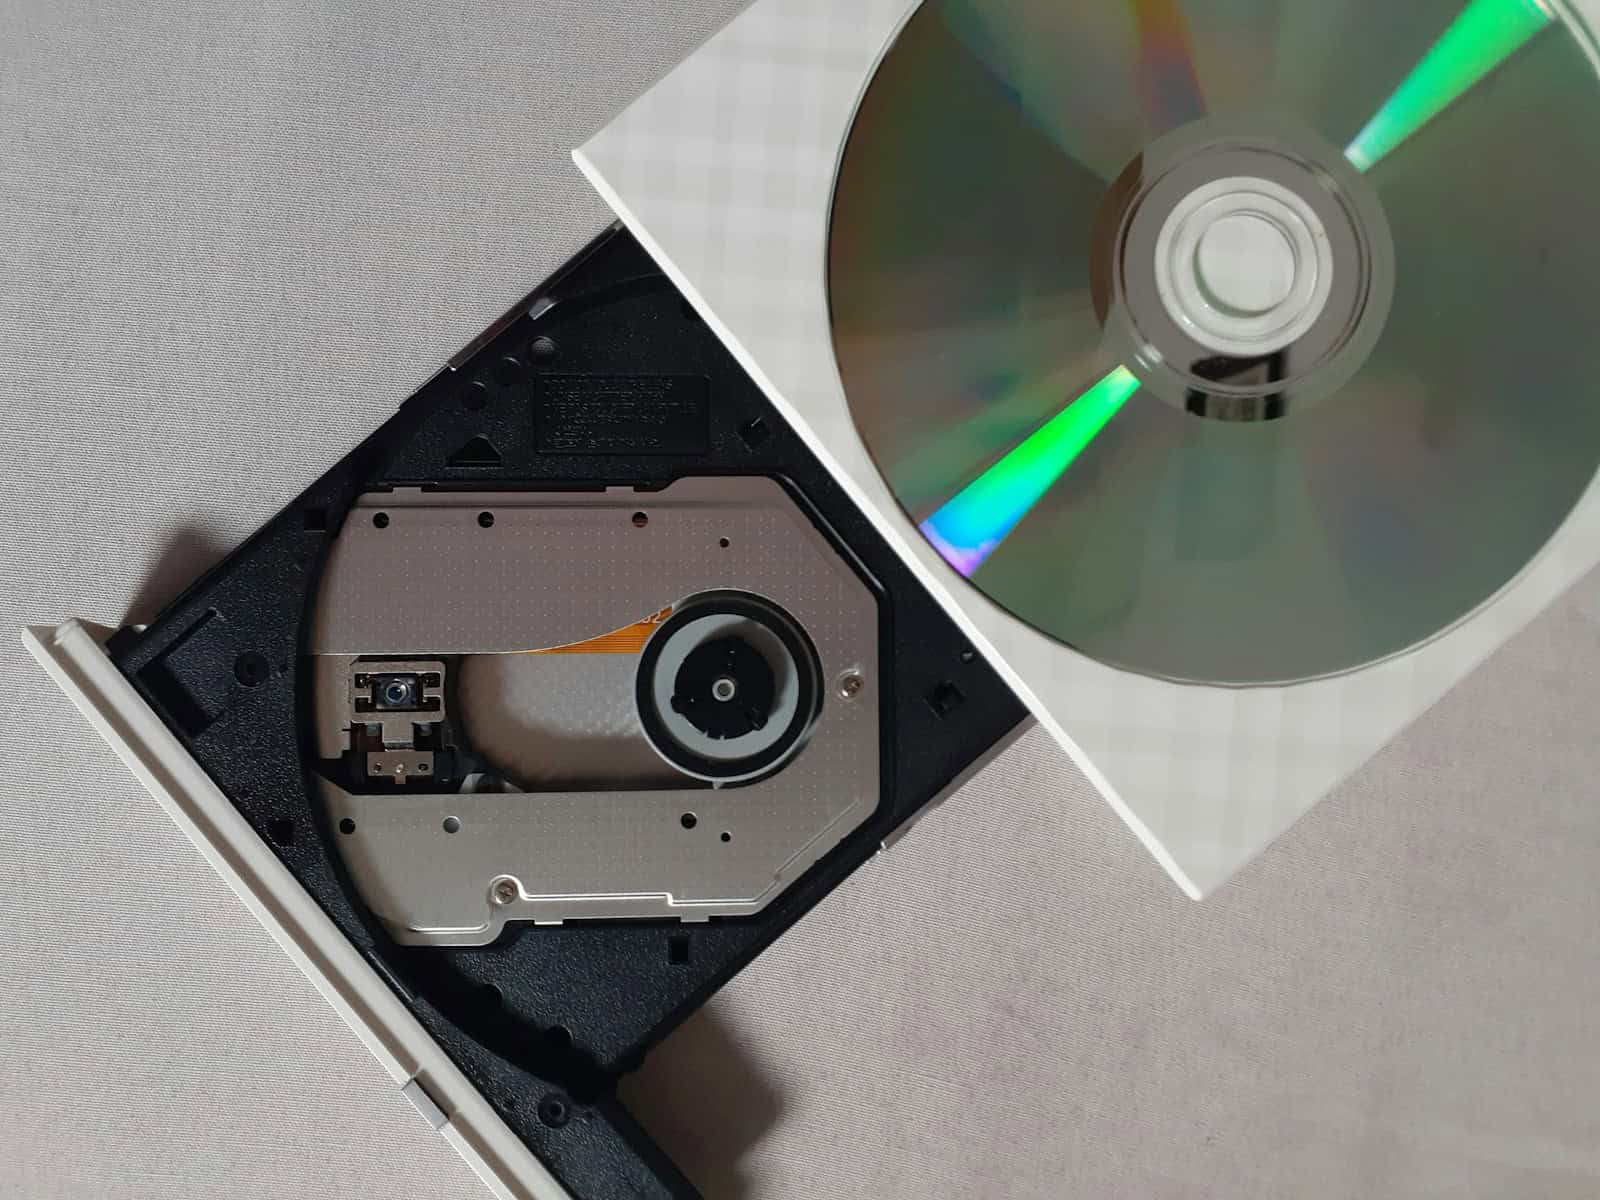
Burning DVDs from iMovie projects allows Mac users to preserve their video creations in a physical format. The process involves exporting the iMovie project as a video file, then using DVD authoring software to burn that file onto a blank DVD. This method ensures compatibility with standard DVD players, making it easy to share videos with friends and family who may not have access to digital platforms.
Mac users have several options for burning iMovie projects to DVD. Built-in tools like Burn offer a straightforward approach, while third-party applications provide additional features for more complex projects. The choice of software depends on the user’s specific needs and the level of customization desired for the final DVD.
Quality considerations play a crucial role in the DVD burning process. Users should select the appropriate resolution and file format when exporting from iMovie to maintain video quality. Additionally, choosing a reliable brand of blank DVDs can help ensure the longevity and playback consistency of the finished product.
iMovie makes it easy to create and edit videos on your Mac, but it no longer includes a built-in DVD burning feature. However, you can still export your iMovie project and burn it to a DVD using free or third-party tools.
This guide walks you through both Apple’s native method and third-party software options.
🧩 Step 1: Export Your iMovie Project
Before you can burn your video to a DVD, you must export it as a file.
- Open your iMovie project.
- Click the Share button (the square with an arrow) in the top-right corner.
- Choose File.
- In the dialog box:
- Title: Enter a name for your movie.
- Resolution: Choose 1080p for best quality.
- Quality: Select High or Best (ProRes) for professional results.
- Compress: Choose Better Quality.
- Click Next, choose a destination (like Desktop), and click Save.
Once exported, you’ll have a .mp4 or .mov video file ready for DVD burning.
🔥 Step 2: Choose a DVD Burning Method
You have two main ways to burn your iMovie video to a DVD:
Option 1: Use Free Software (“Burn” App)
If you want a free and simple solution, the Burn app is a popular choice.
✅ How to Use Burn:
- Download Burn from its official site: burn-osx.sourceforge.io.
- Install and open the app.
- Go to the Video tab.
- Drag your exported iMovie file into the window.
- Choose DVD-Video from the format options.
- Insert a blank DVD into your Mac’s drive (or an external USB DVD burner).
- Click Burn.
💡 Burn automatically converts your video to the correct DVD format (MPEG-2) before writing it to disc.
Option 2: Use Third-Party DVD Authoring Software
If you want menu templates, chapters, and higher-quality encoding, use one of these:
🟢 Blu-ray Master DVD Creator
- Import your iMovie file.
- Choose a menu template (customizable).
- Adjust parameters like aspect ratio, subtitles, and audio.
- Click Burn to create your DVD.
(Source: Blu-ray Master 2025 Guide)
🟣 DVDFab DVD Creator
- Supports both DVD and Blu-ray formats.
- Built-in editor for trimming and adding background music.
- Compatible with macOS Sonoma and Ventura.
(Source: DVDFab 2025 Guide)
🔵 AnyMP4 DVD Creator
- Drag and drop your iMovie file.
- Choose a menu, add subtitles, and preview before burning.
- Supports 4K downscaling to DVD format.
(Source: AnyMP4 Guide)
💽 Step 3: Test Your DVD
Once burning is complete:
- Eject the disc and test it in a standard DVD player or on your Mac using the DVD Player app.
- If the video doesn’t play, ensure you selected the DVD-Video format (not Data Disc).
⚙️ Optional: Create a Disc Image (.ISO)
If you plan to burn multiple copies:
- In Burn, go to File → Save Disc Image.
- This creates an
.isofile you can reuse later. - To burn again, open the ISO in Burn and click Burn.
🧠 Troubleshooting Tips
| Problem | Solution |
|---|---|
| DVD won’t play on a DVD player | Make sure you selected “DVD-Video” format |
| Video quality looks poor | Export from iMovie in 1080p or ProRes |
| Mac doesn’t have a DVD drive | Use an external USB SuperDrive |
| Burn fails midway | Try a different blank DVD (use DVD-R, not DVD+RW) |
🧩 Summary
| Step | Action |
|---|---|
| 1 | Export iMovie project as a high-quality file |
| 2 | Use Burn (free) or DVD authoring software |
| 3 | Choose DVD-Video format |
| 4 | Burn and test your disc |
✅ Final Tip
Apple no longer supports iDVD, but Burn, DVDFab, and Blu-ray Master DVD Creator are excellent modern alternatives that work on all current macOS versions.
Sources:
- Blu-ray Master: Burn iMovie to DVD (2025)
- wikiHow: Export iMovie Project to DVD
- DVDFab: How to Burn iMovie to DVD (2025)
- AnyMP4 DVD Creator Guide
Key Takeaways
- Exporting iMovie projects to video files is the first step in the DVD burning process
- DVD authoring software is essential for converting video files to DVD-compatible formats
- Selecting the right resolution and DVD quality impacts the final video playback
Preparing Your iMovie Project for DVD Burning
Proper preparation ensures your iMovie project transfers smoothly to DVD format. This process involves finalizing edits, exporting the project, and converting it to a compatible format.
Finalize Video Editing
Complete all edits in iMovie before exporting. Trim clips, add transitions, and adjust audio levels. Check the video resolution and ensure it matches the intended DVD quality (typically 720×480 for standard definition or 1920×1080 for HD). Review the entire project for any errors or inconsistencies.
Double-check titles, credits, and any text overlays for spelling and proper formatting. Ensure all media elements are in their final positions on the timeline. Make any last-minute color corrections or effects adjustments.
Export iMovie Project
Select “File” > “Share” > “File” in iMovie to begin the export process. Choose a high-quality video format like QuickTime or MP4. Set the resolution to match your DVD target (SD or HD).
Adjust export settings for optimal quality. Select a higher bitrate for better video quality, but be mindful of file size limitations. Name the exported file clearly and save it to an easily accessible location on your computer.
Conversion to Compatible Format
DVD players require specific video formats. Convert the exported iMovie project to MPEG-2 for standard DVDs or H.264 for Blu-ray discs. Use a reliable video converter tool for this step.
Set the frame rate to 29.97 fps for NTSC or 25 fps for PAL, depending on your region. Ensure the audio is in AC-3 format for compatibility. Check the final file size to make sure it fits on the DVD you plan to use.
Selecting the Right DVD Authoring Software
DVD authoring software is essential for creating professional-looking DVDs from iMovie projects. The right software offers features to customize menus, add chapters, and ensure compatibility with various DVD players.
iDVD and Alternatives
iDVD was Apple’s go-to DVD authoring program for Mac users. It offered simple menu creation and direct integration with iMovie. However, Apple discontinued iDVD in 2011. Users now need alternatives.
Burn is a popular free option for Mac. It supports DVD-Video format and can directly import iMovie projects. Burn’s interface is straightforward, allowing quick DVD creation.
For more advanced features, Toast Titanium is a paid option. It provides extensive customization for DVD menus and supports a wide range of video formats.
Understanding DVD Authoring Features
Key features to look for in DVD authoring software include:
- Menu creation tools
- Chapter markers
- Video format compatibility
- Burning capabilities
Menu creation lets users design custom DVD menus with buttons for navigation. Chapter markers allow viewers to skip to specific scenes easily.
Video format compatibility is crucial. Good software should support various formats, including those exported from iMovie.
Burning capabilities determine the types of discs the software can create. Look for software that supports both single and dual-layer DVDs for larger projects.
Some programs offer templates for quick menu design. Others allow more detailed customization for a unique look.
The Burning Process
Burning an iMovie project to DVD involves creating a new project, designing menus, and configuring burn settings. This process transforms your digital video into a physical disc for playback on DVD players.
Creating a New DVD Project
Open your DVD burning software and start a new project. Select “DVD-Video” as the output format to ensure compatibility with standard DVD players. Import your exported iMovie file into the project. Most software will automatically convert the file to MPEG-2 format if needed.
Organize your video content within the project. You can add multiple videos or create chapters for longer projects. This step helps viewers navigate your DVD easily.
Set the video standard to NTSC or PAL based on your region. NTSC is common in North America, while PAL is used in many European countries.
Designing the DVD Menu
Create an appealing main menu for your DVD. Many burning programs offer templates you can customize. Add a background image or video loop to make your menu visually interesting.
Include buttons for Play All, Scene Selection, and any special features. Arrange these elements logically on the screen for easy navigation.
Preview your menu design using the software’s real-time preview feature. This lets you test the menu’s functionality before burning.
Burning Settings and Preferences
Choose your DVD type: DVD-5 (4.7GB) for shorter projects or DVD-9 (8.5GB) for longer ones. Select the appropriate blank disc type (DVD-R, DVD+R) based on your burner’s compatibility.
Set the burn speed. A slower speed often results in fewer errors but takes longer. For important projects, consider using the lowest speed your burner offers.
Enable “Verify after burning” if available. This option checks the burned disc for errors after completion.
Insert a blank DVD into your computer’s DVD burner. Click “Burn” to start the process. The software will encode your video, create the DVD structure, and write it to the disc.
Completing the Process
The final steps in burning your iMovie project to DVD involve finalizing the disc and ensuring its quality. These crucial stages guarantee your DVD is ready for playback on various devices.
Finalizing Your DVD
Once you’ve added your iMovie project to the DVD burning software, select the DVD-Video format. This ensures compatibility with standard DVD players. Name your disc in the software interface. Click the burn button to start the process. The Mac will convert the iMovie file to the proper DVD format if needed.
During burning, your Mac may prompt you to insert a blank DVD. Use a compatible DVD-R or DVD+R disc. The burning process can take 30 minutes to an hour, depending on video length and computer speed. Keep your Mac plugged in and avoid using other programs during this time.
Running Quality Checks
After burning completes, eject the DVD and reinsert it to test playback. Open DVD Player on your Mac to verify the disc works correctly. Check that menus, chapters, and video quality appear as expected. Play through key sections of your video to ensure smooth playback.
If issues occur, try burning a new copy at a slower speed. This can improve reliability. Test the DVD on other devices like TVs or standalone players. This confirms broad compatibility. Store finished DVDs in protective cases away from heat and light to preserve quality long-term.
Frequently Asked Questions
Burning iMovie projects to DVDs involves several key steps and considerations. Users often have questions about compatibility, software options, and alternative methods.
What steps are required to burn an iMovie project onto a DVD?
Export the iMovie project as a video file. Open a DVD burning application. Import the exported video file. Choose DVD settings like menu design and video quality. Insert a blank DVD into the computer’s optical drive. Click the burn button to start the process.
Can you create a DVD from iMovie that will play on a standard DVD player?
Yes. Export the iMovie project in a DVD-compatible format like MPEG-2. Use DVD authoring software to create a DVD structure. Burn the project to a DVD-R or DVD+R disc. Most standard DVD players can read these discs.
What are the top-rated alternatives to iDVD for burning DVDs on a Mac?
Roxio Toast is a popular choice for its advanced features. Burn offers a simple interface for basic DVD creation. DVDFab DVD Creator provides professional-level tools. Adobe Encore, though discontinued, remains a capable option for existing users.
Is there a way to burn DVDs from iMovie on Mac without using iDVD?
Several third-party applications allow DVD burning without iDVD. Wondershare DVD Creator offers an intuitive interface. Cisdem DVD Burner provides fast conversion and burning. Mac users can also try the built-in Disk Utility for basic DVD burning tasks.
Are there any free DVD burning applications compatible with iMovie projects?
Burn is a free, open-source option for Mac users. HandBrake, combined with a DVD burning tool, can convert and prepare iMovie files for free. SimpleMovieX offers a free version with basic DVD creation capabilities.
How do you transfer a video from iMovie to a DVD using Cisdem DVD Burner?
Launch Cisdem DVD Burner and select “Create a DVD Video Disc.” Import the exported iMovie video file. Customize DVD menus and settings if desired. Insert a blank DVD. Click the “Burn” button to start the process.


