Getting your Nintendo Switch connected to a TV is easier than you might think. The process takes just a few simple steps that anyone can follow, even if you’re not tech-savvy. Connecting your Nintendo Switch to a TV requires the Switch dock, an HDMI cable, and a power adapter—all of which come included in the original Nintendo Switch package.
When you connect your Nintendo Switch to a TV, you unlock the full potential of your gaming experience with bigger visuals and the ability to play comfortably from your couch. Many games look stunning on a larger screen, and multiplayer sessions become more enjoyable when everyone can see the action clearly.
Whether you’ve just purchased your Switch or are setting it up in a new location, this guide will walk you through the process to ensure you’re gaming on the big screen in minutes. The step-by-step instructions are straightforward, and we’ll also cover some common issues you might encounter.
How to Connect a Nintendo Switch to a TV
What You Need:
- Nintendo Switch console
- Official Nintendo Switch Dock (included with the console)
- HDMI cable
- TV with an available HDMI input
- Power adapter for the Switch
Step 1: Set Up the Dock
- Place the Nintendo Switch Dock near your TV.
- Open the back cover of the dock.
- Connect the Nintendo Switch AC adapter to the dock’s AC adapter port and plug it into a power outlet.
- Connect one end of the HDMI cable to the dock’s HDMI OUT port.
- Connect the other end of the HDMI cable to an available HDMI port on your TV.
Step 2: Insert the Switch into the Dock
- Make sure the Nintendo Switch console is turned on.
- Slide the Nintendo Switch console into the dock, aligning the console’s USB-C port with the dock’s connector.
- The screen on the Switch will turn off once docked, and the TV should detect the input automatically.
Step 3: Select the Correct Input on Your TV
- Use your TV remote to select the HDMI input to which the Switch is connected.
- You should now see the Nintendo Switch home screen on your TV.
Step 4: Start Playing
- Use your Joy-Con controllers detached from the console or any compatible controller.
- Enjoy your games on the big screen!
Additional Tips:
- If the TV does not display the Switch screen, double-check all cable connections.
- Ensure the Switch is properly seated in the dock.
- The official dock is the safest and most reliable method to connect your Switch to a TV.
- Some alternative methods exist (like third-party docks or adapters), but the official dock is recommended to avoid damage and ensure compatibility.
For more detailed instructions, you can visit Nintendo’s official support page: How to Connect Nintendo Switch to a TV | Nintendo Support.
Key Takeaways
- The Nintendo Switch requires the dock, HDMI cable, and power adapter to connect to your TV.
- Ensure your TV is set to the correct HDMI input after connecting everything.
- If your Switch won’t display on the TV, try checking all connections or updating your console’s software.
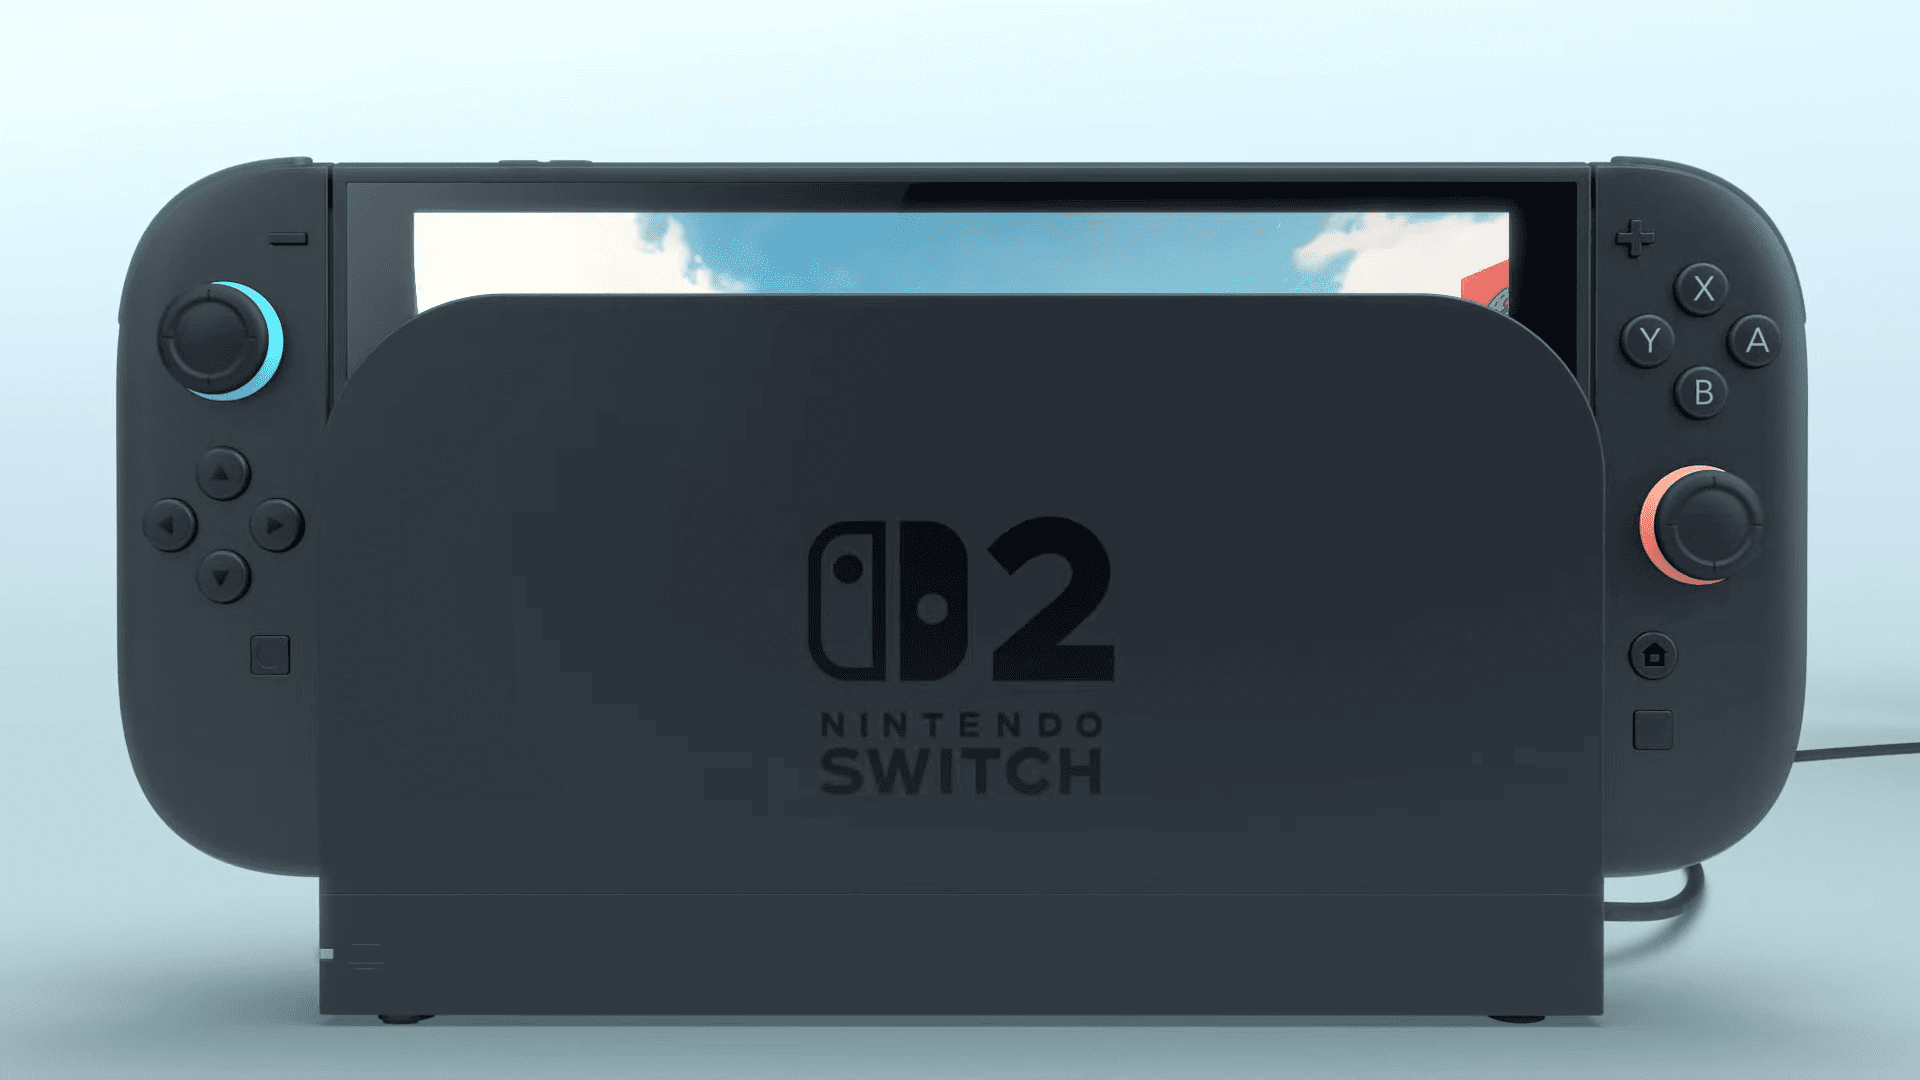
Understanding the Nintendo Switch and Its Components
Before connecting your Nintendo Switch to a TV, it’s helpful to understand the system’s design and parts. The Nintendo Switch offers flexibility with both handheld and TV play options through its unique components.
Overview of the Nintendo Switch
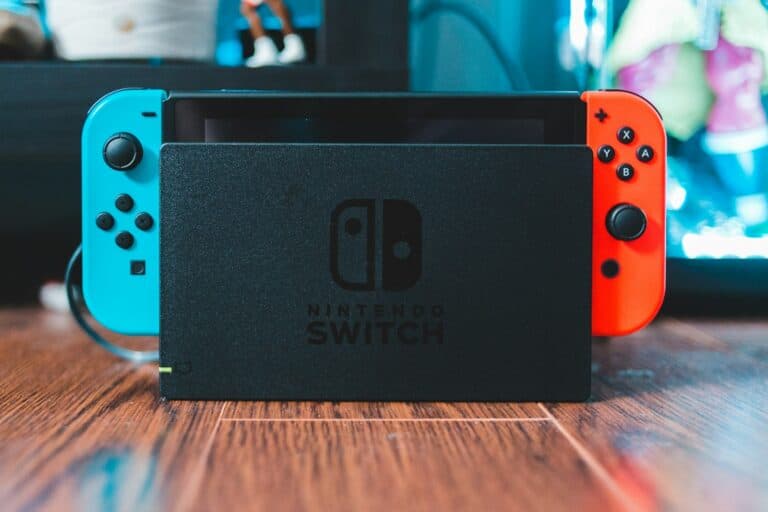
The Nintendo Switch is Nintendo’s hybrid gaming console that launched in March 2017. What makes this system special is its versatility – you can play it as a handheld device or connect it to your TV for a traditional console experience.
The main unit features a 6.2-inch touchscreen with a resolution of 1280×720 pixels. When docked and connected to a TV, games can display at up to 1080p resolution. This flexibility allows you to start a game at home on your TV and continue playing on the go.
The system runs on a custom NVIDIA Tegra processor and includes 32GB of internal storage, which you can expand using microSD cards.
Components of the Nintendo Switch
The Nintendo Switch comes with several essential components:
Console – The main tablet-like device with the screen where games run
Joy-Con Controllers – Two detachable controllers that can be used:
- Attached to the console for handheld play
- Separately in each hand
- Together as one controller
- Shared between two players
Nintendo Switch Dock (Model No. HAC-002) – The cradle that:
- Holds your Switch while playing on TV
- Connects to your television via HDMI
- Charges the console
AC Adapter – Powers the dock and charges the console directly
HDMI Cable – Connects the dock to your TV
The dock includes ports for the AC adapter, HDMI, and a USB port for accessories.
Differences Between Nintendo Switch and Nintendo Switch Lite
The Nintendo Switch Lite differs significantly from the standard Switch in several ways:
Design and Function:
- The Switch Lite is handheld-only and cannot connect to a TV
- It has built-in controls that cannot be removed
- It’s smaller, lighter, and more portable
Controls:
- No detachable Joy-Con controllers
- No HD rumble or IR Motion Camera features
- No kickstand for tabletop play
Price and Purpose:
The Switch Lite is about $100 cheaper than the standard model, designed specifically for on-the-go gaming.
If you want to connect your Nintendo Switch to a TV, you’ll need the standard Switch model, not the Lite version.
Preparing Your TV for Connection
Before connecting your Nintendo Switch to your TV, you need to make sure your television is ready to receive the signal properly. This involves locating the right ports on your TV and using the correct cable type.
Identifying HDMI Ports on Your TV
Most modern TVs have multiple HDMI ports located on the back or side panels. These ports are usually labeled as “HDMI” followed by a number (HDMI 1, HDMI 2, etc.). Look for these rectangular ports that are slightly wider at the top.
Take note of which HDMI port you plan to use, as you’ll need to select this input source on your TV later.
If you have a home theater system, you might need to connect your Switch through it first, then to your TV. In this case, locate the HDMI input on your receiver.
Remember that some older TVs might have limited HDMI ports or none at all. In these rare cases, you may need an adapter.
Understanding HDMI Cable Types
The Nintendo Switch dock uses a standard HDMI cable that comes included with your console. This cable is sufficient for normal gameplay at 1080p resolution.
There are different HDMI versions (1.4, 2.0, 2.1), but for the Switch, any standard HDMI cable will work perfectly fine. The cable included with your Switch is designed to connect directly to your TV’s HDMI port.
Make sure your HDMI cable isn’t damaged – check for bent connectors or frayed areas. A damaged cable can cause connection issues or poor image quality.
For longer distances between your Switch dock and TV, you might need a longer HDMI cable, which can be purchased separately without affecting performance.
Setting Up the Nintendo Switch for TV Connection
Properly connecting your Nintendo Switch to a TV requires a few simple steps using the dock and cables that came with your system. The dock serves as both a charging station and the bridge between your Switch and TV.
Assembling the Nintendo Switch Dock
First, place the Nintendo Switch dock in a stable location near your TV. Make sure it has enough space around it for proper ventilation.
Open the back cover of the dock by gently pulling it toward you. You’ll see three ports inside: an HDMI port, a USB port, and a power port.
Take the HDMI cable (included with your Switch) and connect one end to the bottom terminal of the dock labeled “HDMI OUT”.
Now connect the other end of the HDMI cable to an available HDMI port on your TV. Remember which HDMI input you used (HDMI 1, HDMI 2, etc.) as you’ll need to select this input on your TV later.
Close the back cover of the dock once the cable is securely connected.
Connecting the AC Adapter to Your Switch
Locate the Nintendo Switch AC adapter that came with your system. This power supply is essential for powering the dock and charging your console.
Connect the AC adapter to the power port on the back of the dock. The power port is usually located next to the HDMI port.
Plug the other end of the AC adapter into a wall outlet. You should see a green light on the dock’s front indicating that it’s receiving power.
Important: Always use the official Nintendo Switch AC adapter for best performance and to avoid damaging your system.
Now gently insert your Nintendo Switch console into the dock with the screen facing the front of the dock. The Switch will automatically switch to TV mode when properly docked.
Connecting the Nintendo Switch to Your TV
Setting up your Nintendo Switch to play on your TV is a straightforward process that requires just a few steps. The dock that comes with your Nintendo Switch is the key component that makes TV play possible.
Using the HDMI Cable to Connect the Dock to the TV
First, locate the back cover on your Nintendo Switch dock and open it by sliding it downward. You’ll see several ports inside.
Take the HDMI cable that came with your Nintendo Switch and plug one end into the bottom port of the dock labeled “HDMI OUT.”
Now connect the other end of the HDMI cable to an available HDMI input on your TV. Make note of which HDMI port you’re using (HDMI 1, HDMI 2, etc.) as you’ll need to select this input on your TV.
Don’t forget to connect the AC adapter to the top port in the dock and plug it into a power outlet. This powers both the dock and charges your Switch.
Close the back cover of the dock once all cables are connected.
Placing the Nintendo Switch into the Dock
Make sure your Nintendo Switch has some battery charge before docking. Remove the Joy-Con controllers if you prefer to use them wirelessly.
Position your Switch so the screen faces the same direction as the front of the dock. Gently slide it down into the dock until it connects with the USB-C connector at the bottom.
Your TV should automatically detect the signal. If it doesn’t, use your TV remote to select the correct HDMI input source you connected to earlier.
The Nintendo Switch screen will go dark when properly docked, and the game will appear on your TV within seconds. If this doesn’t happen, verify that all connections are secure and that you’ve selected the right input on your TV.
Configuring TV and Nintendo Switch Settings
Once your Nintendo Switch is properly connected to your TV, you’ll need to configure both devices for optimal gameplay. The right settings will ensure you enjoy smooth, high-quality visuals and sound.
Selecting the Correct HDMI Input on Your TV
After connecting your Nintendo Switch to the TV, you need to select the correct HDMI input. Turn on your TV and press the “Input” or “Source” button on your remote control.
Cycle through available inputs until you find the HDMI port number where you plugged in your Switch. Most TVs label these as “HDMI 1,” “HDMI 2,” etc.
If you don’t see the Nintendo Switch screen immediately, double-check:
- Your Switch is powered on
- The dock’s power cable is connected
- Your HDMI cable is firmly seated in both the dock and TV
- You’ve selected the matching HDMI port number
Some smart TVs may automatically detect and switch to the active HDMI input when you place your Switch in the dock.
Adjusting TV Mode on Nintendo Switch
Your Nintendo Switch automatically enters TV Mode when docked properly. If the display doesn’t appear, press the HOME button on your controller to wake the console.
For optimal display settings, navigate to System Settings > TV Output. Here you can adjust:
- TV Resolution: Select 1080p for HD TVs or 720p for older models
- RGB Range: Standard for most TVs, Full Range for high-end displays
- Screen Size Overscan: Adjust if your game appears cut off at the edges
The Nintendo Switch system also supports automatic HDMI-CEC, which lets your TV remote control basic Switch functions. Enable this feature in System Settings under TV Settings > Match TV Power State.
Troubleshooting Common Issues
When your Nintendo Switch won’t display on your TV, several common problems might be causing the issue. Most fixes involve checking connections or restarting devices properly.
Common HDMI Connection Problems
One of the most frequent issues is a faulty HDMI connection. First, ensure your HDMI cable is properly connected at both ends – both to the dock and your TV. Try unplugging and reconnecting firmly.
If that doesn’t work, try using a different HDMI port on your TV. Some TVs have ports that don’t support the Switch’s output format.
The HDMI cable itself might be damaged. Test with another HDMI cable if you have one available. Bent pins or frayed cables can prevent proper connection.
Check that you’ve selected the correct input source on your TV. Use your TV remote to cycle through inputs until you find the one connected to your Switch.
Make sure the Switch dock is properly powered. The AC adapter light should be on.
Dealing with Software Issues
Software problems can also prevent your Switch from displaying on TV. Try power cycling both devices – turn off your Switch completely by holding the power button for 3 seconds, then select “Power Options” and “Turn Off.”
For persistent issues, try resetting the AC adapter by disconnecting it from both ends for at least 30 seconds before reconnecting.
Check if your Switch works in handheld mode. If it does, the console itself is working correctly, pointing to a connection issue with the dock or TV.
Update your Switch’s software by going to System Settings > System > System Update. Outdated software can sometimes cause display problems.
Accessory and Enhanced Gameplay Options
Your Nintendo Switch experience can be greatly improved with proper controller setups and audio-visual integration. These enhancements make gameplay more immersive and comfortable when playing on your TV.
Connecting Wireless Controllers
The Nintendo Switch supports various wireless controller options beyond the included Joy-Con controllers. To connect additional controllers, press and hold the sync button (a small round button) on your controller until the lights start flashing.
Then navigate to the “Controllers” menu on your Switch home screen and select “Change Grip/Order.” The system will detect your controller automatically.
You can connect up to eight Joy-Con controllers to a single Switch. This is perfect for multiplayer games like Mario Kart or Super Smash Bros.
Pro Controller Connection:
- Turn on your Nintendo Switch
- Press and hold the sync button on the Pro Controller
- Select the controller from the pairing screen
- Wait for vibration confirmation
Remember to charge your wireless controllers regularly to avoid interruptions during gameplay sessions.
Exploring Home Theater Integration
Your Nintendo Switch dock can be integrated with home theater systems for enhanced audio experiences. Connect your Switch to an AV receiver using the HDMI cable before connecting to your TV.
This setup allows you to enjoy game audio through surround sound speakers. Many modern games feature directional audio that becomes more immersive through a proper home theater setup.
You can adjust audio settings in the Switch system menu. Navigate to System Settings > TV Output > TV Sound to choose between stereo, surround, or automatic detection.
Audio Enhancement Options:
- Connect to soundbars via HDMI ARC
- Use digital optical adapters for older systems
- Enable surround sound in both Switch and game settings
For the best experience, make sure your TV’s game mode is enabled to reduce input lag. This setting typically disables some video processing to prioritize response time over image enhancements.
Expanding Your Experience Beyond the TV
The Nintendo Switch offers flexibility beyond just TV play. You can connect it to various devices and enjoy your games in different settings with the right accessories and setup.
Switch Gameplay on Android Devices and Computers
To play Switch games on your Android device, you’ll need a compatible app like SwitchStream or similar third-party streaming software. These apps create a wireless connection between your Switch and your phone or tablet.
For computer connectivity, you’ll need a capture card like the Elgato HD60 S. Here’s how to set it up:
- Connect the HDMI output from your Switch dock to the capture card’s input
- Connect the capture card to your computer via USB
- Open streaming software (OBS Studio, XSplit, etc.)
- Select the capture card as your video source
This setup allows you to play on your computer monitor or even stream your gameplay to platforms like Twitch or YouTube. The video quality depends on your capture card’s capabilities, but most modern cards support 1080p at 60fps.
Connecting to Various Consumer Electronics
Your Nintendo Switch can connect to more than just standard TVs. You can connect it to projectors for big-screen gaming using the standard dock and HDMI cable.
For hotel TVs or displays with protected HDMI ports, consider a portable dock like the Genki Covert Dock. These compact alternatives provide the same functionality as the official dock but in a travel-friendly size.
Compatible Devices:
- Projectors
- Computer monitors
- Hotel room TVs
- Digital signage displays
- Modern arcade cabinets
When connecting to unusual displays, you may need to adjust the Switch’s display settings. Go to System Settings > TV Output > TV Resolution and select the appropriate option for your device.
For best results, always use high-quality HDMI cables and ensure your dock has proper ventilation no matter what device you connect to.
Frequently Asked Questions
Connecting your Nintendo Switch to a TV involves different methods depending on your console model and available equipment. Here are answers to common questions about setting up your system for the big screen.
What steps are involved in connecting a standard Nintendo Switch to a television using the official dock?
To connect your standard Nintendo Switch to a TV using the official dock, first open the back cover of the dock to access the ports.
Connect the Nintendo Switch AC adapter to the “AC ADAPTER” port on the dock and plug the other end into a wall outlet.
Next, connect one end of the HDMI cable to the “HDMI OUT” port on the dock and the other end to an available HDMI port on your TV.
Slide your Nintendo Switch into the dock with the screen facing the front of the dock. Your TV should now display the Nintendo Switch screen.
What is the procedure for connecting a Nintendo Switch directly to a television using an HDMI cable?
The Nintendo Switch cannot be connected directly to a TV with just an HDMI cable. The console requires the dock to output video to a television.
The dock contains the necessary hardware to convert the Switch’s portable display output to an HDMI signal that TVs can understand.
If you don’t have the official dock, you can purchase third-party dock adapters, but Nintendo recommends using official equipment to avoid potential damage to your console.
Is it possible to connect a Nintendo Switch OLED model to a television, and if so, how?
Yes, you can connect a Nintendo Switch OLED model to a TV using the same method as the standard Switch. The OLED model comes with its own redesigned dock.
The connection process is identical: connect the power adapter and HDMI cable to the dock, then place your OLED Switch into the dock.
The OLED dock features a new wired LAN port for improved online connection, but the TV connection process remains the same as the standard model.
Can the Nintendo Switch be connected to a television wirelessly, and what equipment is required?
The Nintendo Switch cannot natively connect to a TV wirelessly. It requires a physical HDMI connection through the dock.
Some third-party wireless HDMI transmitters exist that can send the HDMI signal wirelessly, but these aren’t officially supported by Nintendo and may introduce display lag.
For the best experience, using the wired HDMI connection through the official dock is recommended for latency-free gameplay.
How can one connect a Nintendo Switch to a Samsung TV specifically?
Connecting to a Samsung TV follows the same process as any other television. Hook up your HDMI and power supply to the dock, then connect the HDMI cable to an available HDMI port on your Samsung TV.
On your Samsung TV, use the input or source button on your remote to select the correct HDMI input where you connected your Switch.
Some newer Samsung TVs have a game mode setting that reduces input lag. You can enable this in your TV’s settings menu for a better gaming experience.
Are there methods to connect a Nintendo Switch Lite to a television, considering it does not have a dock?
The Nintendo Switch Lite cannot be connected to a TV. Unlike the standard Switch, the Lite model is designed exclusively for handheld play.
The Switch Lite lacks the necessary hardware to output video signals to the dock, so even if you purchased a separate dock, it would not work.
If you want to play on a TV, you’ll need to purchase a standard Nintendo Switch or OLED model instead of the Lite version.