If you have the ability to fix your own smartphone it can be both empowering and cost effective. With the right guides and tools, many people can handle common issues like a cracked screen or battery replacement. First, identify the problem and get the necessary parts and tools. Step-by-step instructions can help. Once you have everything you need, you can start the repair process. This often involves carefully taking the device apart, replacing or fixing parts, and putting it back together without causing more damage. You might find it useful to watch video tutorials or join forums for extra tips and troubleshooting advice. Fixing your own phone not only saves money but also helps reduce electronic waste and extends the life of the device.
Tackling Phone Repairs at Home: What to Know
Fixing your own smartphone can save you money and hassle, and with the right tools and know-how, many common issues can be resolved at home. Here are some essential tips for a successful DIY phone repair experience
Before You Start
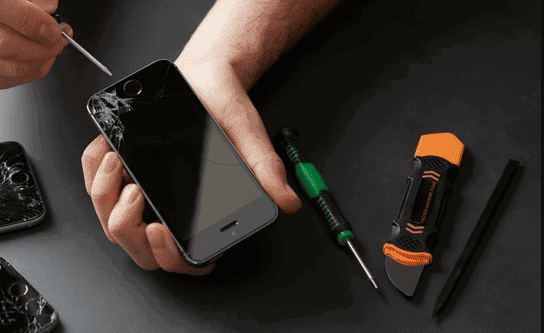
- Gather Tools: Get yourself a basic phone repair toolkit. It typically includes miniature screwdrivers, a suction cup, prying tools, tweezers, and a heating pad or hairdryer (for loosening adhesive).
- Research and Identify the Issue: Watch videos, read tutorials specific to your phone model, and ensure you correctly understand the problem before starting.
- Purchase Necessary Parts: Find reliable online suppliers for replacement parts (screens, batteries, charging ports, etc.).
Common Phone Repairs You Can Do Yourself
- Screen Replacement: Often, cracks or broken screens are the main reason for repair. Screen replacement kits exist for most popular phone models.
- Battery Replacement: Batteries degrade over time. Replace your phone’s old battery to restore performance.
- Charging Port Repair: Faulty charging ports can be surprisingly simple to replace with patience.
- Software Troubleshooting: Explore device settings to solve issues with sound, connectivity, or system performance.
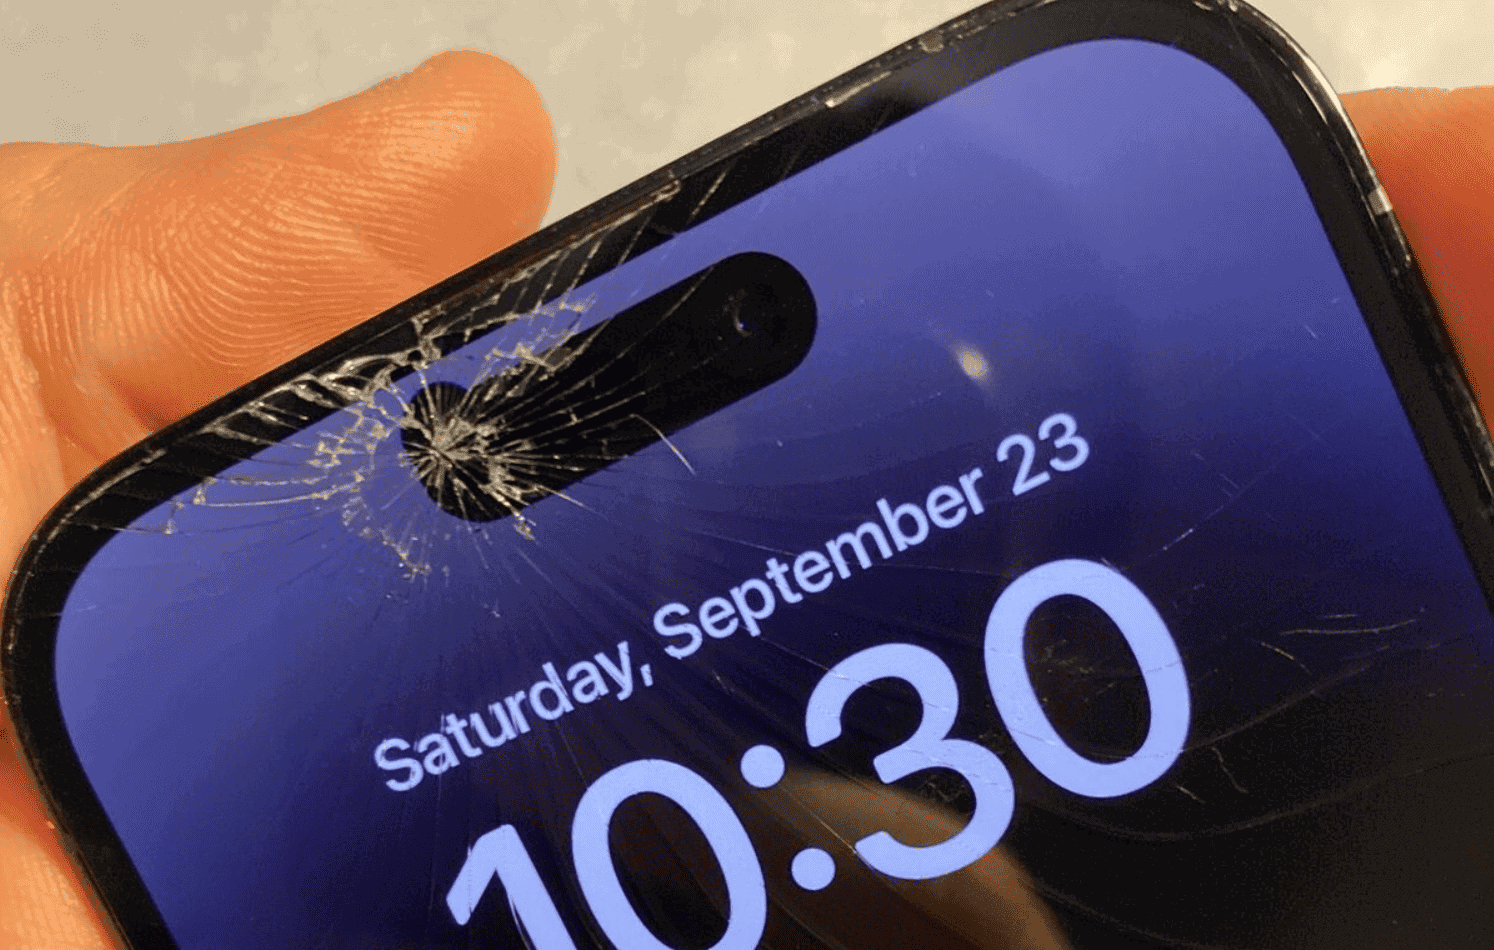
Table: Difficulty of Common Phone Repairs
| Repair | Difficulty | Notes |
|---|---|---|
| Screen | Medium | Requires patience and following precise steps |
| Battery | Easy | Often requires minimal disassembly |
| Charging Port | Medium | May involve soldering or tiny components |
| Software Issues | Easy | May need research and online guides |
Important Considerations
- Warranty: DIY repairs may void your phone’s warranty.
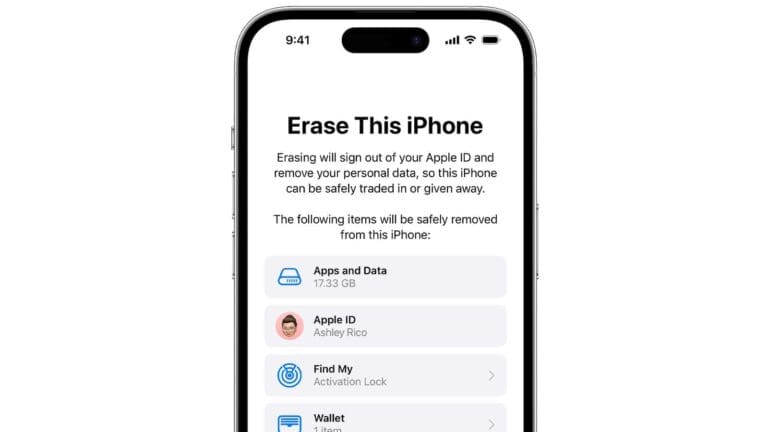
- Backup Data: Always back up important data before serious repairs.
- Limitations: Not all repairs are suitable for beginners. Start with simpler fixes if you’re unsure. Seek professional help for complex problems.
Advanced DIY Phone Repair Tips
Expanding Your Repair Skills
As you gain confidence with basic phone repairs, you can tackle more advanced tasks. Consider these areas for further exploration:
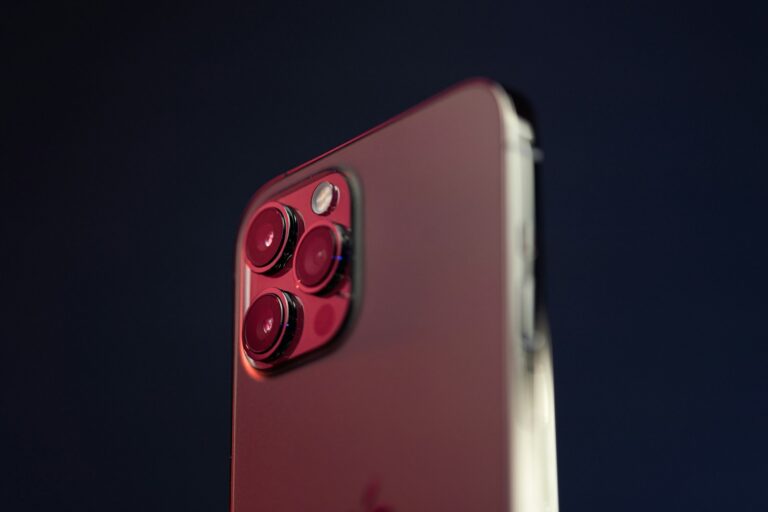
- Camera Repairs: Replace a scratched or cracked camera lens, or even try fixing a faulty camera sensor.
- Water Damage Fixes: While challenging, learn to disassemble and dry out your phone after water exposure.
- Motherboard Repairs: This requires expertise and specialized tools, but can save you from replacing your entire phone.
- Data Recovery: Explore techniques to recover lost data if your phone’s storage is damaged.
Pro Tips for DIY Success
- Organize and Document: Take photos and notes as you disassemble your phone, making reassembly much easier.
- Use Proper Lighting: Work in a well-lit area to clearly see small parts and avoid mistakes.
- Clean Components: Gently clean parts with isopropyl alcohol to ensure optimal performance.
- Patience is Key: Don’t rush! Take breaks if needed and avoid forcing anything.
Troubleshooting Complex Issues
If you encounter challenges, here’s what to do:
| Issue | Possible Solutions |
|---|---|
| Phone won’t turn on. | Check battery connection, try a different charging cable, or let it charge for a while. |
| Touchscreen is unresponsive. | Restart the phone, clean the screen, or check for loose connections. |
| Phone is overheating. | Close background apps, remove the case, or let it cool down. |
| Strange noises or vibrations. | Check for loose parts or internal damage. |
Remember:
- DIY repair requires patience and practice.
- Not all repairs are suitable for everyone; be honest about your skill level.
- Always prioritize safety and take precautions against electrical shock or damage to your phone.
- Enjoy the satisfaction and cost savings of fixing your own device!
With dedication and a little effort, you can become a proficient DIY phone repair enthusiast, tackling a variety of issues and extending the life of your valuable device.
Key Takeaways
- DIY phone repair is a practical skill that saves money and increases a device’s lifespan.
- Proper identification of issues and acquiring correct parts and tools are initial key steps.
- Step-by-step guides aid in completing repairs without the need for professional services.
Getting Started with DIY Phone Repair
Embarking on DIY phone repair can be rewarding, saving time and money. This section will equip you with the knowledge to begin your repair journey safely and effectively.
Required Tools and Materials
To repair your phone, you’ll need specific tools and materials. A basic tool kit should include:
- Screwdrivers (varied types and sizes)
- Spudgers and pry tools
- Suction cups
- Tweezers
- A heat gun or hairdryer to loosen adhesive
- Replacement parts (e.g., screen, battery)
Always verify compatibility between tools and your phone model.
Understanding Your Device
Research your phone’s design and layout before starting. For iPhones, Apple’s settings provide information, while for Android devices, manufacturers typically offer resources. Familiarizing yourself with the internal structure helps in identifying parts and navigating disassembly.
Safety Precautions
Static electricity can harm phone components. Use an anti-static wrist strap or mat. Always work in a clean, organized space to avoid losing screws or small parts. Disconnect the battery before beginning to prevent shorts.
Finding the Right Guides
Reliable guides are key to successful repairs. iFixit and YouTube offer comprehensive repair guides. Check for specific tutorials for your phone model—iPhone or Samsung, for instance—to ensure instructions match your device.
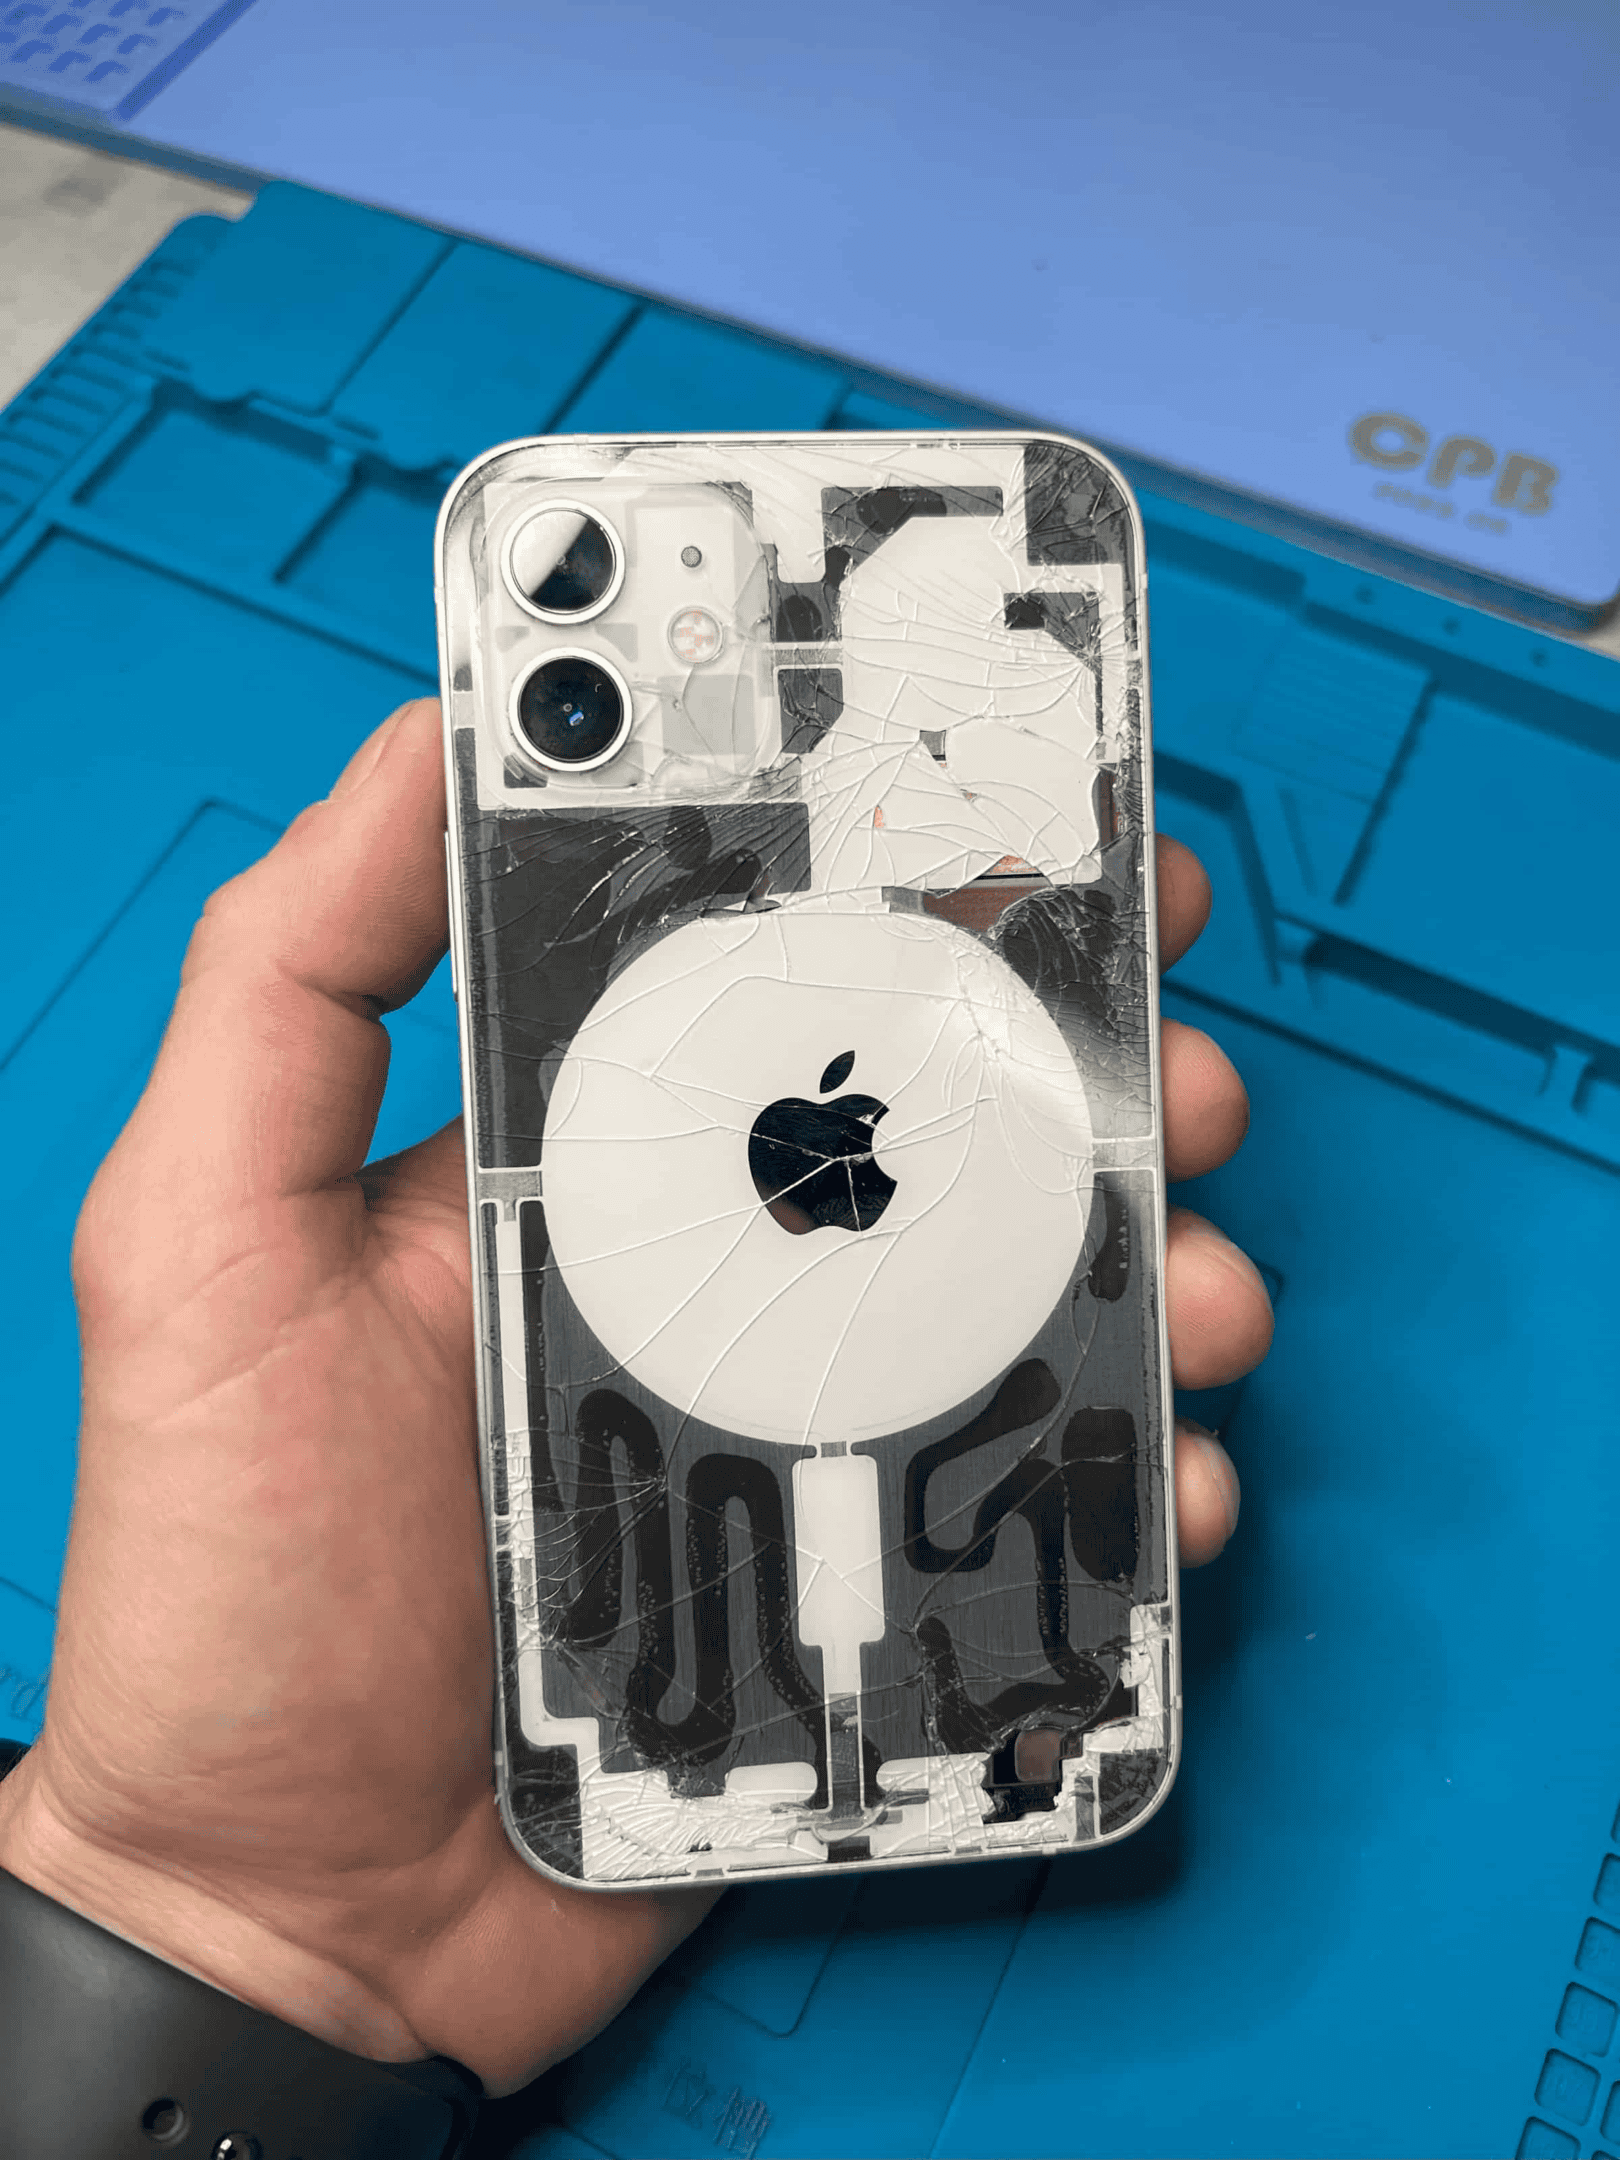
Assessing the Damage
Look over your phone to understand the damage. Whether it’s a cracked screen, water damage, or a faulty charging port, knowing the extent of the issue helps in planning the repair process.
Starting Simple
If new to phone repair, start with simpler tasks like changing a battery or fixing a headphone jack. These repairs require minimal disassembly and are less risky, building your confidence and skills.
When to Seek Professional Help
Should you face complex problems or lack the right tools, consider a professional service like ubreakifix. Do this especially if repairs might void the warranty or when dealing with severe water damage.
Step-by-Step Repair Procedures
Tackling phone repairs at home can be a cost-effective option for resolving various issues with the right tools and guidance. Precision and patience are key as these processes require careful attention.
Screen Replacement
Replacing a cracked or shattered phone screen starts with purchasing the correct screen for your model. You’ll need tools like a suction handle, opening picks, and a spudger. Begin by powering down the phone. Use a heat gun or hair dryer to loosen the adhesive and carefully lift the screen with the suction handle. Incrementally insert opening picks to gently separate the screen. Replace the adhesive and position the new screen, pressing firmly around the edges for a secure fit.
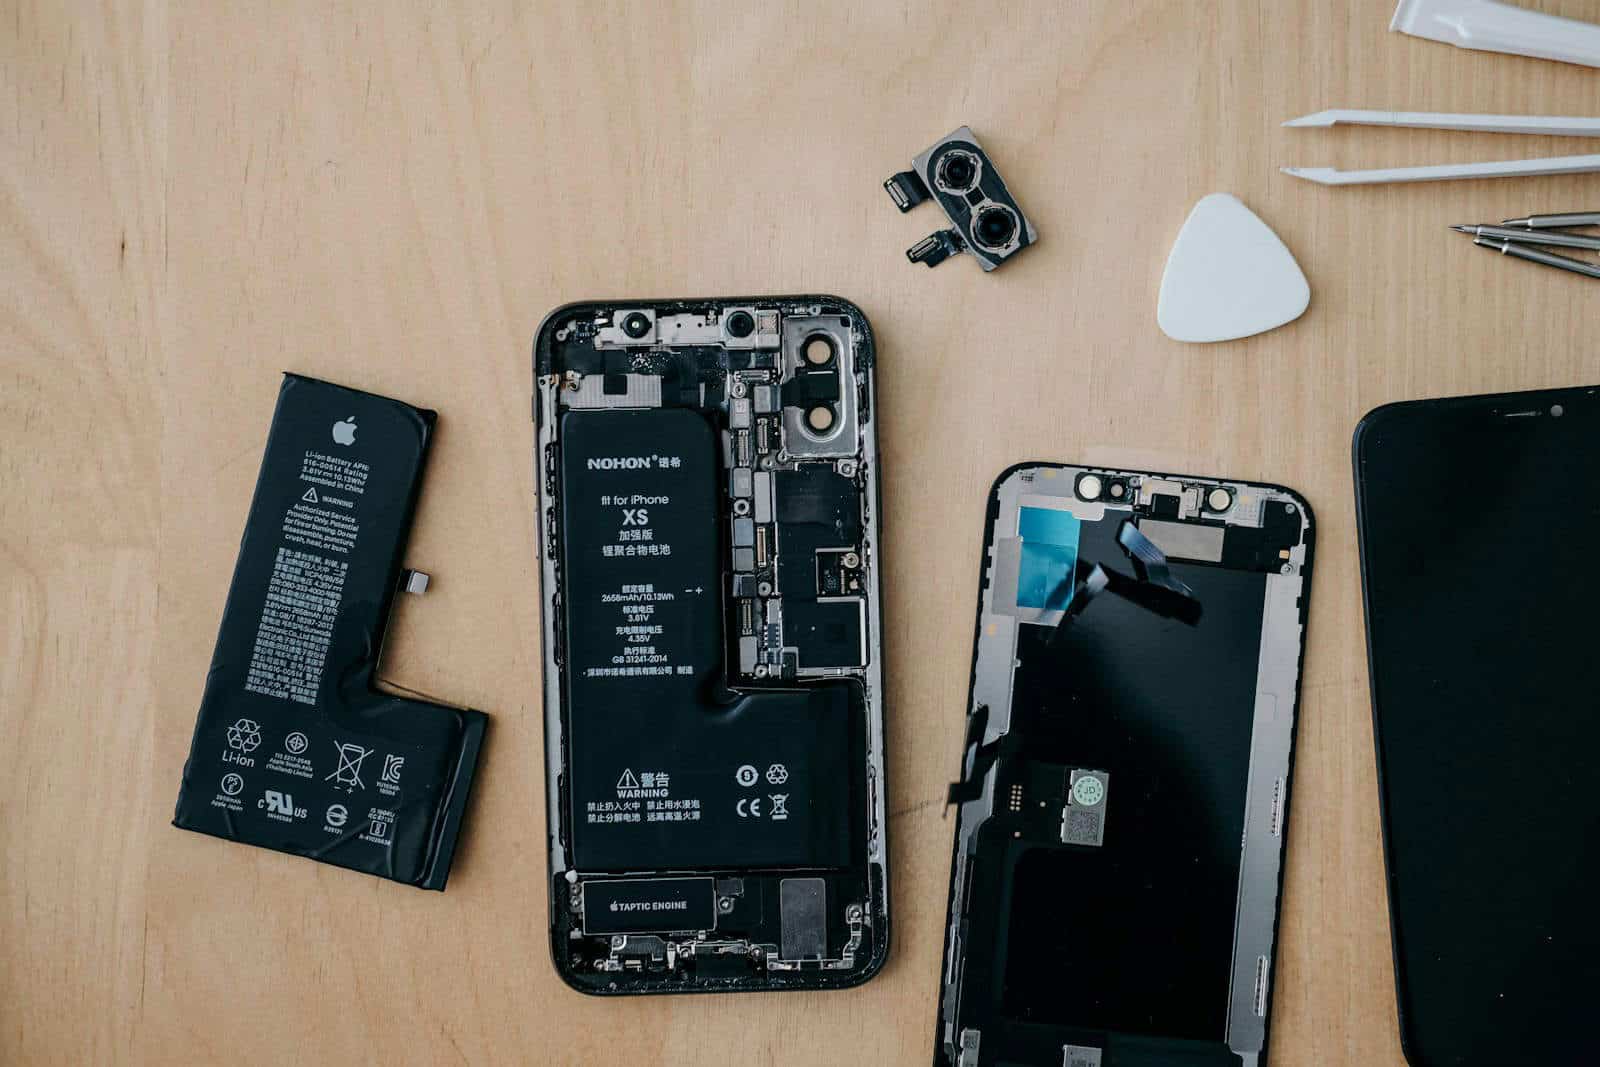
Battery Replacement
Changing a battery involves a similar process and often requires heating the device to soften adhesives. Once inside, disconnect the battery using plastic tools to avoid short-circuiting any components. Remove the old battery, clean residue with isopropyl alcohol, apply new adhesive strips, and place the new battery. Reassemble your device and power it on to verify success.
Fixing Auxiliary Components
Components like the headphone jack, charging port, and buttons might require swapping out parts. For this, steady hands and organization are essential. Properly categorize and store screws, covers, and components as they’re removed to avoid damage and maintain order. Replacement pieces can often be found online, and instructional videos are widely available for guidance.
Troubleshooting Common Issues
Common issues often include unresponsive touchscreens, charging problems, and software glitches. A user can often address these by doing a soft reset, checking the charging cable and port for damage, or exploring the device’s settings for potential software solutions. Online repair guides and forums may offer useful insights into these more routine hiccups.
Post-Repair Testing and Care
After any repair, it’s important to test all functions of the phone to ensure everything operates as expected. Make a call, charge the phone, and check button functionality. After verifying repairs, consider adding a screen protector or case to help protect the phone from future damage. Regular maintenance, such as keeping ports clean and avoiding exposure to extreme temperatures, can prolong the life of your device.
Frequently Asked Questions
When it comes to fixing a phone yourself, you might have some questions. This section aims to answer common inquiries, providing clear advice to guide you through DIY mobile phone repairs.
What tools are essential for a DIY mobile phone repair?
For any phone repair, a basic toolkit includes screwdrivers, a plastic opening tool, fine-tipped tweezers, and a spudger. If working on a screen, a suction cup and screen removal tool are helpful. It’s wise to have a clean workspace and small containers for holding tiny screws.
How much does it typically cost to repair a phone on your own?
The cost for DIY phone repair varies based on the parts needed. Simple repairs might only require a few dollars for small parts, while a screen replacement could cost upwards of $100 for the part alone. Compare this to professional services, which may charge additionally for labor.
What are the steps to fix a broken screen on an Android phone?
To fix a cracked screen, first, purchase the right replacement screen for your model. Power off the phone and remove any SIM or SD card. Unscrew and carefully lift away the back cover using a plastic tool, and disconnect the battery. Subsequently, remove the broken screen and attach the new one, reconnecting any cables. Reassemble your phone in the reverse order, being careful not to overtighten screws.
Is it possible to fix a cracked phone screen with household items?
While unorthodox methods like using a windshield repair kit have been suggested, they offer temporary fixes and might not restore full functionality. For lasting repairs, it’s better to use proper tools and replacement parts designed for your phone’s model.
What are the risks of repairing your smartphone by yourself?
Repairing your phone on your own can void warranties and possibly lead to further damage if done incorrectly. Sensitive electronic components are at risk, and there’s a possibility of personal injury if using tools improperly.
How do I determine if I should attempt to repair my phone myself or seek professional help?
Consider your skill level, the complexity of the repair needed, warranty status, and the cost of replacement parts. If you have some experience with electronics and the repair is straightforward, it can be a good project. However, if the phone is expensive, still under warranty, or requires complex work, professional repair services are recommended.