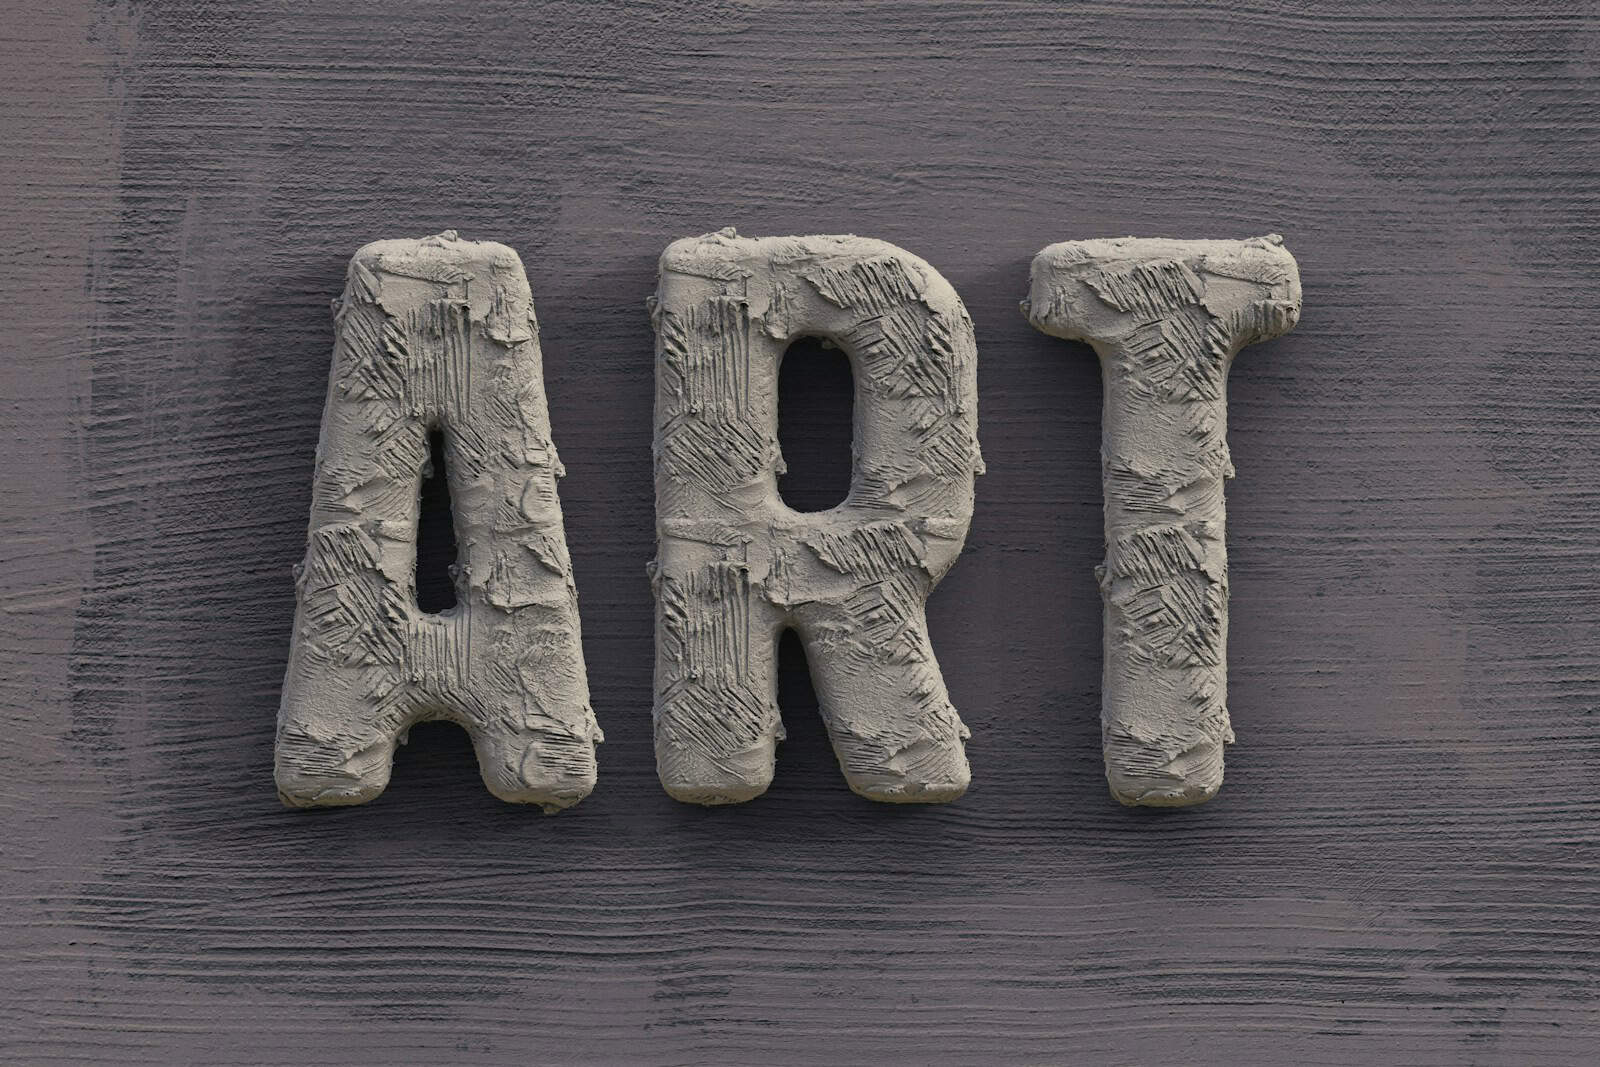
Creating 3D text in Photoshop can transform your designs from flat to dynamic with just a few steps. While Adobe has removed the traditional 3D features in newer versions of Photoshop, you can still create impressive three-dimensional text effects using alternative techniques.
You can create stunning 3D text in Photoshop by duplicating text layers and using offset positioning to create depth. This method involves creating a type layer and duplicating it, then changing the duplicated text to a slightly darker shade and positioning it strategically to create the illusion of depth.
For those looking for more advanced options, there are several creative workarounds to achieve 3D effects without using the discontinued 3D tools. These techniques use Photoshop’s core features like layer styles, perspective transformations, and shadow effects to create 3D text without applying actual 3D effects.
Here are the steps to create 3D text in Adobe Photoshop:
How to Create 3D Text in Photoshop
- Open Photoshop and Create a New Document
- Go to File > New
- Choose a size (e.g., 1920 x 1080 pixels)
- Set background color (white or black works well)
- Add Your Text
- Select the Text Tool (T)
- Click on the canvas and type your text
- Choose a bold font for better 3D effect (e.g., Impact, Arial Black)
- Set font size and color
- Convert Text to 3D Layer
- Select the text layer in the Layers panel
- Go to 3D > New 3D Extrusion from Selected Layer
- Click Yes to switch to the 3D workspace if prompted
- Adjust the 3D Settings
- Use the Properties panel to modify:
- Extrusion Depth (how far the text sticks out)
- Bevel for edge effects
- Materials to change texture and color
- Lighting for shadows and highlights
- Use the Properties panel to modify:
- Reposition the Text in 3D Space
- Use the 3D tools in the top toolbar:
- Rotate
- Pan
- Slide
- Zoom
- Click on the 3D text to select and adjust its orientation
- Use the 3D tools in the top toolbar:
- Render the 3D Text
- Once you’re happy with the look, go to 3D > Render 3D Layer
- This may take time depending on your settings and computer speed
- Export the Image
- Once rendering is complete, go to File > Export > Export As
- Choose PNG or JPEG format and save your 3D text artwork
💡 Tip: For older versions of Photoshop (before 2021), 3D tools are fully supported. In Photoshop 2021 and later, Adobe is phasing out 3D features, so consider using Adobe Dimension or Blender for advanced 3D text.
Key Takeaways
- Duplicate and offset text layers with color variations to create basic 3D depth effects in Photoshop.
- Layer styles like bevel, emboss, and drop shadow can enhance the three-dimensional appearance of your text.
- Custom shadows and highlights add realism to your 3D text composition for professional-looking results.
Getting Started with 3D in Photoshop
Creating 3D text in Photoshop opens up exciting design possibilities. You’ll need to understand the workspace and properly set up your document before diving into the creative process.
Understanding the 3D Workspace
In Photoshop, the 3D workspace is specially designed to help you work with three-dimensional objects. To access it, you can go to Window > Workspace > 3D or switch to it from the workspace switcher in the top right corner.
The 3D Panel is your control center for all 3D operations. It contains several important sections:
- Scene panel: Manages your 3D scene elements
- Mesh panel: Controls individual 3D objects
- Materials panel: Adjusts surface appearances
- Lights panel: Sets up illumination for your 3D scene
If you’re using Photoshop CS6 Extended, you’ll find the 3D tools under the 3D menu at the top of your screen. Newer versions have integrated these tools directly into the workspace.
Take some time to familiarize yourself with the 3D navigation tools. These allow you to orbit, roll, pan, slide, and zoom around your 3D objects.
Setting Up Your Photoshop Document
Before creating 3D text, you need to properly set up your document. Start with a new document that has adequate resolution for your project needs.
Recommended document settings:
- Resolution: 300 DPI for print, 72 DPI for web
- Color mode: RGB for most 3D work
- Background: Transparent (to see your 3D object clearly)
Your document size will affect processing speed. Larger documents require more computing power, so consider your hardware limitations when setting dimensions.
Create a new Type layer with your desired text. Use a bold, simple font for best results when converting to 3D. Thin fonts may not render well in three dimensions.
Before converting to 3D, duplicate your text layer as a backup. This gives you a reference point and allows you to start over if needed.
Creating a Text Layer
Before diving into 3D effects, you need to start with a proper text layer in Photoshop. The foundation of any 3D text effect begins with clear, well-formatted typography that will translate effectively into three dimensions.
Using the Type Tool
To create a text layer, select the Type Tool (T) from the toolbar on the left side of your screen. It looks like a capital “T” icon. Click anywhere on your canvas to create a text layer and begin typing.
For best 3D results, choose a bold font with clean lines. Thin fonts often don’t extrude well in 3D. You can adjust your font by selecting options in the top control panel.
Change the text size by entering a value in the size field or using the dropdown menu. Larger text generally works better for 3D effects.
Adjust the color of your text by clicking the color swatch in the options bar. Choose a color that will work well with your planned 3D effect.
After typing your text, press the checkmark in the options bar or Ctrl+Enter (Cmd+Enter on Mac) to commit your text changes.
Make sure your text layer is properly named in the Layers panel for easy identification when you create the 3D effect later.
Converting Text into 3D
Creating 3D text in Photoshop transforms flat typography into dynamic, dimensional elements. The process involves several straightforward techniques that allow you to add depth, perspective, and realistic textures to your text.
Using 3D Extrusion
To convert your text to 3D, first create a text layer with your desired font and size. Once your text is ready, you can duplicate the layer and change the duplicated text to a darker shade for a simple 3D effect.
For more advanced 3D text, Photoshop’s built-in 3D tools are powerful options. Select your text layer and navigate to the 3D menu, then choose “New 3D Extrusion from Selected Layer.”
The extrusion process creates depth by extending the flat text backward in virtual 3D space. You can adjust the extrusion depth, angle, and bevel type from the Properties panel.
Different extrusion styles include:
- Solid extrusion – Creates uniform depth
- Beveled edges – Adds angled corners
- Inflated front – Creates a rounded, balloon-like effect
Understanding 3D Objects and Text Effects
When you convert text to 3D, Photoshop transforms it into a 3D object with unique properties. These objects respond to lighting, materials, and camera perspectives unlike regular layers.
The 3D workspace offers various controls for manipulating your text. You can rotate the text in three dimensions, change viewing angles, and adjust the virtual camera position.
Materials and textures greatly enhance your 3D text. Apply different surface properties like:
Material Types:
- Metallic
- Glass
- Plastic
- Custom textures
Lighting effects dramatically impact the appearance of your 3D text. You can add multiple light sources, adjust their intensity, and set their positions to create highlights and shadows.
Remember that the Repoussé feature (in some Photoshop versions) offers additional control over bevels, contours, and inflation settings to create more complex 3D text effects.
Customizing the 3D Text Appearance
Once you’ve created your basic 3D text, it’s time to enhance its appearance with textures, proper depth settings, and lighting. These elements work together to transform simple extruded text into professional-looking 3D typography.
Applying and Adjusting Textures
The texture you apply to your 3D text dramatically affects its final appearance. In Photoshop, you can add textures by selecting your 3D text layer and opening the Properties panel. Look for the Material Properties section where you can adjust various settings.
To apply a texture:
- Click on the folder icon next to Diffuse
- Select Load Texture to import your own image
- Adjust the Roughness setting to control how shiny or matte your text appears
You can also use Adobe Substance 3D materials for more realistic textures. These provide advanced options like metallic finishes, glass effects, or custom patterns.
For realistic results, pay attention to the Bump or Normal settings. These create surface irregularities that catch light and add depth to your texture. Even subtle adjustments here can make your 3D text look more authentic.
Modifying the Extrusion Depth
The extrusion depth determines how “thick” your 3D text appears. To adjust this:
- Select your 3D text layer
- Open the Properties panel
- Look for the Extrusion Depth slider
- Drag to increase or decrease the depth
Finding the right depth is crucial – too shallow and your text barely looks 3D, too deep and it can appear distorted. A good starting point is to set the extrusion depth to approximately 10-20% of your text’s height.
For more complex projects, try creating a Depth Map – a grayscale image where white areas extrude more than black areas. This creates variable extrusion depths across your text for unique effects.
Setting Up the Light Source
Proper lighting makes or breaks your 3D text effect. Photoshop allows you to control light sources through the 3D panel.
To adjust lighting:
- Select your 3D text layer
- Open the 3D panel (Window > 3D)
- Click on the Light Source icon
- Adjust position, intensity, and color
A three-point lighting setup works well for most 3D text:
- Key light: Your main light source (usually bright white)
- Fill light: A softer light to reduce shadows (lower intensity)
- Rim light: Positioned behind the text to create highlights around edges
Use the Color Picker to create glowing 3D text by selecting vibrant colors for your light sources. This works especially well for neon or futuristic text styles.
Adding Realism to 3D Text
After creating basic 3D text, adding realistic elements makes your design pop and look professional. The right shadows, opacity adjustments, and precise positioning can transform flat-looking 3D text into something that appears to exist in real space.
Creating Shadows and Light Effects
To create realistic shadows, start by right-clicking on your 3D text layer and selecting “Layer Style” > “Drop Shadow”. Adjust the following settings:
- Distance: 5-10px for subtle shadows
- Spread: 5-15% for soft edges
- Size: 10-25px depending on desired blur
You can also add Infinite Light sources to your 3D text. Navigate to the 3D panel and locate the “Infinite Light” option. Add up to three light sources positioned at different angles.
Try creating a rim light by placing one light behind your text. This creates a bright edge that separates your text from the background. Adjust the intensity slider to about 75% for a natural look.
Adjusting Opacity and Blending Modes
Blend modes dramatically affect how your 3D text interacts with background elements. For realistic metal effects, try these combinations:
| Material | Blend Mode | Opacity |
|---|---|---|
| Chrome | Overlay | 85-90% |
| Gold | Soft Light | 90-95% |
| Plastic | Normal | 100% |
For glass effects, duplicate your text layer and set the top layer to Screen blend mode with 40-60% opacity. This creates depth and transparency.
You can also add a subtle Inner Shadow layer style to create dimension in hollow areas of letters like “O” and “A”. Use low opacity (around 30%) for this effect.
Using the Move Tool for Positioning
Select the Move Tool (V) to position your 3D text precisely. Hold Shift while dragging to constrain movement to straight lines. This ensures text alignment remains perfect.
For dynamic compositions, try these positioning techniques:
- Place text at a slight angle (10-15°) to create visual interest
- Elevate text slightly above your shadow for a floating effect
- Use Smart Objects when scaling to prevent quality loss
You can create unique perspective by selecting your 3D layer and using Edit > Transform > Perspective. Drag corner handles slightly to simulate text receding into space.
For fine adjustments, use arrow keys with the Move Tool selected. Hold Alt (Option on Mac) while pressing arrow keys for 1-pixel movements when precision is needed.
Enhancing 3D Text Effects
Once you’ve created your basic 3D text in Photoshop, adding special effects can make your text pop off the screen. These enhancements add realism, depth, and visual interest to your typography project.
Applying Inner Glow and Inner Shadow
To add dimension to your 3D text, Inner Glow and Inner Shadow effects work wonders. Start by right-clicking on your text layer and selecting “Blending Options.”
For Inner Glow, choose a color that complements your text. Set the blend mode to “Screen” for a subtle highlight or “Overlay” for more vibrant results. Adjust the opacity between 30-50% for a natural look.
Inner Shadow creates depth within the letters themselves. Set the distance to 5-10 pixels and the size to 3-5 pixels for subtle definition. Use a darker shade of your text color for the most realistic shadow effect.
Pro tip: Combine both effects with reduced opacity (around 40%) to create balanced dimension without overwhelming your design.
Utilizing Bevel and Emboss for Texture
Bevel and Emboss is essential for creating realistic 3D text with proper highlights and shadows. Access this through the Layer Styles dialog box.
Choose the “Inner Bevel” technique for subtle dimension or “Emboss” for more pronounced effects. Set the depth between 100-150% for moderate definition.
Adjust these settings for optimal results:
- Angle: Match your light source (typically 120-135°)
- Altitude: 30° for dramatic shadows, 45-60° for balanced lighting
- Gloss Contour: Select “Ring” or “Ring Double” for metallic finishes
Experiment with the Texture option to add patterns like noise or canvas for unique surface appearances. Start with 15-25% scale and adjust to your preference.
Creating a Stroke for Depth
Adding a stroke outline to your 3D text creates clear boundaries and enhances depth perception. In the Layer Style dialog, select the Stroke option.
Set the stroke size between 1-3 pixels for subtle definition. Position it “Outside” to increase overall text size or “Inside” to maintain your original dimensions.
For realistic depth:
- Choose a darker shade of your text color
- Set the blend mode to “Multiply” or “Overlay”
- Reduce opacity to 60-80% for softer edges
You can also create multiple stroke layers by duplicating your text and applying different colored strokes. This technique creates a multi-layered effect that enhances the 3D appearance when viewed from different angles.
Fine-Tuning the 3D Text
After creating your basic 3D text, perfecting the details will transform your design from good to professional. The right adjustments to positioning and typography choices can dramatically improve the visual impact of your work.
Transforming Text with Free Transform
The Free Transform tool gives you powerful control over your 3D text positioning. To access it, press Ctrl+T (Windows) or Command+T (Mac) with your text layer selected.
You can drag corner handles to resize, hold Shift while dragging to maintain proportions, or right-click to access additional transformation options like distort, perspective, and warp.
For precise adjustments, convert your text layer to a Smart Object first. This preserves the quality when scaling and allows you to modify the effect later.
Try rotating your 3D text slightly to create a more dynamic angle. A subtle 10-15° rotation often creates visual interest without looking unnatural.
When positioning multiple text elements, use the alignment tools in the options bar to create perfect spacing relationships between elements.
Choosing the Right Typography
Typography selection dramatically affects how your 3D text appears. Bold, sans-serif fonts typically work best for 3D effects because they maintain legibility after extrusion.
Consider these font characteristics:
- Weight: Heavier fonts create more dramatic 3D effects
- Spacing: Fonts with appropriate kerning prevent overlap issues
- Simplicity: Complex decorative fonts often lose detail in 3D
Test different fonts before finalizing your design. What looks good in 2D might appear cluttered or unclear when extruded.
When creating 3D text in Photoshop, the contrast between font size and extrusion depth affects readability. Larger text can handle deeper extrusion, while smaller text needs more subtle depth.
Final Touches to the 3D Composition
After creating your 3D text, a few final adjustments can elevate your design from good to professional. These finishing touches add realism and visual interest to your work.
Adding Surface Textures and Overlays
To give your 3D text more character, you can apply textures that transform plain surfaces into something more interesting. Open your Layers Panel and select the 3D text layer. Right-click and choose “Blending Options” to access Layer Styles.
Try adding a Gradient Overlay to create depth and dimension. You can adjust the angle to match your lighting for a more cohesive look.
For a metallic effect, combine a gradient with a subtle Pattern Overlay. Adding a slight Noise texture (Filter > Noise > Add Noise) at 2-4% can prevent gradients from banding and create a more realistic surface.
For wooden or textured looks, create a new layer above your 3D text, hold Alt/Option and click between the layers to create a clipping mask. Then paste your texture and set the blend mode to Overlay or Soft Light.
Adjusting Perspective and Depth
Fine-tuning the perspective of your 3D composition creates a more compelling visual. In the 3D workspace, use the Camera tools to adjust the angle and distance of your view.
Try the “Step & Repeat” trick to enhance your text’s depth. Duplicate your text layer, offset it slightly, and use a darker shade for the copy to create a shadow effect that adds dimension.
For dramatic depth, add a Shape Layer behind your text. A simple rectangle with a gradient can create the illusion of infinite space or a horizon line.
Adjust the Global Light settings (Layer > Layer Style > Global Light) to ensure all shadows fall consistently throughout your composition. This small detail can make your final 3D render look much more professional.
Frequently Asked Questions
Creating 3D text in Photoshop involves various techniques and tools that can transform your flat designs into impressive three-dimensional compositions. These common questions address specific methods, requirements, and creative possibilities when working with 3D text effects.
What are the steps to convert flat text into 3D text in Photoshop?
To create basic 3D text in Photoshop, start by creating a text layer with the Type tool. Then duplicate the text layer and change the duplicated text to a slightly darker shade.
For a more advanced 3D effect, select your text layer and choose 3D > New 3D Extrusion from the menu. This converts your text into a 3D object that you can manipulate in three dimensions.
You can also create a manual 3D effect by using layer styles. Right-click on your text layer, select Blending Options, and add a stroke to your text along with other effects like Bevel & Emboss to enhance the 3D appearance.
Can you explain how to edit and manipulate 3D text once created in Photoshop?
After creating 3D text, you can use the 3D panel to adjust numerous properties. The Properties panel lets you modify extrusion depth, cap settings, and bevel options.
You can rotate your 3D text by selecting the 3D rotation tools from the toolbar. These tools allow you to rotate on the X, Y, and Z axes to achieve the perfect angle for your design.
To adjust the material properties of your 3D text, use the Materials panel. Here you can change the diffuse color, shininess, reflection, and other surface characteristics that affect how your text appears.
Is it possible to create 3D text effects in Photoshop without downloading additional plugins?
Yes, Photoshop includes built-in 3D functionality that doesn’t require additional plugins. The standard 3D tools in Photoshop allow you to create extrusions, apply materials, and adjust lighting without third-party additions.
For simple 3D effects, you can also use layer styles which are native to Photoshop. Combining Drop Shadow, Bevel & Emboss, and Gradient Overlay can create convincing 3D text without accessing the dedicated 3D features.
If your version of Photoshop has discontinued 3D features, there are workarounds available using layer styles and manual techniques to simulate 3D effects.
What is the process for adding textures and lighting to 3D text in Photoshop?
To add textures to 3D text, open the Materials panel and select the texture type you want to modify. Click the folder icon next to the texture property to load an image as your texture map.
Adjust lighting by using the 3D panel and selecting the Lights category. You can add different light types (point, spot, or infinite) and position them around your text to create highlights and shadows.
For realistic results, experiment with environment lighting. Load an HDR image as your environment to create natural light reflections on your 3D text surface.
How can I create 3D text animations within Photoshop?
To create simple 3D text animations, use the Timeline panel in Photoshop. Create keyframes at different points in time and change the 3D text’s position, rotation, or material properties between these keyframes.
For rotation animations, set keyframes with different rotation values on the X, Y, or Z axis. Photoshop will automatically create the intermediate frames for a smooth rotation effect.
Material animations can be created by changing texture properties, opacity, or reflection values between keyframes. This technique works well for creating revealing or glowing text effects.
Which version of Photoshop supports 3D text creation and what are the basic requirements?
Photoshop CC 2014 through 2021 offers robust 3D functionality for text creation. However, Adobe has discontinued 3D features in the latest versions, switching to Substance 3D applications instead.
Your computer needs a decent graphics card with OpenGL support to run Photoshop’s 3D features smoothly. At least 8GB of RAM is recommended, though 16GB or more provides a better experience when working with complex 3D text.
If you’re using a version without 3D features, you can still create 3D text effects manually using layer styles, duplicated layers with offset positions, and gradient techniques to simulate depth.

