Is your Nintendo Switch controller giving you trouble? Nothing ruins a gaming session faster than a controller that won’t connect. Whether you’re dealing with Joy-Cons or a Pro Controller, connectivity issues can be frustrating but are usually fixable with a few simple steps.
Most Nintendo Switch controller connection problems can be solved by pressing the SYNC button on your controller, restarting your console, or checking for interference from other wireless devices. If your controller still won’t pair, try connecting it directly to the console with a USB cable or deleting all paired controllers and starting fresh with a new pairing process.
Low battery can also cause connection issues, so make sure your controllers are charged. For stubborn cases, you might need to try different USB ports or perform a quick system restart by holding the Power button for three seconds and selecting Restart.Fixing a Nintendo Switch Controller That Won’t Connect
If your Nintendo Switch controller won’t connect, it can be incredibly frustrating—especially when you’re ready to dive into a game. Whether you’re using Joy-Cons or a Pro Controller, connection issues are usually caused by syncing problems, low battery, Bluetooth interference, or firmware glitches.
Here’s a comprehensive guide to help you troubleshoot and fix the issue.
1. Check for a Dead Battery
Start with the basics: if the controller battery is drained, it won’t pair.
- Joy-Cons: Slide them directly onto the console to charge.
- Pro Controller: Plug into the Switch dock using a USB-C cable.
Let it charge for at least 15–20 minutes before attempting to reconnect.
2. Reconnect or Resync the Controller
If the controller isn’t connecting wirelessly:
- From the Home Menu, go to Controllers > Change Grip/Order.
- Press and hold the Sync button on the controller until the lights start flashing.
- Wait for the console to detect and register the controller.
For Joy-Cons, sliding them onto the Switch will automatically resync them most of the time.
3. Hard Reset the Controller
If your Pro Controller is unresponsive:
- Press and hold the Sync button for 15 seconds.
- Wait a moment, then press any other button to power it back on.
- Try connecting again via USB or Bluetooth.
4. Update the Controller Firmware
Outdated firmware can prevent controllers from connecting properly.
- Go to System Settings > Controllers and Sensors > Update Controllers.
- Make sure all connected controllers are up to date.
5. Remove and Re-Pair the Controller
Sometimes deleting and re-adding the controller helps.
- Go to System Settings > Controllers and Sensors > Disconnect Controllers.
- Select the controller you’re having trouble with and remove it.
- Then resync it using the Change Grip/Order method.
6. Check for Interference or Bluetooth Issues
Nearby wireless devices, metal objects, or even microwave ovens can cause Bluetooth interference.
- Move your Switch away from wireless routers or laptops.
- Try syncing the controller in a different room or at a closer range.
7. Try Wired Mode (Pro Controller)
You can bypass Bluetooth entirely by using a wired connection.
- Connect your Pro Controller to the dock with a USB-C cable.
- Enable Pro Controller Wired Communication in System Settings > Controllers and Sensors.
8. Restart the Console
A simple reboot can clear temporary connection issues.
- Hold down the Power button for 3 seconds.
- Select Power Options > Restart.
9. Factory Reset Your Console (Last Resort)
If none of the above works and you’re sure it’s not a hardware issue, consider a soft reset:
- Go to System Settings > System > Formatting Options > Reset Cache.
- If that fails, use Initialize Console Without Deleting Save Data.
Warning: Only do a full initialization if you’ve backed up your data or tried every other option.
10. Test on Another Switch (If Possible)
If the controller still won’t connect, try pairing it with a different Nintendo Switch console. If it works there, the issue is with your system. If not, the controller itself may be defective.
A non-connecting controller is usually fixable with these steps. But if you’ve tried everything and the controller still doesn’t respond, it could be time to contact Nintendo Support or consider a replacement.
Key Takeaways
- Press the SYNC button multiple times and restart your Switch to resolve most controller connection issues.
- Remove all paired controllers and re-pair them one by one when dealing with persistent connectivity problems.
- Keep controllers charged and minimize wireless interference for the best connection stability.
Understanding the Nintendo Switch Controllers
The Nintendo Switch control system offers versatility through different controller options, each with specific features and connectivity methods. Before troubleshooting connection problems, it’s helpful to understand how these controllers function and communicate with your console.
Types of Nintendo Switch Controllers
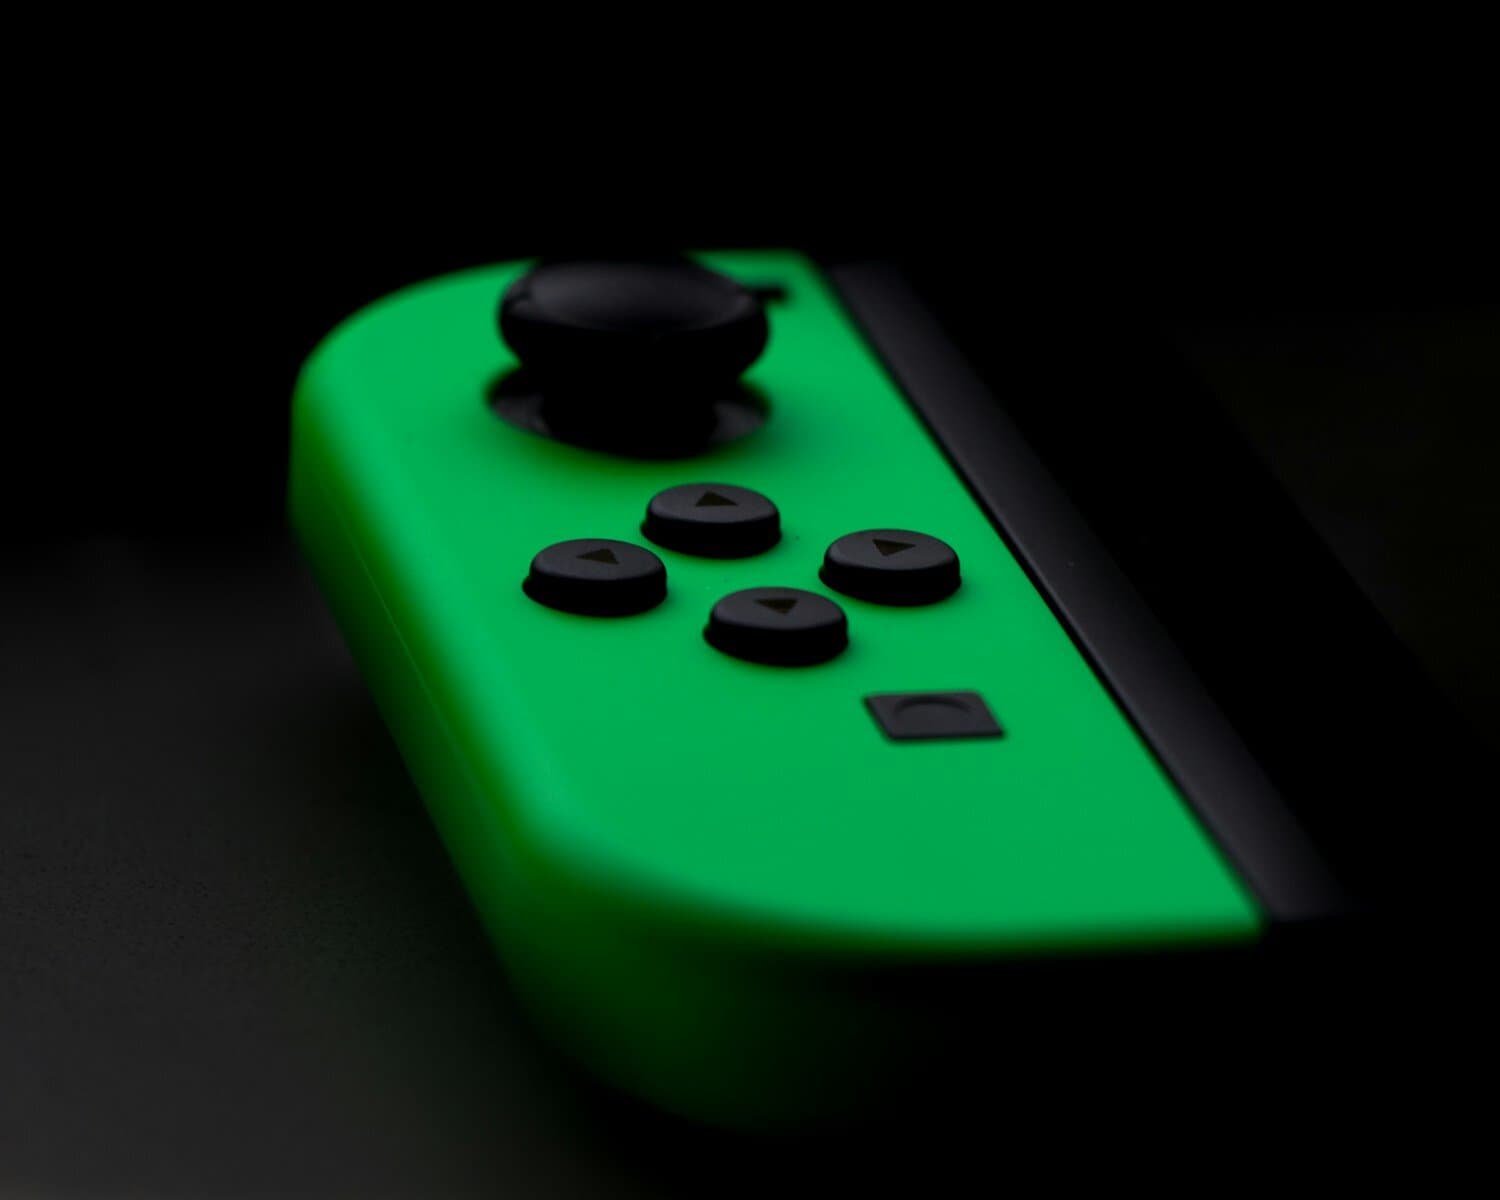
The primary controllers for your Nintendo Switch are the Joy-Con controllers, which come in pairs – left and right. These small controllers can be attached to the sides of your Switch console or used wirelessly. Each Joy-Con features motion controls, HD rumble, and independent functionality, allowing for two-player gaming with just one set.
The Nintendo Switch Pro Controller offers a more traditional gaming experience with a familiar layout, longer battery life, and enhanced comfort for extended play sessions. This controller connects to your Switch via Bluetooth.
Third-party controllers are also available, though they may have different connection methods or compatibility issues compared to official Nintendo products.
Your Switch can also connect to certain Bluetooth audio devices after system updates, though these connections can sometimes interfere with controller connectivity.
Common Connectivity Issues
Controllers may fail to connect to your Switch for several reasons. Physical connection problems often occur when the Joy-Con rails are dirty or damaged, preventing proper contact when attached to the console.
Wireless interference is another common issue. Your Switch controllers use Bluetooth technology, which can be disrupted by other electronic devices, metal objects, or distance from the console.
Battery depletion is a straightforward but often overlooked problem. Controllers with low battery may connect intermittently or not at all.
Sometimes the issue is related to controller recognition – your Switch might not properly detect a controller even when physically connected. This can happen due to software glitches or when the controller’s sync is disrupted.
Preliminary Checks Before Troubleshooting
Before diving into complex solutions, make sure you’ve covered the basics that often resolve Nintendo Switch controller connection issues. These simple checks can save you time and frustration when your controller won’t pair properly.
Ensuring Latest System Version
Your Switch should always run the most current software to prevent connection problems. Outdated system versions can cause compatibility issues with controllers.
To check for updates, go to System Settings from the home screen, then scroll down to “System” and select “System Update.” Your Switch will automatically check for the newest version.
If you can’t navigate to settings because your controller isn’t working, you can use the touch screen to install updates. The system will let you know if an update is available.
After updating, restart your console by holding the power button for 3 seconds, selecting “Power Options,” then “Restart.” This simple reboot often resolves controller connection issues.
Checking Controller Charge Level
Low battery is a common reason why controllers disconnect or won’t pair properly.
For Joy-Cons, check battery levels by going to the Controllers menu from the home screen. The battery indicator shows remaining charge.
Pro Controllers and other wireless controllers should show battery levels in the same menu. If the battery is low, connect your controller to charge:
- Joy-Cons: Attach them to the console when it’s docked or charging
- Pro Controller: Use the included USB-C cable to connect to the Switch dock
Allow at least 30 minutes of charging before trying to reconnect. A fully depleted controller may need longer charging time before responding.
Inspecting for Physical Damage
Physical issues often cause connection problems that software fixes can’t resolve.
Examine your Joy-Con rails and connection points for:
- Dirt or debris that might block proper contact
- Bent pins in the connection rail
- Visible damage to the controller shell
For Joy-Cons, the connection points may become dirty or corroded, preventing proper detection. Clean the metal contacts carefully with a soft, dry cloth.
Check the Switch console rails as well for any damage or debris. Ensure Joy-Cons slide smoothly onto the console without force.
For wireless connections, make sure nothing blocks the signal between your controller and the console.
Basic Troubleshooting Steps
When your Nintendo Switch controller won’t connect, several simple fixes can get you back to gaming quickly. These methods solve most connection issues without requiring technical knowledge or special tools.
Restarting the Nintendo Switch
A simple restart can fix many controller connection problems. This clears temporary glitches in the system’s memory.
To restart your Nintendo Switch:
- Press and hold the Power button on top of the console for 3 seconds
- Select Power Options from the menu that appears
- Tap Restart to reboot your system
If your screen is frozen and won’t respond, try a forced restart by holding the Power button for 12 seconds until the device turns off completely. Then press the Power button once to turn it back on.
After your Switch restarts, check if your controllers connect properly. This often resolves temporary connection issues without further steps.
Re-syncing the Controllers
When your Joy-Con controllers won’t connect wirelessly, re-syncing them to your console can help.
To re-sync your Joy-Con controllers:
- Navigate to the Home Menu on your Switch
- Select Controllers > Change Grip/Order
- On the Joy-Con you want to sync, locate the small round sync button:
- It’s located between the SL and SR buttons on the side rail
- You may need a pin or paperclip to press it
Press and hold this sync button until the lights flash. The controller should appear on screen when successfully paired. Repeat this process for each Joy-Con that’s not connecting properly.
Detaching and Reattaching Joy-Con Controllers
Physical connection problems can sometimes be resolved by properly detaching and reattaching your Joy-Con controllers.
To properly detach and reattach your Joy-Cons:
- Make sure your Nintendo Switch is powered on
- Press the small release button on the back of each Joy-Con
- Slide the Joy-Con upward to remove it completely
- Clean the connection rails gently with a dry cloth
- Slide each Joy-Con back onto the console until you hear a click
If the Joy-Con is not recognized even when attached, try pressing any button on the controller after attaching it. This sometimes prompts the Switch to detect the controller properly.
Check your controller’s charge level if problems persist. A low battery can cause connection issues even when physically attached to the console.
Advanced Troubleshooting Techniques
When basic fixes don’t solve your Nintendo Switch controller connection problems, you’ll need to try more specific solutions. These methods address deeper issues that might be preventing your controllers from connecting properly.
Updating Controllers Firmware
Your Nintendo Switch controllers need regular firmware updates to maintain connectivity. Nintendo releases these updates to fix bugs and improve performance.
To update your Joy-Con or Pro Controller:
- Go to System Settings on your Nintendo Switch home menu
- Scroll down to Controllers and Sensors
- Select Update Controllers
Your controllers must have enough battery charge for the update to complete successfully. If your controller won’t connect, try attaching your Joy-Cons directly to the console or connecting your Pro Controller with a USB cable.
Updates can take several minutes. Don’t interrupt the process or your controller might become unusable.
Resetting Controllers
When updates don’t work, resetting your controllers often solves persistent connection issues. This process clears any temporary glitches in your Joy-Cons or Pro Controller.
For Pro Controllers:
- Locate the small SYNC button on top of the controller
- Press it once (not holding it down)
- Press any other button to power it back on
- Pair it wirelessly with your console
For Joy-Con controllers:
- Remove them from the console if attached
- Press the SYNC button on the side rail
- Try reconnecting by pressing any button
- If needed, restart your console completely
Remember to check your Nintendo Switch for system updates as outdated console software can also cause controller connection problems.
Handling Persistent Connectivity Problems
When standard troubleshooting fails to resolve your Switch controller connection issues, it’s time to explore more thorough solutions. These approaches can help identify whether the problem lies with your controllers or the console itself.
Testing with Different Joy-Con or Pro Controller
Trying alternative controllers is one of the most effective ways to isolate the source of connectivity problems. Borrow a friend’s Joy-Con or Pro Controller and see if it connects properly to your Switch.
If the borrowed controller works fine, your original controllers likely need repair. On the other hand, if all controllers have trouble connecting, your console’s wireless receiver might be the culprit.
For Joy-Cons specifically, check if they’re not registering while attached to the console. Clean the metal contacts on both the Joy-Con and the Switch rails using a soft, dry cloth. Dirt or corrosion on these contacts can prevent proper connection.
Sometimes the issue affects only one Joy-Con (often the right one). Test each controller individually to pinpoint exactly which one has problems.
Considering Professional Repair Options
When DIY fixes fail, professional repair becomes your best option. Nintendo offers official repair services for controllers experiencing connectivity issues.
Official Nintendo Repair Options:
- Contact Nintendo Support via phone or website
- Typical repair costs: $40 for out-of-warranty Joy-Cons
- Repair time: 1-2 weeks including shipping
You can also explore local repair shops that specialize in gaming hardware. These often provide faster turnaround times than Nintendo’s official service.
For Pro Controllers, repair costs typically run $30-50 depending on the specific issue. Many wireless connectivity problems stem from damaged antennas or circuit boards that require specialized equipment to fix properly.
Keep your receipt if purchasing new controllers, as manufacturing defects should be covered under warranty.
Connectivity Tips for Specific Devices
Different devices require specific steps for proper Nintendo Switch controller connections. The process varies depending on whether you’re connecting to non-Nintendo devices or dealing with unique Switch Lite situations.
Pairing with Non-Nintendo Devices
You can use your Nintendo Switch controllers with other devices like computers and Android phones. To connect your Joy-Cons or Pro Controller to a Windows PC, first hold the small sync button until the lights flash. Then go to your PC’s Bluetooth settings and select the controller from available devices.
If the controller won’t connect to your PC, try these fixes:
- Restart your computer
- Remove the controller from paired devices, then try again
- Check Device Manager for driver issues
- Update your computer’s Bluetooth drivers
For Android devices, the process is similar. Hold the sync button, then find the controller in your phone’s Bluetooth settings. Not all games support controller inputs, so check compatibility first.
Issues Related to Nintendo Switch Lite
The Nintendo Switch Lite has built-in controls that can’t be detached, which creates unique connectivity challenges. If you want to use external controllers with your Switch Lite, the pairing process is different.
For wireless controllers, press the HOME button on your Switch Lite, then navigate to:
- System Settings
- Controllers and Sensors
- Change Grip/Order
This puts the console in pairing mode. Then press and hold the sync button on your controller until it connects.
If your Switch Lite won’t recognize your controller, first ensure your system has the latest updates. Try placing the controller closer to the console as distance can affect connection quality.
You may also need to check that Airplane Mode is turned off on your Switch Lite, as this disables Bluetooth.
Maintaining Your Nintendo Switch Controllers
Taking good care of your Nintendo Switch controllers prevents connection issues and extends their lifespan. Regular maintenance can save you from the frustration of controllers that won’t respond when you’re ready to play.
Regular Firmware Updates
Nintendo regularly releases firmware updates that fix bugs and improve controller connectivity. These updates are crucial for keeping your Joy-Con and Pro Controllers working properly.
To check for controller updates:
- Go to System Settings on your Nintendo Switch
- Select Controllers and Sensors
- Click on Update Controllers
Your Switch will automatically search for and install any available updates. This process only takes a minute but can solve many connection problems.
If your controllers won’t connect after updating, try restarting your console completely. Sometimes the system needs a fresh boot to recognize the new firmware.
Make it a habit to check for updates monthly. This simple maintenance task prevents many issues before they start.
Proper Storage and Usage
How you handle and store your Nintendo Switch controllers greatly affects their performance and connection reliability.
Keep your Joy-Con controllers clean by wiping them with a soft, slightly damp cloth. Pay special attention to the connection rails on the sides of the Joy-Cons.
Dirty or corroded contacts on the rails are a common cause of connection problems. Clean them gently with a dry cotton swab or soft brush.
Store your controllers in a cool, dry place when not in use. Extreme temperatures can damage the internal components and battery.
Avoid dropping your controllers, as impact can damage the internal connection components. The Pro Controller is sturdier than Joy-Cons, but still needs careful handling.
When the battery gets low, connection issues become more common. Charge your controllers regularly, even if you haven’t used them in a while.
Enhancing Connectivity with Peripheral Devices
Getting your Nintendo Switch to connect with various peripherals can significantly improve your gaming experience. Beyond controller pairing, there are other devices that can enhance how you interact with your console.
Setting Up Bluetooth Audio Devices
The Nintendo Switch supports Bluetooth audio connections, allowing you to enjoy game audio wirelessly. To connect your Bluetooth headphones or speakers, go to System Settings on your home screen and scroll down to “Bluetooth Audio.”
Select “Pair Device” and put your audio device in pairing mode. Your Switch will scan for available devices. Once your headphones or speaker appears in the list, select it to connect.
If you’re having trouble connecting, try resetting your Nintendo Switch by holding the power button for 3 seconds and selecting Restart. This often resolves connectivity issues with peripheral devices.
Remember that the Switch can only connect to one Bluetooth audio device at a time, and using Bluetooth audio may limit the number of wireless controllers you can connect simultaneously.
Understanding Controller Accessories
Various accessories can enhance your Nintendo Switch controllers’ functionality and connectivity. Charging docks ensure your Pro Controllers and Joy-Cons are always ready for play.
For improved connectivity, consider these options:
- Controller extenders: These can boost the wireless range of your Joy-Cons
- USB adapters: Allow you to use third-party controllers with your Switch
- Wired controller options: Provide zero-lag input for competitive gaming
If your controllers still won’t connect wirelessly, try resetting them by pressing the SYNC button once, then pressing any other button to power them on again before attempting to pair.
Frequently Asked Questions
Nintendo Switch controllers can run into connection issues for various reasons. Here are solutions to the most common controller connection problems that Switch owners face.
Why isn’t my Joy-Con connecting to the Nintendo Switch when attached?
If your Joy-Con isn’t connecting when attached to the console, check for dust or debris in the rails. Clean the connectors carefully with a soft, dry cloth.
Try restarting your Switch by holding the power button for 12 seconds, then turn it back on. This often resolves connection issues with attached controllers.
Make sure the Joy-Con battery isn’t completely drained. Let it charge for about 30 minutes while attached to the console before trying again.
What do I do if my Nintendo Switch controller is unresponsive?
If your controller is unresponsive, try pressing any button to wake it up. Sometimes controllers enter a sleep mode to conserve battery.
Restart your Nintendo Switch console completely by holding the power button for 12 seconds, then turning it back on. This often fixes communication issues.
Check if your controller needs a system update. Go to System Settings > Controllers and Sensors > Update Controllers to ensure they have the latest firmware.
How can I get my Switch Pro Controller to connect?
To connect your Pro Controller, press the small sync button located at the top of the controller. Then select “Change Grip/Order” from the home screen.
If that doesn’t work, try connecting the Pro Controller directly to the Switch dock using the USB-C cable that came with it. This should pair it automatically.
Make sure your console has the latest system updates installed, as outdated software can sometimes cause connection problems.
My Switch controller won’t connect wirelessly, how can this be resolved?
Make sure Airplane Mode is turned off on your Switch. This feature blocks wireless connections and can prevent controllers from pairing.
Try deleting all paired controllers except for the Joy-Cons attached to the Switch, then re-pairing the controller you want to use.
Check if other electronic devices nearby are causing interference. Move away from routers, smartphones, and other wireless devices when trying to connect.
How do I fix a Nintendo Switch controller that won’t turn on?
If your controller won’t turn on, it likely needs charging. Connect Joy-Cons to the console or use the charging grip. For Pro Controllers, use the USB-C cable.
Let the controller charge for at least 30 minutes. Sometimes deeply discharged batteries need time before showing signs of life.
If charging doesn’t help, try a hard reset by pressing and holding the sync button for 5 seconds, then releasing it and attempting to reconnect.
What should I do when my Switch doesn’t recognize my controller?
Unpair and re-pair your controllers by going to System Settings > Controllers and Sensors > Disconnect Controllers, then pair them again.
Check if your Switch needs a system update. Go to System Settings > System > System Update to install any available updates.
Try using the controller in handheld mode (if using Joy-Cons) to see if the issue is with the wireless connection rather than the controller itself.


