Adding new fonts to your computer can transform your documents, presentations, and creative projects. If you’re looking to refresh your typography options in Windows, the process is straightforward and takes only a few minutes. You can install fonts on Windows by downloading font files, then either right-clicking to install them directly or dragging them into the Windows Fonts folder.
Many websites offer free and premium fonts for download, giving you access to thousands of typefaces beyond what comes pre-installed on your system. Once downloaded, Windows 10 makes font installation especially easy with its right-click install feature, while older Windows versions might require you to use the Fonts folder in Control Panel. Remember that fonts come in different formats like TTF and OTF, but Windows supports both without any extra steps.
How to Download and Install Fonts on Windows: A Step-by-Step Guide
Adding new fonts to your Windows computer can enhance your documents, presentations, and creative projects. Here’s how you can download and install fonts easily on Windows (Windows 10 and 11):
Step 1: Download the Font File
- Find a trusted website to download fonts, such as Google Fonts, DaFont, or FontSquirrel.
- Download the font file, usually in
.ttf(TrueType Font) or.otf(OpenType Font) format. - The font may come in a
.ziparchive. If so, right-click the.zipfile and select Extract All to unzip it.
Step 2: Install the Font
You have several options to install the font:
Option 1: Right-Click and Install
- Locate the extracted
.ttfor.otffont file. - Right-click the font file and select Install.
- The font will be installed and ready to use.
Option 2: Double-Click and Install
- Double-click the font file to open the font preview window.
- Click the Install button at the top-left.
- The font will install and be available system-wide.
Option 3: Drag and Drop to Fonts Folder
- Open File Explorer and navigate to
C:\Windows\Fonts. - Drag your font file into this folder.
- The font will install automatically.
Step 3: Use the Font
- Open any program that supports fonts (e.g., Microsoft Word, Photoshop).
- Look for the new font in the font selection dropdown.
- Select it and start using your new font!
Tips
- Installing fonts requires administrator privileges.
- Restart your programs if the new font doesn’t appear immediately.
- To uninstall fonts, go to
Settings > Personalization > Fonts, find the font, and select Uninstall.
By following these simple steps, you can personalize your Windows computer with new fonts in just a few clicks!
Key Takeaways
- Font installation on Windows requires downloading font files and either right-clicking to install or dragging them to the Fonts folder in Settings.
- Windows 10 users can also add fonts from the Microsoft Store through the Personalization section in Settings.
- Before installing fonts, ensure you’ve unzipped any compressed font files and verified you have the proper licensing rights to use them.
Understanding Font Types
Windows supports several font formats, each with unique features and compatibility. Knowing the differences helps you choose the right fonts for your design projects and ensures they work properly on your system.
TrueType Fonts (TTF Files)
TrueType fonts are the most common font format you’ll encounter on Windows. Microsoft and Apple jointly developed this format in the late 1980s. These fonts have the .ttf file extension.
TTF files contain both the screen and printer font data in a single file, making them very convenient. Windows has built-in support for TrueType fonts, so they’re easy to install by simply double-clicking.
The main advantages of TrueType fonts include:
- Excellent scaling at various sizes
- Clear display on both screen and print
- Wide compatibility across different Windows versions
- Good performance with most applications
Most free font websites offer their fonts in TTF format because of this universal compatibility.
Type 1 Fonts
Type 1 fonts (also called PostScript fonts) were developed by Adobe and were the standard in professional printing for many years. They consist of two parts: screen fonts and printer fonts.
Unlike TTF files, Type 1 fonts require two separate files to work properly:
- A
.pfbfile (Printer Font Binary) containing the outline data - A
.pfmfile (Printer Font Metrics) with spacing information
Windows supports Type 1 fonts, but the installation process can be more complex than with TrueType fonts. These fonts are less common for everyday use but still important in professional publishing and printing.
Type 1 fonts excel at print quality but may not display as well on screen as their more modern counterparts.
OpenType Fonts
OpenType is the most advanced font format available, jointly developed by Microsoft and Adobe. It uses the .otf file extension, though some OpenType fonts may use .ttf extension instead.
OpenType fonts offer several advantages over older formats:
- Cross-platform compatibility between Windows and Mac
- Extended character sets supporting multiple languages
- Advanced typography features like ligatures, alternates, and small caps
- Compact file size despite containing more characters
When you install OpenType fonts in Windows, you get access to these enhanced typographic features in compatible programs like Adobe Creative Suite applications and newer Microsoft Office versions.
OpenType fonts are the preferred choice for professional design work due to their flexibility and rich feature set.
Web Fonts
Web fonts are designed specifically for use on websites. They allow you to use custom fonts beyond the standard set installed on users’ computers.
Common web font formats include:
- WOFF (Web Open Font Format): Compressed fonts specifically for web use
- WOFF2: An improved version with better compression
- EOT (Embedded OpenType): Microsoft’s older web font format
- SVG fonts: Vector-based fonts now largely replaced by better options
While you don’t typically install web fonts directly in Windows, you can download and convert them to standard formats like TTF or OTF for desktop use. Many font libraries now offer both web and desktop versions of their fonts.
Google Fonts is a popular source for free web fonts that you can also download as TTF files for local installation.
Preparation for Installing Fonts
Before installing new fonts on your Windows system, proper preparation ensures a smooth installation process without unexpected errors or compatibility issues.
Checking System Compatibility
Windows font compatibility has evolved across different versions. If you’re using Windows 10, you’ll have the most flexibility with font formats including OpenType (.otf), TrueType (.ttf), and PostScript Type 1. For older systems like Windows 2000, you may encounter limitations with newer font formats.
To check your Windows version:
- Press Windows key + R
- Type winver and press Enter
- A window will display your current Windows version
Most modern fonts work across Windows versions, but some specialty fonts might have specific requirements. Check the font documentation if you’re using custom or design-specific fonts.
Ensuring User Privileges
Installing fonts often requires administrative permissions, especially when installing for all users on your computer.
Without proper permissions, you might encounter error messages during installation. To verify your account privileges:
- Right-click on the Start menu
- Select Computer Management
- Expand Local Users and Groups
- Click on Users
- Right-click your username to view properties
If you need to install fonts for all users, you’ll need administrator access. Otherwise, you can install fonts just for your user account, which requires fewer permissions.
Font File Verification
Before installation, verify that your font files are valid and from trusted sources. Corrupt font files can cause system instability.
First, unzip any compressed font folders. Fonts cannot be installed while in ZIP format. Look for the following common font file extensions:
- .ttf (TrueType Font)
- .otf (OpenType Font)
- .pfb/.pfm (PostScript Font)
- .fon (Legacy Windows Font)
To preview a font before installation, simply double-click the font file. This opens a preview window showing the font’s appearance at different sizes. This step helps ensure you’re installing the correct font and that the file isn’t corrupted.
If you purchased the font, keep proof of license as some fonts have restrictions on commercial use.
Steps to Install Fonts on Windows 10
Installing fonts on Windows 10 is straightforward once you know the proper methods. You can choose from several approaches depending on your specific needs and permission level on your computer.
Using Windows Font Viewer
Windows 10 includes a built-in Font Viewer that makes installation simple. To use this method, first download the font you want to install from a trusted source. When the download completes, locate the font file (typically with .ttf, .otf, or .fon extension) in your Downloads folder.
Double-click on the font file to open Windows Font Viewer. This preview window lets you see how the font looks at different sizes before installing.
Click the Install button in the top-left corner of the preview window. Windows will automatically add the font to your collection.
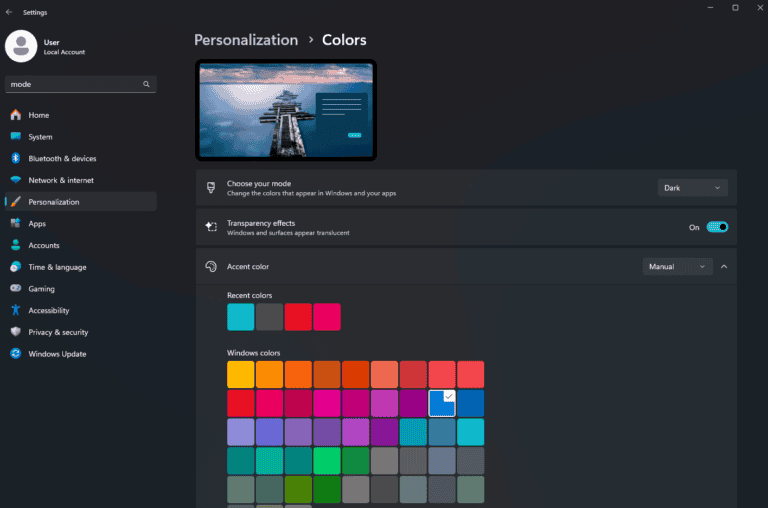
To verify installation, go to Settings > Personalization > Fonts where you’ll see your newly installed font in the list.
You can also install fonts directly from the Microsoft Store by clicking “Get more fonts in Microsoft Store” at the top of the Fonts settings page.
Manual Installation
For multiple fonts or specific font collections, manual installation is often more efficient. First, ensure your font files are unzipped if they came in a compressed folder.
Navigate to Settings > Personalization > Fonts. You’ll see a “Drag and drop to install” box at the top of the page.
Simply drag your font files from File Explorer directly into this box. Windows will install them immediately.
Alternatively, you can right-click on a font file and select Install from the context menu. This works for both single fonts and multiple selected files.
For bulk installation, select multiple font files by holding Ctrl while clicking each file, then right-click and choose Install.
After installation, your fonts will be available in all applications that use the Windows font system without requiring a restart.
Install for All Users
Standard font installation only makes fonts available to your user account. To install fonts for all users on your computer, you’ll need administrator permissions.
Open File Explorer and navigate to: C:\Windows\Fonts
This is the system-wide font directory. You can copy and paste or drag font files directly into this folder to install them for everyone.
A prompt will appear asking if you want to install the font. Click Install to proceed.
For bulk installation for all users, copy multiple font files to the clipboard. Then paste them directly into the Fonts folder.
Remember that modifying system folders requires administrator rights. If you don’t have sufficient permissions, you’ll receive an error message.
After installation, these fonts will be available to all user accounts on the computer, including newly created ones.
Installing Fonts on Older Windows Versions
Older Windows versions have different methods for font installation, but they all follow similar principles. The process generally involves locating the font file and using the system’s built-in tools to register it with Windows.
Windows 8 and 7 Installation
In Windows 8 and 7, you have several methods to install new fonts. The easiest approach is to simply right-click on the font file and select “Install” from the context menu. This immediately adds the font to your system.
You can also drag and drop font files directly into the Fonts folder. To access this folder:
- Open Control Panel
- Navigate to Appearance and Personalization
- Click on Fonts
Once the Fonts window opens, you can drag your .ttf, .otf, or other font files directly into this window. Windows will automatically install them.
Remember to extract zipped font files before attempting installation. Windows 7 and 8 cannot install fonts directly from compressed archives.
Windows 2000 and Earlier
For Windows 2000 and earlier versions, the font installation process requires a few more steps. First, you need to access the Fonts folder through Control Panel.
To install fonts on Windows 2000:
- Click Start → Settings → Control Panel
- Double-click the Fonts folder
- From the File menu, select Install New Font
- Navigate to the location of your font files
- Select the fonts you wish to install and click OK
For very old systems like Windows 98 or 95, you might need to restart applications or even your computer after installing new fonts for them to appear in your programs.
If you’re upgrading from an older Windows version, you can often recover fonts from your previous installation in the windows.old folder. You’ll find them in C:\windows.old\Windows\Fonts and can drag them to your new Fonts folder.
Using Third-Party Font Managers
Font managers can simplify how you work with fonts in Windows. These specialized tools help organize, preview, and install fonts more efficiently than Windows’ built-in options.
Adobe Fonts Integration
Adobe Creative Cloud offers seamless font integration through Adobe Fonts (formerly Typekit). This service gives you access to thousands of high-quality fonts without separate downloads or installation steps.
To use Adobe Fonts, you need an Adobe Creative Cloud subscription. Once signed in, open the Creative Cloud desktop app and click the “Fonts” tab. Browse the collection and activate any fonts you want to use. The fonts will automatically sync to your Windows system.
The Adobe Fonts service handles all font licensing for you. This means you don’t need to worry about commercial usage rights for design projects. The fonts work in all applications, not just Adobe programs.
Adobe also provides font organization features. You can create custom collections for different projects and quickly activate or deactivate fonts as needed.
Font Management Software Options
Several dedicated font management programs give you powerful tools beyond what Windows offers. Popular options include FontBase, NexusFont, and FontAgent.
FontBase offers a free version with premium features available. It lets you preview fonts easily and organize them into collections. The interface shows sample text in each font style.
NexusFont works well for designers who need to compare multiple fonts side-by-side. You can create custom font sets and temporarily activate fonts without permanent installation.
FontAgent provides professional font activation and management. It includes advanced features like duplicate detection and font integrity checking. This can prevent font conflicts that sometimes cause crashes in design applications.
Some font managers even allow remote font installation across multiple computers. This is especially useful for IT administrators managing design workstations.
Finding and Selecting Fonts to Download
Finding the perfect font can transform your documents, presentations, and creative projects. The right typeface can set the tone and enhance readability while reflecting your personal or brand style.
Where to Find Fonts
Many reliable websites offer fonts for download, both free and paid. You can search for “free fonts download” in your web browser to find numerous options. Trusted platforms include:
- Google Fonts – A library of free, open-source fonts
- Adobe Fonts – Available with Creative Cloud subscriptions
- DaFont – Offers thousands of free fonts in various categories
- Font Squirrel – Provides high-quality free fonts with commercial licenses
When downloading fonts, make sure you’re getting them from reputable sources to avoid malware. Many professional font websites allow you to preview fonts before downloading, helping you make the right choice.
Choosing the Right Font for Your Project
Font selection significantly impacts how your audience perceives your content. Consider these factors when choosing:
Purpose and Context: Business documents typically need professional, readable fonts like Arial or Calibri. Creative projects might benefit from more distinctive typefaces.
Readability: Ensure the font is legible at your intended size, especially for body text.
Font Pairing: Combine complementary fonts (usually one for headings, another for body text) to create visual hierarchy.
File Format: Common font file formats include TTF (TrueType Font), OTF (OpenType Font), and WOFF (Web Open Font Format). Windows supports TTF and OTF formats for installation.
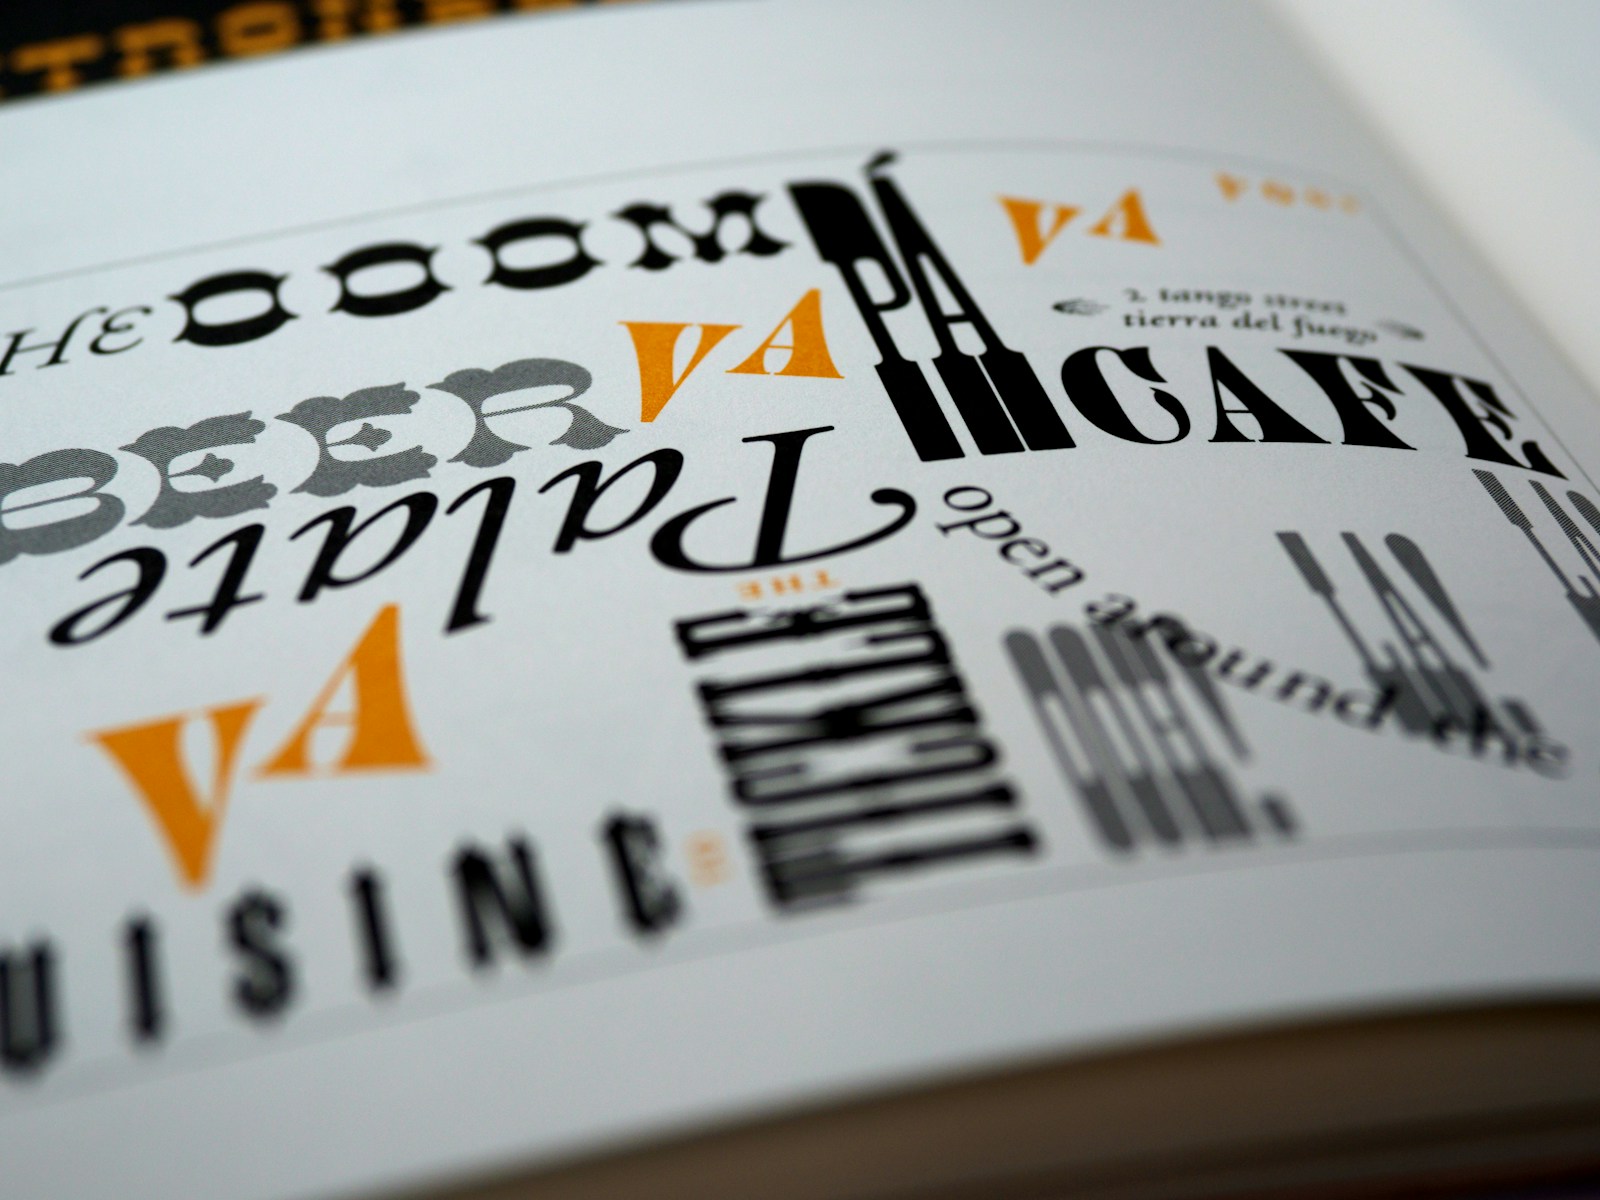
Script Fonts and Display Fonts
Script fonts and display fonts add personality to your projects but require careful implementation.
Script Fonts: These mimic handwriting or calligraphy and work best for:
- Wedding invitations or formal announcements
- Logos and branding
- Headings and titles (not recommended for body text)
Script fonts vary from elegant and formal to casual and playful. When using script fonts, ensure adequate spacing between letters and avoid using all caps, which can reduce readability.
Display Fonts: These decorative typefaces are designed to capture attention and are ideal for:
- Headlines and short text blocks
- Posters and banners
- Logo design
Both script and display font files should be used sparingly and paired with simpler fonts for body text. Remember that these specialty fonts might not be included in standard collections and often need to be downloaded separately.
Font Licensing and Legal Considerations
Before installing new fonts on your Windows system, it’s important to understand the legal aspects of using them. Font files are intellectual property protected by copyright laws, and using them incorrectly could lead to legal issues.
Understanding Font Licenses
Fonts come with different types of licenses that determine how you can use them. The most common licenses include:
- Personal Use: For non-commercial projects only
- Commercial Use: Allows usage in business contexts
- Desktop License: Permits installation on a specific number of computers
- Web Font License: For websites with specific visitor limitations
- App/eBook License: For embedding in mobile applications or eBooks
You need to verify the font license before using it in any project. Many professional fonts require payment for commercial use.
When you purchase fonts from reputable vendors, they typically come with clear documentation about usage rights. Adobe fonts, for example, are licensed for both personal and commercial use with specific terms outlined in their agreement.
Avoiding Pirated Fonts
Using pirated fonts puts you at risk of copyright infringement. Here’s how to ensure you’re using legitimate font files:
Download fonts only from trusted sources like:
- Microsoft’s font store
- Adobe Fonts
- Google Fonts
- Professional type foundries
- Established font marketplaces
Be wary of “free font” websites that offer premium fonts at no cost—these are often unauthorized copies. If a commercial font is suddenly available for free, it’s likely pirated.
Check font files for proper documentation. Legitimate fonts include license files and often have professional packaging with designer information and usage terms.
Remember that font designers make their living creating these assets. Respecting their work means obtaining proper licenses for your needs.
Frequently Asked Questions
Installing fonts on Windows can be straightforward but often raises several common questions. Here are answers to the most frequently asked questions about managing fonts in Windows environments.
What steps are required to install new fonts on Windows 10?
To install new fonts on Windows 10, you can use several methods. The simplest approach is to right-click on the font file and select install.
Before installation, make sure to unzip any compressed font folders. Fonts cannot be installed if they remain in a zipped format.
You can also install fonts through the Settings app. Go to Personalization > Fonts or use the shortcut by typing “Fonts” in the search bar and select fonts from the Microsoft Store.
Another method is to drag and drop the font files (TTF or OTF) into the “Add fonts” box at the top of the Fonts Settings page and complete the installation.
Can you manually add fonts to Microsoft Word on Windows, and if so, how?
Yes, you can manually add fonts to Microsoft Word. First, install the font using one of the methods described above.
Once installed system-wide, the new font will automatically appear in Word’s font dropdown menu. You don’t need to take any additional steps within Word itself.
If you don’t see the new font, try closing and reopening Word. The application needs to refresh to detect newly installed fonts.
What is the procedure for adding custom fonts to PowerPoint on a Windows system?
Adding custom fonts to PowerPoint follows the same process as other Windows applications. Install the font at the system level using the methods mentioned above.
After installation, PowerPoint will recognize the new font automatically. You’ll find it in the font selection dropdown within PowerPoint.
For presentations that will be viewed on other computers, consider embedding the font in your PowerPoint file. Go to File > Options > Save and check the “Embed fonts in the file” option.
How can I ensure new fonts are available across all Microsoft Office applications on Windows?
To ensure fonts work across all Office applications, install them at the Windows system level rather than trying to install them within individual applications.
When you install fonts in the Windows Fonts folder, they become available to all applications, including the entire Office suite.
Restart all Office applications after installing new fonts to make sure they properly recognize the additions. In some cases, you might need to restart your computer.
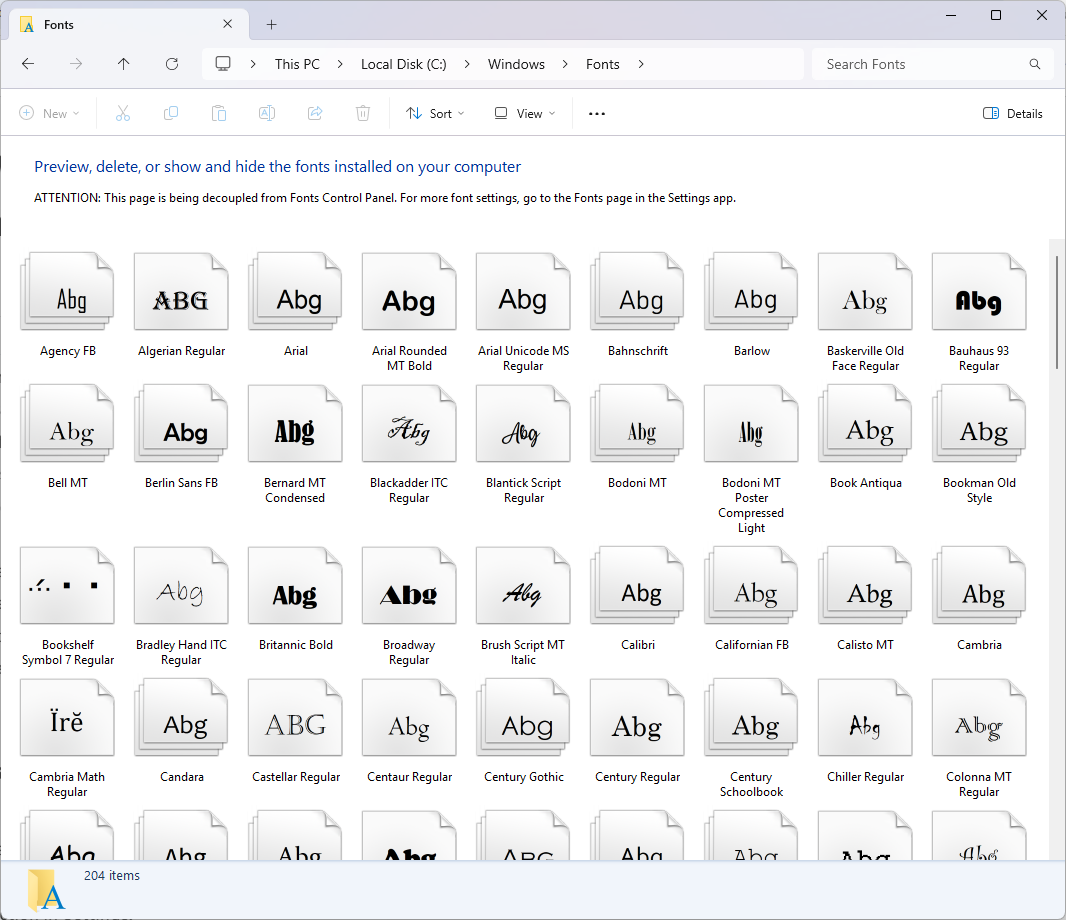
Where can I find and manage the complete list of installed fonts on a Windows PC?
You can view and manage all installed fonts through the Windows Fonts folder. Type “fonts” in the search bar and select the Fonts control panel option.
Alternatively, navigate to Control Panel > Appearance and Personalization > Fonts, or go to Settings > Personalization > Fonts in Windows 10.
You can also access the Fonts folder directly by typing C:\Windows\Fonts in File Explorer’s address bar or by using command prompt or PowerShell for advanced management.
Is there a method to resolve issues with missing fonts in Windows applications?
If you’re experiencing missing font issues, first try refreshing the font cache. Close all applications, then open the Run dialog (Win+R) and type “services.msc” to restart the Windows Font Cache Service.
For specific applications, check if the font is properly installed by verifying it appears in the Windows Fonts folder. Sometimes copying the font file directly to C:\Windows\Fonts can resolve issues.
If a document is displaying placeholder fonts, the original font may not be installed. Either install the required font or ask the document creator which font they used.