A clogged KitchenAid dishwasher can disrupt your kitchen routine. The most common causes of drainage issues in KitchenAid dishwashers are clogged filters, kinked hoses, or faulty drain pumps. These problems often have simple solutions that homeowners can tackle themselves.
Identifying the root cause is the first step to fixing a KitchenAid dishwasher that won’t drain. It could be as simple as cleaning the filter or straightening a kinked drain hose. In some cases, the issue might lie with the drain pump or solenoid valve, which may require more advanced troubleshooting.
Regular maintenance can prevent many drainage problems. Cleaning the filter and checking the drain hose monthly can keep your KitchenAid dishwasher running smoothly. For persistent issues, consulting the user manual or contacting a professional technician is advisable.
Troubleshooting a KitchenAid Dishwasher That Won’t Drain
Common Causes of Drainage Problems
A KitchenAid dishwasher that refuses to drain can be a real headache. Several things could be causing this. Let’s look at the most frequent culprits.
Clogged Drain Hose
This is often the simplest fix. Food particles and other debris can get stuck in the drain hose. This hose carries the dirty water away from the dishwasher. Check for any kinks or blockages. Sometimes, just straightening the hose or removing a visible clog can solve the problem.
Blocked Filter
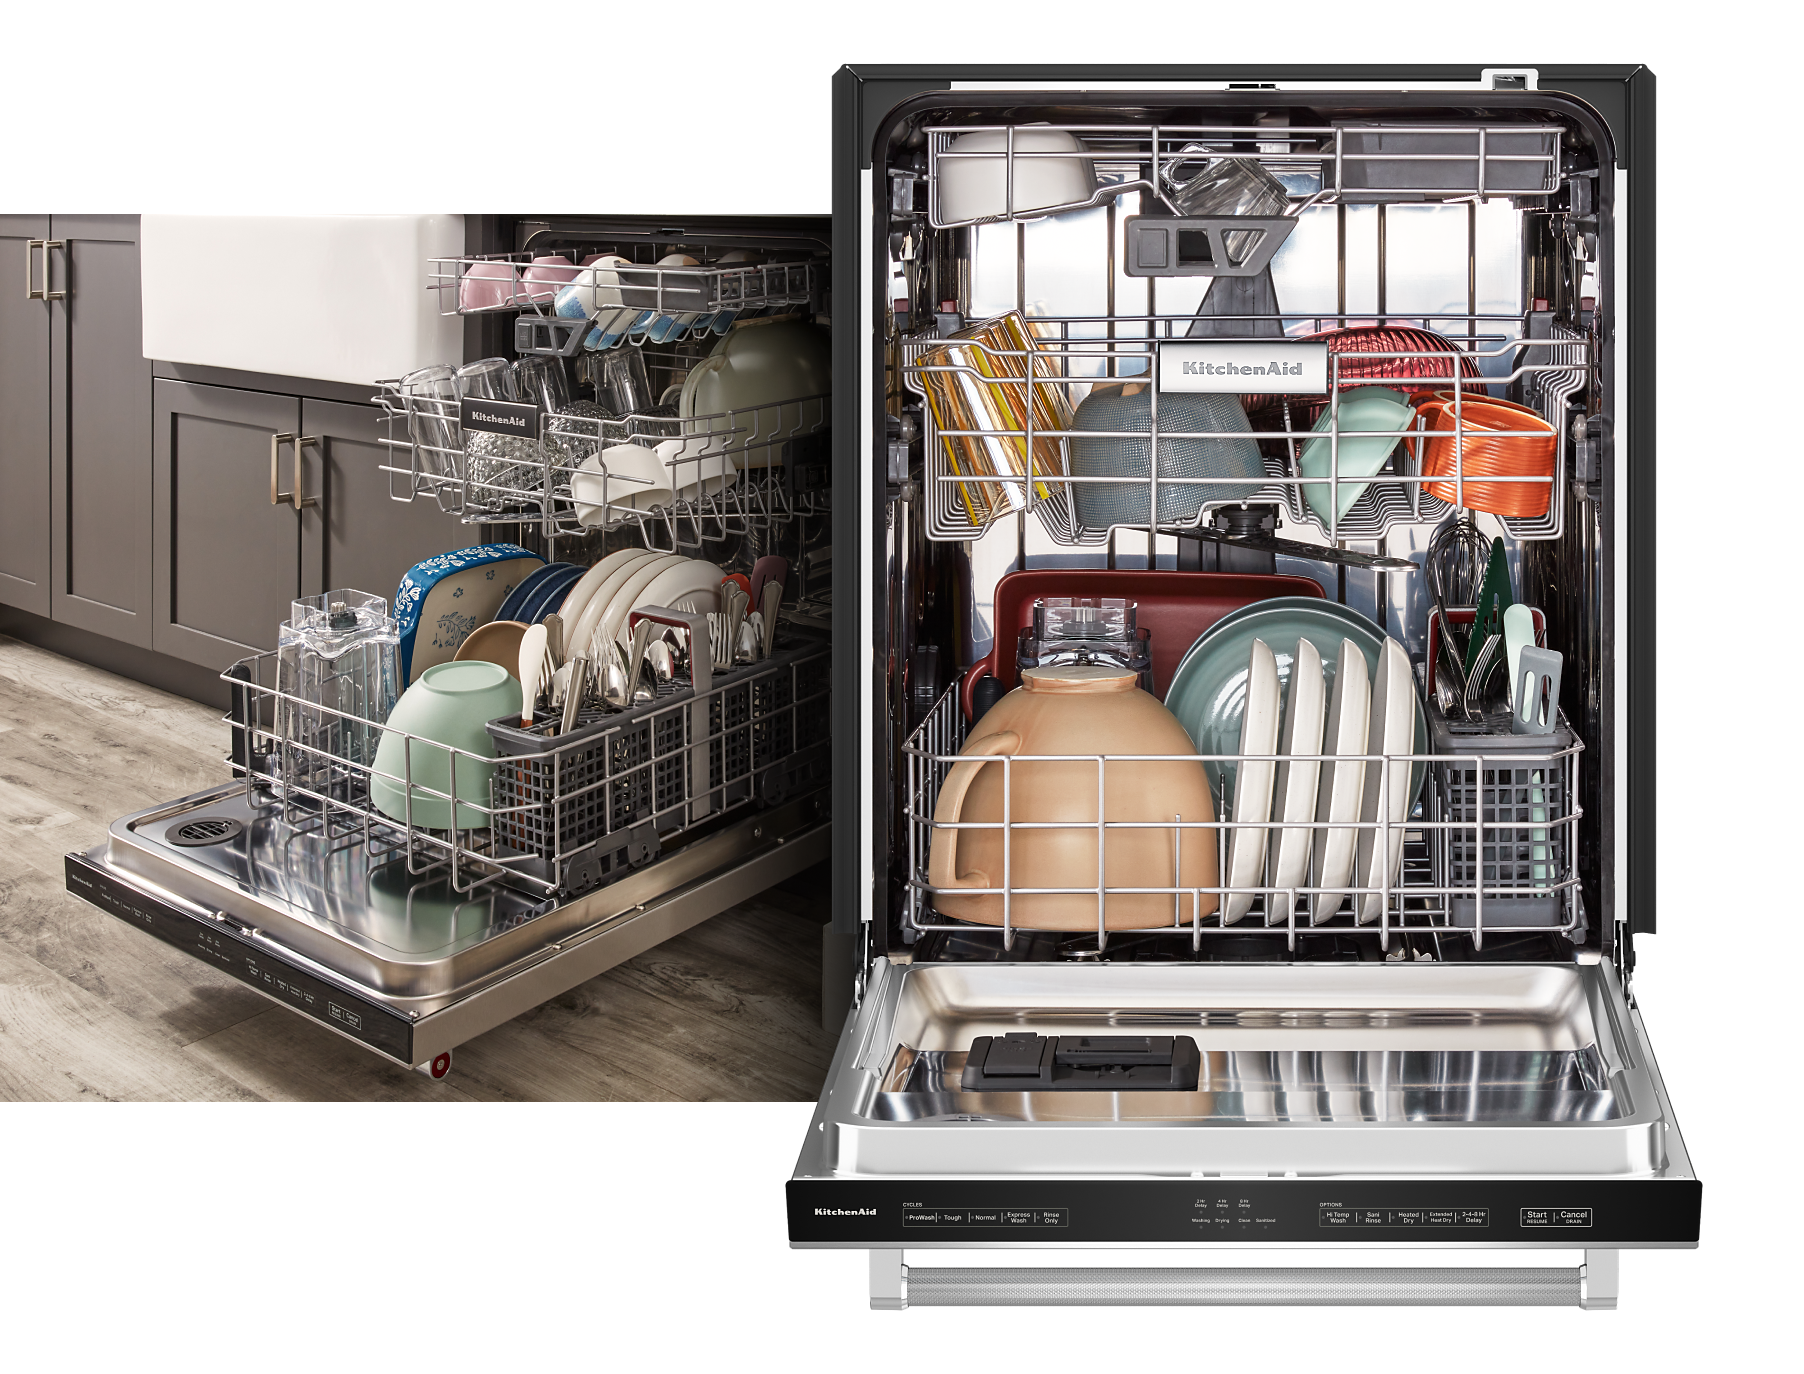
Many KitchenAid dishwashers have a filter. Its job is to trap food bits so they don’t clog the drain. If the filter itself is full, water won’t be able to get through. Locate your dishwasher’s filter (check your manual if you’re not sure where it is). Clean it thoroughly under running water.
Faulty Drain Pump
The drain pump is what pushes the water out. If the pump is broken, it won’t be able to do its job. You can sometimes check the pump for obstructions. However, pump repairs are often best left to a professional.
Air Gap Issues
Some dishwashers use an air gap. This prevents dirty water from flowing back into the dishwasher. If the air gap is clogged, it can stop drainage. Clean the air gap if you find any blockages.
Kinked or Blocked Drain Line
The problem might not be with the dishwasher itself, but with the drain line. This is the pipe that the dishwasher drains into. Check for kinks or clogs in this line. Sometimes, a plumber’s snake can clear a stubborn blockage.
Troubleshooting Steps
Here’s a breakdown of what you can do:
- Check the drain hose: Look for kinks, clogs, or anything that’s restricting water flow.
- Clean the filter: Remove and rinse the filter thoroughly.
- Inspect the drain pump: Check for visible obstructions. Consider professional help for pump repairs.
- Examine the air gap: Clean the air gap if your dishwasher has one.
- Check the drain line: Look for blockages in the drain pipe itself.
When to Call a Professional
If you’ve tried these steps and your KitchenAid dishwasher still won’t drain, it’s time to call a qualified appliance repair technician. Trying to fix more complex issues yourself could make the problem worse.
| Problem | Possible Solution |
|---|---|
| Clogged Drain Hose | Straighten hose, remove visible clogs |
| Blocked Filter | Clean the filter |
| Faulty Drain Pump | Professional repair |
| Air Gap Issues | Clean the air gap |
| Kinked/Blocked Drain Line | Check for kinks/clogs, use a plumber’s snake |
Key Takeaways
- Clean filters and check drain hoses regularly to prevent clogs
- Simple fixes like unclogging filters or straightening hoses can often solve drainage issues
- Professional help may be needed for problems with internal components like drain pumps
Understanding the Drainage System of Your KitchenAid Dishwasher
The drainage system in a KitchenAid dishwasher is crucial for removing dirty water and food particles. It consists of several key components that work together to ensure proper water evacuation.
Components of the Drainage System
The main parts of a KitchenAid dishwasher’s drainage system include the drain hose, drain pump, and check valve. The drain hose connects the dishwasher to the home’s plumbing, allowing water to exit. It’s typically made of flexible rubber or plastic.
The check valve prevents wastewater from flowing back into the dishwasher. It’s usually located near the drain pump or at the end of the drain hose. Regular inspection of this valve can prevent clogs and backflow issues.
A properly functioning drain filter is essential. It catches large food particles, preventing them from clogging the drain pump or hose. Cleaning this filter regularly improves drainage efficiency.
The Role of the Drain Pump and Motor
The drain pump is the heart of the drainage system. It forcefully expels water from the dishwasher through the drain hose. The pump is powered by an electric motor, which activates at specific times during the wash cycle.
KitchenAid dishwashers often use a reversible pump motor. This design allows the same motor to circulate water during washing and pump it out during draining. The motor switches direction to perform these different functions.
A faulty pump motor is a common cause of drainage problems. Signs of a failing motor include unusual noises or a complete lack of draining action. In such cases, testing the motor’s continuity with a multimeter can help diagnose the issue.
Troubleshooting Common Drainage Issues
A KitchenAid dishwasher that won’t drain can be frustrating. Several factors can cause this problem, ranging from simple blockages to mechanical failures. Let’s explore the main areas to check and how to address them.
Inspecting for Obstructions and Blockages
The first step in troubleshooting a KitchenAid dishwasher that won’t drain is to check for obstructions. Start by removing the lower rack and inspecting the drain area. Look for any visible debris or food particles that might be blocking the drain.
Next, examine the dishwasher’s filter. Remove it carefully and rinse it under warm water to clear any accumulated gunk. A clogged filter can prevent proper drainage.
Check the drain hose for kinks or tight bends. Straighten any found to allow water to flow freely. Also, inspect the air gap if present. Remove its cover and clean out any debris that may have collected inside.
Testing for Mechanical Failures
If no obstructions are found, the issue may lie with mechanical components. The drain pump is a crucial part to check. It’s usually located at the bottom of the dishwasher.
To test the pump, first unplug the dishwasher. Then, remove the lower access panel to locate the pump. Disconnect it and use a multimeter to test for continuity. If there’s no continuity, the pump may need replacement.
Another component to check is the check valve. This prevents water from flowing back into the dishwasher. Ensure it’s not stuck or damaged, as this can impede proper drainage.
Assessing Control Board Functions
Sometimes, drainage issues stem from electronic malfunctions. The control board governs the drain cycle, so a faulty board can prevent the dishwasher from draining properly.
Start by checking if the dishwasher is receiving power. Ensure it’s properly plugged in and the circuit breaker hasn’t tripped. If power isn’t the issue, listen for any unusual sounds during the drain cycle.
Use the dishwasher’s diagnostic mode, if available, to check for error codes. These codes can pinpoint specific issues with the control board or other electronic components. If the control board is suspected, it may require professional diagnosis and replacement.
Step-By-Step Repair Guide
Fixing a KitchenAid dishwasher that won’t drain involves identifying and addressing common issues. This guide outlines the process of clearing clogs and replacing faulty components.
Clearing Clogged Components
Start by unplugging the dishwasher and removing the bottom rack. Check the drain filter at the bottom of the tub for debris. Remove and clean it thoroughly.
Next, inspect the drain hose. Disconnect it from the sink or garbage disposal and clear any blockages. Use a plumber’s snake if necessary.
Examine the air gap (if present) on the sink. Remove the cap and clean out any buildup.
Run the garbage disposal to clear any obstructions that might prevent proper draining.
Pour a mixture of baking soda and vinegar down the drain, followed by hot water, to dissolve minor clogs.
Replacing Defective Parts
If clearing clogs doesn’t solve the issue, faulty parts may be to blame. Check the drain pump for proper operation. Listen for a humming sound when the dishwasher attempts to drain.
Inspect the check valve for damage or stuck debris. This one-way valve prevents water from flowing back into the dishwasher.
Test the drain solenoid if your model has one. This electric component opens the drain valve.
Consult the service manual for part locations and replacement procedures. Order genuine KitchenAid replacement parts for best results.
Consider using a dishwasher cleaner monthly to prevent future clogs and maintain optimal performance.
When to Seek Professional Assistance
KitchenAid dishwasher drainage issues can sometimes require expert help. Knowing when to call a professional can save time and prevent further damage.
Evaluating the Need for an Appliance Technician
DIY troubleshooting has its limits. Call an appliance technician if:
- The dishwasher still won’t drain after basic fixes
- Unusual noises come from the drain pump
- Water leaks from the dishwasher’s base
- The control panel shows error codes
Technicians have specialized tools to diagnose complex problems. They can safely check electrical components and replace faulty parts.
KitchenAid dishwashers may need professional service for:
- Drain pump replacement
- Control board repairs
- Broken door seals causing leaks
- Clogged air gaps that DIY methods can’t fix
A professional can also inspect the water supply and drainage system for hidden issues. This may include checking for:
- Damaged inlet valves
- Faulty float switches
- Blockages in main plumbing lines
Technicians offer warranties on their work, giving peace of mind. They can also advise on maintenance to prevent future problems.
Frequently Asked Questions
KitchenAid dishwashers may experience drainage issues due to various factors. Understanding the common problems and solutions can help resolve these issues efficiently.
How do you troubleshoot a KitchenAid dishwasher that is not draining?
Start by checking the drain hose for kinks or blockages. Straighten any bent sections and clear any clogs. Inspect the dishwasher filter and remove any debris. Clean the air gap if present. Check the drain pump for obstructions or damage.
What steps are involved in running a drain cycle on a KitchenAid dishwasher?
To run a drain cycle, cancel the current cycle if one is in progress. Press the Start/Resume button and let the dishwasher run for about 2 minutes. This will pump out any standing water. If the issue persists, repeat the process.
Can you manually activate the drain pump on a KitchenAid dishwasher, and if so, how?
Yes, manual activation is possible. Disconnect the power supply. Locate the drain pump at the bottom of the dishwasher. Remove any standing water. Turn the pump impeller by hand to check for obstructions. Reconnect power and run a drain cycle to test.
What are common causes for a KitchenAid dishwasher not to drain despite no visible blockage?
A faulty drain pump or solenoid valve can prevent proper drainage. Electrical issues may also be responsible. A clogged or damaged check valve can hinder water flow. In some cases, a malfunctioning control board might fail to signal the drain cycle.
How do you clean the drain in a KitchenAid dishwasher?
Remove the bottom rack and locate the drain. Clear visible debris. Mix equal parts baking soda and vinegar, pour into the drain, and let sit for 15 minutes. Flush with hot water. For stubborn clogs, use a plumber’s snake or call a professional.
Where is the drain pump located in a KitchenAid dishwasher, and how can it be tested?
The drain pump is typically located at the bottom of the dishwasher, near the front. To test it, disconnect power and remove the lower access panel. Check for continuity using a multimeter. If there’s no continuity, the pump may need replacement.