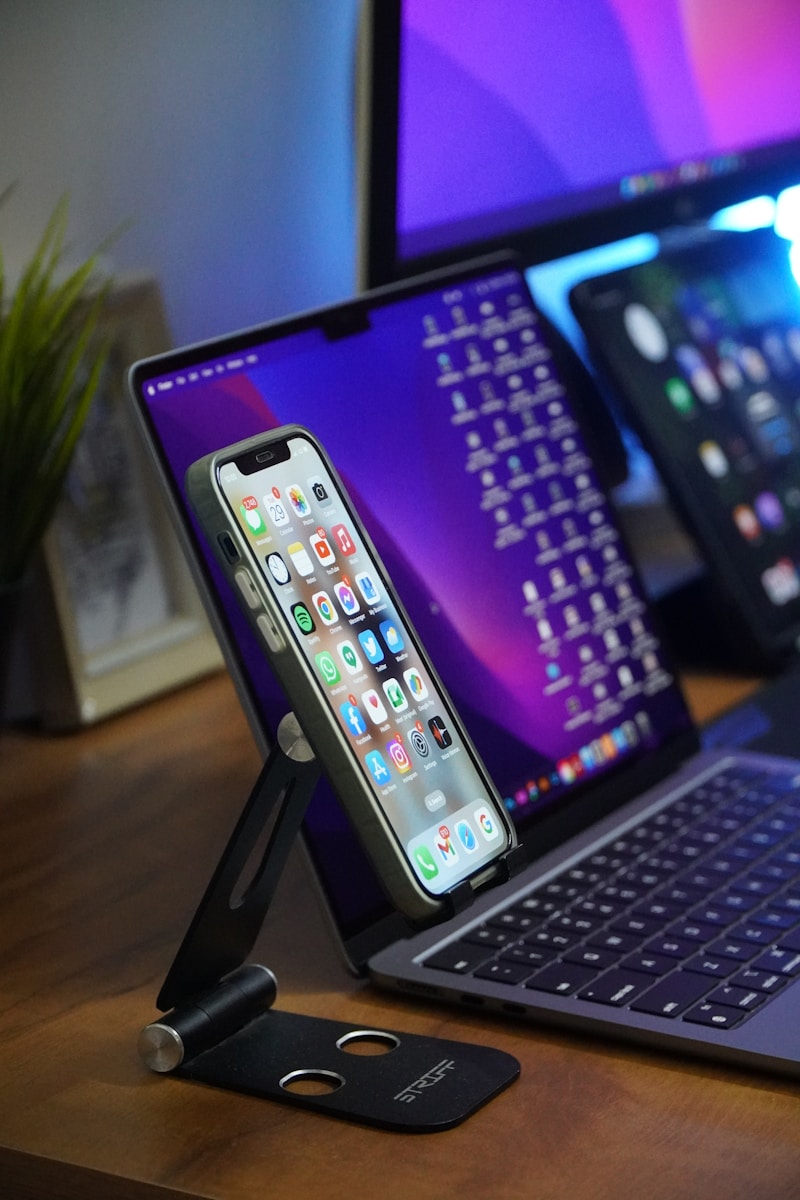
Moving photos from an iPhone to a PC is a simple process that can free up storage space on your device. Several methods exist to transfer your precious memories, including using a USB cable, iCloud, or third-party apps. The quickest and most reliable way to move photos from an iPhone to a PC is by connecting the devices with a USB cable and using the Windows Photos app or File Explorer to import the images.
For users with large photo libraries, this direct connection method offers faster transfer speeds compared to wireless options. It also allows for more control over which photos to import and where to save them on the PC. Mac users can follow a similar process using the Photos app on their computers.
1. Using a USB Cable + Windows Photos App
This is the most straightforward method.
Steps:
- Connect your iPhone to your PC with a Lightning-to-USB cable.
- Unlock your iPhone and tap Trust This Computer if prompted.
- On your PC, open the Photos app (built into Windows 10 & 11).
- Click Import > From a connected device.
- Select the photos you want and click Import.
✅ Best for: Large transfers without internet.
(Source: Apple Support)
2. Using File Explorer (Drag & Drop)
If you prefer manual control:
Steps:
- Connect iPhone to PC via USB.
- Unlock iPhone → allow access to photos.
- Open File Explorer → go to This PC > Apple iPhone > Internal Storage > DCIM.
- Copy/paste or drag photos to your PC folders.
✅ Best for: Quick selective transfers.
3. Using iCloud Photos
If you want photos to sync automatically:
Steps:
- On iPhone, go to Settings > [your name] > iCloud > Photos, turn on iCloud Photos.
- On your PC, download and install iCloud for Windows.
- Sign in with your Apple ID.
- Enable Photos > iCloud Photos.
- Your photos will appear in the iCloud Photos folder on your PC.
✅ Best for: Automatic syncing across devices.
4. Wireless Transfer (No Cable)
If you don’t want to use a cable:
- Use apps like Google Photos, Dropbox, or OneDrive to back up photos from iPhone and access them on your PC.
- Or use third‑party apps (e.g., Send Anywhere, Snapdrop) for direct wireless transfers.
✅ Best for: Convenience when cable isn’t available.
Tips & Troubleshooting
- Make sure your iPhone is unlocked during transfer.
- If PC doesn’t detect iPhone, install/update iTunes.
- For large photo libraries, USB transfer is usually faster than cloud.
👉 In short:
- USB + Photos app = easiest for most users.
- File Explorer = manual control.
- iCloud = automatic syncing.
- Wireless apps = flexible, no cable needed.
Key Takeaways
- Connect iPhone to PC with USB cable for fastest photo transfer
- Use Windows Photos app or File Explorer to import images
- iCloud and third-party apps offer wireless transfer alternatives
Preparing Your iPhone and PC for Transfer
Successful photo transfer requires proper setup on both devices. A few key steps ensure smooth data movement and ample storage space.
Installing Necessary Software
For Windows PCs, install iTunes or iCloud for Windows from the Microsoft Store. These applications enable seamless communication between your iPhone and computer. iTunes provides a direct connection option, while iCloud for Windows syncs photos wirelessly.
On your iPhone, ensure the latest iOS version is installed. This guarantees compatibility with PC software and fixes any potential bugs. To check for updates, go to Settings > General > Software Update.
For Mac users, no additional software is required as Photos app comes pre-installed.
Enabling iCloud on Your iPhone
Turn on iCloud Photos to access your images across devices. Go to Settings > [Your Name] > iCloud > Photos. Toggle on “iCloud Photos” and “Upload to My Photo Stream”.
Check your available iCloud storage. Free accounts get 5GB, which fills up quickly. Consider upgrading if needed. Go to Settings > [Your Name] > iCloud > Manage Storage to view usage and upgrade options.
Sign in with your Apple ID on both devices to ensure seamless syncing. This step is crucial for iCloud functionality and photo access.
Methods of Transferring Photos
Several options exist for moving photos from an iPhone to a PC. These range from built-in Windows features to cloud-based solutions and third-party apps.
Using the Photos App on Windows
The Photos app on Windows offers a straightforward way to import iPhone photos. Connect the iPhone to the PC using a USB cable. Unlock the iPhone and tap “Trust” when prompted. Open the Photos app on Windows and click “Import” in the top right corner. Select the photos to transfer or choose “Import all new items.” The app will copy the selected photos to the PC.
This method works well for one-time transfers or when dealing with a large number of photos. It’s fast and doesn’t require additional software. However, it may not automatically sync new photos as they’re taken.
Syncing with iCloud for Windows
iCloud for Windows allows continuous syncing of photos between an iPhone and PC. Download and install iCloud for Windows from Apple’s website. Sign in with an Apple ID and enable iCloud Photos. New photos taken on the iPhone will automatically appear in the iCloud Photos folder on the PC.
This method keeps photos in sync across devices. It’s convenient for users who frequently take photos and want them available on their PC without manual transfers. The downside is that it requires sufficient iCloud storage, which may involve a paid subscription for larger photo libraries.
Alternative Third-Party Services
Several third-party services offer photo transfer and storage options. Google Photos, Dropbox, and OneDrive are popular choices. These services typically provide apps for both iPhone and PC.
Install the chosen app on the iPhone and enable automatic photo uploads. Install the corresponding app or use the web interface on the PC to access the photos. These services often offer additional features like photo editing and sharing.
Third-party options provide flexibility and cross-platform compatibility. They’re useful for users who want to access photos on multiple devices or share them easily. However, they may require paid subscriptions for larger storage needs and depend on internet connectivity for syncing.
Using File Explorer for Transfer
File Explorer provides a straightforward method to transfer photos from iPhone to PC. This process involves connecting the devices and navigating through folders to copy images.
Accessing iPhone’s Storage on PC
To begin, connect the iPhone to the PC using a USB cable. The PC should recognize the iPhone as a new device. Open File Explorer and look for the iPhone under “This PC” or “Devices and drives.” Click on the iPhone icon to view its contents.
Navigate to the “Internal Storage” folder, then locate the “DCIM” folder. This folder contains all photos and videos stored on the iPhone. The DCIM folder may have subfolders with names like “100APPLE” or “101APPLE.”
Copying and Pasting Photos Manually
Once inside the DCIM folder, select the photos you want to transfer. You can choose individual photos or use Ctrl+A to select all. Right-click on the selected items and choose “Copy” from the menu.
Next, create a new folder on your PC to store the transferred photos. Navigate to this folder in File Explorer. Right-click inside the folder and select “Paste” to copy the photos from your iPhone.
The transfer speed depends on the number of photos and your USB connection. Large transfers may take several minutes. After the transfer is complete, you can safely disconnect your iPhone from the PC.
Frequently Asked Questions
Transferring photos from an iPhone to a PC involves several methods and potential troubleshooting steps. Users can choose between wired and wireless options, depending on their specific needs and equipment.
How do I transfer photos from iPhone to PC using Windows 10?
Connect the iPhone to the PC with a USB cable. Open the Photos app on Windows 10. Click “Import” and select “From a USB device.” Choose the photos to transfer. The app will show all available photos for import. Select the destination folder on the PC. Click “Import” to start the transfer process.
What steps are needed to transfer photos from an iPhone to a PC with Windows 11?
Plug the iPhone into the PC using a USB cable. Tap “Allow” on the iPhone when prompted to let the PC access photos and videos. Open File Explorer on Windows 11. Locate the iPhone under “This PC.” Navigate to the “DCIM” folder. Select and copy the desired photos to the PC.
Can I transfer photos from my iPhone to my computer using a USB cable?
Yes, a USB cable is a reliable method for transferring photos. Plug the iPhone into the PC’s USB port. Unlock the iPhone and trust the computer if prompted. On Windows, open File Explorer or the Photos app. On Mac, use the Photos app or Image Capture. Select the photos and import them to the desired location on the computer.
What is the method to transfer photos from iPhone to PC wirelessly?
Use iCloud Photos for wireless transfer. On the iPhone, go to Settings > [Your Name] > iCloud > Photos. Enable iCloud Photos. On a PC, download and install iCloud for Windows. Sign in with your Apple ID. Select “Photos” in iCloud settings. Your photos will sync to the PC automatically when connected to Wi-Fi.
How can I resolve issues when unable to transfer photos from my iPhone to PC?
Check the USB cable for damage. Try a different USB port on the PC. Ensure the iPhone is unlocked and trusted on the computer. Restart both the iPhone and PC. Update iOS on the iPhone and Windows on the PC. If using iTunes, make sure it’s up to date. Check for any pending Windows updates that might affect device recognition.
What process should be followed to transfer photos from an iPhone to an external hard drive using a PC?
Connect the iPhone and external hard drive to the PC. Open File Explorer or the Photos app. Select the photos to transfer from the iPhone. Copy the selected photos. Navigate to the external hard drive in File Explorer. Paste the copied photos into a folder on the external drive. Verify the transfer by checking the photos on the external drive.

