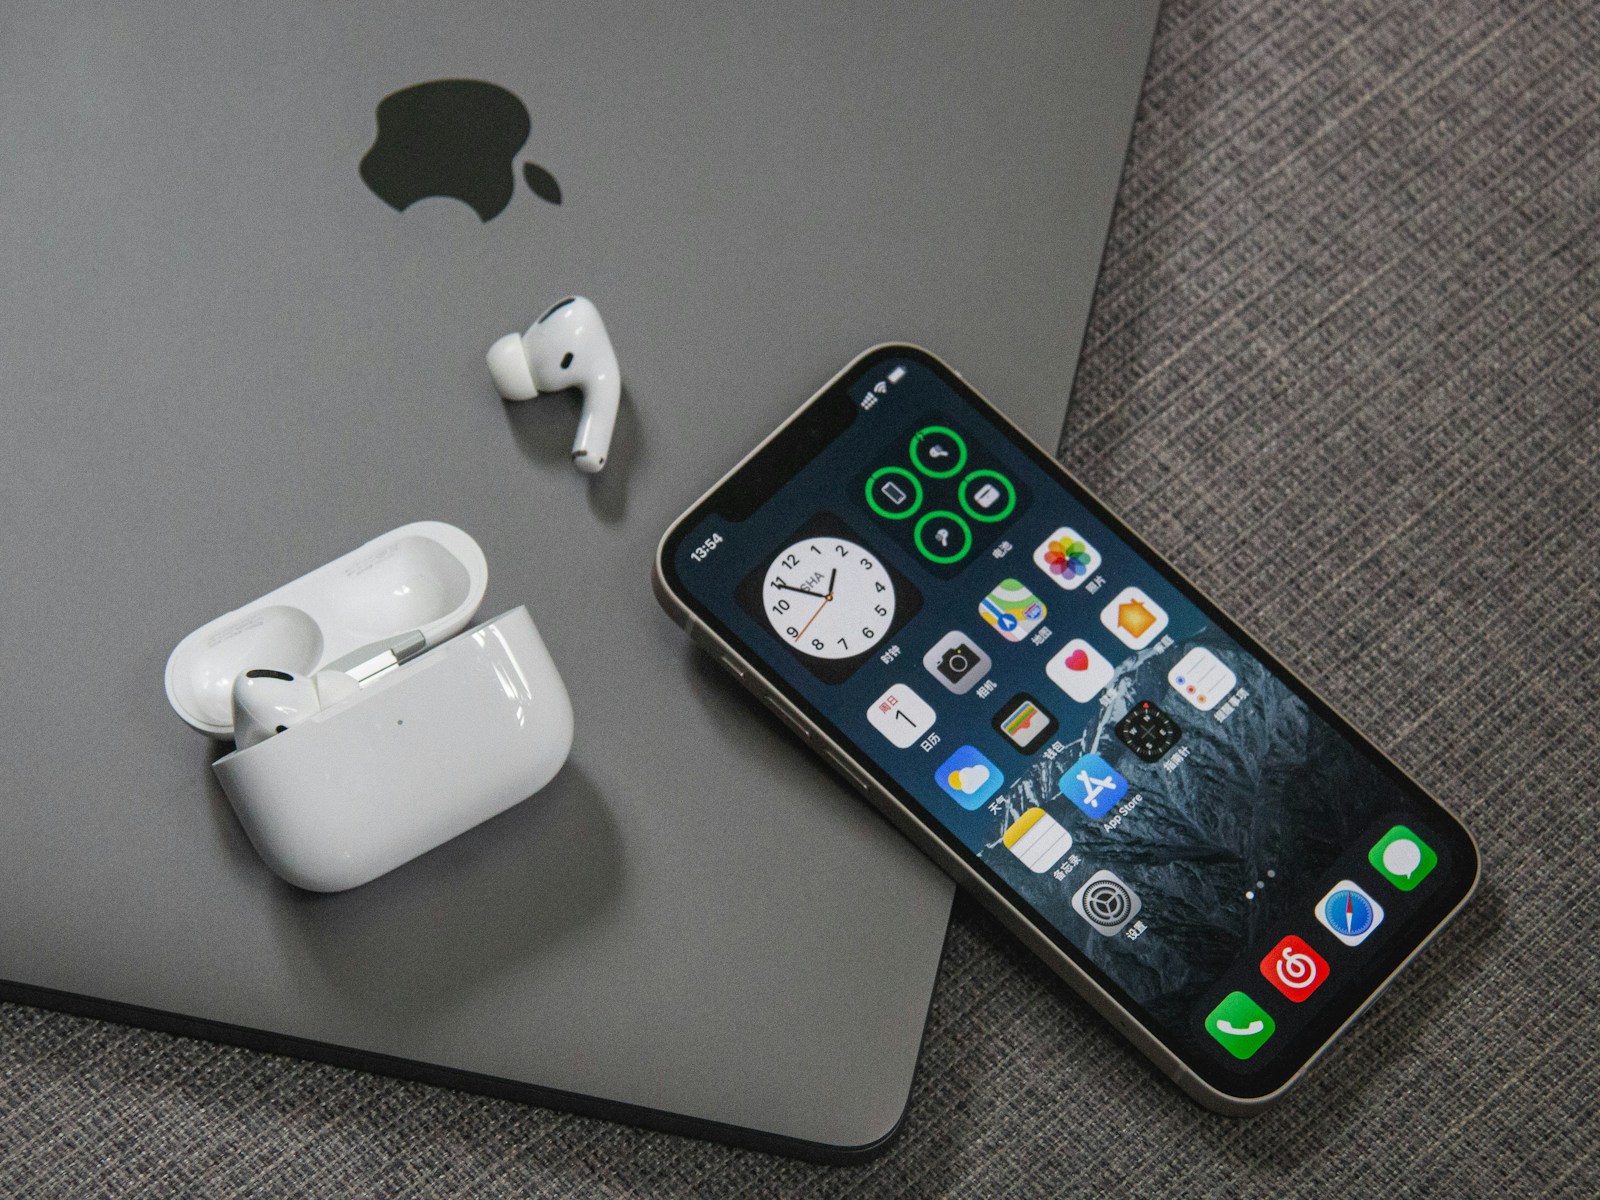
Personalizing your iPhone’s ringtone can add a unique touch to your device. Many users want to set their favorite songs as ringtones but aren’t sure how to do it for free. You can create custom ringtones on your iPhone using apps like GarageBand or iTunes on your computer without spending any money.
The process involves selecting a song, trimming it to the desired length, and converting it to a compatible format. Apple provides built-in tools that make this task accessible to most users. With a few simple steps, you can transform any song in your music library into a personalized ringtone.
Creating custom ringtones allows you to express your musical taste and set your iPhone apart. It’s a fun way to customize your device and ensure you never miss a call with a distinct, recognizable tune.
Method 1: Using GarageBand (Recommended)
Step 1: Download GarageBand
- Open the App Store on your iPhone
- Search for “GarageBand” (it’s free from Apple)
- Download and install the app
Step 2: Create Your Ringtone
- Open GarageBand
- Tap “Audio Recorder” or any instrument
- Tap the track view icon (parallel lines) at the top left
- Tap the loop icon (circular arrows) at the top right
- Go to “Files” → “Browse items from the Files app”
- Select your desired song
- Drag the song into the timeline
- Trim the song to 30-40 seconds (ideal ringtone length)
- Tap the audio clip
- Drag the edges to trim
- Use the scissors icon to cut if needed
Step 3: Export as Ringtone
- Tap the down arrow at the top left
- Select “My Songs”
- Press and hold your project
- Tap “Share” → “Ringtone”
- Name your ringtone
- Tap “Export”
- Choose “Use sound as…” → “Standard Ringtone”
Method 2: Using iTunes/Music App on Computer
Step 1: Prepare the Song
- Open iTunes or Music app on your computer
- Right-click the song you want to use
- Select “Song Info” → “Options”
- Set start and stop times (keep it under 40 seconds)
- Click “OK”
Step 2: Convert to AAC
- Right-click the song again
- Select “Convert to AAC”
- A duplicate AAC version will appear
Step 3: Create the Ringtone File
- Right-click the AAC version
- Select “Show in Finder” (Mac) or “Show in Windows Explorer” (PC)
- Change the file extension from
.m4ato.m4r - Double-click the
.m4rfile to add it to your ringtones
Step 4: Sync to iPhone
- Connect your iPhone to your computer
- Open iTunes/Finder
- Select your device
- Go to “Tones” section
- Check “Sync Tones”
- Click “Apply” or “Sync”
Method 3: Using Files App and Settings (iOS 13+)
Step 1: Get Your Audio File
- Save your desired song clip (30-40 seconds) as an
.m4rfile - Save it to your Files app or iCloud Drive
Step 2: Set as Ringtone
- Go to Settings → Sounds & Haptics → Ringtone
- Under “Custom,” you should see your ringtone
- Tap to select and preview
- Tap “Done” to set it
Setting Your Custom Ringtone
Once your ringtone is created:
- Open Settings
- Tap Sounds & Haptics
- Tap Ringtone
- Under “Custom” section, find your ringtone
- Tap to select it
- Tap Done
Pro Tips
- Optimal length: Keep ringtones between 20-40 seconds
- File size: Smaller files work better (under 2MB)
- Format:
.m4ris the iPhone ringtone format - Volume: Choose parts of songs with consistent volume levels
- Fade effects: Add fade-in/fade-out in GarageBand for smoother loops
For Specific Contacts
To set custom ringtones for specific people:
- Open Contacts
- Select the contact
- Tap Edit
- Tap Ringtone
- Choose your custom ringtone
- Tap Done
Troubleshooting
Ringtone not showing up?
- Make sure the file is in
.m4rformat - Check that it’s under 40 seconds
- Restart your iPhone
- Re-sync with iTunes if using Method 2
Can’t find the ringtone option?
- Update to the latest iOS version
- Check if the file is properly saved in Files app
With these methods, you can create unlimited custom ringtones for free using songs you already own or royalty-free music. The GarageBand method is usually the easiest for most users since it’s done entirely on your iPhone.
Key Takeaways
- Custom iPhone ringtones can be created for free using GarageBand or iTunes
- Any song in your music library can be trimmed and converted into a ringtone
- Setting a personalized ringtone adds a unique touch to your iPhone
Preparing Your Music File
Preparing a music file for use as an iPhone ringtone involves converting it to a compatible format and editing it to the desired length. These steps ensure the audio will work properly as a custom ringtone on your device.
Converting Music to Compatible Format
iPhone ringtones require specific file formats. The most common format is .m4r, which is essentially an AAC audio file with a different extension. To convert your music:
- Open iTunes on your computer.
- Select the song you want to use.
- Right-click and choose “Create AAC Version”.
- Locate the new AAC file in your iTunes library.
- Right-click the file and select “Show in Finder” (Mac) or “Show in Windows Explorer” (PC).
- Change the file extension from .m4a to .m4r.
For users without iTunes, online converters can transform MP3 files to M4R format. These tools are often free and easy to use.
Trimming and Editing the Audio
iPhone ringtones have a maximum length of 40 seconds. To trim your audio file:
- Open GarageBand on your Mac or iPhone.
- Import the audio file you want to use.
- Drag the audio clip to the desired start point.
- Click and drag the end of the clip to shorten it to 30-40 seconds.
- Use the fade-in and fade-out tools for smooth transitions.
- Export the file as a ringtone directly to your iPhone.
For Windows users, Audacity is a free audio editor that can trim MP3 files. Simply import the file, select the desired portion, and export it as a new MP3 before converting to M4R format.
Creating a Ringtone in iTunes
iTunes offers a free method to turn your favorite songs into custom iPhone ringtones. This process involves adding audio files, setting precise start and stop times, and creating a specific file format for use on your device.
Adding the Audio File to iTunes
Open iTunes on your computer and navigate to the Library section. Click File > Add File to Library or drag and drop the desired song into iTunes. Ensure the song is in MP3 or AAC format for compatibility. If needed, convert the file by right-clicking the song and selecting “Create AAC Version.”
iTunes organizes added songs automatically. Find your track in the appropriate category (e.g., Artists, Albums). Right-click the song and choose “Get Info” to view or edit details like artist name and album title.
Setting the Start and Stop Times
Select the song you want to use as a ringtone. Right-click and choose “Get Info.” Click the “Options” tab in the window that appears. Check the boxes next to “Start” and “Stop” to enable custom time settings.
Enter the desired start and end times for your ringtone. Apple limits ringtones to 30 seconds, so keep this in mind when choosing your segment. Click “OK” to save these changes.
Right-click the song again and select “Create AAC Version.” iTunes will generate a new 30-second clip based on your specified time range.
Creating and Transferring the .M4R File
Locate the new 30-second AAC file in your iTunes library. Right-click and select “Show in Finder” (Mac) or “Show in Windows Explorer” (PC). This reveals the file’s location on your computer.
Change the file extension from .m4a to .m4r. This new extension identifies the file as an iPhone ringtone. Delete the original 30-second AAC file from iTunes to avoid confusion.
Connect your iPhone to your computer using a USB cable. In iTunes, select your device when it appears. Click the “Tones” section in the sidebar. Drag and drop the .m4r file into this area to sync it to your iPhone.
Using GarageBand for Custom Ringtones
GarageBand offers iPhone users a free and easy way to create unique ringtones. This built-in app allows for customization using Apple Loops or personal audio recordings.
Creating a Ringtone with Apple Loops and Audio Recorder
GarageBand provides a wide selection of Apple Loops to start your ringtone. Users can mix these pre-made loops or record their own audio. To begin, open GarageBand and select “Create New Song.” Choose “Tracks View” and tap the loop browser icon to access Apple Loops.
Drag desired loops onto the timeline. Adjust loop placement and duration as needed. For personal recordings, tap the “+” icon and select “Audio Recorder.” Record your voice or sounds using the iPhone’s microphone.
Ringtones should be 30 seconds or less. Use the trim tool to shorten your creation. Tap and hold a region, then drag the yellow handles to adjust length.
Exporting and Sharing Your Ringtone
Once satisfied with the composition, it’s time to export. Tap the downward arrow icon in the top left corner and select “My Songs.” Long-press the project and choose “Share.”
Select “Ringtone” as the export format. Name your ringtone and tap “Export.” GarageBand will process the file. Choose “Use sound as…” to set it as a ringtone, text tone, or assign it to a contact.
The new ringtone will appear in the iPhone’s Sound settings. Users can also find it in the Ringtone section when setting up contact-specific ringtones.
Setting the Ringtone on Your iPhone
Changing your iPhone’s ringtone is a quick process. You can set a custom tone as your default or assign unique sounds to specific contacts.
Assigning the Ringtone to a Contact
To give a contact their own ringtone:
- Open the Contacts app
- Select the desired contact
- Tap “Edit” in the top right corner
- Scroll down and tap “Ringtone”
- Choose your preferred sound
- Tap “Done” to save changes
This method allows you to identify callers without looking at your phone. You can repeat these steps for multiple contacts, creating a personalized calling experience.
Setting the Ringtone as the Default
To change your iPhone’s main ringtone:
- Go to Settings
- Tap “Sounds & Haptics”
- Select “Ringtone”
- Choose your new tone from the list
Your custom ringtone will appear at the top of the list. Tap it to set it as the default. This sound will play for all incoming calls, except those with assigned custom tones.
Remember, you can also change your text tone in the same “Sounds & Haptics” menu. This lets you customize alerts for messages separately from calls.
Frequently Asked Questions
Setting a custom ringtone on an iPhone can be done through various methods. Users have several options to personalize their device’s sound without spending money.
How can I set a song as my iPhone ringtone without using iTunes?
GarageBand offers a free way to create custom ringtones. Users can import a song, trim it to the desired length, and export it as a ringtone. This method bypasses the need for iTunes entirely.
What steps are needed to set a customized ringtone on an iPhone using the Music library?
The Music app doesn’t directly allow setting songs as ringtones. Users must first convert the song to a ringtone format. This typically involves using third-party apps or GarageBand to create and export the ringtone file.
Is it possible to set a ringtone from the Files app on my iPhone?
Yes, ringtone files (.m4r format) stored in the Files app can be set as ringtones. Users need to open Settings, go to Sounds & Haptics, then Ringtone, and select the desired file from the list of available tones.
How do I set a downloaded song as my default ringtone on an iPhone?
Downloaded songs must be converted to the .m4r format and synced to the iPhone. Once synced, users can select the new ringtone from Settings > Sounds & Haptics > Ringtone.
Can I get ringtones on my iPhone without any cost?
Free ringtones are available through various methods. Users can create their own using GarageBand or download free ringtones from reputable websites. Some apps also offer free ringtone options.
What is the method to change the ringtone to a song on iPhone using GarageBand?
GarageBand allows users to import songs and create ringtones. The process involves trimming the song to 30 seconds or less, exporting it as a ringtone, and then selecting it in the iPhone’s sound settings.

