Backing up your iPhone without iCloud offers alternative methods to safeguard your data. Users can protect their iPhone data by using iTunes, Finder, or third-party software to create local backups on their computers. This approach provides control over backup storage and doesn’t rely on cloud services.
iTunes and Finder serve as built-in options for iPhone backups on Windows and Mac computers respectively. These tools allow users to store their device data locally, ensuring easy access and privacy. Third-party software solutions also exist, offering additional features and flexibility for those seeking alternatives to Apple’s native backup options.
Creating backups without iCloud can save storage space on your Apple account and provide a physical copy of your data. This method proves useful for users with limited internet connectivity or those who prefer keeping their information offline. Regular backups help prevent data loss and simplify the process of transferring information to a new device.
Method 1: iTunes/Finder Backup (Mac/PC)
For Windows Users (iTunes):
- Download and install iTunes from Apple’s website if you haven’t already
- Connect your iPhone to your computer using a USB cable
- Open iTunes and click the iPhone icon when it appears
- Select “Back up all data on your iPhone to this Mac/PC”
- Choose encrypted backup if you want to save passwords, Health data, and HomeKit settings
- Click “Back Up Now” and wait for the process to complete
For Mac Users (macOS Catalina and later):
- Connect your iPhone to your Mac using a USB cable
- Open Finder and select your iPhone from the sidebar
- Click “Back up all data on your iPhone to this Mac”
- Select “Encrypt local backup” for complete data backup
- Click “Back Up Now”
Method 2: Third-Party Backup Software
Popular Options:
- 3uTools: Free software with backup and restore capabilities
- iMazing: Professional iPhone management tool (paid)
- AnyTrans: Comprehensive iOS data management (paid)
- Dr.Fone: Data backup and recovery solution (paid)
General Steps for Third-Party Tools:
- Download and install your chosen software
- Connect iPhone via USB cable
- Launch the application and select your device
- Choose backup options (full backup or selective)
- Start the backup process
Method 3: Manual Data Backup
Photos and Videos:
- Import to computer: Use Photos app (Mac) or File Explorer (Windows)
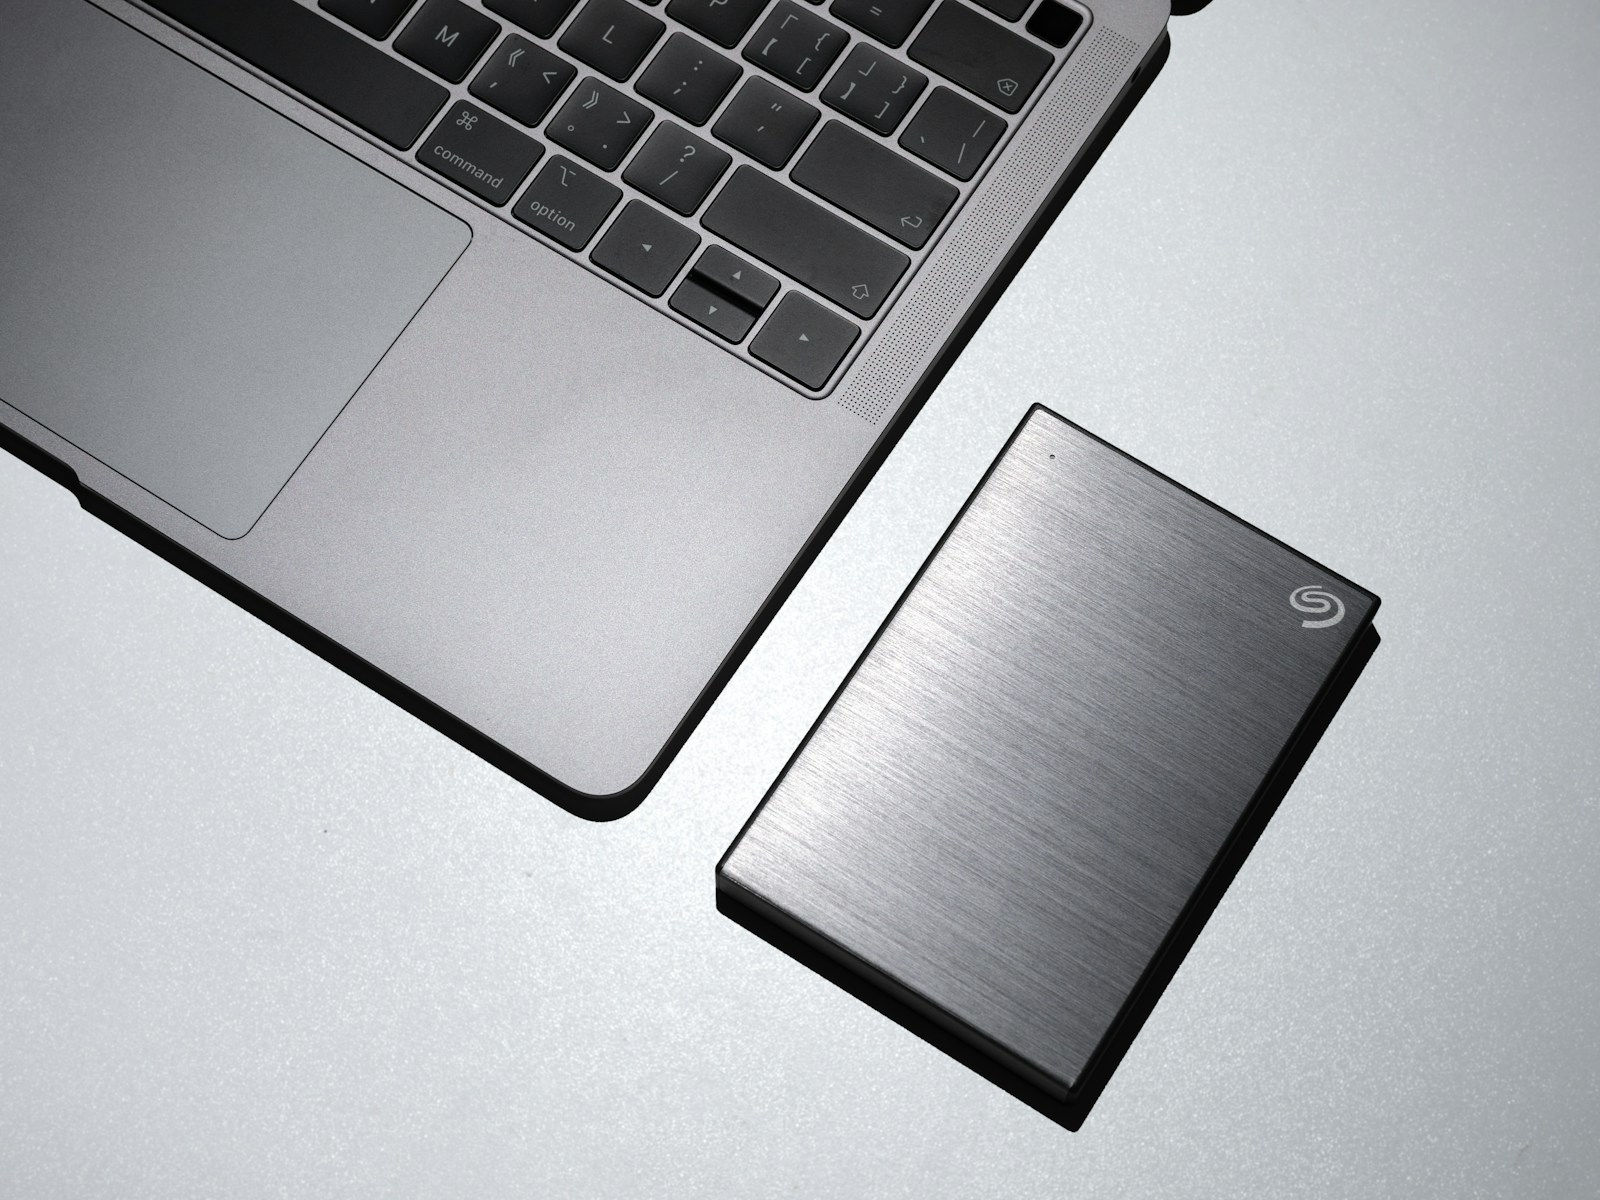
- External storage: Copy to external hard drives or USB drives
- Cloud services: Upload to Google Drive, Dropbox, or OneDrive
Contacts:
- Export as vCard (.vcf) file through Contacts app
- Sync with Google Contacts or Outlook
Messages:
- Use third-party apps like iMazing or 3uTools
- Screenshot important conversations
Music and Media:
- Sync with iTunes/Music app
- Copy files manually to computer
Method 4: Alternative Cloud Services
Google Drive:
- Download Google Drive app
- Enable backup for photos, contacts, and calendar events
- Data syncs automatically
Dropbox:
- Install Dropbox app
- Enable camera upload for photos
- Manually upload important files
What Gets Backed Up in Each Method
iTunes/Finder Backup Includes:
- App data and settings
- Device settings and preferences
- Messages and call history
- Photos and videos (if not synced to iCloud)
- Health and Activity data (encrypted backups only)
- HomeKit configuration (encrypted backups only)
What’s NOT Included:
- Face ID or Touch ID settings
- Apple Pay information
- Activity data
- Data already stored in iCloud (if iCloud is enabled)
Best Practices and Tips
Regular Backup Schedule:
- Weekly full backups using iTunes/Finder
- Daily photo imports to computer
- Monthly verification that backups are working
Storage Considerations:
- Ensure you have enough storage space (iPhone backups can be 20GB+)
- Use external drives for long-term storage
- Keep multiple backup copies in different locations
Security Tips:
- Always use encrypted backups for sensitive data
- Store backup drives securely
- Consider using password-protected external drives
Troubleshooting Common Issues
Backup Won’t Start:
- Update iTunes/Finder to latest version
- Try a different USB cable or port
- Restart both iPhone and computer
- Check available storage space
Backup Takes Too Long:
- Close unnecessary applications
- Use USB 3.0 ports if available
- Ensure stable power connection
- Temporarily disable antivirus real-time scanning
Restoring from Non-iCloud Backups
From iTunes/Finder:
- Connect iPhone to computer
- Select your device in iTunes/Finder
- Choose “Restore Backup”
- Select the backup you want to restore
- Wait for the process to complete
From Third-Party Software:
Follow the restore instructions specific to your chosen backup software.
Conclusion
Backing up your iPhone without iCloud gives you more control over your data and can be more cost-effective. The iTunes/Finder method provides the most comprehensive backup, while third-party tools offer additional features and flexibility. Consider using a combination of methods for maximum data protection.
Remember to test your backups regularly and keep them updated to ensure you can recover your important data when needed.
Key Takeaways
- iPhone backups can be created using iTunes, Finder, or third-party software without iCloud
- Local backups offer more control over data storage and don’t require cloud services
- Regular backups protect against data loss and facilitate easy device transfers
Understanding Backups and Alternatives to iCloud
Regular backups protect iPhone data from loss. Several options exist beyond iCloud for securing important information.
The Importance of Regular Backups
Backups safeguard photos, contacts, messages, and app data. They allow quick recovery after device issues or upgrades. Without backups, users risk losing irreplaceable memories and essential information.
Regular backups ensure the most current data is preserved. Experts recommend backing up at least weekly, or daily for heavy users. Automated solutions simplify the process.
Backups also ease transitions to new iPhones. Users can transfer their entire digital life seamlessly. This saves time and prevents data loss during upgrades.
Alternatives to iCloud Backup
Several options exist for iPhone backups without iCloud:
iTunes/Finder Backups: Connect iPhone to a computer via USB. Use iTunes (Windows) or Finder (Mac) to create local backups.
Third-Party Software: Apps like iMazing offer more control over backups. They allow selective backups and easy data browsing.
Google Drive: Sync contacts, calendars, and photos to Google’s cloud service.
Dropbox: Automatically upload photos and videos to Dropbox’s cloud storage.
OneDrive: Microsoft’s cloud solution offers automatic photo backups and file syncing.
These alternatives provide flexibility in storage location and backup frequency. Some offer free tiers, while others require subscriptions for larger storage capacities.
Preparing Your iPhone for Backup
Before starting the backup process, it’s crucial to ensure your iPhone is ready and you’ve selected the right backup method. This preparation helps create a complete and reliable backup of your data.
Ensuring Your Data is Ready for Backup
Check your iPhone’s storage space. Go to Settings > General > iPhone Storage to see available space. Delete unnecessary apps, photos, or videos to free up space if needed. Update your iPhone to the latest iOS version for compatibility. Go to Settings > General > Software Update. Charge your iPhone to at least 50% battery life or plug it into a power source. Close all running apps to prevent data conflicts during backup.
Connect to a stable Wi-Fi network for faster backup. Cellular data may be slow and costly. Organize your files and photos into folders for easier restoration later. Remove any unnecessary files or duplicates to streamline the backup process.
Choosing the Right Backup Method
Consider your storage needs and available options. iTunes offers a free, full backup to your computer. It’s ideal for large storage needs but requires a Mac or PC. External hard drives provide ample space for multiple backups. They’re portable but need manual connections.
Third-party backup apps offer cloud storage alternatives to iCloud. Some provide encryption and selective backup options. Compare features and pricing before choosing. Local network storage (NAS) allows backups over Wi-Fi. It’s convenient but requires initial setup and maintenance.
USB flash drives are portable and affordable for smaller backups. They’re easy to use but have limited storage capacity. Consider automatic backup scheduling to ensure regular updates of your data.
Step-by-Step Guide to Backing Up with iTunes and Finder
Backing up an iPhone without iCloud is possible using iTunes or Finder. These methods provide a local backup option that stores data on a computer rather than in the cloud.
Using iTunes for Windows PC Users
Windows PC users can back up their iPhones using iTunes. First, download and install iTunes from Apple’s website. Connect the iPhone to the PC using a USB cable. Open iTunes and click the device icon when it appears.
Select “Summary” from the left sidebar. Under “Backups,” choose “This computer” as the backup location. Click “Back Up Now” to start the process. iTunes will create a backup of the iPhone’s data on the PC.
To restore from this backup, connect the iPhone and open iTunes. Select the device and click “Restore Backup.” Choose the desired backup file and follow the prompts.
Using Finder for macOS Catalina and Later
Mac users with macOS Catalina or later versions use Finder for iPhone backups. Connect the iPhone to the Mac with a USB cable. Open Finder and select the iPhone from the sidebar.
In the General tab, choose “Back up all of the data on your iPhone to this Mac.” Click “Back Up Now” to begin the process. Finder will create a local backup of the iPhone on the Mac.
To restore from a Finder backup, connect the iPhone and open Finder. Select the device and click “Restore Backup.” Choose the desired backup file and follow the on-screen instructions.
Encrypting Your Backup for Additional Security
Both iTunes and Finder offer an option to encrypt backups for added security. This feature protects sensitive information like passwords and Health data.
To enable encryption, check the box next to “Encrypt local backup” before starting the backup process. Create a strong password and store it safely. Without this password, the encrypted backup cannot be accessed.
Encrypted backups provide an extra layer of protection for personal data. They are especially useful when backing up on shared or public computers.
Leveraging Third-Party Software and Services
Several alternatives to iCloud exist for backing up iPhone data. These options provide flexibility and control over the backup process.
Utilizing Google Drive for iPhone Backup
Google Drive offers a convenient way to back up iPhone data without iCloud. Users can download the Google Drive app from the App Store and sign in with their Google account. The app allows automatic backup of photos, videos, and contacts.
To set up Google Drive backup:
- Open the Google Drive app
- Tap the menu icon
- Select “Settings”
- Tap “Backup”
- Choose the data to back up
Google Drive provides 15GB of free storage. Users can purchase additional space if needed. The service encrypts data during transfer and storage for security.
Exploring Other Cloud Services like Dropbox
Dropbox is another popular cloud storage option for iPhone backups. The Dropbox app enables automatic photo and video uploads. Users can also manually upload other files and folders.
Key Dropbox features:
- 2GB free storage (upgradeable)
- File syncing across devices
- Offline access to files
- File version history
To use Dropbox for iPhone backup:
- Install the Dropbox app
- Sign in or create an account
- Enable camera uploads in settings
- Manually upload other files as needed
Dropbox uses encryption to protect data in transit and at rest.
Using Dedicated iPhone Data Management Tools
Specialized software offers comprehensive iPhone backup solutions. These tools typically provide more features than cloud services alone.
Popular iPhone data management tools:
- EaseUS MobiMover
- iMazing
- Dr.Fone
These applications allow users to:
- Create full or partial backups
- Selectively restore data
- Transfer files between devices
- Manage iOS content on computer
Many of these tools offer free trials. Users can test different options to find the best fit for their needs. Some software requires a one-time purchase, while others use subscription models.
Frequently Asked Questions
Backing up an iPhone without iCloud involves several alternative methods. These options provide flexibility and control over data storage while ensuring device information remains secure.
What are the steps to manually backup an iPhone?
To manually backup an iPhone:
- Connect the iPhone to a computer using a USB cable.
- Open iTunes (on Windows) or Finder (on Mac).
- Select the iPhone when it appears.
- Click “Back Up Now” to start the process.
This method creates a local backup on the computer, storing all iPhone data safely.
How can I backup my iPhone to my computer without using iTunes?
Third-party software offers alternatives to iTunes for iPhone backups. These programs often provide user-friendly interfaces and additional features. Users can download and install such software, connect their iPhone, and follow the program’s instructions to create a backup.
What methods are available to backup an iPhone to a PC?
Several methods exist for backing up an iPhone to a PC:
- Using iTunes
- Employing third-party backup software
- Manually transferring files through Windows Explorer
Each method offers different levels of control and ease of use.
How can I transfer data from one iPhone to another without using iCloud?
Data transfer between iPhones without iCloud can be accomplished through:
- Using iTunes or Finder to create a backup, then restoring it on the new device
- Employing the iPhone’s “Quick Start” feature for direct transfer
- Using third-party transfer apps
These methods ensure data moves securely between devices.
What options exist for backing up an iPhone on a Mac without iCloud?
Mac users have several options for iPhone backups without iCloud:
- Using Finder to create local backups
- Employing third-party backup software designed for Mac
- Manually copying files to the Mac’s storage
These methods provide Mac users with flexibility in managing their iPhone data.
Can I backup my iPhone for free without iCloud, and if so, how?
Free iPhone backup options without iCloud include:
- Using iTunes (Windows) or Finder (Mac) for local backups
- Manually transferring important files to a computer
- Using free versions of third-party backup software
These methods allow users to secure their data without additional costs.


