Updating your PC’s BIOS can enhance system performance and fix compatibility issues. The BIOS update process involves downloading the latest firmware from the manufacturer’s website and installing it through a specific method for your computer model. This crucial task requires careful preparation and execution to avoid potential risks.
Before starting, identify your current BIOS version and check if an update is available. Many modern computers allow BIOS updates directly through the BIOS interface or a dedicated software tool. Some systems may require creating a bootable USB drive with the update files.
Safety is paramount when updating BIOS. Ensure a stable power supply and follow the manufacturer’s instructions precisely. Interrupting the update process can render your computer inoperable, so it’s vital to proceed with caution and back up important data beforehand.
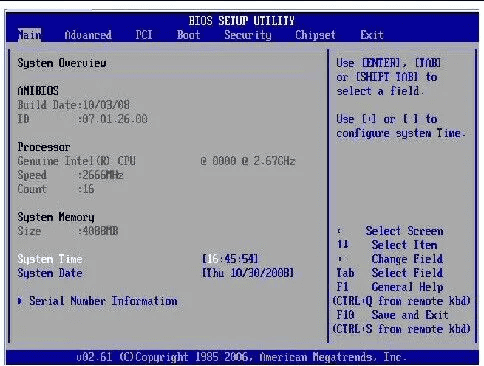
Unlocking Your PC’s Potential: A Guide to BIOS Updates
What is the BIOS?
The BIOS (Basic Input/Output System) is like a tiny computer within your computer. It’s the first thing that starts up when you turn on your PC. It’s responsible for kicking off all the hardware components and loading your operating system.
Why Update Your BIOS?
Think of a BIOS update as giving your PC a tune-up. Updates can bring a range of benefits:
- Improved performance: Updates often optimize how your hardware works together, leading to faster boot times and smoother operation.
- Support for new hardware: If you’ve added a new CPU or RAM, a BIOS update might be needed for your PC to recognize it.
- Bug fixes and security patches: Updates address known issues and vulnerabilities, keeping your system stable and secure.
Finding the Right BIOS Update
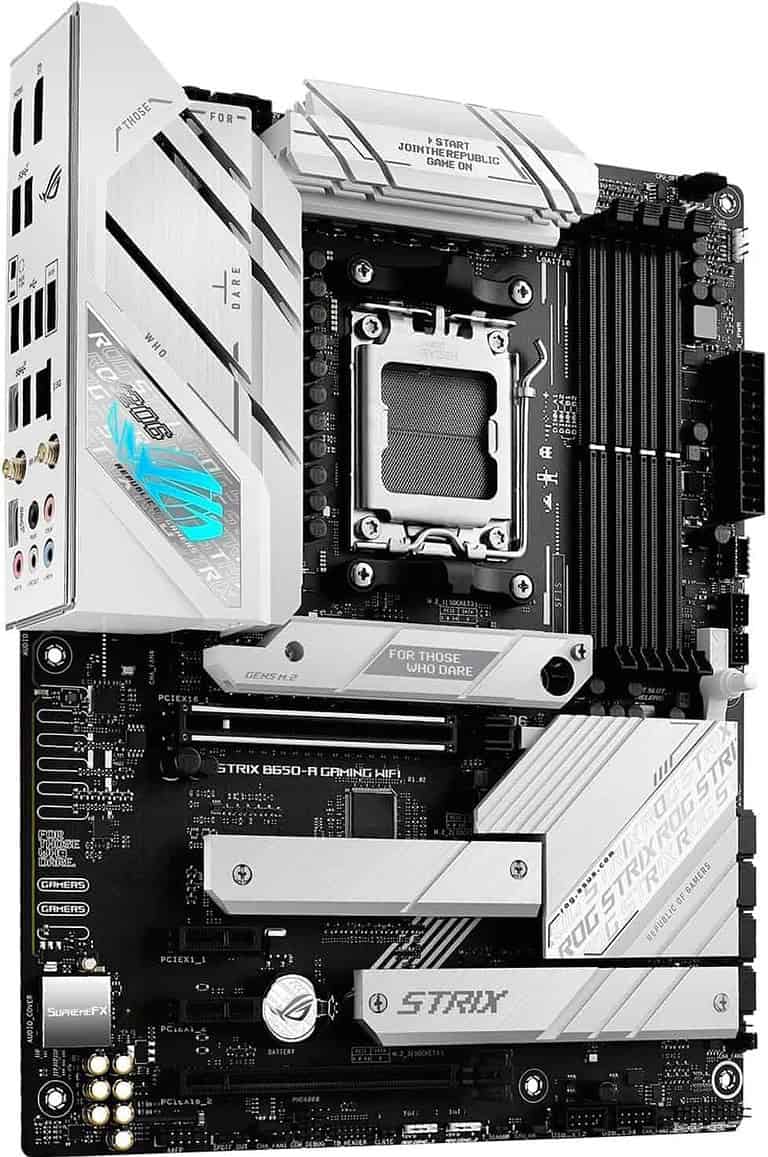
- Identify your motherboard model: This is usually printed on the motherboard itself or can be found in your PC’s documentation.
- Visit the manufacturer’s website: Look for a “Support” or “Downloads” section.
- Locate the latest BIOS version: Make sure it’s designed for your specific motherboard model.
Updating Your BIOS
Caution: Updating your BIOS can be risky if not done correctly. Power interruptions or using the wrong update can cause serious problems. Always back up your data before proceeding.
Here’s a general overview of the process:
- Download the BIOS update file: This is usually a
.zipor.exefile. - Extract the files: If it’s a
.zipfile, extract the contents to a folder. - Copy the files to a USB drive: Format the drive to FAT32 before copying.
- Restart your PC and enter the BIOS setup: This is usually done by pressing DEL, F2, or F10 during startup.
- Locate the BIOS update utility: The name varies depending on the manufacturer (e.g., “EZ Flash,” “Q-Flash”).
- Select the update file from your USB drive: Follow the on-screen instructions carefully.
- Do not interrupt the process: Keep your PC powered on and avoid any interruptions.
- Once the update is complete, your PC will restart.
BIOS Update Checklist
| Step | Description |
|---|---|
| Identify Motherboard | Find the exact model of your motherboard. |
| Download Update | Get the correct BIOS file from the manufacturer’s website. |
| Prepare USB Drive | Format to FAT32 and copy the update file. |
| Enter BIOS Setup | Access the BIOS settings during startup. |
| Run Update Utility | Use the built-in tool to apply the update. |
| Wait for Completion | Do not interrupt the update process. |

BIOS Update: Step By Step
Step 1: Identify Your Motherboard or PC Model
You can check your computer’s case physically, look at the motherboard for a make/model number, or use a software utility to identify what motherboard or computer you have.
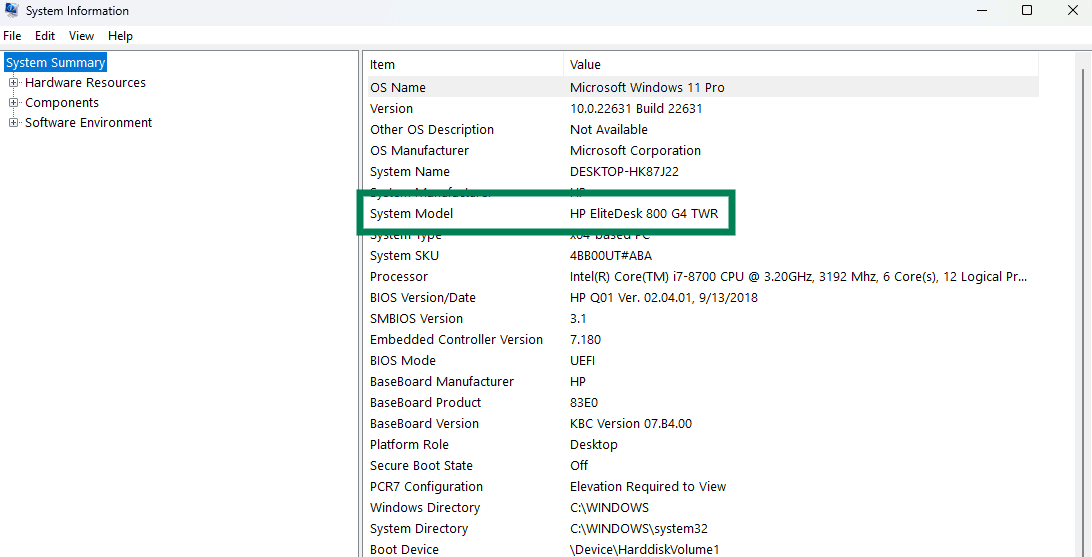
The above was obtained from the Windows System Information application.
Step 2: Download the Correct BIOS Update
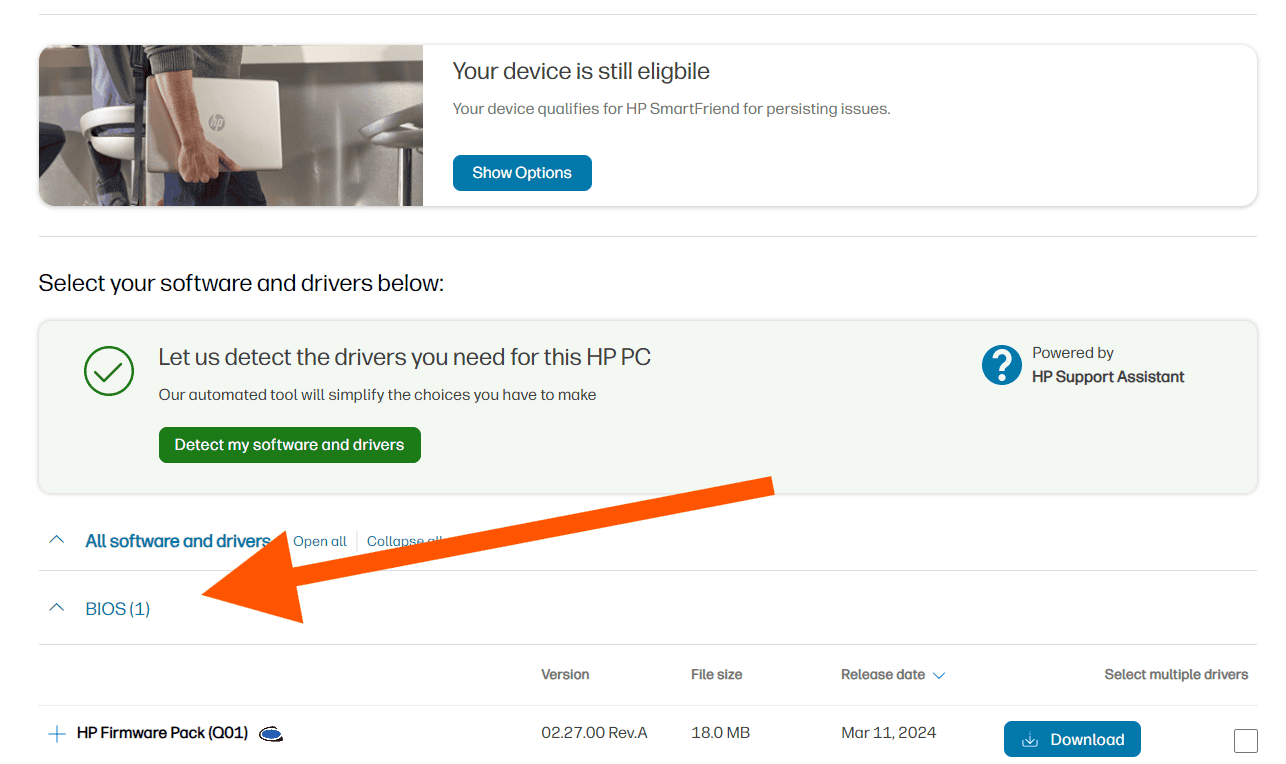
Visit the website of your PC Manufacturer or motherboard maker and visit their software download page. You’ll have to enter identifying information for your product or use automated tools (when available) to ID your product. Once you’ve arrived at the correct page, download the new BIOS software and/or utility.

Step 3: Prepare a Bootable USB Drive (If Necessary)
Various BIOS tools will have different installation procedures. Some may install directly from Windows while others may require you to enter the BIOS first and reference the file downloaded to install. Follow the instructions for your device to update your BIOS.
Step 4: Install The BIOS Update

Step 5: Use the BIOS Update Tool
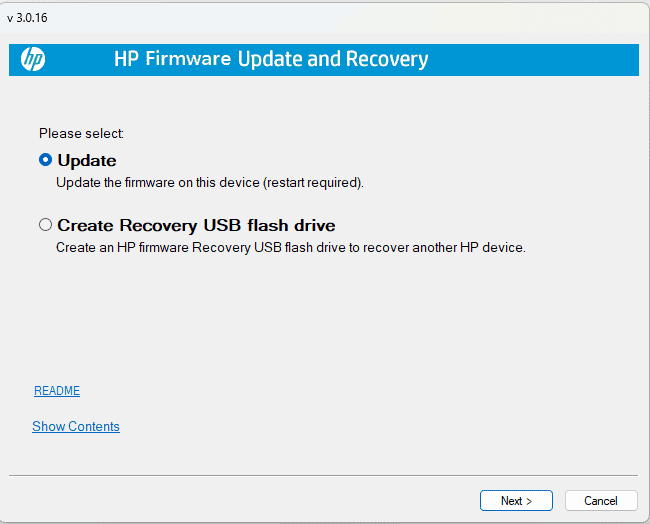

Step 6: Verify the Update
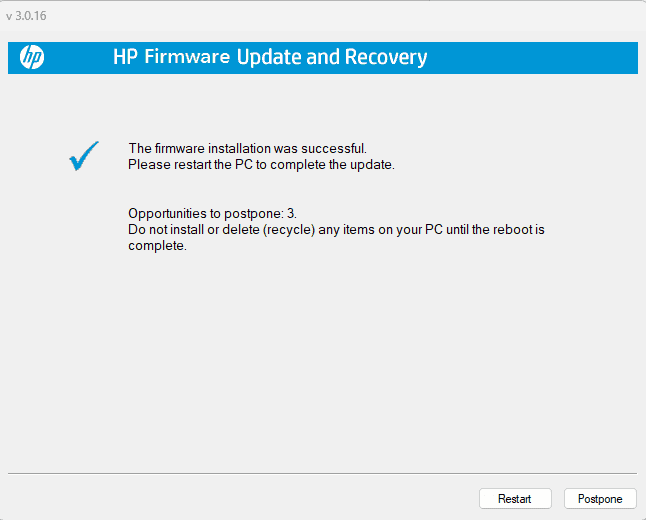
Restart your computer to make sure all the changes completed and your BIOS was updated properly.
Key Takeaways
- Check your current BIOS version and download the latest update from the manufacturer
- Choose the correct update method for your specific computer model
- Follow safety precautions to prevent system damage during the update process
Preparing for a BIOS Update
Before updating your PC’s BIOS, it’s crucial to gather the right information and tools. This process involves identifying your motherboard, finding the correct BIOS version, and creating a bootable USB drive.
Identifying Your Motherboard and BIOS Version
To start, you need to know your motherboard model and current BIOS version. Open System Information by pressing Windows key + R, typing “msinfo32”, and hitting Enter. Look for “BaseBoard Manufacturer” and “BaseBoard Product” to find your motherboard details.
For the BIOS version, check the “BIOS Version/Date” field in System Information. Another option is to use CPU-Z, a free tool that displays detailed system information.
Write down these details:
- Motherboard manufacturer
- Motherboard model
- Current BIOS version
Downloading the Appropriate BIOS Update File
Visit your motherboard manufacturer’s support page. Search for your specific model and go to the BIOS or firmware section.
Look for the latest BIOS version that’s newer than your current one. Read the release notes to see if the update addresses issues you’re experiencing or adds features you need.
Download the BIOS file. It often comes in a compressed format like .zip or .rar. Extract the contents to a folder on your desktop.
Creating a Bootable USB Drive
Most modern BIOS updates use a USB drive. Here’s how to prepare one:
Insert a USB drive (at least 8GB) into your PC.
Format it to FAT32:
- Right-click the drive in File Explorer
- Select “Format”
- Choose “FAT32” as the file system
- Click “Start”
Copy the extracted BIOS file to the USB drive.
Some motherboards (like ASUS) have tools like EZ Flash or Q-Flash built into the UEFI firmware settings. These can update directly from the USB without creating a bootable drive.
Double-check that you’ve copied the correct BIOS file to the USB drive before proceeding with the update.
Executing the BIOS Update
Updating your PC’s BIOS involves accessing the BIOS menu, running the update process, and verifying system stability afterward. These steps require careful attention to ensure a successful update without risking damage to your computer.
Accessing the BIOS Menu
To start the BIOS update, restart your PC and press the designated key to enter the BIOS menu. Common keys include F2, F10, F12, or Del. The correct key often appears on the boot screen. If unsure, check your PC or motherboard manual.
Once in the BIOS menu, navigate to the update section. This may be labeled as “BIOS Update,” “EZ Flash,” or something similar. The exact name varies by manufacturer.
Before proceeding, disable BitLocker encryption if it’s enabled on your system. This prevents potential boot issues after the update.
Running the BIOS Update Process
Select the BIOS update option in the menu. You’ll be prompted to choose the update file. This file should be on a USB drive inserted into your PC. Select the file and confirm to start the update.
Do not turn off your PC during this process. A power loss can corrupt the BIOS, potentially rendering your system unusable. Most updates take 2-5 minutes, but some may take longer.
Follow any on-screen prompts. Some systems may reboot automatically during the update. Others may ask you to restart manually after completion.
Finalizing the Update and Verifying Stability
After the update finishes and your PC restarts, enter the BIOS menu again. Check that the new BIOS version is displayed correctly. This confirms a successful update.
Next, load the optimized defaults. This resets BIOS settings to recommended values, which can prevent conflicts with the new BIOS version.
Exit the BIOS, saving changes. Let your PC boot into the operating system. Check that all hardware is functioning correctly. Test any features that were added or improved by the update.
If you encounter any issues, such as boot errors or hardware compatibility problems, consider reverting to the previous BIOS version. Most manufacturers provide a way to roll back BIOS updates if needed.
Frequently Asked Questions
Updating your PC’s BIOS involves specific steps and considerations. Here are some common questions about BIOS updates for different computer brands and general concerns.
What is the recommended procedure to update the BIOS on a Lenovo PC?
Lenovo provides a user-friendly BIOS update tool. First, visit Lenovo’s support website and enter your PC model. Download the latest BIOS update file. Run the update tool and follow the on-screen instructions. The process typically takes a few minutes.
Are there any risks associated with self-updating the BIOS on my computer?
BIOS updates carry some risks. Power loss during the update can brick your PC. Incorrect BIOS versions may cause system instability. It’s crucial to follow instructions carefully and ensure a stable power supply throughout the process.
What are the steps to upgrade the BIOS for an ASUS motherboard?
ASUS offers two main methods for BIOS updates. One option is to use the ASUS EZ Flash utility in the BIOS menu. Another is the ASUS Update software in Windows. Both require downloading the correct BIOS file from the ASUS support website first.
How can I determine if my PC’s BIOS needs an update?
Check your current BIOS version in Windows System Information. Compare this with the latest version on your PC manufacturer’s website. If a newer version is available, an update may be beneficial, especially if it addresses specific issues you’re experiencing.
Is it possible for the BIOS to update automatically without user intervention?
Some newer PCs support automatic BIOS updates. This feature is often part of Windows Update or manufacturer-specific update tools. However, many systems still require manual updates for safety and control reasons.
Where can I find and download the appropriate BIOS update for an MSI motherboard?
Visit the MSI support website and search for your motherboard model. Navigate to the “Driver & Utility” section. Look for BIOS updates in the list of available downloads. Always read the release notes before downloading and installing.

