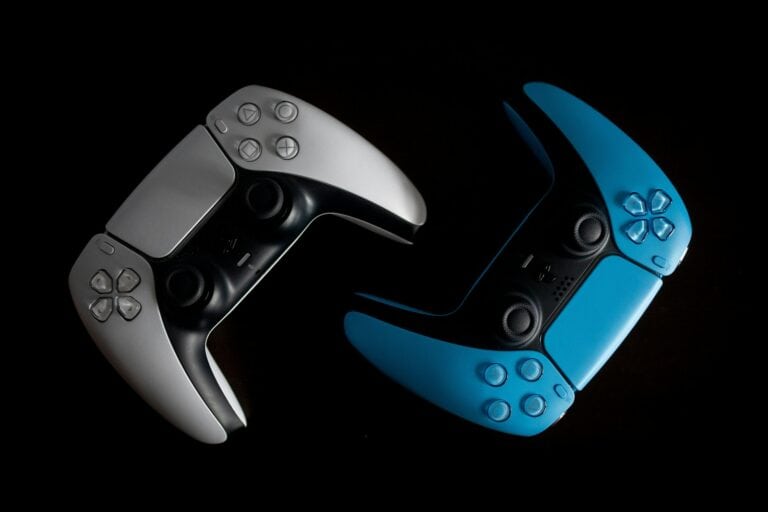
Playing your favorite Nintendo Switch games on PC doesn’t mean you need to switch controllers. The Nintendo Switch Pro Controller works great with PC games, giving you the same comfortable gaming experience you enjoy on your console. You can connect your Switch Pro Controller to your PC either wirelessly through Bluetooth or with a USB cable for a simple plug-and-play experience.
Getting your Pro Controller set up with your computer might seem tricky at first, but it’s actually pretty straightforward. If your PC doesn’t detect the controller right away, don’t worry. Sometimes you need to hold the small sync button on top of the controller before connecting the cable to make your computer recognize it properly.
Once connected, you can enjoy most PC games with the same controller you’re already used to. Steam has built-in support for the Switch Pro Controller, making it easy to customize buttons and use it with your game library. Plus, the controller’s excellent battery life means you can game wirelessly for hours without interruption.
How to Use a Nintendo Switch Pro Controller on PC – Setup Guide
The Nintendo Switch Pro Controller is a favorite among gamers for its ergonomics, battery life, and precision. The good news? You can use it on your PC too—wired or wirelessly. Whether you’re playing through Steam or non-Steam games, here’s a complete setup guide to get your Pro Controller working smoothly on Windows.
1. Connect Your Controller (Wired or Wireless)
Wired Connection (Plug-and-Play):
- Plug the controller into your PC using a USB-C to USB-A cable.
- Windows should automatically recognize the controller and install basic drivers.
- You’re ready to go in Steam or any game that supports Xbox-style input.
Wireless Connection via Bluetooth:
- Hold down the Sync button (small circular button on the top) until the lights start flashing.
- On your PC, go to Settings > Bluetooth & Devices > Add Device.
- Select Bluetooth, then choose “Pro Controller” from the list.
- Once paired, the lights on the controller will stabilize.
Note: You may need to reconnect it each time manually if you’re switching between PC and Switch.
2. Using the Pro Controller on Steam (Recommended)
Steam has built-in support for the Switch Pro Controller, including full button mapping and gyro support in some games.
Set It Up:
- Open Steam and go to Settings > Controller > General Controller Settings.
- Check “Nintendo Switch Configuration Support” and “Use Nintendo Button Layout” if you prefer A/B and X/Y positions as on the Switch.
- Steam should detect your Pro Controller instantly, whether wired or wireless.
From here, you can:
- Calibrate the joystick and gyro.
- Remap buttons for specific games.
- Enable rumble and adjust preferences per game.
3. Using It with Non-Steam Games
If you’re playing games outside of Steam (e.g., emulators or Epic Games titles), you have a couple of options:
Option 1: Add the Game to Steam
- In Steam, click Games > Add a Non-Steam Game to My Library.
- Launch the game through Steam to take advantage of its controller support.
Option 2: Use DS4Windows or ReWASD
These tools can trick your system into thinking the Pro Controller is an Xbox controller.
- Download DS4Windows or ReWASD.
- Follow the setup instructions to map the Pro Controller inputs.
- These tools allow deeper customization but may require some tinkering.
4. Things to Know
- Button Layout Differences: The A/B and X/Y buttons are swapped compared to Xbox. Steam can remap them automatically, but other games might not.
- No Native Windows Gyro Support: Outside Steam, gyro functionality usually won’t work unless emulated with special software.
- Battery Life: The Pro Controller lasts up to 40 hours, one of the longest-lasting wireless controllers you can use on PC.
- Re-pairing with Switch: After using it on PC, you’ll need to resync it to your Switch by connecting it with a cable or using the Sync button again.
Using the Switch Pro Controller on your PC is a great way to game comfortably with a device you already own. With Steam’s built-in support and some third-party tools for other platforms, setup is fast and reliable—wired or wirelessly.
Key Takeaways
- The Switch Pro Controller can connect to your PC through both Bluetooth wireless or USB cable methods.
- You may need to press the sync button on your Pro Controller before your PC will properly detect it.
- Steam offers native support for the Nintendo Switch Pro Controller, making setup easier for most PC games.
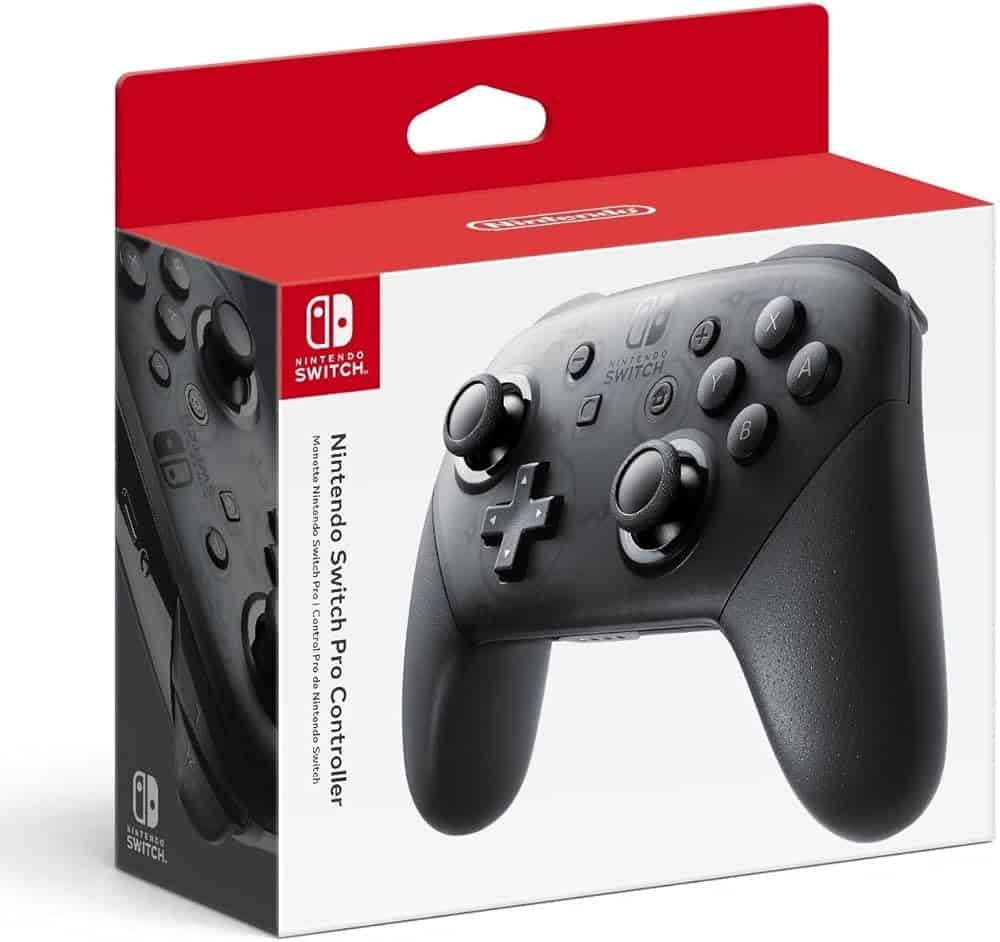
Overview of the Switch Pro Controller
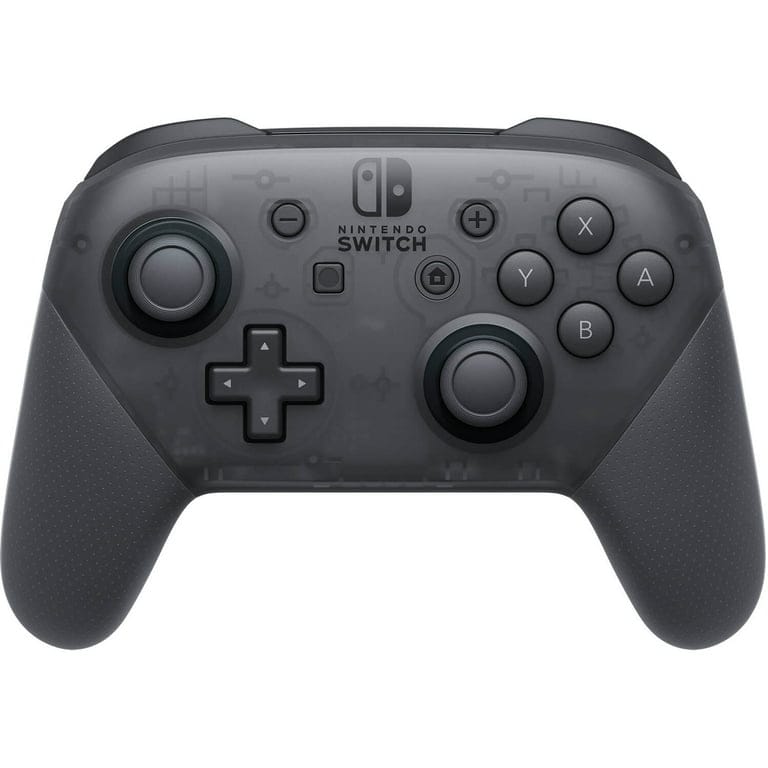
The Nintendo Switch Pro Controller is a premium gaming accessory designed to enhance your playing experience beyond what the Joy-Cons offer. It features a traditional controller layout with ergonomic grips that make it recommended for extended gaming sessions.
This controller includes several advanced features that set it apart from standard controllers. Its HD Rumble technology provides precise, high-definition vibration feedback that makes gameplay more immersive.
The built-in NFC scanning capability allows you to use amiibo figures directly with the controller. Simply place your amiibo on the designated area to activate special in-game features.
You’ll notice the subtle Notification LED lights on the bottom of the controller that indicate which player number you’re assigned. The Player Indicator lights clearly show which controller belongs to which player during multiplayer sessions.
Many gamers appreciate the Pro Controller’s large buttons and analog stick positioning similar to Xbox controllers. This familiar layout makes transitioning between systems more comfortable.
Battery life is impressive, offering approximately 40 hours of gameplay on a single charge. The controller connects via Bluetooth or USB-C cable, making it versatile for different setups.
While primarily designed for the Nintendo Switch, you can also use this controller with your PC through either wired or wireless connections.
Connecting the Pro Controller to a PC
The Nintendo Switch Pro Controller offers multiple ways to connect to your PC, giving you flexibility based on your setup and preferences. Each method has different steps but all provide a way to enjoy your favorite PC games with this comfortable controller.
Using Bluetooth for Wireless Connectivity
To connect your Switch Pro Controller to a PC via Bluetooth, you’ll first need to put the controller in pairing mode. Press and hold the small sync button located at the top of the controller for about three seconds until the indicator lights start flashing.
On your Windows 10 PC, open the Start menu and select Settings. Navigate to “Devices” and then “Bluetooth & other devices.” Make sure Bluetooth is turned on, then click “Add Bluetooth or other device” and select “Bluetooth.”
Your PC will search for available devices. When “Pro Controller” appears in the list, click on it to pair. The lights on your controller will stop flashing once successfully connected.
If your PC has connection issues, try running the Bluetooth troubleshooter through Windows Settings.
Using a USB Wireless Adapter
If your PC doesn’t have built-in Bluetooth or you’re experiencing connectivity issues, a USB wireless adapter provides a reliable alternative.
Insert your Bluetooth adapter into an available USB port on your PC. Windows 10 should automatically install the necessary drivers, but check the adapter’s manual if you need specific software.
Press the sync button on your Pro Controller to put it into pairing mode. The indicator lights will begin flashing horizontally.
Open Bluetooth settings in Windows 10 and follow the pairing process described above. The adapter should detect your controller within a few seconds.
This method often provides more stable connectivity than built-in Bluetooth, which is particularly important for competitive gaming where input lag can affect performance.
Via USB Cable
The simplest way to connect your Switch Pro Controller is through a direct USB connection. This method provides the lowest latency and eliminates battery concerns.
Use either the USB-C cable that came with your controller or any compatible USB-C to USB-A cable. Plug the USB-C end into your controller and the USB-A end into your PC.
Windows 10 should automatically detect the controller and install the necessary drivers. If your PC has a USB-C port, you can use a USB-C to USB-C cable for connection.
If Windows doesn’t recognize your controller, try using a different USB port or cable. Some users have reported issues where the controller isn’t detected but changing ports or cables solved the problem.
For games on Steam, you’ll need to enable Switch Pro Controller support in Steam’s Controller Settings menu for proper functionality.
Understanding Controller Settings on PC
Connecting your Nintendo Switch Pro Controller to your PC offers a comfortable gaming experience, but getting the settings right is crucial. The right configuration ensures your controller responds correctly in all your games.
Understanding XInput and DInput Modes
Your PC recognizes controllers through two main input modes: XInput and DInput. XInput is the newer standard developed for Xbox controllers and is widely supported by modern games. When you connect your Switch Pro Controller to PC, it typically defaults to DInput mode.
DInput is the older standard that works with many controllers but may cause button mapping issues in newer games. You might notice your A/B and X/Y buttons seem reversed when using your Switch Pro Controller.
To fix this problem, you can use Steam’s built-in support. Open Steam settings, navigate to Controller, then General Controller Settings, and enable Switch Pro Configuration Support. You can also choose whether to use the Nintendo Button Layout or Xbox layout.
Custom Button Mapping
Custom button mapping allows you to reassign any button on your Switch Pro Controller to perform different functions. This is especially useful when playing games with uncomfortable default controls.
Through Steam’s controller configuration:
- Access button mapping by right-clicking a game in your library
- Select “Properties” then “Controller”
- Choose “Configure Controller” to open the mapping interface
Here you can create completely personalized layouts. The interface lets you assign not just basic buttons but also create complex commands like:
- Turbo functions
- Multi-button combinations
- Activating specific commands when buttons are held vs. tapped
You can save multiple profiles for different games and switch between them easily. For non-Steam games, add them to your Steam library first to access these powerful configuration options.
Advanced Configuration Options
The Switch Pro Controller offers several advanced features you can utilize on PC. You can customize the gyroscope sensitivity for games that support motion controls. This works particularly well in first-person shooters or racing games for more precise aiming or steering.
You can also adjust deadzone settings for both joysticks. Deadzones determine how far you need to move the stick before the movement registers. Smaller deadzones provide more responsive controls but might cause drift if your controller is worn.
Another useful option is creating action sets in Steam. These allow you to have multiple control schemes within a single game. For example, you might have different layouts for:
- On-foot controls
- Vehicle driving
- Menu navigation
For wired connections, you can modify the controller’s rumble intensity to your preference. The Switch Pro’s HD rumble capabilities translate well to PC gaming when properly configured through Steam’s advanced settings.
Compatibility and Convenience Features
The Nintendo Switch Pro Controller offers several advantages when connected to a PC. It combines multiple connectivity options with special features that enhance gameplay across different platforms.
Extending Your Gaming Sessions
The Switch Pro Controller provides exceptional battery life when used with a PC. You can expect approximately 40 hours of gameplay on a single charge, far outlasting many other controllers on the market.
This extended battery performance means fewer interruptions during marathon gaming sessions. You won’t need to keep a charging cable handy for most weekend gaming marathons.
The controller uses a standard USB-C connection for charging, making it convenient to power up using the same cables you might already have for other devices.
When battery levels get low, you can continue playing by connecting directly via USB cable. This dual functionality ensures you’re never forced to stop playing due to battery issues.
Switch Controller Compatibility Modes
The Pro Controller works with multiple compatibility modes when connected to PC systems:
- Switch Mode – Native functionality when paired via Bluetooth or USB
- Steam Mode – Enhanced compatibility through Steam’s controller configuration
- X-Input Mode – Emulates Xbox controller for maximum game compatibility
Many third-party adapters like the 8BitDo Wireless USB Adapter provide additional modes including Mac, PlayStation, and more.
To switch between modes on compatible adapters, you typically hold specific button combinations while powering on the controller. This flexibility allows you to use the Pro Controller with virtually any game that supports controller input.
Steam’s built-in support offers the most seamless experience, with automatic button mapping and configuration options.
Utilizing Motion Controls and HD Rumble
The Pro Controller’s advanced features aren’t limited to Nintendo consoles. When properly configured, you can use motion controls in compatible PC games for more immersive gameplay.
Motion control functionality works best in Steam, where gyro controls can be mapped to mouse movements for precise aiming in shooters. This provides a unique hybrid control scheme many players find more intuitive than traditional analog sticks.
The controller’s HD Rumble feature also functions on PC, though with varying levels of support depending on the game. You’ll experience:
- Basic rumble functionality in most games with controller support
- More nuanced vibration in games that specifically support the feature
- Customizable rumble intensity through Steam’s controller settings
To enable these features, ensure your controller is updated to the latest firmware and properly configured in your game platform’s settings menu.
Optimizing the Controller for Different Game Genres
The Switch Pro controller can be fine-tuned for different types of games to enhance your gaming experience. Proper configuration helps you get the most out of this versatile controller across various PC game genres.
Adventure and Role-Playing Games
For adventure and RPG titles, comfort during long gaming sessions is crucial. You’ll want to remap the A and B buttons to match the standard Xbox layout many PC games use by default. This prevents confusion during important dialogue choices or inventory management.
Consider adjusting the controller’s sensitivity settings. A slightly lower sensitivity works well for exploration-heavy games where precise movement matters more than quick reactions.
For games with complex inventories or skill trees, assign shortcuts to the d-pad for quicker access. The Pro controller’s excellent d-pad makes item selection smooth and efficient.
Battery life is essential for marathon RPG sessions. Enable the Steam controller power management settings to extend playtime when using your Switch Pro controller wirelessly.
Competitive and Fast-Paced Gaming
For competitive gaming, response time is everything. Calibrate your Pro controller through Windows settings to ensure maximum accuracy. Navigate to Control Panel > Hardware and Sound > Devices and Printers, then right-click on “Pro Controller” and select Game Controller Settings.
Increase stick sensitivity for faster reactions in shooters and fighting games. The Pro controller’s gyro capabilities can be enabled for precise aiming in FPS titles—especially useful for sniping.
Reduce input lag by using a wired USB connection instead of Bluetooth. This small change can make a significant difference in games where split-second timing matters.
For fighting games, the Pro controller’s d-pad excels at executing complex combos. Download vJoy for additional configuration options if your games don’t recognize the controller immediately.
You might want to create game-specific profiles for different competitive games using Steam Input to switch between optimized setups quickly.
Troubleshooting and Support
When using your Switch Pro Controller with a PC, you might encounter technical issues that can interrupt your gaming experience. These problems typically involve connection difficulties and configuration settings that need adjustment.
Dealing with Connection Issues
If your PC isn’t detecting your Switch Pro Controller, try these solutions:
Make sure Steam has Switch Pro Controller support enabled. Go to Steam → Settings → Controller → General Controller Settings and check the “Switch Pro Controller Support” box.
When connecting via USB, try a different cable or USB port. Some users report that the controller isn’t recognized as a USB device when using certain cables.
For Bluetooth connection problems:
- Hold the sync button (small button on top) until the LED lights start flashing
- Connect the controller while it’s in pairing mode, not before
- Remove old controller entries from your Bluetooth devices list before trying again
If the controller still isn’t recognized, try restarting both your PC and controller.
Controller Calibration and Firmware Updates
Keeping your controller’s firmware updated helps prevent performance issues. The Switch Pro Controller firmware updates automatically when connected to your Nintendo Switch console, so connect it occasionally to receive updates.
For calibration issues:
- In Steam, access Controller Settings and select Calibrate
- Follow the on-screen instructions to properly align joysticks
- Test controller buttons in the configuration utility
If you experience button response problems, check for input mapping conflicts. Some games have controller-specific settings that need adjustment.
For games with Nintendo button layout confusion, you may need to remap the movement and camera controls. Access the game’s input settings and look for controller-specific options.
For persistent issues, check if your PC requires additional drivers to properly recognize the Nintendo button layout.
Frequently Asked Questions
The Nintendo Switch Pro Controller can be a great accessory for PC gaming, but users often encounter specific issues during setup. Here are solutions to common problems and step-by-step instructions for different connection methods.
How can I connect my Nintendo Switch Pro Controller to my PC using Bluetooth?
To connect your Pro Controller wirelessly, first put it in pairing mode by pressing and holding the small sync button on the top of the controller until the LED lights start flashing.
On your PC, open your Bluetooth settings by clicking the Bluetooth icon in the taskbar or searching for “Bluetooth” in the Windows search bar. Click “Add Bluetooth or other device” and select “Bluetooth” from the options.
Your PC should detect the Pro Controller (it may appear as “Pro Controller”). Select it to complete the pairing process. Once connected, the controller’s LED lights will stop flashing and remain solid.
What drivers are required to use the Nintendo Switch Pro Controller with a PC?
The Switch Pro Controller works with standard Windows HID drivers that are already built into your operating system. You don’t need to download special drivers for basic functionality.
However, for the best experience, you may want to use Steam’s controller support. Open Steam, go to Settings, then Controller, and select “General Controller Settings.” Check the box for “Nintendo Switch Pro Configuration Support.”
This Steam integration provides better compatibility and allows you to create custom button mappings for your games.
Why is my Nintendo Switch Pro Controller not recognized when wired to my PC?
If your PC doesn’t detect your Pro Controller when connected via USB, try these troubleshooting steps. First, try a different USB cable as some cables only provide power without data transfer.
Check your USB ports by connecting other devices to see if they work. If needed, update your USB drivers by opening Device Manager, expanding “Universal Serial Bus controllers,” right-clicking each USB item, and selecting “Update driver.”
Restart your PC after updating drivers and try connecting the controller again. If it’s still not recognized, try connecting it to different USB ports on your computer.
How can the Nintendo Switch Pro Controller be set up for use with Fortnite on a PC?
To use your Pro Controller with Fortnite, first connect it to your PC using Bluetooth or USB. Launch Steam and add Fortnite to your Steam library if it’s not already there.
Open Steam’s Big Picture Mode by clicking the icon in the top-right corner of Steam. Go to Library, select Fortnite, and click “Manage Game” then “Controller Configuration” to set up your button mapping.
For Fortnite specifically, you might want to choose a pre-existing template or create a custom layout that matches your preferred control scheme. Save your configuration and launch the game through Steam for the controller to work properly.
What steps should be taken to connect a Switch Pro Controller to a PC running Windows 11?
Windows 11 connects to the Pro Controller similarly to Windows 10. First, ensure your PC’s Bluetooth is turned on through Settings > Bluetooth & devices.
Press and hold the sync button on top of your Pro Controller until the LED lights flash. In Windows 11, go to Settings > Bluetooth & devices > Add device > Bluetooth, and select the Pro Controller when it appears.
If using a wired connection, simply connect the USB-C cable to your controller and plug the USB-A end into your PC. Windows 11 should automatically detect the controller and install any required drivers.
How do I configure button mapping for the Switch Pro Controller on my PC?
The easiest way to customize button mapping is through Steam. Open Steam and navigate to Settings > Controller > General Controller Settings and enable “Nintendo Switch Pro Configuration Support.”
For game-specific configurations, right-click a game in your library, select “Properties,” then “Controller,” and click “Enable Steam Input.” When in the game, press the Steam button on your controller to access the overlay.
You can also use third-party software like JoyToKey or reWASD if you’re playing non-Steam games. These programs let you create custom profiles for different games and remap any button on your controller to keyboard keys or mouse movements.