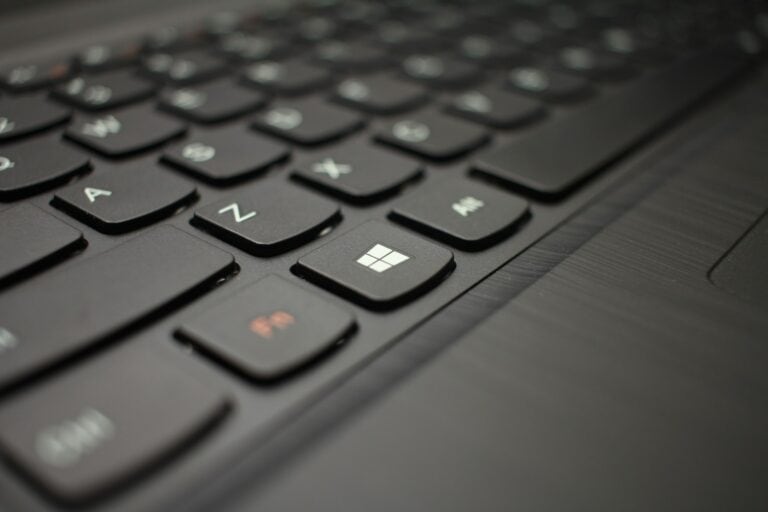
Taking screenshots on Dell laptops and desktops is a simple process that can be accomplished in multiple ways. The Print Screen (PrtScr) key is the primary tool for capturing screenshots on Dell devices running Windows operating systems. This key is typically located in the top row of the keyboard, near the function keys.
Dell users can capture the entire screen by pressing the PrtScr key alone. To screenshot only the active window, they can use the Alt + PrtScr key combination. These actions copy the screenshot to the clipboard, allowing users to paste it into image editing software or documents.
Windows also offers built-in tools like Snipping Tool and Snip & Sketch for more advanced screenshot options. These applications enable users to capture specific areas of the screen, add annotations, and save screenshots directly as image files without using third-party software.
🖱️ Method 1: Using the Print Screen (PrtScn) Key
Most Dell keyboards have a Print Screen key labeled PrtScn, PrtSc, or similar.
Capture the entire screen
- Press PrtScn.
- Open an app like Paint, Word, or Photoshop.
- Press Ctrl + V to paste the screenshot.
- Save the file.
Capture only the active window
- Click the window you want to capture.
- Press Alt + PrtScn.
- Paste it into an app (Ctrl + V) and save.
⌨️ Method 2: Windows + Print Screen
If you want the screenshot saved automatically:
- Press Windows Key + PrtScn.
- The screen will dim briefly.
- Find your screenshot in the Pictures > Screenshots folder.
✂️ Method 3: Snipping Tool (Windows 10 & 11)
- Press Windows Key + Shift + S.
- Choose one of the options:
- Rectangular Snip
- Freeform Snip
- Window Snip
- Fullscreen Snip
- The screenshot is copied to your clipboard.
- Paste it (Ctrl + V) or click the notification to save.
🖼️ Method 4: Snip & Sketch (Windows 10) / Snipping Tool (Windows 11)
- Open Snip & Sketch (Win10) or Snipping Tool (Win11).
- Click New and select the area to capture.
- Save or annotate your screenshot.
📱 Method 5: Dell Tablets or 2-in-1 Devices
On Dell tablets running Windows:
- Press Power Button + Volume Down together.
- The screen will flash, and the screenshot is saved in Pictures > Screenshots.
✅ Tips
- For frequent screenshots, pin Snipping Tool to your taskbar.
- Use OneDrive settings to auto-save screenshots to the cloud.
- If your keyboard has a Fn (Function) key, you may need to press Fn + PrtScn instead.
Key Takeaways
- The Print Screen key captures full-screen or active window screenshots on Dell devices
- Windows provides built-in tools for advanced screenshot options and editing
- Screenshots can be easily saved, edited, and shared using various methods
Preparing for a Screenshot
Taking a screenshot on a Dell computer requires some preparation. Familiarizing yourself with your keyboard layout and enabling certain features can streamline the process.
Understanding Keyboard Layouts
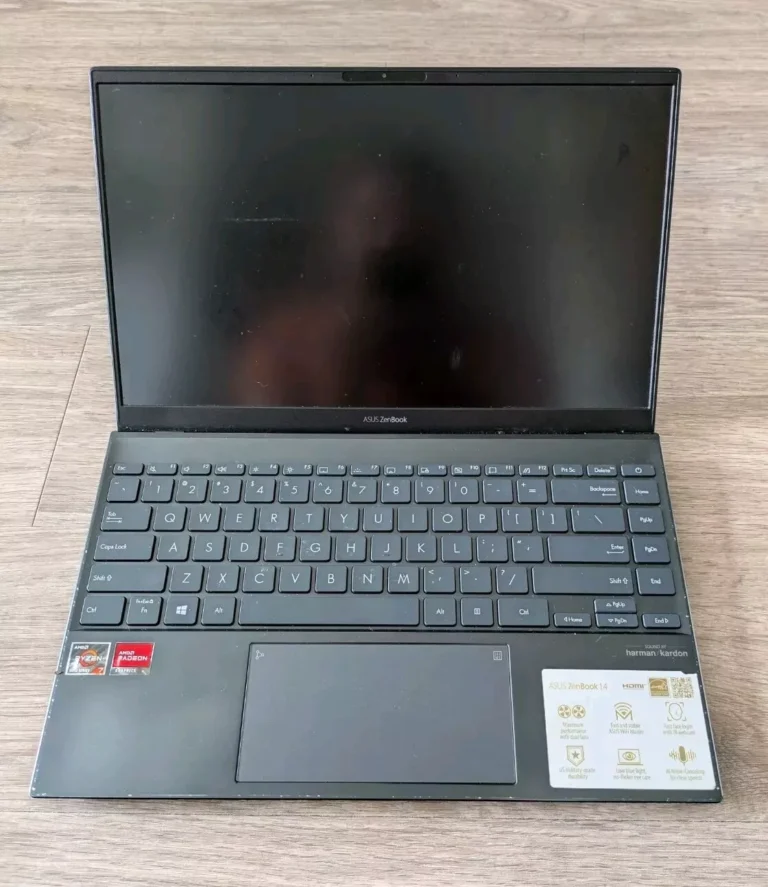
Dell keyboards come in various layouts. Most Dell laptops have a standard QWERTY layout with function keys at the top. Some models feature compact designs with fewer keys.
Full-size Dell desktop keyboards often include a numeric keypad on the right side. Multimedia keyboards may have additional buttons for volume control and media playback.
It’s important to locate the Print Screen key, which is typically found in the upper-right corner of the keyboard. On some Dell laptops, this key may be combined with a function key, requiring the use of the Fn key to activate it.
Identifying the Print Screen Key
The Print Screen key, often abbreviated as PrtScn or PrtSc, is crucial for taking screenshots. On most Dell keyboards, it’s located in the top row, near the Function keys.
Some Dell laptops combine the Print Screen function with another key. In these cases, look for a key with a small camera icon or the letters “PrtScn” as a secondary function.
If you can’t find the Print Screen key, check your Dell model’s user manual or support website for specific keyboard layout information.
Enabling Clipboard History on Windows
Windows 10 and 11 offer a Clipboard History feature that can be useful when taking multiple screenshots. To enable it:
- Press Windows key + I to open Settings
- Go to System > Clipboard
- Toggle on “Clipboard history”
This feature allows you to access your recent screenshots easily. You can view your Clipboard History by pressing Windows key + V.
Remember to clear your Clipboard History periodically to free up memory and protect your privacy.
Taking Screenshots
Dell laptops offer several methods to capture screenshots quickly and easily. These techniques allow users to save images of their entire screen, specific windows, or selected areas.
Using Print Screen for Full-Screen Captures
The Print Screen key, often labeled as PrtScr or PrntScrn, is the quickest way to capture the entire screen on a Dell laptop. Users can press Windows + PrtScr to automatically save the screenshot as a PNG file in the Pictures folder. On some Dell models, the Fn key may need to be pressed alongside PrtScr.
For those who prefer more control, pressing PrtScr alone copies the full screen to the clipboard. This allows users to paste the image into an editing program for further modifications before saving.
Capturing an Active Window
To screenshot only the currently active window, Dell users can press Alt + PrtScr. This combination captures the focused window and copies it to the clipboard. The image can then be pasted into any program that accepts images.
For a more precise capture, Windows offers a built-in Snip & Sketch tool. Users can access this by pressing Windows + Shift + S. This opens a small menu at the top of the screen, allowing selection of rectangular, free-form, window, or full-screen snips.
Creating Delayed Screenshots
Delayed screenshots are useful for capturing menus or tooltips that disappear when keys are pressed. The Snipping Tool, available on all Dell laptops with Windows, offers a delay option.
To use this:
- Open the Snipping Tool
- Click “Mode”
- Select “Delay”
- Choose a delay time (1-5 seconds)
- Click “New” to start the countdown
After the delay, the screen freezes, allowing users to capture dropdown menus or other temporary elements. This feature is particularly helpful for technical documentation or tutorials.
Leveraging Windows Tools
Windows offers built-in tools for capturing and editing screenshots on Dell computers. These tools provide versatile options for users to capture, modify, and share images of their screens.
Navigating the Snipping Tool
The Snipping Tool is a versatile Windows utility for capturing screenshots. Users can access it by typing “Snipping Tool” in the Windows search bar. The tool offers various capture modes:
- Full-screen snip
- Window snip
- Rectangular snip
- Free-form snip
To use the Snipping Tool, select the desired mode and click “New” to start the capture process. After taking a screenshot, users can annotate, highlight, or crop the image within the tool.
The Snipping Tool also includes a delay option. This feature allows users to set up menus or windows before the screenshot is taken.
Editing in Microsoft Paint
Microsoft Paint provides basic editing capabilities for screenshots. Users can open Paint by searching for it in the Windows start menu. To edit a screenshot in Paint:
- Paste the screenshot using Ctrl+V
- Use the crop tool to remove unwanted areas
- Add text, shapes, or highlights as needed
- Save the edited image in various formats
Paint offers simple tools for resizing, rotating, and flipping images. Users can also adjust colors and apply basic effects to enhance their screenshots.
For more advanced editing, consider using Paint 3D, which offers additional features like 3D shapes and effects.
Utilizing the Xbox Game Bar
The Xbox Game Bar, available on Windows 10 and 11, is useful for capturing gameplay screenshots. To access it:
- Press Windows key + G
- Click the camera icon or use Windows key + Alt + PrtScn
The Game Bar automatically saves screenshots to the Captures folder in the Videos library. It also allows users to record video clips and broadcast gameplay.
Users can customize Game Bar settings, including keyboard shortcuts and capture locations. The tool works well for capturing full-screen applications and games that may not respond to traditional screenshot methods.
Managing and Sharing Screenshots
After capturing screenshots on your Dell laptop, effective management and sharing are crucial. Learn how to save, find, edit, and share your screenshots efficiently.
Saving and Finding Screenshots on your PC
Dell laptops typically save screenshots automatically in the Pictures folder. The default path is C:\Users[YourUsername]\Pictures\Screenshots. Windows creates this folder when you take your first screenshot. To access it quickly, open File Explorer and navigate to Pictures > Screenshots.
Some Dell models may save screenshots to the desktop by default. Check your desktop if you can’t find them in the Pictures folder. Screenshots are usually saved as PNG files, which offer good quality and small file sizes.
To organize screenshots better, create subfolders within the Screenshots folder. Name them by date, project, or any system that works for you. This makes finding specific screenshots easier later.
Editing Screenshots with Advanced Tools
Basic editing can be done with built-in Windows tools like Paint or Photos. For more advanced editing, consider third-party software. Popular options include:
- Adobe Photoshop: Professional-grade editing with extensive features
- GIMP: Free, open-source alternative to Photoshop
- Snagit: Specialized screenshot tool with editing capabilities
These tools allow you to:
- Crop and resize images
- Add text, arrows, or highlights
- Blur sensitive information
- Adjust brightness, contrast, and colors
For quick edits, the Windows Snipping Tool offers basic annotation features. It’s built into Windows and doesn’t require additional installation.
Uploading and Sharing via Cloud Services
Cloud services make sharing screenshots easy and quick. OneDrive, Microsoft’s cloud storage service, is integrated into Windows 10 and 11. It can automatically upload your screenshots, making them accessible across devices.
To set up automatic uploads to OneDrive:
- Open OneDrive settings
- Go to the Backup tab
- Enable “Automatically save screenshots I capture to OneDrive”
Other popular cloud services for sharing include:
- Google Drive: Offers 15GB free storage
- Dropbox: Easy to use with good integration options
- iCloud: Ideal if you also use Apple devices
These services allow you to create shareable links to your screenshots. You can send these links via email, messaging apps, or social media platforms.
For quick sharing, Windows 10 and 11 have a built-in Share feature. Right-click on a screenshot file, select Share, and choose your preferred method or app to send it.
Frequently Asked Questions
Taking screenshots on Dell laptops varies depending on the Windows version and specific model. The following questions address common methods and considerations for capturing screen content across different Dell systems.
What are the steps to take a screenshot on a Dell laptop?
Press the PrtScn key to capture the entire screen. The image is copied to the clipboard. Open an image editing program and paste the screenshot to save or edit it.
Some Dell laptops require pressing the Fn key with PrtScn to activate the screenshot function.
How does one capture a screenshot using Windows 10 on a Dell computer?
Press Windows + PrtScn to automatically save a full-screen screenshot to the Pictures folder.
For more options, use Windows + Shift + S to open the Snipping Tool. Select the desired area to capture.
What is the process for taking a screenshot on a PC?
The basic method involves pressing PrtScn and pasting the image into an editing program.
Windows offers built-in tools like Snipping Tool for more advanced screenshot options.
Can you explain how to perform a partial screenshot on a Dell system?
Use Windows + Shift + S to open the Snipping Tool. Select the desired capture mode: rectangular, free-form, window, or full-screen.
The selected area is copied to the clipboard and can be edited in the Snip & Sketch app.
How do users capture screen content on Windows 7 specifically on Dell machines?
Press PrtScn to capture the full screen or Alt + PrtScn for the active window. Paste the image into Paint or another editing program.
The Snipping Tool is also available in Windows 7 for more precise captures.
What instructions should be followed to take screenshots on Windows 11 for Dell users?
Press Windows + Shift + S to open the Snipping Tool. Choose the capture mode and select the desired area.
Windows 11 offers enhanced screenshot features, including a dedicated screenshot button in the Quick Settings menu.