Using your HP Envy printer’s document loader doesn’t have to be complicated. The Automatic Document Feeder (ADF) lets you scan or copy multiple pages without placing each sheet on the scanner glass individually. This time-saving feature is perfect for multi-page documents, making your home or office work more efficient.
To use the document loader on your HP Envy all-in-one printer, place your original documents face-up in the feeder tray, adjust the paper guides to fit your document size, and select your desired function (scan, copy, or fax) from the control panel. The printer will automatically feed each page through the scanner, creating digital copies or physical printouts depending on your selection.
For those busy days when you need to digitize contracts, scan receipts, or make copies of important papers, your HP Envy’s document loader transforms tedious tasks into simple ones. This dynamic security enabled printer feature ensures you spend less time managing documents and more time on what really matters.
What Is the Document Loader?
The document loader, also known as the Automatic Document Feeder (ADF), allows you to scan, copy, or fax multiple pages automatically — without placing each page manually on the scanner glass.
It’s typically located on the top lid of your HP Envy printer.
📄 What You’ll Need
- HP Envy printer (e.g., Envy 6000, 7000, or 7900e series)
- A stack of plain, letter- or A4-sized paper (no staples, folds, or tears)
- The HP Smart app (optional, for scanning to your computer or phone)
🪜 Step-by-Step: How to Use the HP Envy Document Loader
Step 1: Prepare Your Documents
- Remove any staples, paper clips, or sticky notes.
- Make sure all pages are aligned and flat.
- For best results, use standard-size paper (not photos or thick cardstock).
Step 2: Load the Documents
- Locate the document feeder tray on top of your printer.
- Place your pages face up into the feeder — the top edge should go in first.
- Adjust the paper guides so they fit snugly against the edges of the paper stack (but not too tight).
- You’ll usually hear a soft beep or see a message on the screen confirming that pages are detected.
Step 3: Choose Your Function
Depending on what you want to do:
🖨️ To Copy:
- On the printer’s control panel, tap Copy.
- Choose Black or Color.
- The printer will automatically feed and copy each page in order.
📠 To Scan:
- Open the HP Smart app on your computer or mobile device.
- Select Scan → Document Feeder (or “From ADF”).
- Adjust settings (resolution, file type, save location).
- Tap Scan — the printer will pull in and scan each page automatically.
📧 To Fax (if supported):
- Load your pages in the same way.
- Use the Fax option on the printer’s display or HP Smart app.
- Enter the fax number and press Send.
Step 4: Remove the Pages
Once the job is done, carefully remove your documents from the output tray.
⚙️ Troubleshooting Tips
- Paper not feeding? Check for jams or misaligned pages.
- Skewed scans? Adjust the paper width guides evenly.
- Multiple pages pulled in at once? Fan the pages before loading to separate them.
- ADF not recognized? Restart your printer and ensure you’ve selected “Document Feeder” in the HP Smart app.
(Source: Asurion Guide, Waituk Forum)
💡 Pro Tips
- Clean the ADF rollers occasionally to prevent feeding issues.
- Avoid using photo paper or thick cardstock in the document feeder — use the flatbed scanner instead.
- Use the HP Smart app’s “Scan to PDF” feature to combine multiple pages into one file.
Key Takeaways
- The Automatic Document Feeder handles multiple pages automatically, saving significant time compared to scanning each page individually.
- Proper paper placement (face-up) and guide adjustment prevents jams and ensures quality results when using the document loader.
- The HP Envy’s control panel offers various scanning options including saving to email, computer, or USB drive after feeding documents.
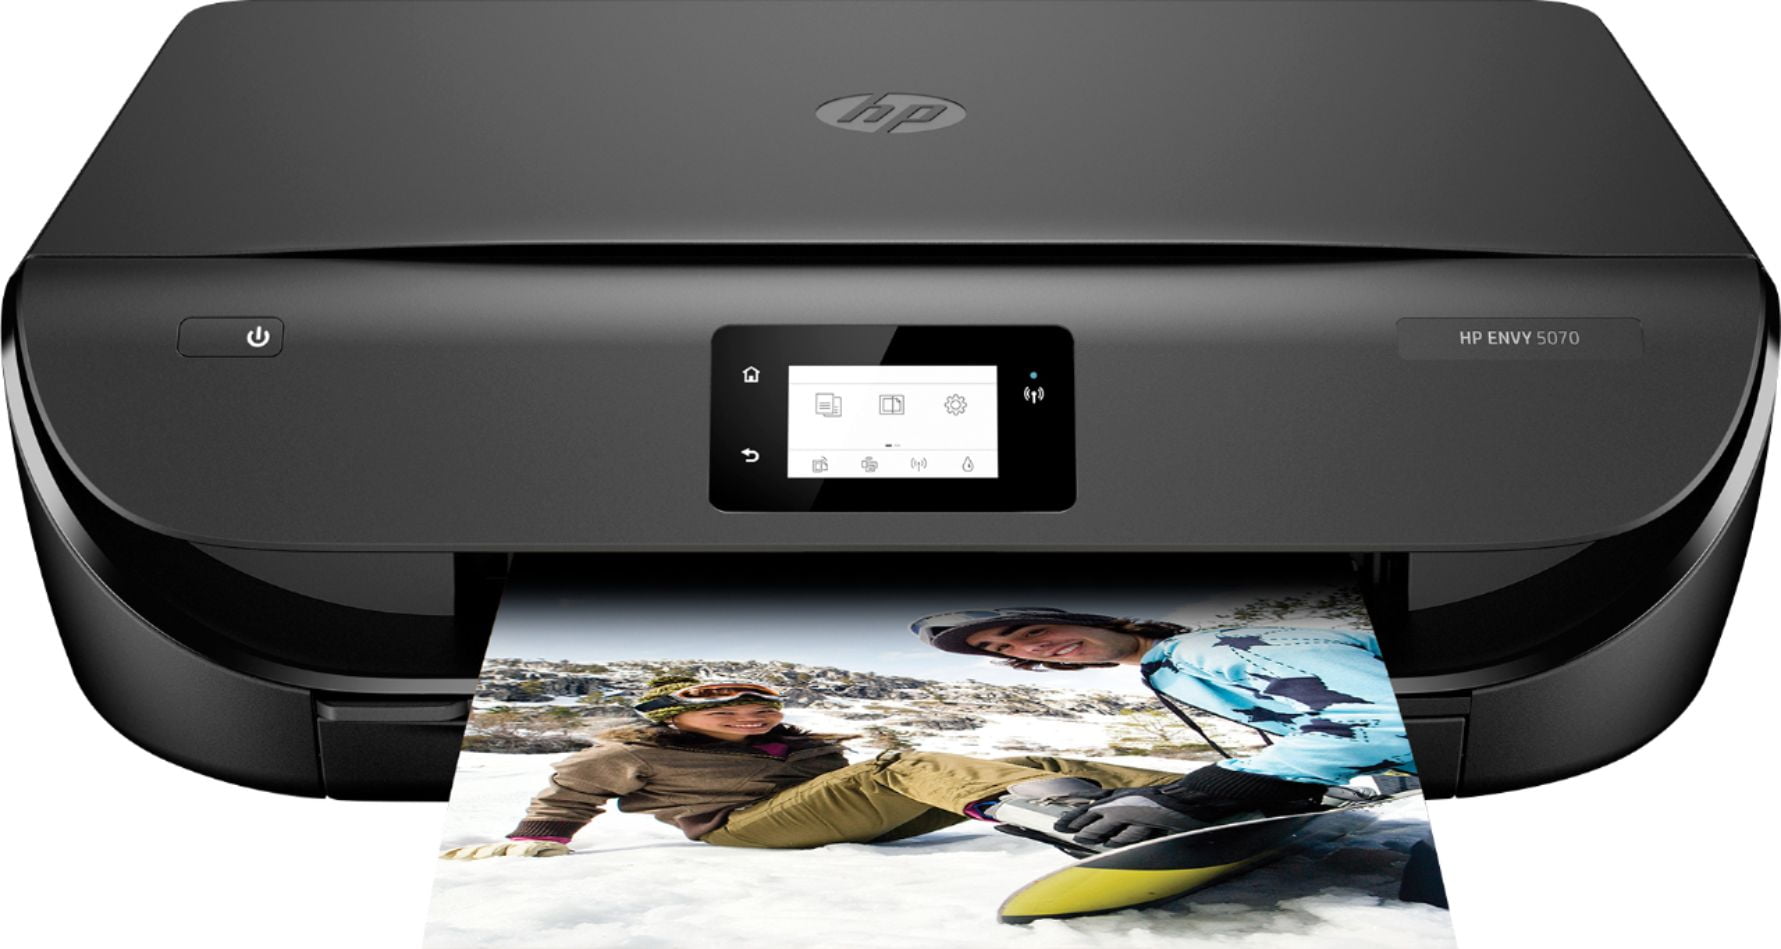
Getting Started with Your HP Envy Printer
Setting up a new HP Envy printer involves a few key steps to ensure it works properly. The process is straightforward when following the manufacturer’s recommendations for hardware setup and software installation.
Unboxing and Initial Setup
When unpacking an HP Envy printer, users should remove all shipping materials, including tape, protective films, and cardboard inserts. These materials are typically colored orange or blue for easy identification. The package contains:
- Printer unit
- Power cord
- Setup ink cartridges
- Setup guide
- Reference materials
After unpacking, connect the power cord to the printer and a working outlet. The printer will automatically power on. The control panel display will guide users through the initial setup process.
Many HP Envy models feature Smart Setup, which streamlines the configuration process. Users should load paper into the input tray and install ink cartridges according to the on-screen instructions.
Installing HP Software and Drivers
For optimal functionality, installing the correct software is essential. HP Smart is the recommended application for HP Envy printers.
Users can download HP Smart from:
- Microsoft Store (Windows)
- Apple App Store (Mac/iOS)
- Google Play Store (Android)
The application walks users through the printer setup process step by step. It helps install necessary drivers and additional software components.
For Windows 10 users, the operating system may automatically detect the printer and install basic drivers. However, the HP Smart app provides enhanced features like scanning, copying, and printer maintenance tools.
Connecting to Wi-Fi or Ethernet
HP Envy printers offer multiple connectivity options to suit different home or office setups.
Wi-Fi Connection:
- From the printer’s control panel, select “Settings” or “Network”
- Choose “Wireless Setup Wizard”
- Select your network name from the list
- Enter your Wi-Fi password when prompted
Many newer HP Envy models support HP Smart app wireless setup. This method is often faster and more reliable than using the printer’s control panel.
For a more stable connection, some HP Envy models include an Ethernet port. Simply connect an Ethernet cable from the printer to the router. The printer should automatically detect the connection.
Apple users can take advantage of AirPrint compatibility, allowing for easy printing without additional drivers.
Understanding Printer Functions
The HP Envy printer series combines user-friendly controls with versatile paper handling capabilities, making it efficient for home and small office use. These features work together to simplify document printing, scanning, and copying tasks.
Overview of Touchscreen Controls
The HP Envy printer features an intuitive color touchscreen interface that serves as the command center for all operations. Users can easily navigate through various functions by tapping clearly labeled icons for print, scan, copy, and other options.
The touchscreen displays real-time status information including ink levels, wireless connection strength, and active jobs. This makes troubleshooting simpler when issues arise.
For scanning operations, the touchscreen provides multiple options including scan to email, scan to computer, or scan using the HP Smart app. Users can adjust scan settings such as resolution, color/black and white, and file format directly from the display.
Copy functions allow for quick adjustments to size, number of copies, and quality before pressing the start button.
Paper Handling Capabilities
The HP Envy printer excels in paper handling with its versatile input tray and Automatic Document Feeder (ADF). The ADF allows users to scan or copy multiple pages without manually placing each sheet on the scanner glass.
To use the ADF, simply place documents face-up in the feeder tray. The printer automatically pulls each page through for scanning or copying. This feature is particularly valuable for multi-page documents and saves significant time.
The printer supports duplex printing (two-sided printing) which reduces paper consumption. This function works automatically when selected in print settings.
Paper capacity varies by model but typically handles 100-125 sheets in the main tray. The printer accepts various paper sizes including letter, legal, and envelopes, making it adaptable to different printing needs.
Printing with the HP Envy
The HP Envy printer offers versatile printing capabilities that accommodate various paper sizes and types. Its intuitive interface makes printing from different devices straightforward, while advanced features support both personal and business printing needs.
Loading Paper and Selecting Paper Types
The HP Envy printer supports multiple paper types including plain, photo, and specialty papers. To load paper:
- Extend the input tray and adjust the width guides to match your paper size
- Insert paper with the print side down
- Slide the guides to fit snugly against the paper edges
- Push the tray back in until it clicks
The printer automatically detects common paper sizes, but you can manually select paper type through the control panel by tapping “Settings” > “Paper Setup.” For optimal results, use HP-recommended papers.
Premium photo papers work best for images, while HP bright white paper delivers crisp text for documents. The printer settings let you optimize print quality based on your selected paper type, preventing smudges and improving color accuracy.
Basic Printing from Computers and Mobile Devices
The HP Envy supports printing from various devices, including computers, smartphones, and tablets. For computers, install the HP drivers from the included CD or HP’s website.
To print on Windows:
- Open the document and select File > Print
- Choose your HP Envy printer
- Adjust settings like paper size, quality, and color options
- Click Print
For Mac users, the process is similar but uses the macOS print dialog. The printer offers duplex print speeds of up to 10 pages per minute for black and white documents.
Mobile printing is simple through Wi-Fi Direct or your home network. No computer is needed—just connect your mobile device to the same network as your printer. The HP Envy automatically queues jobs from multiple devices.
Using the HP Print Service Plugin and HP Smart
The HP Smart app provides complete control over your printing experience. This free application works on iOS, Android, Windows, and Mac devices.
Key features include:
- Remote printing from anywhere with internet access
- Scan to email directly from the printer
- Print queue management to prioritize urgent documents
- Ink level monitoring and automatic reordering options
The HP Print Service Plugin integrates with Android’s native printing system. Once installed, you can print directly from any app with print functionality without opening the HP Smart app.
For business printing, the app offers additional features like preset templates and direct cloud connectivity. Users can create shortcuts for frequently used print settings, saving time for repetitive tasks.
Wide Format and A3 Printing
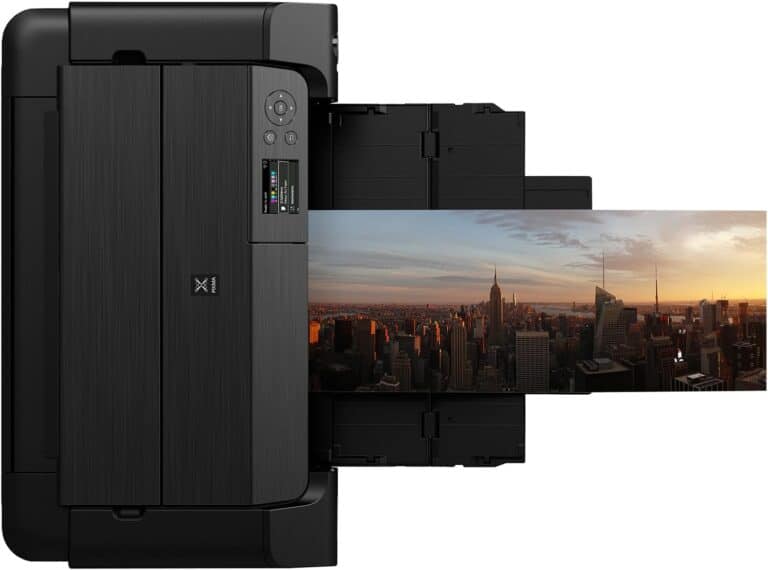
The HP Envy supports wide format printing capabilities, including A3 size documents (11.7 × 16.5 inches). This feature makes it ideal for:
- Architectural plans and diagrams
- Marketing materials and posters
- Spreadsheets with multiple columns
- Photo enlargements
To print in A3 format, load the larger paper into the rear specialty media tray rather than the main tray. From your device, select A3 as the paper size in the print settings dialog. For best results, use HP’s specially designed wide format paper.
The printer automatically adjusts resolution settings for larger prints to maintain image quality across the expanded area. While not comparable to A1 colour HP DesignJet large format printers, the HP Envy delivers impressive results for small business needs at a fraction of the cost.
Scanning and Copying Documents
The HP Envy printer makes document handling simple with its versatile scanning and copying features. The built-in Automatic Document Feeder (ADF) saves time when processing multiple pages, while the intuitive controls allow for customized output.
Scanning to Computers and Email
To scan from the HP Envy printer, users can place their document on the scanner glass or into the ADF for multi-page documents. The process can be initiated directly from the printer’s control panel by touching the “Scan” option, followed by selecting “Scan to Computer” or “Scan to Email” depending on the desired destination.
For computer scanning, users should:
- Place the document face-down on the scanner glass or face-up in the ADF
- Select “Scan” from the control panel
- Choose the destination computer if multiple are connected
- Select desired scan settings (color, resolution, file type)
- Press “Scan” to begin
Scanning to email requires email setup in the printer settings first. Once configured, the process follows similar steps but sends the document directly to the chosen email address.
Making Copies with Various Settings
The HP Envy printer offers flexible copying options to meet different needs. Users can make copies by placing documents on the scanner glass or in the ADF.
Key copy settings include:
- Number of copies: Select from 1 to 99 copies
- Color options: Choose between color or black and white
- Paper size: Letter, legal, A4 and more
- Quality: Draft, Normal or Best quality
- Resize options: Fit to page, custom scaling (25-400%)
To make a copy, users should press the “Copy” button on the control panel, adjust settings as needed, and press “Start Copy.” The printer automatically detects paper size when using the scanner glass, but size must be specified when using the ADF.
Using the ADF for Multiple-Page Documents
The Automatic Document Feeder (ADF) significantly improves efficiency when scanning multiple pages. This feature handles stacks of documents automatically without requiring manual placement of each page.
When using the ADF:
- Remove any staples or paper clips from documents
- Adjust the paper guides to match document width
- Insert pages face-up with the top edge entering first
- Load up to 35 pages (depending on paper weight)
The HP Envy supports duplex (two-sided) scanning with the ADF on most models. Users can select “2-sided” in the scan or copy settings to capture both sides of the document in a single operation. This feature works well for scanning booklets, contracts, or any double-sided materials.
For best results, users should ensure documents are clean, flat, and properly aligned in the feeder to prevent paper jams.
Advanced Features and Settings
The HP Envy document loader offers several advanced capabilities that enhance productivity and document management. These features allow users to save time, improve output quality, and expand the printer’s functionality beyond basic scanning and printing.
Using Duplex Printing
Duplex printing enables printing on both sides of a page automatically, saving paper and creating professional-looking documents. To activate this feature on an HP Envy printer:
- Open the print dialog on your computer
- Select “Properties” or “Preferences”
- Find the “Two-sided printing” or “Duplex printing” option
- Choose between “Flip on long edge” or “Flip on short edge” depending on your document layout
The document loader works seamlessly with duplex printing, allowing users to scan multiple pages while the printer handles two-sided output automatically. This feature is particularly useful for multi-page reports, booklets, and presentations.
For consistent results, use recommended paper weights (20-24 lb) to prevent jams during the duplex process. The HP Smart app also provides easy access to duplex settings through its intuitive interface.
Exploring Fax Capabilities
The HP Envy document loader simplifies faxing by allowing users to feed multiple pages for transmission. Setting up fax functionality requires:
- Connecting a phone line to the printer’s fax port
- Configuring fax settings through the printer’s control panel
- Entering recipient information and adjusting resolution as needed
Users can scan documents using the document feeder rather than placing pages individually on the scanner glass. This streamlines the process for multi-page faxes.
The HP Envy offers digital faxing options that allow sending faxes directly from a computer without printing first. Users can also set up fax scheduling for non-urgent documents and configure auto-answer settings to receive faxes when away from the printer.
Similar to the LaserJet Pro series, the Envy provides confirmation reports to verify successful transmission.
Configuring Print Quality and Speed
The HP Envy printer allows users to balance print quality and speed based on specific needs. For optimal results:
Quality Settings:
- Draft: Fastest printing, lowest quality (great for internal documents)
- Normal: Balanced speed and quality (recommended for everyday use)
- Best: Highest quality, slower speed (ideal for presentations)
Print speed varies based on document complexity and chosen settings. The document loader facilitates faster scanning of multi-page documents regardless of print speed selection.
To adjust these settings, access the printer properties dialog before printing or use the HP Smart app for convenient adjustments. For photo printing, selecting the appropriate paper type is crucial for optimal results.
Many users find that Normal mode provides sufficient quality for most documents while conserving ink. The HP Envy, while not matching the top speeds of the HP LaserJet MFP M233sdw printer, delivers impressive performance for its class.
Maintenance and Troubleshooting
Keeping your HP Envy document loader in optimal condition requires regular maintenance and knowing how to address common issues quickly. Proper care ensures longer device life and consistent performance during scanning and copying tasks.
Replacing Ink Cartridges and Toner
The HP Envy printer series features easy management tools that alert users when ink levels are running low. To replace cartridges:
- Open the front access door while the printer is powered on
- Wait for the cartridge carriage to center and stop moving
- Press down gently on the old cartridge to release it
- Remove from packaging and pull the orange tab to remove protective tape from new cartridge
- Insert new cartridge at slight upward angle until it clicks into place
For HP LaserJet models like the HP LaserJet MFP M233sdw printer, toner replacement follows a similar process. Pull the toner drawer fully open and rotate the old cartridge out before installing the new one.
Never touch the gold-colored contacts or copper-colored strips on cartridges as oils from skin can damage these components.
Cleaning and Calibrating the Printer
Regular cleaning prevents document jams and ensures image quality. Clean the document loader monthly:
- Power off the printer and unplug it
- Lift the document feeder lid
- Use a soft, lint-free cloth slightly dampened with water to wipe the glass surface
- Clean the white strip under the glass using the same method
- Dry thoroughly with another lint-free cloth
For LaserJet Pro models, run the built-in calibration tool through the control panel under “Printer Maintenance” to ensure color accuracy and print quality.
Avoid using harsh chemicals or paper towels which can scratch the glass. For stubborn marks, use a gentle glass cleaner applied to the cloth first, never directly on the scanner.
Solving Common Printing and Scanning Issues
When the document feeder fails to scan properly, try these troubleshooting steps:
- Check for paper jams by opening the ADF cover
- Ensure documents meet size requirements (typically 8.5 × 11 inches)
- Verify papers aren’t stuck together or damaged
- Make sure paper guides fit snugly against document edges
For scanning issues specifically, the HP Diagnose & Fix tool available in HP Smart app can automatically identify and resolve common problems. Run this utility when experiencing consistent scanning failures.
If documents continuously jam, check for foreign objects in the paper path. Paper weight matters too—using paper between 16-24 lb bond typically works best in the automated document feeder.
For persistent issues with the HP Envy Inspire series, access dedicated troubleshooting resources from HP Support.
Maximizing Office Productivity
The HP Envy document loader transforms everyday office tasks into streamlined processes that save valuable time. When properly integrated with your existing systems and software, this powerful tool can dramatically increase workplace efficiency.
Integrating with Office Networks and Software
HP Envy document loaders connect seamlessly with office networks, allowing multiple users to access scanning capabilities from their workstations. Users can scan documents directly using the HP Smart app from computers or mobile devices. This eliminates the need to physically walk to the printer for every scan job.
Integration with popular document management systems creates smooth workflows. Files can be scanned directly to shared network folders, cloud storage services, or email. This connectivity reduces manual steps and minimizes errors.
For small offices with limited IT support, the setup process is straightforward and user-friendly. Most HP Envy models feature automatic network detection and configuration assistance, making integration simple even for non-technical users.
Leveraging HP’s MFP Productivity Solutions
Multifunction printer (MFP) productivity features extend beyond basic scanning. The document feeder on HP Envy devices handles multiple pages automatically, perfect for processing invoices, contracts, and reports in batches rather than page-by-page.
HP’s document scanners streamline workflow management through advanced features like:
- Automatic document recognition: Identifies document types and applies appropriate settings
- OCR capabilities: Converts scanned text to editable, searchable formats
- Custom presets: One-touch operations for routine scanning tasks
- Double-feed detection: Prevents paper jams and missed pages
These productivity solutions are particularly valuable for businesses handling high document volumes. The time saved on routine document processing allows staff to focus on more valuable activities.
Choosing the Right Printer for Your Business
Selecting the appropriate HP printer model significantly impacts office productivity. For small offices primarily handling text documents, an A4 black and white laser printer offers speed and economy. When document appearance matters, an A4 color laser multifunction printer provides professional-quality output.
Consider these factors when selecting a device:
| Factor | Importance |
|---|---|
| Document volume | Determines appropriate paper capacity and duty cycle |
| Scanning frequency | Higher usage requires faster scanning speeds |
| Paper size requirements | Ensure compatibility with standard document sizes |
| Network capabilities | Must support existing office infrastructure |
The right printer matches both current needs and anticipates future growth. HP’s business print solutions scale effectively, allowing small offices to start with appropriate technology that expands as operations grow.
Digital productivity tools built into modern HP printers help teams stay organized with minimal effort. These features transform document handling from a time-consuming chore into a competitive advantage.
Expert Assistance and Support
When facing challenges with your HP Envy document loader, getting expert help can save time and prevent frustration. Professional support options are readily available through official channels and third-party platforms.
Utilizing HP Customer Support
HP offers comprehensive support for users having trouble with their document feeder. The HP Support website provides detailed guides and troubleshooting steps specifically for scanning functions.
Users can contact HP’s technical team through phone, chat, or email for personalized assistance. The support team can walk you through common document loader issues like paper jams, misfeeds, or scanning errors.
HP also provides video tutorials that demonstrate proper document feeder usage. These step-by-step guides show how to correctly place documents and adjust settings for optimal results.
For software-related issues, HP technicians can help with driver updates or software configuration that might be affecting the document loader’s performance.
Accessing Online Resources like JustAnswer
JustAnswer connects users with certified technicians who provide personalized solutions for HP Envy document loader problems. This platform is particularly helpful for specific model questions, such as using the automatic document feeder on an HP Envy 6455e.
Expert technicians on JustAnswer can help determine whether issues stem from hardware problems or software configuration. They typically respond within minutes, making it ideal for urgent scanning needs.
The platform contains archives of previously answered questions about HP Envy scanning capabilities, which might already address your specific issue.
Many printer experts on these platforms have backgrounds as HP technicians, bringing manufacturer-level knowledge to their recommendations.
Frequently Asked Questions
HP Envy printers come with several document handling features that users commonly have questions about. These FAQs address scanning, printing, troubleshooting the document feeder, and performing basic operations.
How can I scan a document using the HP Envy 6000 series printer?
To scan documents with an HP Envy 6000 series printer, you can use either the flatbed glass or the automatic document feeder (ADF). Place your document on the scanner glass or load it into the ADF.
You can initiate a scan directly from the printer’s control panel. Simply select the scan function and choose your destination (computer, email, or memory device).
For more convenience, you can also scan using the HP Smart app. This app allows you to scan from your printer or even use your mobile device’s camera.
What are the steps for printing with an HP Envy printer?
Printing with an HP Envy printer begins with loading paper into the input tray. Make sure the paper guides are adjusted to match your paper size.
From your computer, open the document you wish to print and select “Print” from the menu. Choose your HP Envy printer from the list of available printers.
Review and adjust print settings as needed (quality, color/black and white, paper type). Click “Print” to send the document to your printer.
How do I resolve issues with the HP Envy’s automatic document feeder not picking up paper?
When the ADF isn’t picking up paper, first check for paper jams or debris inside the feeder. Remove any obstructions carefully.
Make sure your paper meets the requirements for the ADF. Paper should be standard weight (not too thin or thick), unfolded, and free of staples or other fasteners.
Clean the ADF rollers using a lint-free cloth slightly dampened with distilled water. Allow the rollers to dry completely before attempting to use the ADF again.
Can you guide me through using the document feeder to make copies with an HP Envy 6400 series printer?
To make copies using the document feeder on an HP Envy 6400, first load your original documents face up in the ADF. Adjust the paper guides to fit your document size.
On the printer’s control panel, select “Copy” and choose your desired settings such as number of copies and color/black and white. Press the Copy button (Black or Color) to begin the copying process.
The printer will automatically feed each page through the ADF and produce copies according to your settings.
What is the process for scanning documents with an HP Envy 6052e model?
For scanning with an HP Envy 6052e, place your original document on the scanner glass or in the ADF. If using the ADF, insert pages face up.
From the control panel, select the scan function. Choose your scan destination (computer, email, or memory device) and adjust scan settings as needed.
You can also scan directly from the control panel to a Windows computer by selecting this option in the scanning menu.
How does one operate the HP Envy 6010 printer for basic tasks?
The HP Envy 6010 printer handles basic tasks through its intuitive control panel. For printing, ensure your printer is connected to your computer or network and send print jobs as needed.
For scanning, place documents on the scanner glass or in the document feeder. Select the scan function from the control panel and follow the prompts to complete your scan.
To make copies, place your original on the scanner glass or in the ADF, press the Copy button on the control panel, adjust settings if needed, and press Start to begin copying.