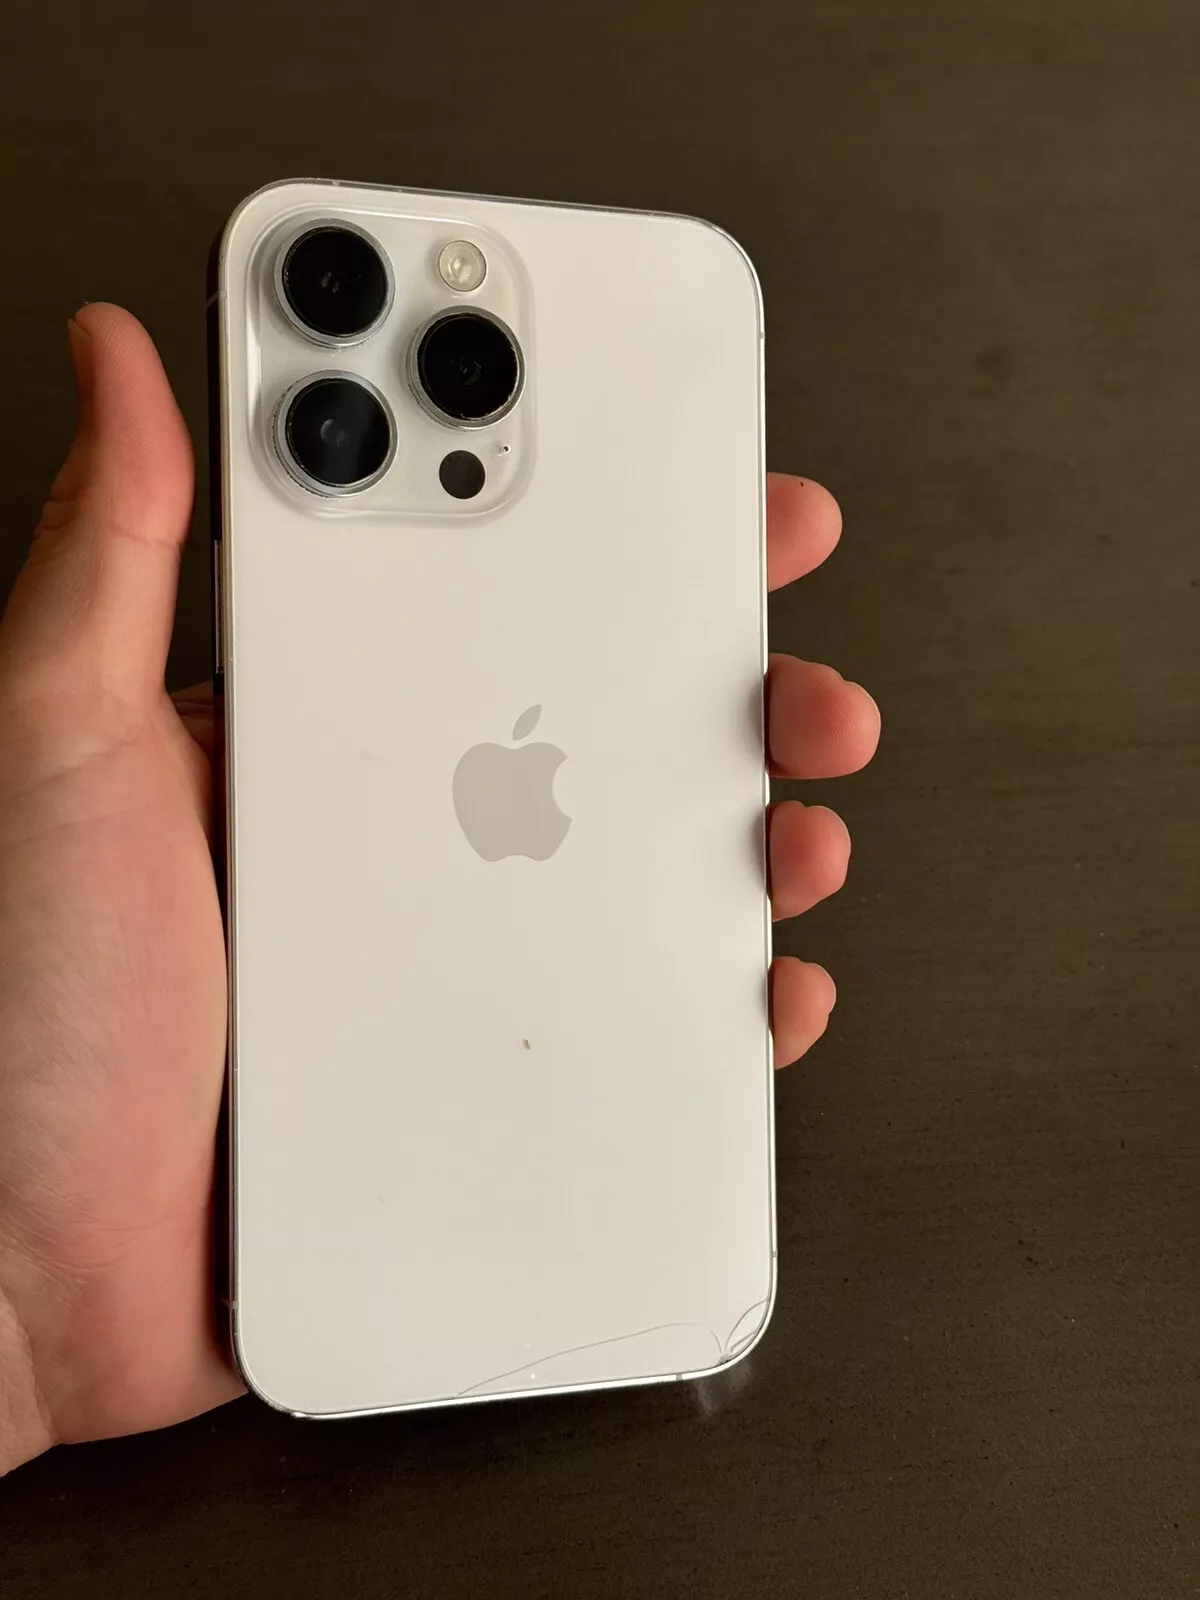
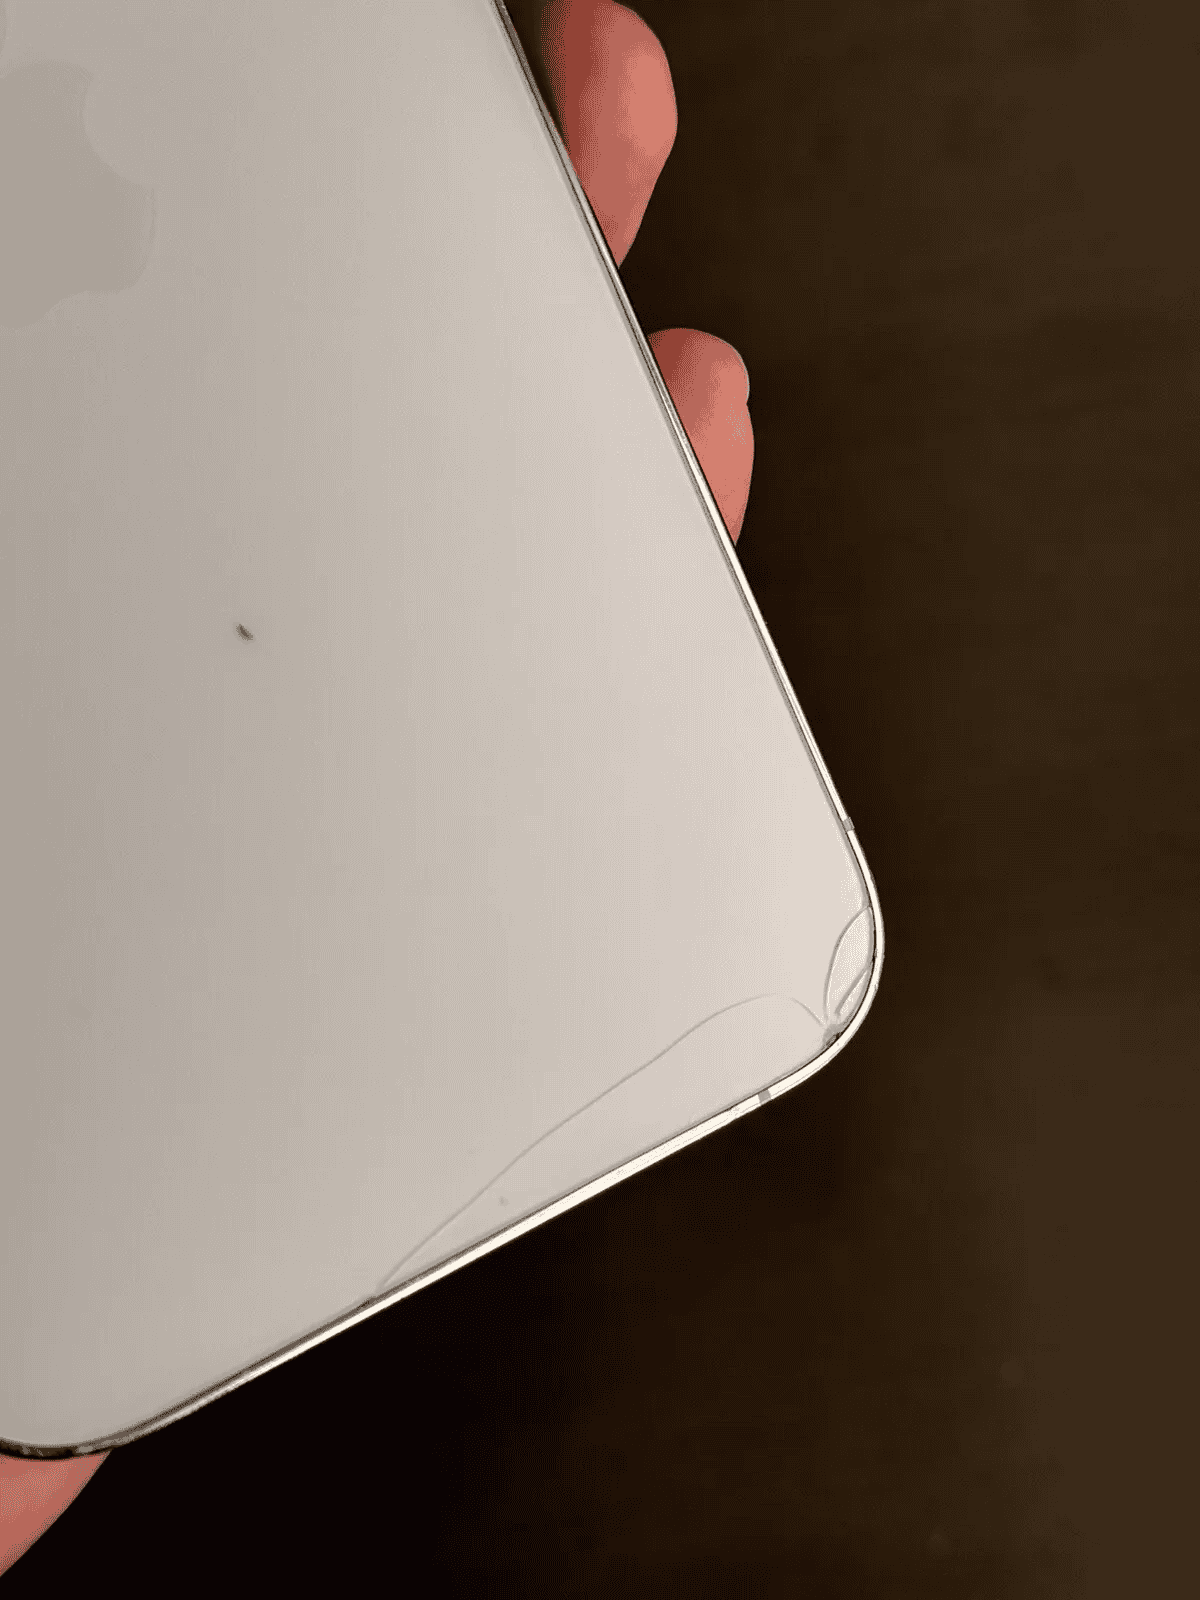
To replace the back glass on an iPhone 14 Pro Max, you need to handle it carefully and have the right tools. This guide will go through the process step by step and provide tips and resources to help you replace the glass yourself or decide whether you need professional help. If you have a cracked back glass on your iPhone 14 Pro Max, it may seem like a big problem, as the back glass is important for the device’s design and houses components like the charging coil and microphone. Luckily, Apple made the iPhone 14 series easier to repair compared to previous models.
It’s essential for iPhone 14 Pro Max users to understand the replacement process in order to decide whether to do the repair themselves or seek professional service. When it comes to back glass replacement, you need to pay close attention and use the right tools. DIY enthusiasts might want to take on the challenge, but they should know that the process is delicate. It requires specific equipment like a heat gun and safety measures, as well as careful handling to avoid further damage. Those who choose professional repair services can be reassured that many providers offer quality repairs with a quick turnaround, so your iPhone 14 Pro Max will be back in good condition without a long wait.
Replacing Your iPhone 14 Pro Max Back Glass
Tools and Materials
- Heat gun or hair dryer
- Suction cup
- Plastic opening picks
- Precision screwdriver set
- New back glass panel
- Adhesive strips (pre-cut or roll)
- Isopropyl alcohol
- Lint-free cloths
Step-by-Step Guide
- Prepare: Power off your iPhone.
- Heat: Apply heat to the back glass edges to soften the adhesive.
- Insert Pick: Use a suction cup to create a small gap. Insert a pick and slide it around the edges.
- Remove Glass: Gently lift the old back glass. Be careful not to damage the camera module.
- Clean: Remove old adhesive residue with isopropyl alcohol.
- Apply Adhesive: Attach new adhesive strips to the frame.
- Align Glass: Carefully align the new back glass panel and press it firmly into place.
- Heat Again: Apply heat briefly to strengthen the adhesive bond.
- Check: Inspect for any gaps or unevenness.
Tips and Warnings
- Work in a clean, well-lit area.
- Use caution with the heat gun to avoid overheating the phone.
- Take your time and work patiently.
- If unsure, consult a professional repair service.
Disclaimer: This guide is for informational purposes only. Attempt this repair at your own risk. We are not responsible for any damage caused during the process.
Key Takeaways
- The iPhone 14 Pro Max features a design that accounts for easier back glass replacement.
- Proper repair requires precise tools and a mindful approach to avoid additional damage.
- Professional repair services offer quick and reliable solutions for back glass replacement.
Understanding iPhone 14 Pro Max Back Glass Replacement
Replacing the back glass on your iPhone 14 Pro Max can be a complex task. This section provides key insights into the phone’s design, possible risks when attempting a DIY fix, and when it may be best to seek professional repair services.
iPhone 14 Pro Max Structure and Design
The iPhone 14 Pro Max boasts a sophisticated design that integrates the back glass with internal components like the charging coil and microphone. This design means that removing the back glass is not as simple as prying it off. Special tools, such as a suction cup and heat source, are often needed to carefully separate the glass from the frame without harming the internal parts of the phone.
Risks of DIY Back Glass Replacement
While online guides, such as those from iFixit, offer step-by-step instructions for replacing the back glass, there are significant risks involved. Applying too much heat can damage the phone’s internal circuitry. If parts are not reassembled correctly, it could lead to further issues. Additionally, using non-genuine Apple parts may void any existing warranty or AppleCare+ coverage you have on your device.
When to Opt for Professional Repair Services
If your iPhone 14 Pro Max back glass requires replacement and you’re not confident in performing a DIY repair, it’s wise to use professional services. Apple authorized service providers have trained technicians who use genuine Apple parts and will guarantee their work. This route ensures your device remains covered by any existing warranty or AppleCare+ plan, maintaining the reliability and value of your iPhone.
Apple’s Repair Solutions and Services
When your iPhone 14 Pro Max back glass needs fixing, Apple provides several service options. Depending on your coverage and the type of damage, these services vary in cost and convenience.
Apple Authorized Service Providers and AppleCare+
AppleCare+ extends the service coverage for your iPhone 14 Pro Max, covering accidental damage with an additional fee. Apple Authorized Service Providers are endorsed by Apple to deliver the same high-quality service using genuine Apple parts. If your iPhone battery holds less than 80 percent of its original capacity and you have AppleCare+, the battery service might be free.
Apple Store and Apple Support Advisor Services
By visiting an Apple Store, you can get face-to-face support and repair services from Apple’s tech experts. Alternatively, you can speak with an Apple Support Advisor to understand service options or to send your iPhone in for repair. Some locations even offer same-day service for certain repairs.
Cost and Warranty Considerations
Repairs might be in or out of warranty; coverage under consumer law may also apply. Out-of-warranty services will incur costs, with the back glass damage service fee for the iPhone 14 Pro Max notably lower than previous models. The standard Apple Limited Warranty covers manufacturer defects but not accidental damage. Service costs can vary and may include additional fees for shipping and tax. To get an estimate, contact a service provider or check the Apple support page.
Frequently Asked Questions
This section aims to clarify common concerns about iPhone 14 Pro Max back glass replacement, covering topics like repair costs, service locations, DIY potential, impact on water resistance, cost comparison, and warranty implications.
How much is the repair cost for a cracked iPhone 14 Pro Max back glass?
Repairing the back glass of an iPhone 14 Pro Max can be costly. If you opt for official Apple service without AppleCare, you may need to pay a premium price. This cost is significantly reduced if you have an active AppleCare plan.
Where can I find a service center for iPhone 14 Pro Max back glass replacement?
Service centers for the iPhone 14 Pro Max back glass replacement can be located through Apple’s support website. You can also check for certified third-party repair shops that are authorized to conduct such repairs.
Is it possible to repair the iPhone 14 Pro Max back glass on my own with a repair kit?
It is possible to replace the iPhone 14 Pro Max back glass on your own with a specialized repair kit. This task requires precision and patience. If you’re not experienced in such repairs, it’s recommended to seek professional assistance.
Does replacing the iPhone 14 Pro Max back glass affect the original waterproof feature?
Replacing the back glass could affect the iPhone 14 Pro Max’s water resistance. An official repair from Apple should maintain water resistance standards, but third-party repairs might not guarantee this.
What is the difference in cost between third-party and Apple official back glass replacement for the iPhone 14 Pro Max?
The cost of back glass replacement from third-party repair services is typically lower than Apple’s official service. However, the use of non-original parts and potential voiding of your warranty could be trade-offs for the lower price.
Will replacing the back glass of the iPhone 14 Pro Max void my warranty or AppleCare?
Having the back glass replaced by unauthorized repair providers can void the Apple warranty and AppleCare. For covered repairs, it is best to use Apple’s services or an authorized provider to maintain your device’s warranty status.

