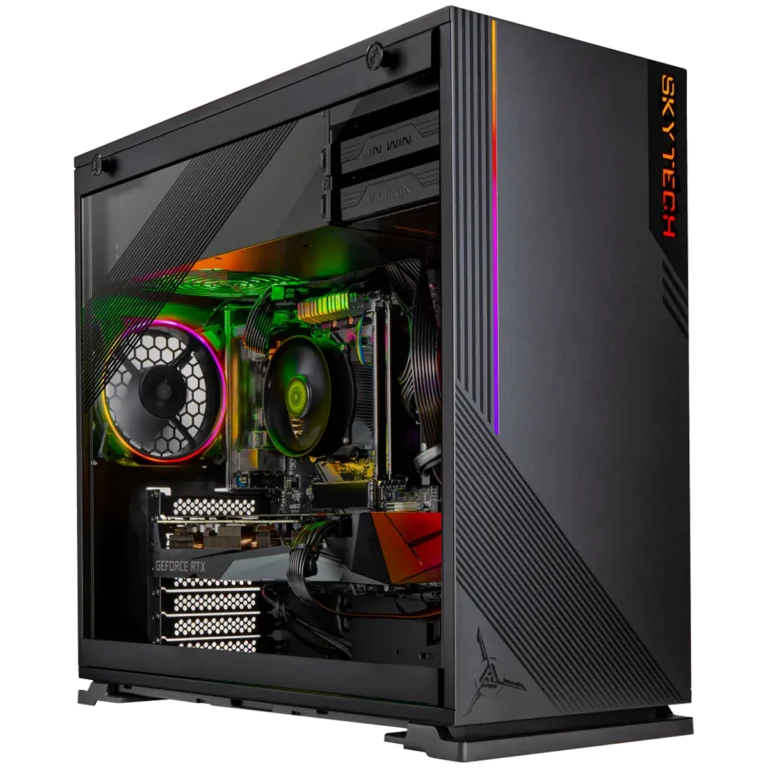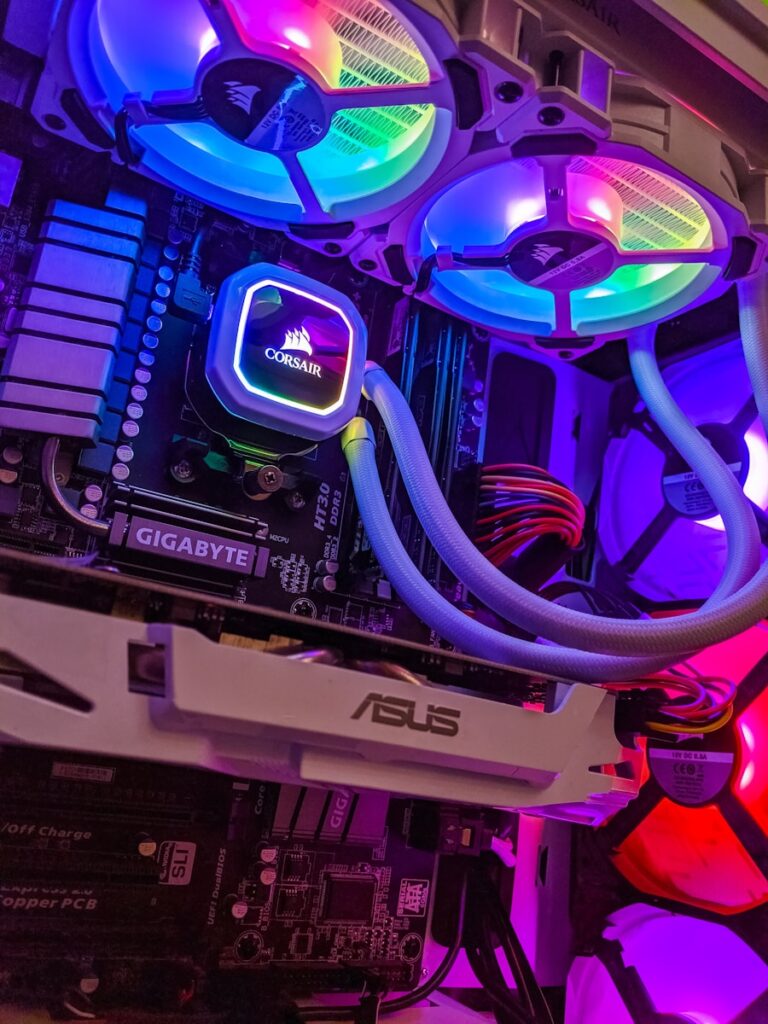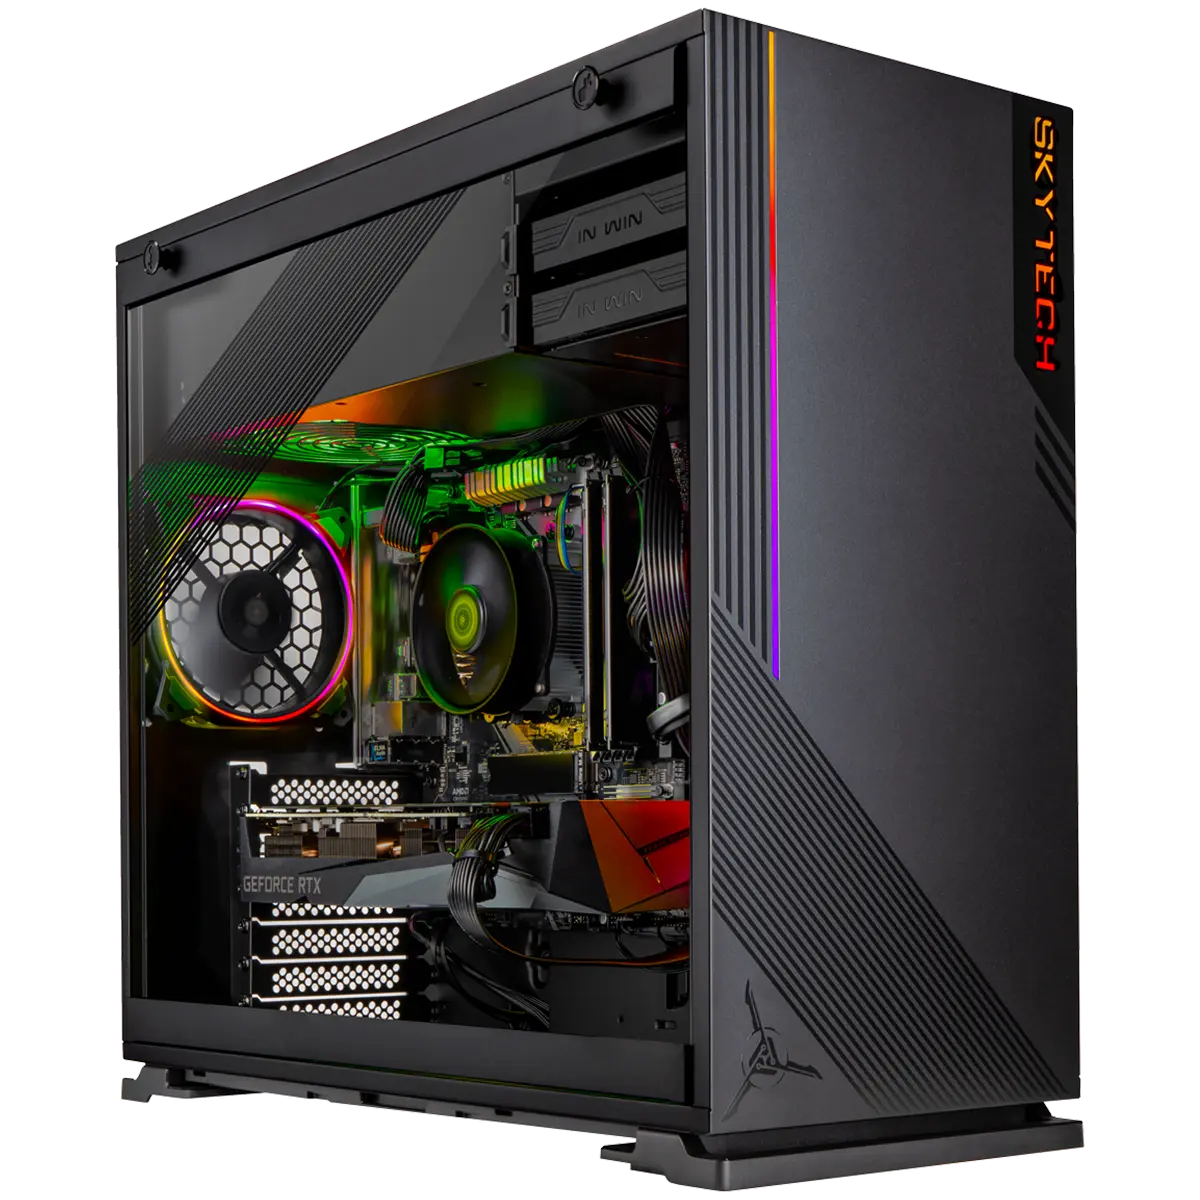
Gaming PCs are powerful machines, but they can sometimes run into issues. Skytech Gaming offers troubleshooting tips to help you fix common problems with your system. Reseating power cables and checking connections can often resolve startup issues and RGB lighting glitches.
If your Skytech PC won’t turn on, try reseating the main power cables. Check the 24-pin motherboard connector and CPU power cables. Make sure the front panel power switch is connected properly. For RGB problems, ensure all lighting cables are secure and try using different control software.
Fan noise is another common concern. If your Skytech fans are too loud, you may be able to adjust speeds in the BIOS or with fan control software. Remember that some high-performance systems will naturally produce more noise under load.
| Common Issue | Quick Fix |
|---|---|
| Won’t start | Reseat power cables |
| RGB not working | Check connections, update software |
| Loud fans | Adjust fan curves in BIOS |
Skytech Gaming PC Troubleshooting: Common Issues and Fixes
Basic Troubleshooting Steps
Before diving into specific problems, try these basic steps:
- Check all connections: Make sure all cables are securely plugged into both the PC and the peripherals (monitor, keyboard, mouse).
- Restart your PC: This simple step often resolves temporary software glitches.
- Check power: Ensure the power supply is switched on and the power cord is properly connected.
No Display or Black Screen
If your monitor shows no signal:
- Check the monitor: Make sure the monitor is turned on and the correct input source is selected.
- Check the video cable: Try a different video cable (HDMI or DisplayPort).
- Check the graphics card: If your PC has a dedicated graphics card, make sure it’s properly seated in the PCIe slot. Try reseating it.
- Check the onboard graphics: If your CPU has integrated graphics, try connecting the monitor directly to the motherboard.
PC Not Turning On
If your PC doesn’t power on at all:
- Check the power supply: Ensure the power supply switch is on. Check the power cord.
- Check the power button: Make sure the power button is properly connected to the motherboard.
- Check the motherboard: Look for any indicator lights on the motherboard. These can provide clues about the problem.
Blue Screen of Death (BSOD) or System Crashes
BSODs or frequent crashes can indicate various issues:
- Check for driver updates: Outdated or corrupted drivers can cause instability. Update your graphics drivers, chipset drivers, and other device drivers.
- Check for Windows updates: Make sure Windows is up to date.
- Check for overheating: Monitor your CPU and GPU temperatures. Clean any dust from the fans and heatsinks.
- Check your RAM: Run a memory test to check for faulty RAM modules.
- Check your hard drive or SSD: Run a disk check utility to check for errors.
Slow Performance
If your PC is running slower than usual:
- Close unnecessary programs: Close any programs you’re not using.
- Check for malware: Run a full system scan with your antivirus software.
- Check your hard drive space: Make sure you have enough free space on your hard drive or SSD.
- Defragment your hard drive (HDD only): This can improve performance on traditional hard drives. SSDs do not need defragmentation.
- Upgrade your RAM or storage: If your system is low on RAM or storage, upgrading can significantly improve performance.
Gaming Performance Issues
If you’re experiencing poor performance in games:
- Check game settings: Lowering the graphics settings in the game can improve performance.
- Update graphics drivers: Make sure you have the latest graphics drivers installed.
- Monitor temperatures: Overheating can cause performance throttling.
Sound Problems
If you have no sound or distorted sound:
- Check your speakers or headphones: Make sure they are properly connected and turned on.
- Check the volume levels: Make sure the volume is turned up on both your PC and your speakers or headphones.
- Check the audio drivers: Make sure your audio drivers are installed and up to date.
Contacting Skytech Support
If you’ve tried these troubleshooting steps and are still experiencing problems, it’s best to contact Skytech support directly. They can provide further assistance and may be able to offer warranty service if necessary.
Regular maintenance can prevent many PC problems. This includes cleaning dust from the inside of your PC, keeping your software updated, and running regular virus scans. By taking these steps, you can keep your Skytech gaming PC running smoothly.
Understanding Your Skytech Gaming PC
Skytech Gaming PCs are powerful machines with specific components and settings. Familiarizing yourself with these elements will help you troubleshoot issues and optimize performance.
Components Overview
Your Skytech Gaming PC contains several key internal components:
- Motherboard: The central hub connecting all parts
- CPU: The brain of your system
- Graphics Card: Handles visual processing for games
- RAM: Temporary memory for running programs
- SSD/HDD: Storage for your operating system and files
Each component plays a crucial role in your PC’s performance. The motherboard houses important connectors like the 24-pin power cable and CPU power cables.
Your graphics card is vital for gaming performance. It’s usually the largest component inside the case.
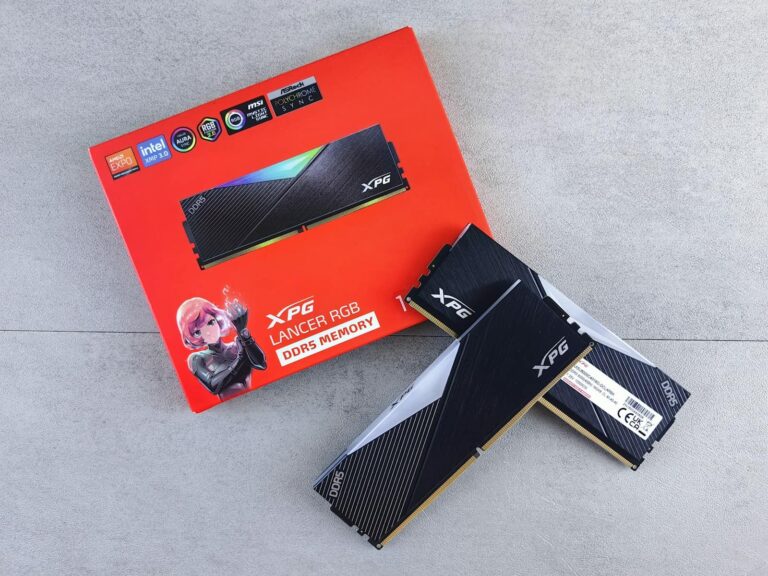
RAM modules slot into the motherboard near the CPU. More RAM generally means smoother multitasking.
Initial Power-Up Process
When you first set up your Skytech Gaming PC:
- Remove any internal packaging foam
- Connect peripherals (monitor, keyboard, mouse)
- Plug in the power cable
- Press the power button
During the initial boot, you may see the BIOS screen. This allows you to adjust basic system settings.
Check that your SSD or HDD is detected. If not, you may need to reseat power connections.
Ensure your RAM is properly seated. Improper installation can prevent boot-up.
After successful power-up, install necessary drivers for your components. This ensures optimal performance and functionality.
Common Troubleshooting Steps
When your Skytech gaming PC encounters issues, following a systematic approach can help identify and resolve problems quickly. These steps cover essential checks for power, boot-up, graphics, and memory components.
Checking Power Connections
Start by examining all power connections. Ensure the power cable is firmly plugged into both the PC and wall outlet. Check if the power supply unit (PSU) switch is in the ON position.
Try a different wall outlet to rule out electrical issues. Inspect internal connections, making sure the 24-pin motherboard and CPU power cables are secure. Look for loose GPU power connectors.
If the PC still won’t turn on, test the PSU using the paperclip method. This helps determine if the PSU is faulty.
Diagnosing Boot-Up Issues
If your PC powers on but doesn’t boot, listen for beep codes. These can indicate specific hardware problems. Check if fans are spinning and RGB lights are working.
Reseat RAM modules and clear CMOS by removing the motherboard battery for 30 seconds. This resets BIOS settings to default.
Try booting with only essential components connected. Disconnect all drives except the boot drive. Remove unnecessary peripherals and expansion cards.
If the issue persists, try booting from a Windows recovery USB to access diagnostic tools.
Resolving Graphics Failures
Graphics issues often manifest as no display, artifacts, or crashes. First, ensure your monitor is connected to the correct port – GPU, not motherboard.
Update graphics drivers to the latest version. If problems occur after an update, roll back to a previous stable version.
Check GPU temperatures using monitoring software. High temps may cause throttling or shutdowns. Clean dust from fans and heatsinks to improve cooling.
If possible, test the GPU in another PC or try a different GPU in your system to isolate the problem.
Memory and Storage Checks
Run a memory diagnostic tool to check for RAM errors. Windows includes a built-in Memory Diagnostic tool, or use Memtest86 for more thorough testing.
| Storage Type | Check Method |
|---|---|
| HDD | Use CHKDSK |
| SSD | Use manufacturer’s SSD toolbox |
For storage issues, check drive health using built-in Windows tools or manufacturer software. SSDs have limited write cycles, so monitor their health regularly.
Ensure all drives are properly connected and recognized in BIOS. Try different SATA ports if a drive isn’t detected.
If you suspect failing storage, back up important data immediately and consider replacing the drive.
Optimizing System Performance
Enhancing your Skytech gaming PC’s performance involves tweaking key settings and improving hardware conditions. These steps can significantly boost your system’s speed and responsiveness.
Adjusting BIOS Settings
Access your PC’s BIOS by pressing the designated key during startup. Look for options to enable XMP (Extreme Memory Profile) for your RAM. This setting optimizes memory speed and timing. Check if your CPU supports overclocking. If it does, you can increase its clock speed for better performance.
Disable unnecessary features like legacy USB support or network stack to reduce boot time. Enable fast boot options if available. These tweaks can shave seconds off your startup time.
Make sure to save your changes before exiting the BIOS. If you encounter stability issues after adjusting settings, reset to default and try again with more conservative changes.
Managing Power Settings
Open Windows Power Options through the Control Panel. Select “High Performance” or create a custom plan. Set your CPU’s minimum processor state to 100% for maximum performance.
Adjust sleep settings to prevent your PC from entering low-power states during gaming sessions. Disable USB selective suspend to ensure your peripherals remain responsive.
Optimize power settings for your graphics card in its control panel. Set it to prefer maximum performance when plugged in.
Enhancing Cooling and Airflow
Proper cooling is crucial for maintaining peak performance. Clean your PC’s interior regularly to remove dust buildup. Ensure all case fans are working correctly and set to PWM mode in BIOS for optimal speed control.
Consider upgrading to higher quality thermal paste for your CPU. This can improve heat transfer and lower temperatures. Add extra case fans if your PC case supports them, focusing on creating positive air pressure.
Monitor temperatures using software like MSI Afterburner. If you notice high temps, adjust fan curves or consider upgrading your CPU cooler. Good airflow keeps components cool, allowing them to maintain higher clock speeds for longer periods.
| Component | Optimal Temperature Range |
|---|---|
| CPU | 60-75°C under load |
| GPU | 70-85°C under load |
| SSD | Below 70°C |
Frequently Asked Questions
Skytech Gaming PCs may encounter various issues that require troubleshooting. These common problems range from connection difficulties to hardware malfunctions.
How do I resolve an HDMI connection issue on my Skytech Gaming PC?
Check if the HDMI cable is securely plugged in at both ends. Try a different HDMI port on your PC or monitor. If the issue persists, test with another HDMI cable to rule out a faulty cord.
Ensure your monitor is set to the correct input source. Update your graphics card drivers from the Skytech Gaming support website.
What are the steps to perform a factory reset on a Skytech Gaming PC?
Back up your important files before proceeding. Go to Settings > Update & Security > Recovery. Under “Reset this PC,” click “Get started” and choose either “Keep my files” or “Remove everything.”
Follow the on-screen instructions to complete the reset process. This may take several minutes to an hour depending on your system.
What should I do if the LED button on my Skytech device is not functioning?
Check the connections between the LED button and the motherboard. Ensure all cables are properly seated. If the issue continues, contact Skytech Gaming support for further assistance.
They may guide you through additional troubleshooting steps or arrange for a repair if needed.
How can I troubleshoot a Skytech Gaming PC that won’t connect to a monitor?
Verify that your monitor is powered on and set to the correct input. Try connecting to a different monitor or TV to isolate the issue. Check all cable connections and try alternate ports if available.
If the problem persists, remove and reseat your graphics card. Ensure it’s properly seated in the PCIe slot and connected to the power supply.
What process should be followed to update drivers on a Skytech Gaming PC?
Visit the Skytech Gaming support page to download the latest drivers for your specific model. Alternatively, use Windows Update to check for driver updates automatically.
For graphics drivers, visit the website of your GPU manufacturer (NVIDIA, AMD, or Intel) to download the most recent version.
What are the methods to fix a non-responsive keyboard on a Skytech Gaming PC?
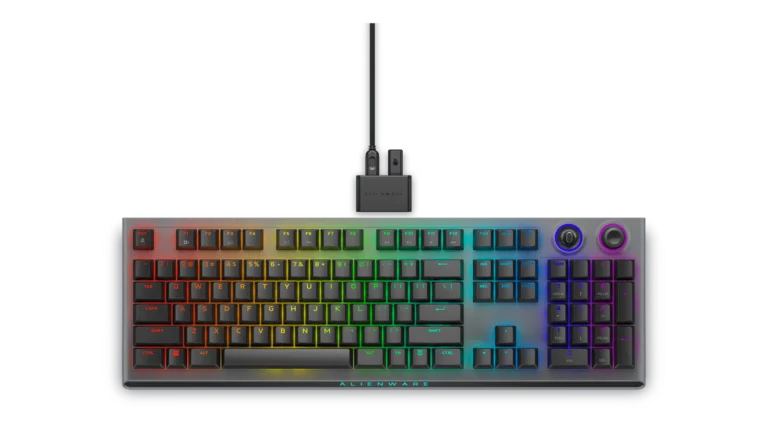
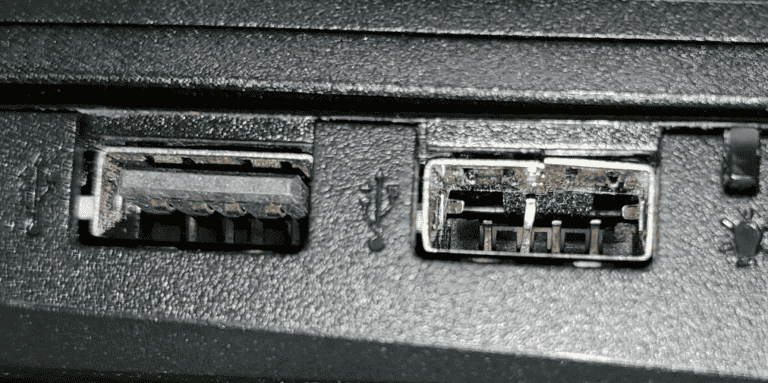
Try unplugging and reconnecting the keyboard. If using a wireless keyboard, replace the batteries. Check for any visible damage to the USB port or keyboard cable.
Update keyboard drivers through Device Manager. If issues persist, try connecting the keyboard to a different USB port or test with another keyboard to identify the source of the problem.
| Issue | Quick Fix |
|---|---|
| HDMI connection | Check cable, try different port |
| Factory reset | Backup data, use Windows Recovery |
| LED button not working | Check internal connections |
| No monitor connection | Test alternate monitor, reseat GPU |
| Driver updates | Use Skytech support site or Windows Update |
| Non-responsive keyboard | Reconnect, update drivers, test different port |

