Is your Lenovo laptop camera not working properly? You’re not alone. Many Lenovo users face this frustrating issue when trying to join video calls or take photos. The most common fixes for a non-working Lenovo camera include checking the physical camera slider, updating drivers, adjusting privacy settings, and ensuring the camera isn’t disabled in Lenovo Vantage.
Before panicking or contacting support, there are several simple checks worth trying. Sometimes the solution is as easy as sliding open the physical camera shutter that many Lenovo laptops have for privacy protection. Other times, you may need to press the camera function key or check if the camera access is enabled in your Windows privacy settings.
Many users don’t realize their camera might be intentionally disabled through Lenovo Vantage, the company’s built-in management software. This security feature helps protect privacy but can be confusing when you actually need to use your camera.
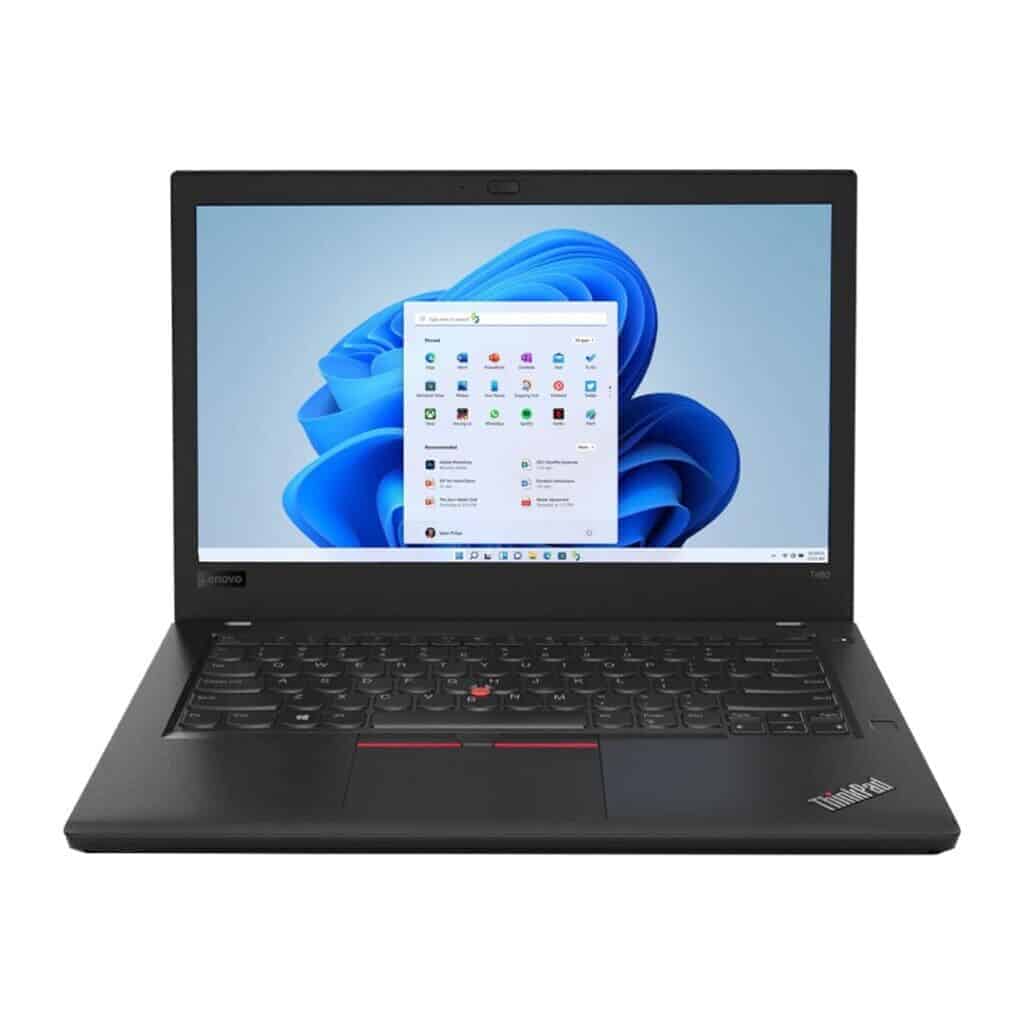
Lenovo Camera Not Working
If your Lenovo laptop’s camera is not working or won’t turn on, it can disrupt video calls, online meetings, and other activities. This quick troubleshooting guide will help you identify and fix common issues with your Lenovo camera on Windows 10 or 11.
1. Check the Privacy Shutter or Physical Switch
- Some Lenovo laptops have a physical privacy shutter or switch near the camera. Make sure it’s open or turned on.
- If your model has a keyboard shortcut (e.g., Fn + F8) to toggle the camera, try pressing it.
2. Verify Camera Permissions
- Go to Settings > Privacy & security > Camera.
- Make sure Camera access is turned On.
- Ensure apps you want to use the camera with have permission enabled.
3. Restart Your Computer
- Restarting can reload drivers and fix temporary glitches.
- After reboot, test the camera using the Camera app or a video conferencing app.
4. Check Device Manager
- Press Windows + X and select Device Manager.
- Expand Cameras or Imaging devices.
- If the camera is listed, right-click it and select Enable device (if disabled).
- If there’s a yellow warning icon, right-click and select Update driver or Uninstall device then restart to reinstall.
5. Roll Back or Update Camera Driver
- In Device Manager, right-click your camera and select Properties.
- Go to the Driver tab.
- If the option is available, click Roll Back Driver to revert to a previous version.
- Otherwise, click Update Driver and choose Search automatically.
6. Run Hardware Troubleshooter
- Open Settings > System > Troubleshoot > Other troubleshooters.
- Find Camera and click Run.
- Follow on-screen instructions to detect and fix problems.
7. Use Lenovo Vantage
- Open the Lenovo Vantage app (pre-installed on Lenovo devices).
- Navigate to Hardware Settings and run a full hardware scan.
- Update any flagged drivers or firmware.
8. Check for Windows Updates
- Go to Settings > Windows Update.
- Install any pending updates, which may include fixes for camera issues.
9. Test the Camera in Safe Mode
- Restart your PC in Safe Mode.
- Test the camera using the Camera app.
- If it works in Safe Mode, a third-party app or driver conflict may be causing the issue.
10. Reset or Reinstall Windows (Last Resort)
- If none of the above work, consider resetting Windows or reinstalling the OS after backing up important data.
Additional Tips
- Disable any third-party antivirus or privacy software that might block camera access.
- Make sure no other app is currently using the camera.
- For external webcams, try different USB ports or cables.
For detailed Lenovo-specific troubleshooting, visit Lenovo’s official support page on camera issues: Lenovo Camera Not Working or Cannot Turn On.
Following these steps should help you quickly resolve most Lenovo camera problems and get you back to video calls and recordings without hassle.
Key Takeaways
- Check for physical barriers like camera sliders, protective seals, or function key toggles before troubleshooting software issues.
- Ensure camera access is enabled in both Windows privacy settings and Lenovo Vantage software.
- Update or reinstall camera drivers when software solutions don’t resolve the integrated camera problems.
Understanding the Problem
When a Lenovo laptop camera stops working, it can be frustrating, especially when you need it for video calls or online meetings. Camera problems typically stem from either hardware malfunctions or software configurations that need adjustment.
Common Issues with Lenovo Camera Functionality
Many Lenovo users encounter similar camera problems across different models. One frequent issue is the camera simply not being detected by the system. This often appears as a “Camera not found” or “No camera connected” error message.
Privacy settings in Windows can also block camera access. If your camera access settings are turned off, no applications will be able to use it.
Outdated or corrupted drivers are another common culprit. When camera drivers aren’t functioning properly, the device may not communicate correctly with your laptop’s operating system.
Lenovo Vantage settings can sometimes disable the camera. The camera may be turned off in this application’s quick settings, preventing it from working.
Differentiating Between Hardware and Software Issues
Determining whether your camera problem is hardware or software-related helps direct your troubleshooting efforts. Software issues typically include:
- Driver problems (outdated, corrupted, or missing)
- Operating system settings conflicts
- Application permission restrictions
- Privacy settings in Windows
Software issues often affect all applications trying to use the camera. They can usually be resolved through settings adjustments or software updates.
Hardware problems, however, may present different symptoms:
- Physical damage to the camera lens
- Internal connection failures
- Camera module malfunction
A quick way to test for hardware issues is to check if the camera appears in Device Manager. If it’s listed with a yellow exclamation mark or not listed at all, you might be facing a hardware problem.
Recent hardware changes or updates can also trigger camera failures as they may introduce compatibility conflicts.
Initial Troubleshooting Steps
When a Lenovo camera stops working, a few simple checks can often resolve the issue without advanced technical knowledge. These steps focus on ensuring your camera has proper permissions and is correctly enabled in your system.
Checking Camera Privacy Settings
Windows has built-in privacy controls that might block camera access. To check these settings:
- Go to Settings > Privacy & Security > Camera
- Make sure “Camera access” is turned On
- Verify that “Let apps access your camera” is also set to On
These toggles control the master camera permissions. If either is turned off, your camera won’t work in any application. Sometimes Windows updates can change these settings without notification.
Some Lenovo laptops also include a physical privacy shutter or keyboard shortcut (often F8) that disables the camera. Check if the camera lens is covered by a small slider or if an indicator light shows the camera is disabled.
Ensuring Camera Access in Applications
Even with system-wide camera access enabled, individual apps need permission too. Check these settings for popular apps:
For Zoom:
- Open Zoom settings
- Navigate to the Video section
- Ensure the correct camera is selected in the dropdown menu
- Test your camera within the Zoom app
For Skype and other video apps:
- Open app settings
- Look for Camera or Video settings
- Make sure your Lenovo camera is properly selected
If the camera works in some apps but not others, the issue is likely app-specific permissions. Windows allows you to manage app permissions individually.
Driver Management
Managing camera drivers effectively is crucial when troubleshooting camera issues on Lenovo laptops. The right driver ensures proper communication between Windows and your camera hardware.
Updating Camera Drivers through Device Manager
When your Lenovo camera stops working, outdated drivers are often the culprit. To update your camera driver through Device Manager:
- Right-click on the Start button and select Device Manager
- Expand the Cameras or Imaging devices category
- Right-click on your internal camera and select Update driver
- Choose Search automatically for updated driver software
Windows will search for and install any available driver updates. If Windows can’t find a newer driver, visit the Lenovo Support website to download the latest camera driver specifically designed for your laptop model.
After installation, restart your computer to complete the process. This refresh allows the system to properly initialize the new driver.
Reinstalling Camera Driver
Sometimes drivers become corrupted and need a fresh installation. To reinstall your camera driver:
- Open Device Manager as described above
- Locate your camera under Cameras category
- Right-click and select Uninstall device
- Check the box for Delete the driver software for this device (if available)
- Click Uninstall and restart your computer
After restarting, Windows will attempt to reinstall the default camera driver. If camera functionality isn’t restored, you can manually download and install the appropriate driver from Lenovo’s support site.
For persistent issues, try using the roll back driver option which reverts to a previously working driver version.
Lenovo Settings Dependency Package
The Lenovo Settings Dependency Package is essential software that helps manage various hardware functions, including the camera. Without this package, camera functionality may be limited or non-existent.
To install or update this package:
- Visit the Lenovo Support website
- Enter your laptop’s model number or let the site detect it automatically
- Navigate to Drivers & Software
- Look for Lenovo Settings Dependency Package under the Software category
- Download and install the latest version
This package works with Lenovo Vantage or Lenovo Settings applications to provide enhanced camera controls. These include features like privacy mode, brightness adjustments, and other settings that aren’t available through Windows alone.
Software Solutions
When a Lenovo camera stops working, several software-based fixes can resolve the issue without needing hardware intervention. These solutions range from using built-in Windows tools to specialized Lenovo applications.
Running the Camera Troubleshooter in Windows 10
Windows 10 includes a dedicated Camera troubleshooter that can automatically detect and fix common camera problems. To access this tool:
- Click on the Start menu
- Go to Settings (gear icon)
- Select Update & Security
- Click on Troubleshoot in the left sidebar
- Select Camera from the troubleshooting options
- Click Run the troubleshooter
The troubleshooter will scan the system for camera-related issues and attempt to fix them automatically. It checks for driver problems, privacy settings conflicts, and application interference that might prevent the camera from functioning properly.
If the troubleshooter identifies any issues, it will provide recommended fixes with on-screen instructions. This built-in tool resolves approximately 60% of common camera problems without requiring advanced technical knowledge.
Checking for Windows Updates
Outdated system software often causes camera functionality issues on Lenovo laptops. Keeping Windows 10 updated ensures compatibility with camera drivers and security features.
To check for Windows updates:
- Open Settings from the Start menu
- Select Update & Security
- Click on Windows Update
- Select Check for updates
Install any available updates, particularly those labeled as “Feature updates” or “Quality updates.” These updates often contain fixes for hardware compatibility issues, including camera functionality problems.
After updating, restart the laptop completely before testing the camera again. Windows updates sometimes include improved driver support that can resolve camera detection issues without requiring manual driver installation.
Utilizing Lenovo’s Proprietary Software
Lenovo Vantage is the manufacturer’s official utility for managing device hardware, including the camera. This tool offers specialized diagnostics and fixes for Lenovo-specific camera issues.
To use Lenovo Vantage:
- Download and install from the Microsoft Store if not preinstalled
- Launch the application
- Navigate to the Device section
- Select Display & Camera
- Use the built-in camera test function
Lenovo Vantage can automatically detect outdated camera drivers and install the correct version specifically designed for the laptop model. The application also provides camera privacy settings management and hardware diagnostics not available through standard Windows tools.
For persistent issues, the camera troubleshooting section within Lenovo Vantage offers model-specific solutions that account for unique hardware configurations in different Lenovo laptop series.
Hardware Considerations
When a Lenovo camera stops working, physical issues are often overlooked. Hardware problems can range from simple obstructions to connection failures that prevent proper functioning.
Inspecting for Physical Obstructions
Many Lenovo laptops come with an integrated camera at the top of the screen. These can sometimes be blocked by debris or stickers.
Look for any physical objects covering the camera lens. Even tiny specks of dust can affect image quality or prevent the camera from working entirely.
Some Lenovo models feature a privacy shutter that slides over the camera lens. Check if this shutter is closed, as it will completely block the camera view.
For persistent issues, some users have found that pressing firmly on the frame near the camera for about 10 seconds can temporarily fix connection problems. This suggests loose internal connections.
Assessing External Camera Connectivity
External cameras require proper connections to function with Lenovo systems. Check these key elements:
Connection Points:
- USB port condition (bent pins, debris)
- Cable integrity (fraying, bent connectors)
- Power requirements (some cameras need powered USB ports)
If using a USB hub, try connecting directly to the laptop instead. Hubs sometimes lack sufficient power for camera operation.
For Lenovo systems with hardware changes like recent repairs, the camera connections might have been disturbed. Check Device Manager to confirm the camera is properly recognized.
Test the external camera on another computer to determine if the issue lies with the camera or the Lenovo system.
Advanced Troubleshooting
When standard fixes fail to resolve camera issues on Lenovo laptops, deeper technical solutions are required. These approaches address underlying system components that affect camera functionality and often resolve problems that basic troubleshooting cannot fix.
Updating BIOS and Firmware
BIOS and firmware updates can resolve many camera-related issues on Lenovo laptops. Outdated firmware may cause incompatibilities between the camera hardware and operating system.
To update BIOS and firmware:
- Visit the official Lenovo support website and search for your specific model
- Download the latest BIOS and firmware updates
- Follow the installation instructions carefully
Lenovo Vantage offers an easier alternative for updating. This pre-installed application automatically detects and installs necessary updates. Open Lenovo Vantage, navigate to “Device” → “My Device Settings” → “Update” to check for firmware updates.
After updating, restart your computer completely before testing the camera again. This ensures all changes take effect properly.
Checking Keyboard Function Keys
Many Lenovo laptops have dedicated function keys that control the camera. These F keys can accidentally disable the camera without users realizing it.
Look for the F key with a camera icon (usually F8 or F10, depending on your model). Press this key, or the Fn + camera key combination to toggle the camera on or off.
Some Intel-powered Lenovo models require specific key combinations. Try:
- Fn + F8 (ThinkPad models)
- Fn + F10 (IdeaPad models)
- Fn + ESC (some newer models)
If function keys aren’t responding, check if Function Lock is enabled. Press the Fn Lock key (often Fn + Esc) to toggle this setting. When the camera function key works properly, a camera indicator light should appear, confirming the hardware is responding.
Preparing for External Support
If your Lenovo camera still isn’t working after trying basic troubleshooting, you may need to contact Lenovo technical support. Being prepared before reaching out can make the process more efficient.
First, gather all information about your specific Lenovo laptop model. The exact model number is usually found on a sticker on the bottom of your device or in the system information.
Document all the hardware changes you’ve made to your laptop recently. This includes any accessories you’ve connected or any physical adjustments to the camera.
Take clear notes about when the camera stopped working. Did it happen after a Windows update? After installing new software? This timeline helps technicians identify potential causes.
Try to capture error messages that appear when attempting to use the camera. Screenshots are particularly helpful for support staff to diagnose the issue.
Check your warranty status before contacting support. This information can be verified on Lenovo’s support website.
Prepare a list of troubleshooting steps you’ve already attempted:
- Driver updates and reinstallations
- Privacy settings checks
- System restarts
- Hardware diagnostics
If possible, test whether the camera works in Safe Mode or with another operating system. This helps determine if the issue is hardware or software-related.
Remember that some complex camera issues on Lenovo ThinkPad or IdeaPad devices may require professional diagnosis and repair.
Frequently Asked Questions
Lenovo laptop cameras sometimes experience issues that can be frustrating when trying to join video calls or take photos. Below are common questions and solutions for camera problems on Lenovo devices.
How can I enable the camera on my Lenovo laptop?
To enable your Lenovo camera, first check if it’s disabled in your privacy settings. Go to Windows Settings > Privacy > Camera and ensure “Allow apps to access your camera” is turned on.
You should also check if the camera is enabled in Lenovo Vantage. Open the Lenovo Vantage app, navigate to Quick settings and verify the Camera option is Enabled.
Some Lenovo laptops have a physical privacy shutter or a function key combination (often Fn+F8) that controls the camera. Make sure the privacy shutter is open if your model has one.
What steps should I take if my laptop camera has suddenly stopped working?
Start by restarting your laptop, as this often resolves temporary software glitches affecting the camera.
Check if your camera drivers are up to date. Open Device Manager, expand “Cameras” or “Imaging devices,” right-click on your camera, and select “Update driver.”
If updating doesn’t work, try reinstalling the camera driver. Right-click the camera in Device Manager, select “Uninstall device,” then restart your computer to let Windows reinstall the driver automatically.
Verify that no other applications are currently using the camera, as Windows often restricts camera access to one app at a time.
How can I reset my Lenovo camera settings to troubleshoot issues?
To reset camera settings, open the Camera app in Windows, click on the settings gear icon, and select “Reset camera.”
You can also try resetting the app itself by going to Windows Settings > Apps > Camera > Advanced options > Reset.
For more persistent issues, consider performing a system restore to a point when the camera was working correctly. This can undo recent system changes that might have affected camera functionality.
What should I do if I am encountering a black screen with my Lenovo camera?
A black screen often indicates driver or hardware issues. First, ensure adequate lighting in your environment, as some cameras struggle in low-light conditions.
Check for physical obstructions like the privacy shutter or debris on the camera lens. Clean the camera lens gently with a microfiber cloth.
Try reinstalling the camera drivers completely. In Device Manager, uninstall the camera device, then scan for hardware changes to reinstall it fresh.
If the issue persists, download and install the latest camera drivers directly from the Lenovo Support website for your specific model.
How do I resolve error code 0xA00F4244 when using my Lenovo camera?
Error code 0xA00F4244 typically indicates that the camera is in use by another application or has encountered a driver issue.
Close all applications that might be using the camera, including browser tabs with sites that have camera permissions. Then try opening your camera app again.
Run the Windows troubleshooter by going to Settings > Update & Security > Troubleshoot > Camera.
If the error persists, try resetting the camera driver by going to Device Manager, finding your camera under “Imaging devices” or “Cameras,” right-clicking it, and selecting “Uninstall device.” Restart your computer afterward.
Why is my Lenovo camera not functioning properly in video conferencing applications like Zoom?
Ensure the video conferencing application has permission to access your camera. Check Windows Settings > Privacy > Camera and confirm the specific app is allowed.
Update your video conferencing application to the latest version, as outdated software may have compatibility issues with your camera.
Test your camera in the Windows Camera app. If it works there but not in your conferencing app, the issue is likely with the application settings rather than the camera itself.
Try adjusting the in-app camera settings. Most video conferencing applications have their own camera settings where you can select the correct camera device and adjust video quality.