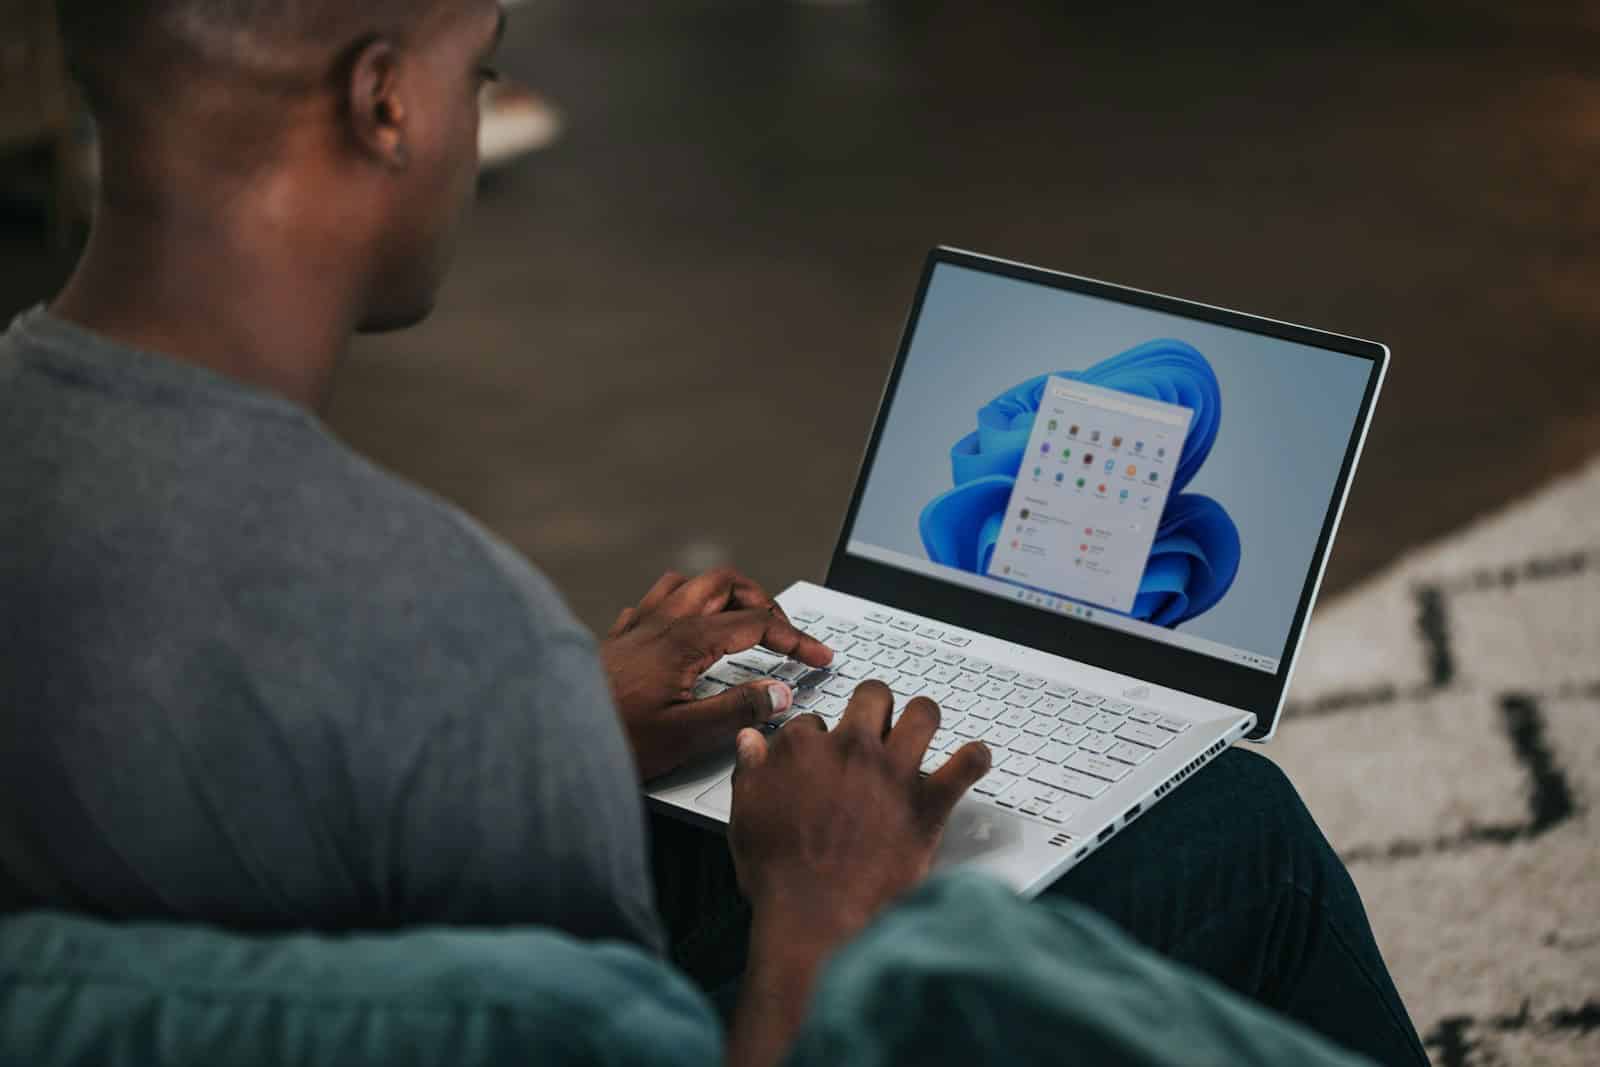
Screen recording on computers has become an essential tool for many users. Whether you need to create tutorials, capture gameplay, or document software issues, knowing how to record your screen is valuable. Windows 11 and 10 offer built-in screen recording options through the Snipping Tool and Xbox Game Bar, allowing users to capture their screens without additional software.
For those seeking more advanced features, third-party applications like OBS Studio provide comprehensive recording capabilities. These tools enable users to capture their entire desktop, specific windows, or custom screen areas. They also offer options for audio recording, allowing users to include system sounds or microphone input in their recordings.
Ways to Record on a Computer
Recording audio on your computer is useful for podcasts, voiceovers, music, interviews, or capturing system sounds. Whether you’re using Windows or Mac, this quick guide will walk you through the basics of recording audio on your computer.
Step 1: Check Your Equipment
- Microphone: Most laptops have built-in microphones, but for better quality, consider using an external USB microphone or headset.
- Headphones: Use headphones to prevent audio feedback during recording.
- Audio Source: Decide whether you want to record your voice, system audio, or both.
Step 2: Choose Your Recording Software
You can use built-in apps or third-party software depending on your needs:
Windows Built-in Options
- Voice Recorder: Simple app for quick voice recordings.
- Sound Recorder: Available in some versions of Windows.
Mac Built-in Option
- QuickTime Player: Supports audio recording via File > New Audio Recording.
Popular Third-Party Apps
- Audacity: Free, open-source, and powerful audio editor and recorder.
- OBS Studio: Great for recording both audio and video.
- Adobe Audition: Professional-grade audio recording and editing (paid).
Step 3: Set Up Your Microphone
- Connect your microphone and ensure it’s recognized by your computer.
- On Windows, go to Settings > System > Sound > Input and select your microphone.
- On Mac, go to System Preferences > Sound > Input and choose your microphone.
Step 4: Configure Your Recording Software
- Open your chosen recording app.
- Select your microphone as the input device.
- Adjust input volume to avoid distortion (not too loud, not too soft).
- If recording system audio (like music or game sounds), you may need additional software or settings (e.g., enable “Stereo Mix” on Windows or use virtual audio cable software).
Step 5: Start Recording
- Press the Record button in your software.
- Speak or play the audio you want to capture.
- Monitor the audio levels to ensure clear sound without clipping.
- When done, press Stop.
Step 6: Save and Export Your Recording
- Save your recording in a common audio format like MP3, WAV, or AAC.
- Use the software’s export or save function.
- Name your file and choose a save location.
Tips for Better Audio Recording
- Record in a quiet environment to minimize background noise.
- Use pop filters or foam covers on microphones to reduce plosives.
- Keep a consistent distance from the microphone.
- Test your setup with a short recording before starting your main session.
Key Takeaways
- Windows 11 and 10 have built-in screen recording tools
- Third-party software offers advanced recording features
- Screen recordings can include audio from system or microphone
Understanding Screen Recording Essentials
Screen recording allows users to capture and save activities on their computer screens. This technology has various applications and requires choosing the right tools for specific needs.
Types of Screen Recordings
Screen recordings can capture different aspects of computer activity. Full-screen recordings capture everything visible on the monitor. Window recordings focus on a single application. Area recordings let users select a specific portion of the screen to capture.
Some tools offer audio recording options. These include system sounds, microphone input, or both. Video quality settings vary, with options for resolution and frame rate. Higher settings produce better quality but larger file sizes.
Screen recordings serve diverse purposes. They’re useful for creating tutorials, documenting software bugs, or saving video calls. Gamers use them to capture gameplay footage. Businesses employ screen recordings for training and presentations.
Selecting the Right Recording Tool
Choosing an appropriate screen recording tool depends on specific needs and technical requirements. Built-in options like Windows 10’s Game Bar or Mac’s QuickTime Player offer basic functionality. These tools are free and easy to use for simple recordings.
For more advanced features, third-party software may be necessary. OBS Studio is a popular free option with extensive customization. It supports multiple audio sources and scenes. Paid software often includes editing features and cloud storage integration.
Key factors to consider when selecting a tool:
- Ease of use
- Video and audio quality options
- File format support
- Editing capabilities
- Storage and sharing options
Users should test different tools to find the best fit for their recording needs.
Setting Up for Recording on Different Platforms
Screen recording capabilities vary across operating systems and devices. Each platform offers unique tools and methods for capturing on-screen content.
Recording on Windows 10 and Windows 11
Windows 10 and 11 include built-in screen recording features. The Xbox Game Bar provides a simple way to capture gameplay and other applications.
To use Xbox Game Bar:
- Press Windows key + G to open the overlay
- Click the “Capture” button
- Select “Start recording” or use the Windows key + Alt + R shortcut
For more options, try the Snipping Tool:
- Search for “Snipping Tool” in the Start menu
- Click “Record” in the top toolbar
- Select the area to record
- Press “Start” to begin after a 3-second countdown
Third-party software like OBS Studio offers advanced recording features for those needing more control.
Recording on Mac
macOS includes a built-in screen recorder accessible through keyboard shortcuts.
To record your Mac screen:
- Press Shift + Command + 5
- Choose between recording the entire screen or a selected portion
- Click “Record” to start
- Click the stop button in the menu bar to end the recording
QuickTime Player also offers screen recording:
- Open QuickTime Player
- Go to File > New Screen Recording
- Select the microphone for audio (if needed)
- Click the record button to start
For more advanced features, consider third-party apps like Screenflow or Camtasia.
Recording on Mobile Devices
Both Android and iOS devices have built-in screen recording functions.
On Android:
- Swipe down twice to open Quick Settings
- Tap the “Screen Record” icon
- Choose audio and video settings
- Tap “Start” to begin recording
On iPhone:
- Add Screen Recording to Control Center in Settings
- Swipe down from the top-right corner
- Tap the Screen Recording button
- Wait for the 3-second countdown
Many third-party apps offer additional features for mobile screen recording.
Recording on Chromebook
Chromebooks have a native screen recording tool accessible through keyboard shortcuts.
To record on a Chromebook:
- Press Ctrl + Shift + Show Windows key
- Select “Screen record” from the menu
- Choose full screen or partial recording
- Click “Record” to start
The recording saves automatically to the Downloads folder. For more advanced needs, explore Chrome extensions or Android apps compatible with your Chromebook model.
Executing a Recording Session
Recording your computer screen involves a few key steps and considerations. Properly starting and stopping a recording, utilizing audio and video features, and managing recording quality are essential for creating effective screen captures.
Starting and Stopping a Recording
To begin recording, open the screen capture tool through the Start menu or use a keyboard shortcut. Click the record button or press Windows + Alt + R to initiate the process. A countdown may appear before recording starts.
Choose the specific area of the screen you want to capture. Some tools allow selecting individual windows or applications. Others let you drag a rectangle to define the recording area.
To stop recording, click the stop button in the recording panel. This panel is often located at the top of the screen. Alternatively, use the same keyboard shortcut that started the recording.
Utilizing Audio and Video Recording Features
Many screen recording tools capture both video and audio. Enable your computer’s microphone to record voice commentary or system sounds. Adjust microphone settings in the recording software for optimal audio quality.
For video, decide whether to include your webcam feed. This can be useful for tutorials or presentations. Position the webcam feed in a corner of the screen where it won’t obstruct important content.
Some advanced features include cursor highlighting, click visualization, and the ability to add text or annotations during recording. Explore these options to enhance your screen captures.
Monitoring and Managing Recording Quality
Check your recording settings before starting. Adjust the frame rate and resolution to balance quality with file size. Higher values produce better quality but larger files.
Monitor system resources during recording. Screen capture can be demanding on your computer. Close unnecessary applications to ensure smooth performance.
Preview a short test recording to verify audio levels and video quality. Make adjustments as needed before starting your main recording session.
Consider file format options. MP4 is widely compatible and offers good compression. Some tools allow choosing between different codecs for specific needs.
Post-Recording Processes
After recording your computer screen, you’ll need to refine and distribute your content. This involves editing the footage and preparing it for sharing with your audience.
Editing and Enhancing Recordings
Screen recording software often includes basic editing tools. Trim the start and end of your video to remove unnecessary footage. Cut out mistakes or pauses to keep the content concise.
Add text overlays or captions to clarify key points. Highlight mouse clicks or keyboard shortcuts to guide viewers. Insert transitions between scenes for a polished look.
For more advanced editing, use dedicated video editing software. These tools offer features like:
- Audio enhancement
- Color correction
- Special effects
- Picture-in-picture
- Animations
PowerPoint can be used to add simple animations or transitions to tutorial videos. For YouTube or Twitch content, consider adding intro and outro sequences.
Saving and Sharing Recordings
Most screen recorders save videos in MP4 format by default. This widely compatible format works well for online sharing and playback on various devices.
To find your recordings, check the default save location in your screen capture software. Often, this is the Videos folder in File Explorer.
Popular sharing options include:
- YouTube: Ideal for tutorials and long-form content
- Twitch: Great for live streaming gameplay or software demonstrations
- Cloud storage: Services like Google Drive or Dropbox for easy file sharing
For quick sharing, some tools offer direct upload to video platforms. Others generate shareable links for instant viewing.
Consider compressing large files before uploading to save bandwidth and storage space. Many video editing programs include compression options to reduce file size while maintaining quality.
Frequently Asked Questions
Screen recording on computers involves various methods and tools. Users often have specific questions about capturing audio, software options, and built-in features for different operating systems.
What steps are required to screen record on Windows 10?
Windows 10 users can easily record their screens using the built-in Xbox Game Bar. Press Windows key + G to open the Game Bar. Click the “Record” button or use Windows key + Alt + R to start recording. The same key combination stops the recording. Captured videos are saved in the “Videos” folder under “Captures.”
How to capture audio while recording the screen on Windows 11?
Windows 11 offers screen recording with audio through the Snipping Tool. Open the tool and click the “Record” button. Choose the area to record. The tool captures system sounds by default. To record microphone audio, click the microphone icon before starting. Press Stop when finished.
Which software can I use to record my screen on a computer for free?
Several free options exist for screen recording. OBS Studio is a popular choice, offering advanced features for both beginners and experts. Screencast-O-Matic provides a user-friendly interface for quick recordings. ShareX combines screen capture and file sharing capabilities.
How do I record a Zoom meeting on my PC?
Zoom has a built-in recording feature. As a meeting host or with host permission, click the “Record” button in the meeting controls. Choose to record locally or to the cloud. After the meeting, Zoom converts the recording to a video file. Local recordings are saved on your computer.
What is the process for recording directly from my computer’s system?
System audio recording varies by operating system. On Windows, use the “Stereo Mix” option in Sound settings. For macOS, install a virtual audio driver like Soundflower. These methods capture all system sounds, including music, alerts, and application audio.
Are there built-in tools to record the screen on a laptop?
Most modern laptops come with built-in screen recording tools. Windows laptops use the Xbox Game Bar or Snipping Tool. MacBooks have QuickTime Player for basic screen recording. Chromebooks offer a screen recording feature in the Quick Settings menu.


