ASRock has officially acknowledged that a wave of CPU failures affecting AMD’s new Ryzen 9000-series processors—particularly the Ryzen 7 9800X3D and Ryzen 9 9950X—were triggered by overly aggressive BIOS settings. The issue has sent ripples through the enthusiast community, as early adopters of AMD’s flagship Zen 5 chips began reporting catastrophic hardware failures just weeks after launch.
What Went Wrong: BIOS Settings Pushed Too Far
The problem centers on ASRock’s BIOS configurations, specifically the default values set for Electric Design Current (EDC) and Thermal Design Current (TDC)—two critical parameters in AMD’s Precision Boost Overdrive (PBO) feature. These were configured to allow significantly more current than the CPU’s design tolerances could handle, leading to extreme stress and eventual failure of the processors.
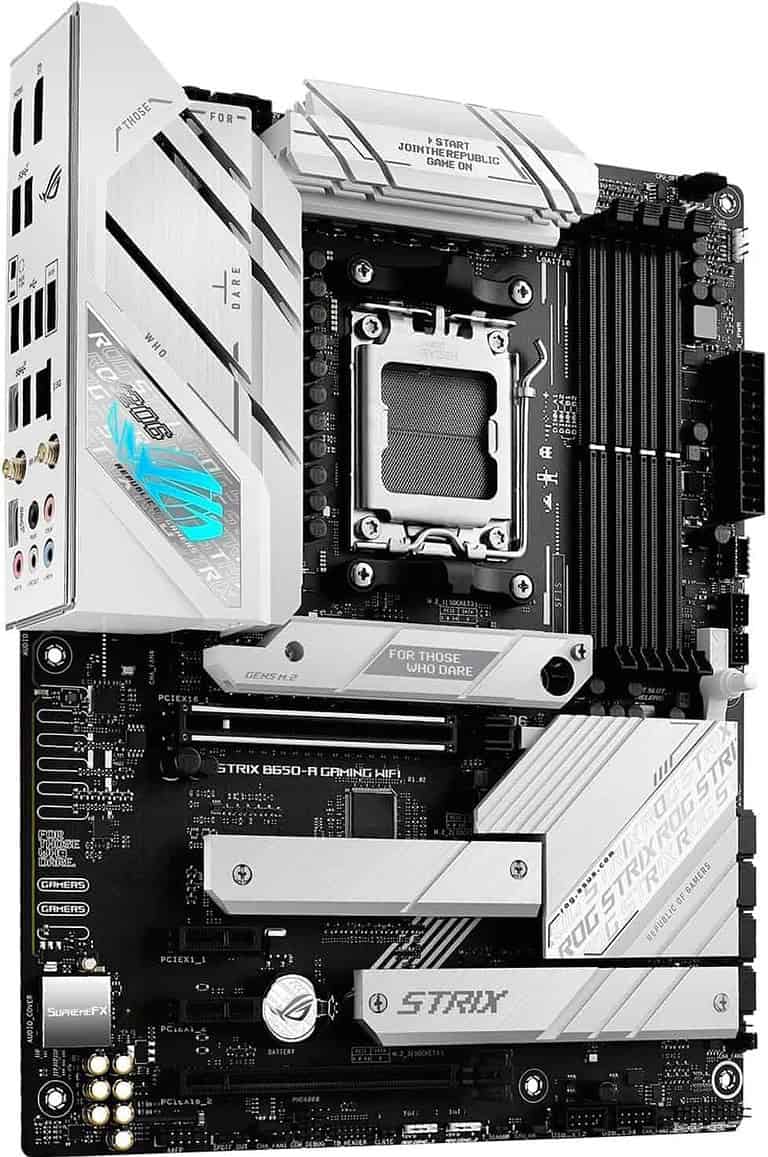
Affected motherboards include several high-end models such as:
- X670E Taichi
- B650E Steel Legend
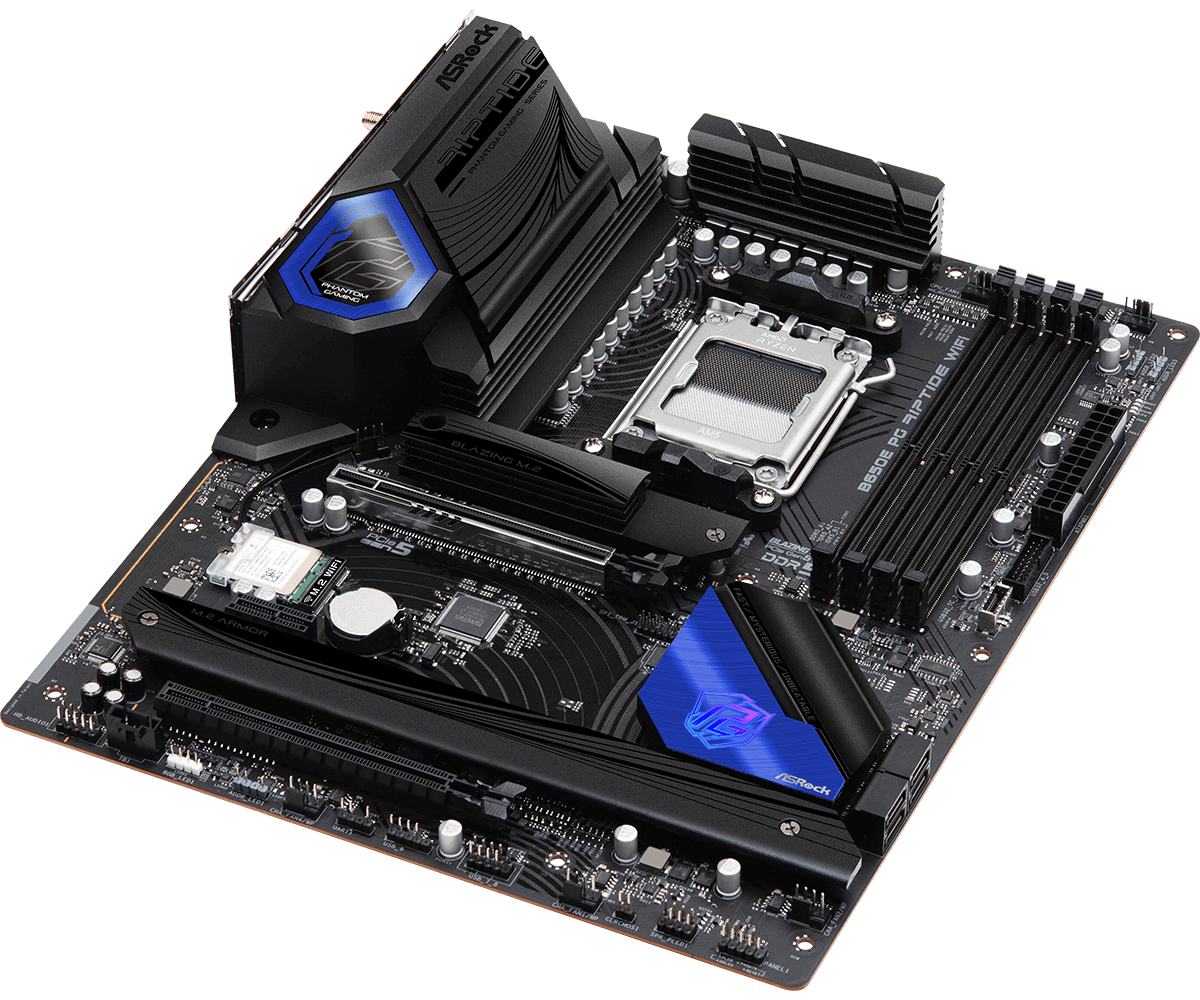
- B650E PG Riptide WiFi
Internal reports and community forums estimate over 100 CPUs have failed under these conditions, often after minimal use and even in systems that weren’t overclocked manually.
This issue became more visible after prominent YouTubers and overclockers shared burn-in results and system failures tied to these boards, putting pressure on ASRock to investigate.
ASRock’s Response: BIOS Patch, Free Repairs, and Guidance
ASRock has responded with a multi-part mitigation plan:
- BIOS Update 3.25 Released
The company has rolled out BIOS version 3.25 for all affected models. This update dials back the EDC and TDC values to safer levels, effectively reducing the peak amperage delivered to the CPU under load. Users are strongly advised to apply this update immediately—especially if they’re running a Ryzen 9000 chip. - Motherboard Repair and Replacement
ASRock has pledged to repair or replace any of their motherboards that were damaged due to the flawed BIOS settings. This includes free return shipping and no-cost servicing, regardless of warranty status, so long as the failure is confirmed to be caused by the BIOS issue. - CPU Replacement Policy
While ASRock has taken responsibility for the BIOS misconfiguration, the company is urging users with failed Ryzen CPUs to contact AMD or their original retailers for replacements. ASRock emphasized that it cannot process CPU RMAs directly, but it will provide support documentation if needed for warranty claims.
What Users Should Do Now
- Check Your BIOS Version Immediately
If you’re using an ASRock X670E or B650E motherboard, confirm that you’re running BIOS version 3.25 or later. Earlier versions may still include unsafe PBO values. - Don’t Assume New Boards Are Safe
Even new-in-box motherboards could still ship with outdated firmware. Flash to the latest BIOS before installing your Ryzen 9000 CPU. - Monitor Your System for Warning Signs
Symptoms of BIOS-induced CPU stress can include random shutdowns, BSODs, thermal throttling, and power error logs. If you experience any of these, shut down immediately and check your BIOS. - Update Your PBO Settings Manually (If Needed)
If you’re an advanced user, you may consider setting conservative PBO limits manually:- EDC ≤ 140A
- TDC ≤ 110A
These values are much closer to AMD’s reference guidelines and can protect your chip even before an official update is installed.
- Contact Support If Affected
- Motherboards: ASRock customer service is actively handling claims for repairs and replacements.
- CPUs: Users must contact AMD or the point of purchase for CPU replacements, and include evidence of the failure if possible.
Industry Fallout and Broader Implications
This incident not only puts ASRock in the hot seat—it raises questions about how motherboard vendors tune their BIOS settings, especially for new processor launches. AMD has not issued an official statement condemning ASRock, but the situation has highlighted the delicate balance between performance optimization and component safety.
It also serves as a warning to PC builders: even if you’re not manually overclocking, your system could still be running outside safe specifications if your motherboard firmware is too aggressive. Power delivery tuning should not be taken lightly.
In the wake of this debacle, motherboard manufacturers across the industry are likely reviewing their default PBO settings for AMD’s Ryzen 9000 series to prevent similar issues. Until then, early adopters should tread carefully—and update their BIOS.
How to Check Your Motherboard
Knowing your motherboard’s specifications is crucial for upgrading your computer or troubleshooting hardware issues. You can check your motherboard model using built-in Windows tools, third-party software, or physical inspection. The easiest method is to use the System Information tool in Windows by pressing Win + R, typing “msinfo32”, and pressing Enter.
For Mac users, the process is slightly different. You can find your motherboard information by clicking the Apple menu, selecting “About This Mac”, and then clicking on “System Report”. This will display detailed information about your computer’s hardware, including the motherboard model.
If you prefer a more hands-on approach, you can open your computer case and look for the model number printed directly on the motherboard. This method requires some technical knowledge and caution to avoid damaging components.
Key Takeaways
- Windows users can use built-in tools like System Information to check motherboard details
- Mac users can find motherboard information in the System Report
- Physical inspection of the motherboard is an option for those comfortable opening their computer
Identifying Motherboard Basics
Motherboards form the core of a computer system. They connect essential components and influence overall performance.
Understanding Motherboard Importance
Motherboards serve as the central hub for all computer components. They provide connectivity for the CPU, RAM, storage drives, and expansion cards. A motherboard’s quality can impact system stability, performance, and upgrade potential.
Motherboards come in different form factors like ATX, micro-ATX, and mini-ITX. These sizes determine case compatibility and the number of expansion slots available. The chipset on a motherboard controls communication between components and affects features like overclocking support.
BIOS or UEFI firmware on the motherboard manages hardware initialization and provides low-level system control. Regular BIOS updates can improve compatibility and fix bugs.
Recognizing Motherboard Manufacturers
Several companies produce high-quality motherboards for consumer and professional use. ASUS, MSI, Gigabyte, ASRock, and Biostar are among the top manufacturers.
ASUS offers a wide range of motherboards, from budget-friendly options to high-end models for enthusiasts. MSI focuses on gaming-oriented motherboards with features like RGB lighting and enhanced cooling.
Gigabyte produces durable motherboards with their Ultra Durable technology. ASRock, originally an ASUS spin-off, has gained popularity with budget-conscious buyers.
Biostar, while less known, offers affordable options for basic systems. Each manufacturer has unique features and design philosophies, catering to different user needs and preferences.
Accessing System Information
Checking motherboard details involves accessing various system information tools. These methods provide comprehensive data about the hardware components installed in a computer.
Using BIOS for Motherboard Data
BIOS offers direct access to motherboard information. To enter BIOS, restart the computer and press the designated key during startup. This key varies by manufacturer but is often F2, Del, or Esc. Once in BIOS, navigate to the System Information or Motherboard section.
The BIOS screen displays crucial details:
- Motherboard model
- BIOS version
- CPU type
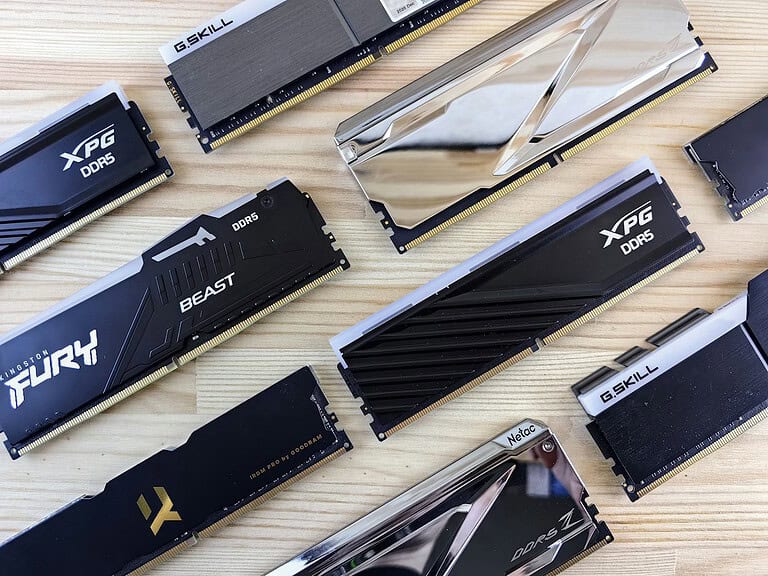
- RAM configuration
Some modern systems use UEFI instead of traditional BIOS. UEFI provides a more user-friendly interface with similar information. Users can find additional data like serial numbers and manufacturing dates in this environment.
Leveraging Windows System Tools
Windows provides built-in tools to view motherboard information. The System Information utility is a powerful resource. To access it:
- Press Windows + R
- Type “msinfo32” and press Enter
The System Information window opens, showing detailed hardware specs. Look for:
- BaseBoard Manufacturer
- BaseBoard Product
- BaseBoard Version
These entries reveal the motherboard’s make and model. For a quicker method, use Command Prompt:
- Open Command Prompt as administrator
- Type “wmic baseboard get product,Manufacturer,version,serialnumber”
- Press Enter
This command displays a concise list of motherboard details.
Navigating MacOS System Report
MacOS users can access motherboard information through the System Report. To view this:
- Click the Apple menu
- Select “About This Mac”
- Click “System Report”
In the Hardware section, find details about the computer’s logic board. This includes:
- Hardware model
- Hardware serial number
- Hardware UUID
While MacOS doesn’t use the term “motherboard,” the logic board serves the same function. The System Report provides comprehensive information about all hardware components, including the processor and memory configurations tied to the logic board.
Utilizing Software Tools
Software tools provide detailed information about motherboard components and specifications. These applications scan hardware and present data in user-friendly formats.
Analyzing with CPU-Z and Speccy
CPU-Z offers comprehensive motherboard details. It displays the manufacturer, model, chipset, and BIOS version. The tool also shows information about the CPU, memory, and graphics card.
Speccy provides a broader system overview. It presents motherboard data alongside other hardware information. Users can view temperatures, voltages, and fan speeds. Speccy generates reports for easy sharing or reference.
Both tools are free and user-friendly. They don’t require installation, making them convenient for quick checks.
Exploring with HWiNFO and Belarc Advisor
HWiNFO delivers in-depth hardware analysis. It offers real-time monitoring of motherboard sensors. Users can track voltages, temperatures, and fan speeds. The tool supports a wide range of motherboard models and chipsets.
Belarc Advisor creates a detailed profile of installed software and hardware. It provides motherboard information along with a complete system inventory. The tool is useful for IT professionals and home users alike.
These applications offer more advanced features than CPU-Z and Speccy. They’re suitable for users who need extensive system information.
Advanced Motherboard Checks
Advanced motherboard checks involve detailed inspection of hardware compatibility, specifications, and storage interfaces. These methods provide deeper insights into a system’s core components.
Inspecting Compatibility and Specifications
Users can verify motherboard compatibility and specifications through various methods. The Windows Management Instrumentation Command-line (WMIC) tool offers a powerful approach. To use WMIC, open the Windows Command Prompt and type “wmic baseboard get product,manufacturer,version,serialnumber”. This command displays detailed motherboard information.
For a more comprehensive view, third-party software like CPU-Z or Speccy can be used. These tools provide in-depth details about the motherboard’s chipset, BIOS version, and supported technologies. They also show information on compatible RAM types, maximum memory capacity, and available expansion slots.
Verifying Motherboard Model and Storage Interfaces
Identifying the exact motherboard model helps in finding the right drivers and updates. Users can locate the model number printed directly on the motherboard. This requires opening the computer case, so proper safety precautions should be taken.
To check storage interfaces without opening the case, the Device Manager in Windows is useful. Open it by right-clicking the Start button and selecting “Device Manager”. Expand the “IDE ATA/ATAPI controllers” and “Storage controllers” sections to view available interfaces like SATA and NVMe.
For a more detailed look at storage capabilities, the Command Prompt can be used. Type “wmic diskdrive get model,interface” to display all connected drives and their interface types. This information helps users understand their system’s storage expansion potential.
Frequently Asked Questions
Identifying and testing motherboards involves various methods across different Windows versions and scenarios. These questions address common inquiries about motherboard identification and functionality.
How can I find my motherboard model in Windows 10?
Open the Start menu and type “System Information” in the search bar. Click on the app to launch it. Look for the “BaseBoard Manufacturer” and “BaseBoard Product” entries. These fields display the motherboard manufacturer and model.
Another option is to use the Command Prompt. Press Windows + R, type “cmd” and hit Enter. In the Command Prompt window, type “wmic baseboard get product,Manufacturer” and press Enter. This command shows the motherboard model and manufacturer.
What are the steps to identify a motherboard model using Windows 11?
Windows 11 offers similar methods to Windows 10. Click the Start button and search for “System Information”. Open the app and find the “BaseBoard” section for motherboard details.
Alternatively, use the Windows PowerShell. Right-click the Start button and select “Windows PowerShell”. Type “Get-WmiObject Win32_BaseBoard | Select-Object Product,Manufacturer” and press Enter to view the motherboard information.
Is there a way to determine my motherboard type with Windows 7?
Windows 7 users can access motherboard information through the System Information tool. Click Start, type “msinfo32” in the search box, and press Enter. In the System Information window, look for “BaseBoard Manufacturer” and “BaseBoard Product” under the System Summary section.
How can I identify my motherboard without powering on my computer?
Look for the model number printed directly on the motherboard. It’s often near the CPU socket or RAM slots. Remove the computer case side panel to access the motherboard.
Check the motherboard’s packaging or manual if available. These usually contain detailed model information and specifications.
What methods are available to test if a motherboard is functioning properly?
Use the built-in Power-On Self Test (POST). When you turn on your computer, listen for beep codes or watch for error messages. These can indicate motherboard issues.
Run a diagnostic tool like MemTest86 to check RAM functionality, which can reveal motherboard problems. Boot from a MemTest86 USB drive and let it run for several hours.
How can I confirm that my motherboard has not been replaced?
Compare the current motherboard’s serial number with the one recorded when you bought the computer. This number is usually printed on the motherboard itself.
Check if the BIOS version and date match your records. Significant changes might indicate a motherboard replacement. Access the BIOS during startup to view this information.