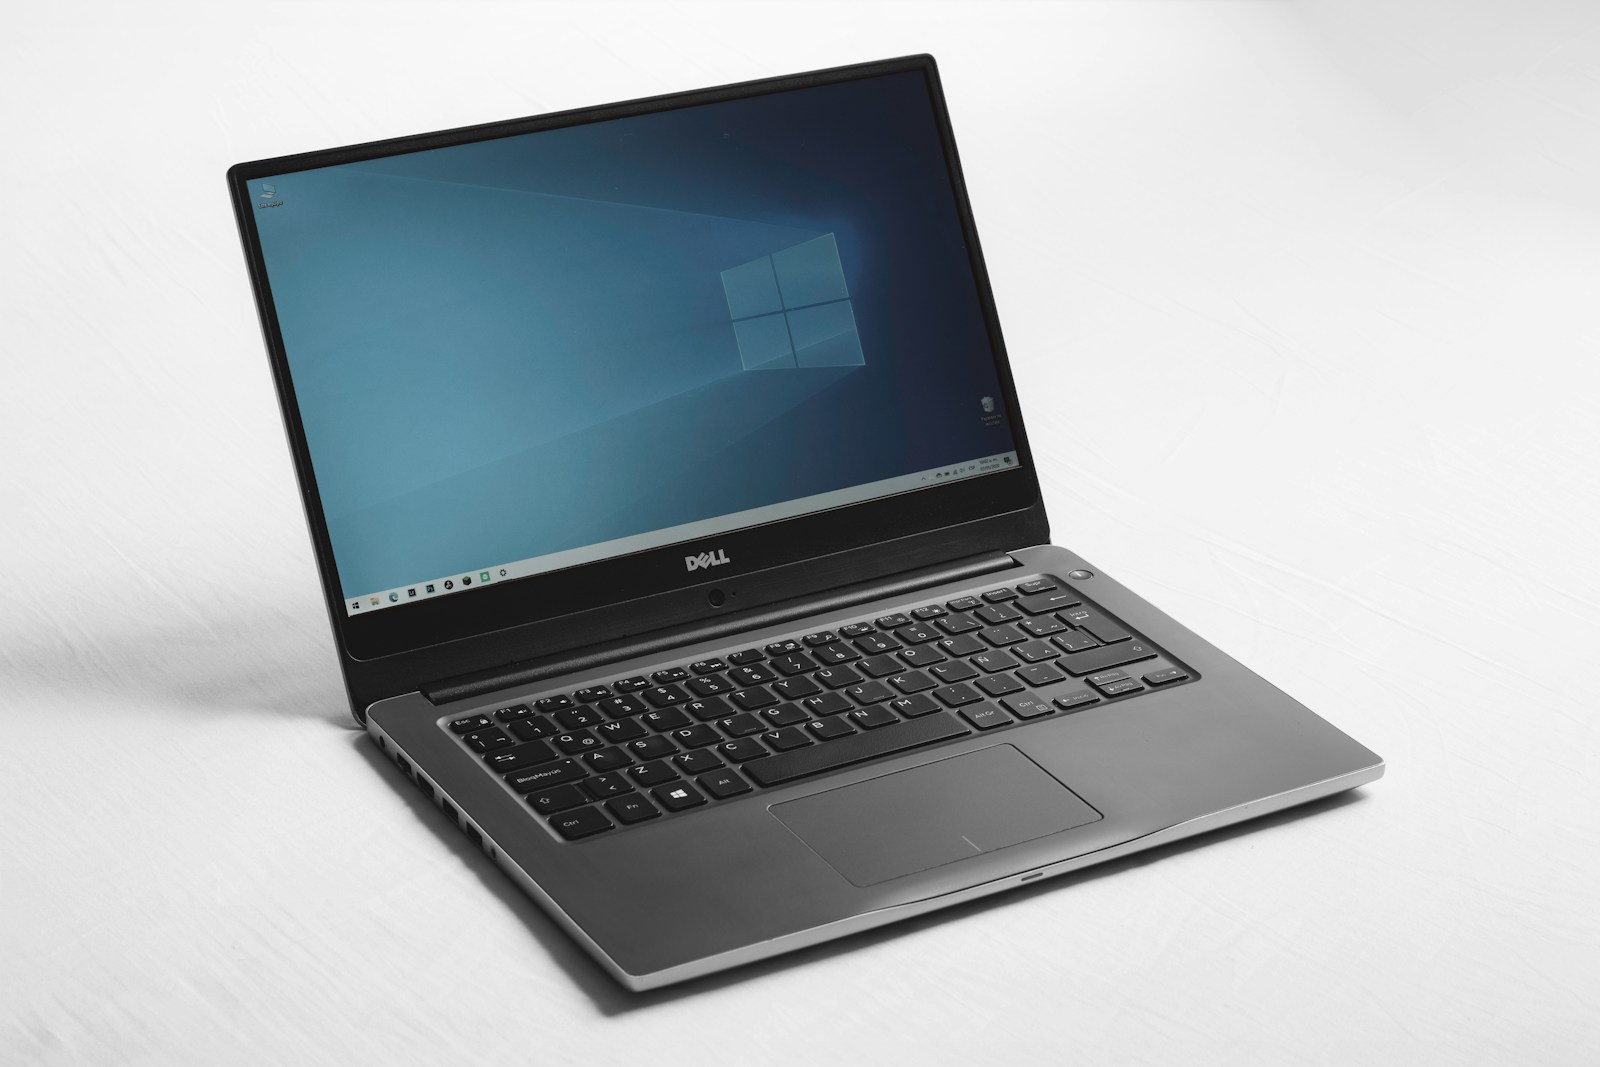
Screen recording on a Dell laptop is a useful skill for creating tutorials, capturing gameplay, or saving important online meetings. Dell laptops offer several built-in options for screen recording, making it easy to capture your screen without installing additional software. Windows 11 users can use the Snipping Tool, while Windows 10 users can rely on the Xbox Game Bar for quick and easy screen recordings.
These built-in tools provide basic recording capabilities, but third-party applications like OBS Studio offer more advanced features. OBS Studio allows users to capture specific windows, add overlays, and adjust audio settings. For those who prefer simplicity, the Print Screen key combined with the Windows + G shortcut can quickly launch the Game Bar for instant recording.
How to Screen Record on a Dell Laptop (2025 Guide)
Screen recording is useful for tutorials, gaming, classes, or troubleshooting. Dell laptops don’t have a built-in Dell-specific recorder, but Windows includes powerful tools that make it simple to capture your screen — with or without sound.
🧭 Option 1: Use the Built-In Xbox Game Bar (Windows 10 & 11)
The Xbox Game Bar is Microsoft’s native screen recording tool. It works on all Dell laptops running Windows 10 or 11.
🎮 How to Record:
- Open the app or window you want to record.
- Press
Windows + Gto open the Xbox Game Bar. - Click the Record button (●) under the Capture section.
- Or press
Windows + Alt + Rto start recording instantly.
- Or press
- Perform the actions you want to record.
- Press
Windows + Alt + Ragain to stop recording.
Your recording will automatically save to:
This PC → Videos → Captures
🗣️ To Record with Audio:
- Make sure your microphone is on:
- In Game Bar, click the microphone icon before recording.
- To record system audio too, go to:
Settings → Gaming → Captures → Record audio when I record a game
(Source: Dell Support – How to use the Windows Game Bar)
⚙️ Option 2: Use the Snipping Tool (Windows 11 2023 Update+)
Starting with Windows 11 (22H2), the Snipping Tool can now record your screen — not just take screenshots.
🪟 How to Record with Snipping Tool:
- Press
Windows + Shift + Sor search for Snipping Tool. - Click the Video Camera icon (📹) in the toolbar.
- Select the area of the screen you want to record.
- Click Start to begin recording.
- Click Stop when finished.
The video will save automatically to:
Videos → Screen Recordings
💡 Tip: This is great for short clips, tutorials, or bug reports.
🧰 Option 3: Use PowerPoint (Built-In Office Feature)
If you have Microsoft Office installed, PowerPoint includes a hidden screen recorder.
🪄 How to Use It:
- Open PowerPoint → Go to the Insert tab.
- Click Screen Recording (on the far right).
- Select the area you want to capture.
- Click Record.
- Press
Windows + Shift + Qto stop recording.
You can then:
- Right-click the video → Save Media As to export it as an MP4 file.
🧩 Option 4: Use Free Third-Party Screen Recorders
If you need advanced features (editing, annotations, webcam overlay), try one of these:
| Tool | Best For | Free Version? |
|---|---|---|
| OBS Studio | Gaming, tutorials, streaming | ✅ Yes |
| ShareX | Custom captures, automation | ✅ Yes |
| Screencast-O-Matic | Quick screen + webcam recording | ✅ Yes |
| Bandicam | High-quality gameplay capture | ⚠️ Free (watermark) |
| Camtasia | Professional editing | ❌ Paid |
🧠 Tip: OBS Studio is the most powerful free option — perfect for Dell users who want full control over quality and layout.
🧩 Option 5: Dell’s Recommended Troubleshooting Capture
If you’re recording your screen to show an issue for Dell Support, Dell recommends using the Xbox Game Bar or Snipping Tool to capture the problem clearly.
You can then upload the clip when submitting a support ticket.
(Source: Dell Community)
🧠 Troubleshooting Tips
- Game Bar won’t open?
Go to Settings → Gaming → Xbox Game Bar → Turn On. - Recording entire desktop not working?
Game Bar only records one app at a time — use Snipping Tool or OBS for full-screen recording. - No sound recorded?
Check microphone permissions under Settings → Privacy → Microphone. - Low performance?
Close background apps or lower resolution in OBS.
🧾 Quick Summary
| Method | Best For | Shortcut / Access |
|---|---|---|
| Xbox Game Bar | Quick screen + audio recording | Windows + Alt + R |
| Snipping Tool | Simple area recording | Windows + Shift + S |
| PowerPoint | Quick tutorial clips | Insert → Screen Recording |
| OBS Studio | Advanced, full-screen, webcam | Free download |
| ShareX | Custom workflows | Free download |
✅ Final Thoughts
To screen record on a Dell laptop, the easiest method is using Windows + Alt + R with the Xbox Game Bar. For more control or full-screen capture, try the Snipping Tool (Windows 11) or OBS Studio.
All of these methods work seamlessly on Dell laptops, whether you’re recording a game, a presentation, or a technical issue.
Key Takeaways
- Dell laptops have built-in screen recording tools like Snipping Tool and Xbox Game Bar
- Third-party applications offer more advanced recording features
- Screen recordings can be easily started using keyboard shortcuts on Dell laptops
Understanding Screen Recording on a Dell Laptop
Screen recording on Dell laptops allows users to capture on-screen activities. This feature proves useful for creating tutorials, recording gameplay, or saving important video calls.
Screen Recording Basics
Screen recording captures everything displayed on a Dell laptop’s screen. Users can choose to record the entire screen or select specific windows or areas. Most screen recording tools also capture audio from the system or microphone.
Screen recordings are saved as video files, typically in MP4 or AVI format. These files can be easily shared or edited later. Many screen recording applications offer additional features like adding annotations, highlighting mouse clicks, or editing the recorded video.
Compatibility with Operating Systems
Dell laptops run on Windows operating systems, which offer built-in screen recording options. Windows 10 and 11 include the Xbox Game Bar for basic screen recording. This tool works well for capturing gameplay or simple screen activities.
For more advanced recording needs, third-party software options are available. These applications often provide additional features and greater control over recording settings. Popular choices include OBS Studio and EaseUS RecExperts, which offer more customization options and are compatible with various Dell laptop models running Windows 10 or 11.
Preparation for Screen Recording
Proper preparation is crucial for successful screen recording on a Dell laptop. This involves setting up the right environment and choosing appropriate software.
Setting Up Your Recording Environment
Ensure your Dell laptop is in a quiet area with good lighting. Close unnecessary applications to free up system resources. Adjust your display settings for optimal clarity. Set the screen resolution to 1920×1080 for best results. Clean up your desktop and organize windows for a professional look.
Check your microphone if you plan to record audio. Test it beforehand to ensure clear sound quality. Consider using a headset for better audio capture. Disable notifications to prevent interruptions during recording.
Selecting the Right Recording Software
Choose recording software that fits your needs. Windows 10 includes the built-in Xbox Game Bar for basic screen capture. Open it by pressing Windows key + G. It’s free and easy to use for simple recordings.
For more advanced features, consider OBS Studio. It’s a powerful, free option with customizable settings. OBS allows you to record system audio, add overlays, and adjust video quality.
VLC Media Player is another versatile choice. It offers screen recording capabilities along with its media playback features. Set your desired frame rate and video codec in VLC for optimal output.
Executing the Screen Record
Screen recording on a Dell laptop can be accomplished using built-in tools or third-party software. Two popular options are the Xbox Game Bar and OBS Studio, each offering unique features for capturing your screen.
Using the Xbox Game Bar for Recording
The Xbox Game Bar provides a quick and easy way to record your screen on Dell laptops running Windows 10 or 11. To start, press Windows + G to open the Game Bar overlay. Click the camera icon in the Capture widget to begin recording. The Game Bar will record the entire screen by default.
To record a specific app, make sure it’s in focus before opening Game Bar. Use Windows + Alt + R as a shortcut to start/stop recording without opening the overlay. Game Bar saves recordings as MP4 files in the Videos/Captures folder.
Game Bar also allows audio recording from your microphone or system sounds. Toggle these options in the audio settings before starting your capture.
Leveraging OBS Studio for Advanced Recording
OBS Studio offers more advanced screen recording features for Dell laptop users. After downloading and installing OBS, launch the application and set up your recording preferences.
Add a new source by clicking the + icon in the Sources box. Choose “Display Capture” to record your entire screen or “Window Capture” for a specific application. Adjust audio settings to capture system sounds or microphone input as needed.
To start recording, click “Start Recording” in the main OBS window. OBS Studio provides options for custom recording areas, multiple audio tracks, and live streaming capabilities. It saves recordings as MP4 files in a designated folder.
OBS Studio’s flexibility makes it ideal for creating tutorials, gameplay videos, or professional presentations on your Dell laptop.
After Recording: Managing and Editing
Once you’ve finished screen recording on your Dell laptop, the next steps involve organizing your files and polishing your content. Proper management and editing can transform raw footage into professional-quality videos.
Storing and Organizing Video Files
Screen recordings can quickly consume storage space on your Dell laptop. It’s crucial to develop a system for file management. Create dedicated folders for different projects or topics. Use clear, descriptive names for your video files, including dates or version numbers.
Consider moving older recordings to external hard drives or cloud storage services to free up space on your laptop. Popular cloud options include Google Drive, Dropbox, and Microsoft OneDrive. These services offer automatic syncing and easy sharing features.
For long-term storage, compress your video files to save space. Many video formats like MP4 offer good compression without significant quality loss. AVI files are larger but maintain high quality. WEBM is an open-source format that’s gaining popularity for web videos.
Editing and Sharing Your Recordings
Video editing software can help refine your screen recordings. Windows 10 includes a basic Video Editor app. For more advanced features, consider tools like DaVinci Resolve (free) or Adobe Premiere Pro (paid).
Trim unnecessary sections from your videos. Add text overlays or annotations to highlight key points. Adjust audio levels and remove background noise if needed.
Consider adding intro and outro sequences to give your videos a professional touch. Many editors offer templates for these elements.
For sharing, YouTube and Twitch are popular platforms for tutorials and gameplay videos. Both sites allow you to set videos as public, unlisted, or private. For business use, platforms like Vimeo offer more professional sharing options.
Generate shareable links for your videos to easily distribute them via email or messaging apps. Some editing software can directly upload to sharing platforms, streamlining your workflow.
Frequently Asked Questions
Screen recording on Dell laptops can be done using various methods and tools. Users often have questions about specific aspects of the process.
What steps are required to enable screen recording on a Dell Windows 11 laptop?
Windows 11 includes a built-in screen recorder called Xbox Game Bar. To enable it, press Windows key + G. Click the “Capture” button, then select “Start recording” to begin. Stop the recording by clicking the stop button or using Windows key + Alt + R.
How can I capture screen recordings with audio on a Dell laptop?
To record the screen with audio, ensure the microphone is enabled in the Xbox Game Bar settings. Click the microphone icon before starting the recording. For system audio, use third-party software like OBS Studio, which allows capturing both screen and computer sound.
Is there a built-in tool to screen record on a Dell Windows 10 laptop?
Yes, Dell Windows 10 laptops have the Xbox Game Bar for screen recording. Access it by pressing Windows key + G. The Game Bar offers basic recording features suitable for most users’ needs.
Can you guide me through taking a screenshot on a Dell laptop?
To take a screenshot on a Dell laptop, press the Windows key + PrtScn. This saves a full-screen image to the Screenshots folder. For a specific area, use Windows key + Shift + S to open the Snipping Tool.
What is the process for screen recording on a Dell Latitude model?
Dell Latitude laptops run Windows, so the screen recording process is the same as other Dell models. Use the Xbox Game Bar or install third-party software like OBS Studio for more advanced recording options.
What method should I use to record audio independently on a Dell laptop?
To record audio only, use the built-in Voice Recorder app on Windows. Open it from the Start menu, click the record button, and speak into the microphone. For higher quality, consider using Audacity, a free, open-source audio recording software.


