Is your laptop running slower than it used to? Upgrading your RAM is one of the easiest and most effective ways to boost performance. Adding more RAM to your laptop can make a huge difference in speed, especially when running multiple programs at once or working with memory-intensive applications like photo editing software. You don’t need to be a tech expert to make this upgrade happen.
Many people think upgrading laptop hardware is complicated, but RAM installation is surprisingly straightforward. All you need is a screwdriver and about 10 minutes of your time to complete the upgrade process. Most laptops make it easy to access the RAM slots after removing the bottom panel or keyboard.
Before shopping for new memory, you’ll want to check what type of RAM your laptop supports. The wrong RAM modules won’t work, so it’s important to know your laptop’s specific requirements. Modern laptops typically use DDR4 memory, but older models might use DDR3 or even DDR2.
Step 1: Check Your Laptop’s RAM Compatibility
Before buying any new RAM, you need to know what type your laptop supports. Laptops typically use SODIMM (Small Outline Dual In-line Memory Module) RAM. Here’s how to gather the key information:
What to Check:
- Maximum RAM capacity: Look up your laptop model to find out how much RAM it supports.
- RAM type: DDR3, DDR4, or DDR5 (make sure the new stick matches what’s already installed).
- RAM speed: Measured in MHz—match or exceed the current module’s speed for best performance.
- Available slots: Some laptops have 1 slot, others have 2. If all are used, you’ll need to replace existing modules.
How to Find Specs:
| Method | Details |
|---|---|
| System Info (Windows) | Press Win + R, type msinfo32, check installed RAM and slots used |
| Task Manager | Right-click taskbar > Task Manager > Performance > Memory |
| Manufacturer Website | Look up your laptop model’s specs online |
| Crucial Scanner Tool | Use memory scanner tools for exact compatible RAM suggestions |
Step 2: Buy the Right RAM
Once you know what your laptop needs, you can buy the correct module(s). Reputable brands include Crucial, Corsair, Kingston, and G.Skill. Make sure the voltage, speed, and type (DDR4 vs DDR5) match your laptop’s requirements.
Suggested Specs Table
| Laptop Age/Type | Suggested RAM Type | Typical Speed | Max Capacity (varies by model) |
|---|---|---|---|
| Older Budget Laptops | DDR3 SODIMM | 1333–1600 MHz | 8GB–16GB |
| Midrange Laptops | DDR4 SODIMM | 2400–3200 MHz | 16GB–32GB |
| Newer Gaming/Pro Laptops | DDR5 SODIMM | 4800+ MHz | 32GB–64GB+ |
Step 3: Prepare for Installation
What You’ll Need:
- Small Phillips screwdriver
- Anti-static wrist strap (recommended)
- Soft surface to work on (like a towel or mat)
- Your new RAM
Safety First:
- Power off the laptop completely
- Unplug all cables
- Remove the battery if it’s detachable
- Hold the power button for 10 seconds to discharge residual electricity
Step 4: Access the RAM Slots
The access method depends on your laptop. Some have a dedicated RAM panel on the bottom, while others require removing the entire back cover.
- Flip the laptop over
- Remove screws (keep track of them—sizes may vary)
- Pry open the bottom cover gently with a plastic spudger or card
- Locate the RAM slots—they’re small rectangular slots with side clips
Step 5: Install the New RAM
Here’s how to physically install the memory module:
- Align the notch on the RAM stick with the slot
- Insert at a 30-degree angle
- Push down gently but firmly until the side clips click into place
If you’re replacing old RAM:
- Release the clips to pop it out
- Gently pull the old module out and replace it with the new one
Step 6: Reassemble and Boot Up
- Reattach the bottom panel
- Screw everything back into place
- Reconnect the battery and plug in the laptop
- Turn it on
The system should boot normally. If it doesn’t, check that the RAM is fully seated and compatible.
Step 7: Verify the Upgrade
To confirm the upgrade worked:
- Windows: Open Task Manager > Performance > Memory
- macOS: Click Apple menu > About This Mac > Memory
- Linux: Open Terminal and type
free -hordmidecode -t memory
Troubleshooting Table
| Problem | Possible Cause | Fix |
|---|---|---|
| Laptop won’t boot | RAM not fully seated | Reinstall RAM carefully |
| Beeping or black screen | Incompatible RAM or slot issue | Try one stick at a time |
| System shows less RAM than added | One slot not recognized or shared GPU memory | Reseat or replace stick, check BIOS |
| Runs slower after upgrade | Mixing RAM speeds or timings | Use matched pairs with same speed/timings |
When Is It Worth Upgrading?
Upgrading your RAM is one of the most cost-effective ways to improve performance, especially for multitasking, editing, and gaming. If your laptop has 4GB or 8GB and you run memory-hungry applications (like Chrome, Adobe Suite, or games), jumping to 16GB or more can make a significant difference.
Key Takeaways
- Upgrading your laptop’s RAM requires only basic tools and takes less than 10 minutes to complete.
- Before purchasing new RAM, check your laptop’s compatibility and maximum supported memory capacity.
- After installing new RAM, your laptop should immediately show improved performance when multitasking or running demanding applications.
Understanding RAM and Its Importance
RAM is a critical component of your laptop that directly impacts performance. Understanding how it works and why it matters will help you make better upgrade decisions for your specific needs.
What Is RAM?
Random-access memory (RAM) functions as your laptop’s short-term memory. Unlike storage that keeps data permanently, RAM provides temporary, high-speed workspace for your computer to access active programs and files.
Think of RAM as your laptop’s workbench. The more workspace you have, the more tasks you can handle simultaneously without slowdowns. When RAM fills up, your laptop must constantly swap data between memory and storage, causing noticeable performance drops.
Adding more RAM allows your system to keep more applications and data accessible for immediate use. This translates to faster performance, smoother multitasking, and fewer frustrating delays when switching between programs.
Types of RAM
Modern laptops typically use a type of memory called SDRAM (Synchronous Dynamic RAM) in specific formats:
- DDR3: Older standard from around 2007-2014
- DDR4: Current common standard (faster and more energy-efficient)
- DDR5: Newest generation (highest performance but less common)
Each generation offers improvements in speed, energy efficiency, and maximum capacity. However, these types are not interchangeable – your laptop supports specific RAM types only.
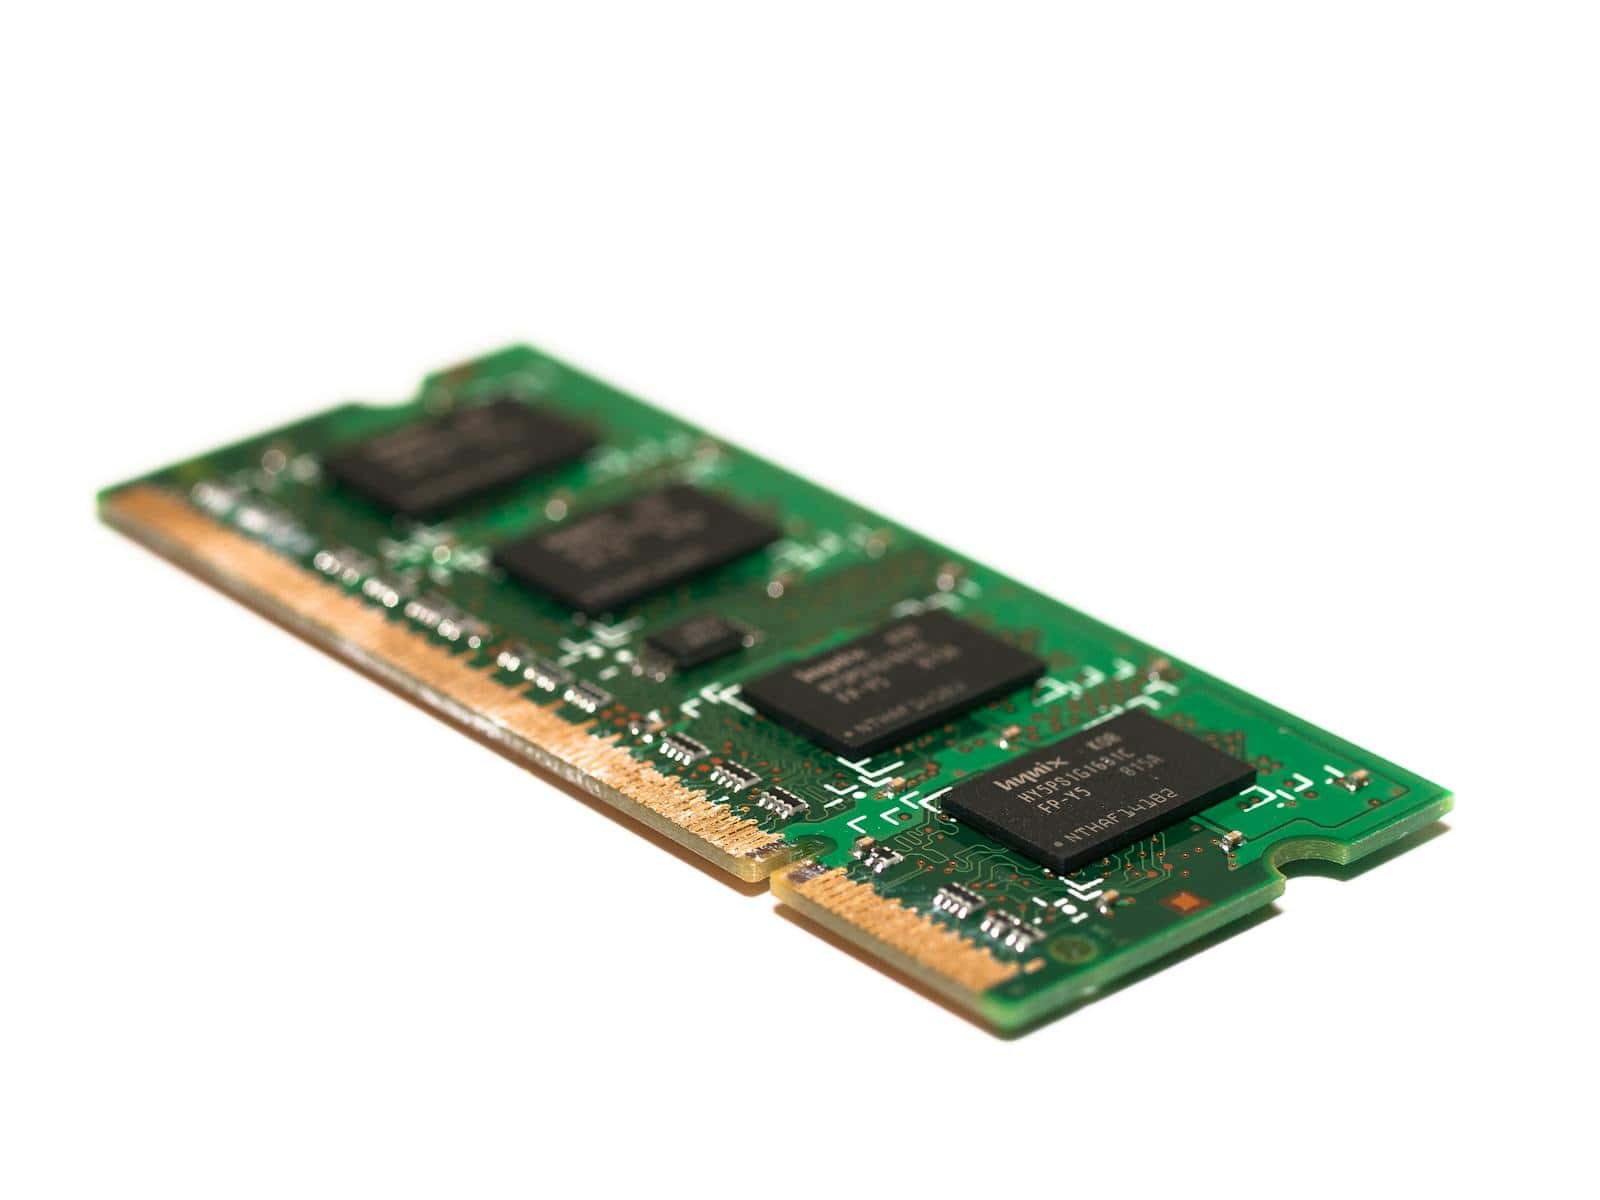
RAM also comes in different physical formats. Most laptops use SODIMM (Small Outline Dual In-line Memory Module) sticks that are smaller than desktop RAM.
When upgrading laptop RAM, you must match both the DDR generation and the physical format compatible with your specific model.
RAM vs. Storage
Many people confuse RAM with storage, but they serve different purposes:
| Feature | RAM | Storage (HDD/SSD) |
|---|---|---|
| Purpose | Temporary workspace | Permanent data storage |
| Speed | Very fast (nanoseconds) | Slower (milliseconds) |
| Data retention | Lost when powered off | Retained when off |
| Typical capacity | 4GB-32GB | 128GB-2TB+ |
Your laptop storage (hard drive or SSD) holds your operating system, applications, and files permanently. When you open a program, it loads from storage into RAM for much faster access.
Upgrading RAM improves multitasking and program responsiveness, while upgrading to an SSD enhances boot times and file access speeds. For optimal performance, consider upgrading both components.
Determining Your Laptop’s RAM Needs
Before upgrading your RAM, you need to understand how much memory your laptop currently has and how much you actually need. Knowing these details will help you make the right purchase decision and avoid spending money on unnecessary upgrades.
Assessing Current RAM Usage
To check your installed RAM, open Task Manager by pressing Ctrl+Alt+Delete and selecting Task Manager, then click on the Performance tab. Look at the Memory section to see how much RAM you have and how much is typically being used.
On Windows 11, you can also check RAM details by:
- Right-clicking on the Start button
- Selecting “System”
- Scrolling down to “About”
- Looking under “Device specifications”
If you regularly see memory usage above 70% during normal tasks, this indicates you would benefit from an upgrade. Many HP laptops and other brands will show slowdowns when RAM is consistently maxed out.
Recommended RAM for Different Uses
Different activities require different amounts of RAM to run smoothly:
| Usage Type | Recommended RAM | Notes |
|---|---|---|
| Basic tasks (web browsing, documents) | 8GB | Minimum for Windows 11 |
| Moderate multitasking | 16GB | Good for most users |
| Gaming/Content creation | 32GB | For demanding applications |
| Professional work (video editing, VMs) | 32-64GB | Maximum for most laptops |
For an HP laptop running Windows 11, 8GB is the absolute minimum, but 16GB provides a much better experience. If you frequently run multiple applications simultaneously or use memory-intensive programs like Photoshop or video editors, aim for 32GB if your laptop supports it.
Chrome and other browsers can be memory-hungry, using 1-2GB with multiple tabs open. Consider your specific applications when planning your RAM upgrade.
Checking Laptop’s RAM Compatibility
Before upgrading your laptop’s RAM, you need to verify what type of memory your system can accept. Compatible RAM ensures optimal performance and prevents wasting money on components that won’t work with your machine.
RAM Slot Specifications
To determine if your laptop’s RAM is upgradeable, you first need to check how many slots are available. You can use built-in Windows tools to get this information without opening your laptop. Right-click the Start button, open “Settings,” navigate to “System,” and scroll to the bottom to find memory information about your computer.
For a more detailed view, press Windows key + R, type “msinfo32,” and hit Enter. When System Information opens, check the memory tab on the left. This shows you:
- Total amount of RAM installed
- Number of slots available
- Number of slots currently in use
If all slots are already occupied, you’ll need to replace existing modules with higher-capacity ones rather than adding more.
Understanding RAM Generation and Speed
RAM technology has evolved through several generations, with DDR3 and DDR4 being common in modern laptops. These generations are not compatible with each other due to physical and electrical differences.
To identify your laptop’s RAM type:
- Press Windows key + R
- Type “wmic memorychip get devicelocator, manufacturer, capacity, speed, memorytype”
- Press Enter
The “memorytype” value indicates your RAM generation (DDR3=24, DDR4=26). Your new RAM must match this generation.
RAM speed (measured in MHz) is also crucial. While you can install RAM with higher speeds than your system supports, it will only run at the maximum speed your motherboard allows. For optimal performance, get RAM that matches or exceeds your current modules’ speed.
You can also use specialized tools like CPU-Z or check your laptop’s manual to find the maximum RAM capacity your system supports.
Preparing for a RAM Upgrade
Before diving into your laptop’s internals, proper preparation ensures a smooth and safe RAM upgrade process. Taking time to gather the right tools and compatible memory will save you frustration later.
Safety Considerations
Always begin by shutting down your laptop completely. Don’t just put it to sleep or in hibernation mode. Unplug the power adapter and remove the battery if possible to prevent any electrical issues.
Work in a static-free environment. Static electricity can damage sensitive computer components. Consider using an anti-static wrist strap to ground yourself before touching internal components.
Place your laptop on a clean, flat, well-lit surface. This gives you better visibility and reduces the chance of losing small screws.
Back up your important data before starting. While RAM upgrades rarely affect stored data, it’s always wise to have a backup just in case something goes wrong.
Required Tools
Most laptop RAM upgrades require minimal tools. You’ll typically need:
- A small Phillips-head screwdriver (#00 or #0 size for most laptops)
- A plastic opening tool or credit card (to help pop memory modules out)
- A clean, soft cloth for your work surface
- A small container to hold screws
Some laptops may have specialized screws requiring security bits. Check your laptop’s service manual if available or look up model-specific guides online.
Keep track of all screws you remove. Many experienced upgraders take photos at each step or arrange screws in the pattern they were removed to make reassembly easier.
Purchasing the Right RAM Modules
Finding compatible RAM is crucial. Not all memory works with every laptop. Check your laptop’s specifications for:
- Maximum supported RAM capacity
- Memory type (DDR3, DDR4, etc.)
- Speed rating (MHz)
- Number of available slots
Many laptops have online guides showing compatible memory. Some memory manufacturers offer tools where you enter your laptop model to find matching RAM.
When possible, buy RAM in matched pairs for optimal performance. If your laptop has 8GB and you want 16GB, consider buying a new 16GB kit rather than adding another 8GB stick.
Check if your RAM is user-replaceable. Some ultra-thin laptops have soldered RAM that cannot be upgraded. A quick online search for your specific model can confirm this before you purchase anything.
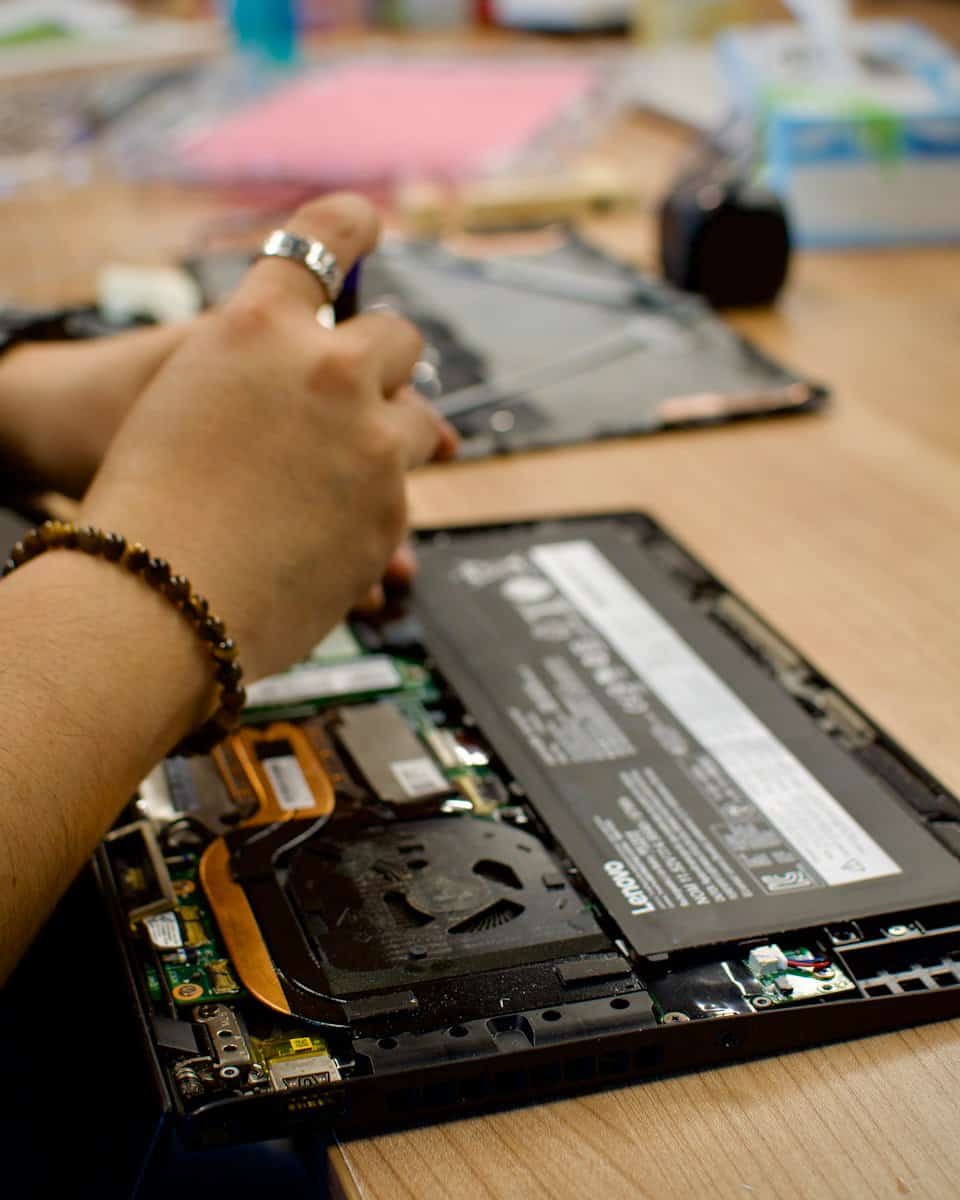
Upgrading Your Laptop’s RAM
Upgrading your laptop’s RAM is a straightforward process that can significantly improve your computer’s performance. With just a screwdriver and about 10 minutes of your time, you can complete this upgrade without any special technical skills.
Accessing the RAM Slots
Before starting, shut down your laptop completely and unplug it from any power source. Remove the battery if possible for safety. Most laptops have a panel on the bottom that provides access to the RAM slots. Look for a small panel with a RAM icon or consult your laptop’s manual to locate it.
Use the appropriate screwdriver (usually Phillips head) to remove the screws securing this panel. Keep these screws in a small container so you don’t lose them.
Some laptops may require removing the entire bottom cover or keyboard to access the RAM. If your laptop doesn’t have an easy-access panel, check your manufacturer’s website for specific instructions.
Remember to ground yourself by touching a metal object before handling any internal components to prevent static electricity damage.
Removing Old RAM Modules
Once you’ve accessed the RAM slots, you’ll see the existing RAM modules. They’re held in place by small clips on each side of the slot. Gently push these clips outward, and the RAM module will pop up at an angle.
Carefully grasp the module by its edges—never touch the gold connectors or circuitry. Pull it out at the same angle it popped up. If you have multiple RAM slots with modules, repeat this process for each one you plan to replace.
The process is simple and takes less than a minute once you have access to the slots. Take note of how the old modules are oriented, as the new ones must be installed in the same way.
Store the removed modules in an anti-static bag if you plan to keep them as backups.
Installing New RAM
Take your new RAM modules out of their packaging, handling them only by the edges. Note the notch on the connector edge that ensures correct alignment with the slot.
Position the module at the same angle that the old one popped up, with the notched edge aligned with the corresponding key in the slot. The gold connectors should face down into the slot.
Press the module firmly into the slot, maintaining that angle. Once it’s fully seated, press down on both ends of the module until you hear the retention clips snap into place. This installation can be completed in under 60 seconds once you have access to the RAM area.
Double-check that both clips are securely locked and the module sits flat in the slot.
Testing the New RAM Installation
After installing the new RAM, reassemble your laptop by replacing any panels and screws. Reconnect the battery if you removed it, then connect the power adapter.
Power on your laptop and listen for any unusual beeping sounds, which might indicate an installation problem. If your computer boots normally, that’s a good sign!
To verify that your system recognizes the new RAM, check your computer’s properties:
- Windows: Right-click on “This PC” or “My Computer” and select “Properties”
- Mac: Click the Apple menu and select “About This Mac”
Both will display the amount of installed RAM. If the number matches your expected total, your upgrade was successful.
Run your usual applications to test performance. You should notice improved speed when multitasking or using memory-intensive programs.
Post-Upgrade Checklist
After installing new RAM in your laptop, it’s crucial to verify everything is working correctly. Proper testing ensures your system recognizes the full memory capacity and runs without errors.
Verifying RAM Recognition in BIOS
When you first boot up your laptop after the RAM upgrade, enter the BIOS setup by pressing the appropriate key during startup (often F2, F10, Delete, or Esc). This key usually appears on the screen during the boot process.
Look for a section labeled “System Information,” “Main,” or “Memory.” Your newly installed RAM should be visible with the correct capacity shown. For example, if you upgraded from 8GB to 16GB, the BIOS should display 16GB (or close to it, as some may be reserved for system use).
On HP laptops, you might need to press F10 to access BIOS. Check that the speed and type of memory match what you installed. If your BIOS doesn’t show the expected amount, try these quick fixes:
- Restart your computer and check again
- Reseat the memory modules by removing and reinstalling them
- Ensure the RAM is fully clicked into place
Checking Operating System for RAM Utilization
Once you’ve confirmed the RAM appears in BIOS, boot into your operating system to verify it recognizes the memory. In Windows 11, right-click the Start button and select “Task Manager.” Click on the “Performance” tab and select “Memory.”
The total installed RAM should match what you installed. You can also check through these alternate methods:
- Press Win+I to open Settings → System → About
- Type “System Information” in the search bar and check the “Installed RAM” value
- Right-click on “This PC” → Properties
Task Manager also shows your RAM speed, which should match your new modules. Check how much memory you’re using during normal operations to confirm the upgrade has improved performance.
Troubleshooting Post-Upgrade Issues
If your laptop doesn’t boot or you experience system crashes after the RAM upgrade, don’t panic. First, try removing and reseating the memory modules to ensure proper contact.
Ensure you’ve installed compatible RAM. If your laptop continues to have issues, try booting with only one RAM module at a time to identify if one is faulty.
Common RAM issues and solutions:
| Problem | Potential Solution |
|---|---|
| Computer won’t boot | Reseat RAM or restore original memory |
| System crashes | Run Windows Memory Diagnostic tool |
| Less RAM than expected | Check if BIOS settings need updating |
| Slow performance | Verify proper RAM speed in BIOS |
If problems persist, you might need professional tech support. Services like JustAnswer can connect you with technicians who specialize in RAM upgrades and laptop troubleshooting, often solving issues without requiring you to send in your device.
Frequently Asked Questions
RAM upgrades can dramatically improve your laptop’s performance. Here are answers to common questions about the process, compatibility concerns, and potential benefits.
What steps should be followed to upgrade a laptop’s RAM?
Upgrading laptop RAM is surprisingly easy with just a screwdriver and 10 steps. First, shut down your laptop completely and unplug the power cord.
Remove the battery if possible, and ground yourself to prevent static electricity damage. Then locate the RAM access panel on the bottom of your laptop.
Unscrew and remove the panel, gently pull back the retention clips holding the current RAM, and remove the old modules at a 45-degree angle. Insert the new RAM modules at the same angle until they’re fully seated.
Press down until the retention clips snap into place. Replace the access panel, battery, and power cord, then boot up your computer to verify the upgrade was successful.
How can one determine if their laptop’s RAM is expandable?
Check your laptop’s user manual or manufacturer’s website for specific information about RAM expandability. This documentation will tell you if your RAM is soldered (non-upgradeable) or modular.
You can also use system information tools built into your operating system. On Windows, press Win+R, type “msinfo32,” and look under “System Summary” for installed RAM details.
Third-party tools like CPU-Z can provide detailed information about your current RAM configuration and available slots. Some laptops have RAM slots that are easily accessible, while others may require more disassembly.
What are the maximum RAM capacity limitations for common laptop models?
Most modern laptops support between 8GB and 64GB of maximum RAM. Business and gaming laptops typically support higher capacities than budget models.
The specific limitation depends on your laptop’s motherboard and processor generation. For example, many Intel 8th-11th gen processors support up to 64GB, while older models might cap at 16GB or 32GB.
Your laptop’s architecture might also limit the maximum RAM capacity. For example, 32-bit operating systems can only use up to 4GB of RAM effectively, while 64-bit systems can utilize much more.
Is it possible to mix different RAM sizes or brands in a laptop?
Yes, you can mix different RAM sizes (such as 4GB with 8GB), but this isn’t always ideal. When mixing RAM of different capacities, your computer will typically run in what’s called “flex mode” or “asymmetric dual-channel mode.”
Mixing brands is possible but risky. For best performance and stability, using identical RAM modules is recommended. This ensures matching speeds, timings, and voltages.
If you must mix RAM, ensure the speed and timings are compatible. Your system will default to the specifications of the slower module, potentially limiting performance benefits.
What are the risks and considerations when upgrading a laptop’s RAM?
Warranty concerns are a primary consideration—opening your laptop may void the warranty on some models. Check your warranty terms before proceeding.
Physical damage can occur if you use excessive force or don’t ground yourself properly. Static electricity can damage sensitive components.
Compatibility issues arise if you purchase the wrong type of RAM. Before buying, verify your laptop supports the RAM type (DDR3, DDR4, etc.), speed, and form factor.
Not all laptops are upgradeable—many ultrabooks and MacBooks have RAM soldered directly to the motherboard. Research your specific model first.
Can upgrading RAM improve laptop performance, and if so, to what extent?
RAM upgrades provide the most noticeable performance boost when your laptop is currently memory-constrained. If your system regularly uses close to 100% of available RAM, an upgrade will significantly improve responsiveness.
Programs will load faster, and you’ll experience fewer slowdowns when multitasking. For example, keeping multiple browser tabs open while running other applications will become much smoother.
Gaming performance can improve dramatically if your current RAM is insufficient. Games with large open worlds especially benefit from additional memory. However, RAM upgrades won’t help much with CPU or GPU-bound tasks if those components are already at their limits.