Transferring music from one iPhone to another can be a seamless process. Apple offers multiple methods to move your favorite tunes, including iCloud Music Library, iTunes, and AirDrop. These options cater to different needs and preferences, ensuring users can find a suitable method.
For those who prefer wireless transfers, iCloud Music Library syncs your music across devices automatically. This feature requires an Apple Music subscription or iTunes Match. Users simply need to enable the Sync Library option in their iPhone settings to access their entire music collection on any linked device.
iTunes remains a reliable method for transferring music between iPhones. By connecting both devices to a computer, users can transfer purchased content and sync selected playlists. This approach works well for those who prefer manual control over their music library or have limited internet connectivity.
Transferring music between iPhones is a common task, especially when you get a new device. The best method depends on whether your music is from a streaming service like Apple Music, purchased from iTunes, or synced from a computer. Here are the most effective ways to transfer music.
Method 1: Using Apple Music or Other Streaming Services 🎧
If you subscribe to Apple Music, Spotify, or a similar service, transferring your library is the most straightforward option. Your music is stored in the cloud, so you just need to sync your account.
- On your new iPhone, sign in with the same Apple ID you use for your Apple Music subscription.
- Go to Settings > Music.
- Toggle on “Sync Library.”
- Your entire music library, including playlists, will automatically start syncing to your new phone. Depending on the size of your library and your internet connection, this may take a few minutes.
This method works for any music in your library, including songs from CDs that you’ve uploaded to the cloud with an Apple Music or iTunes Match subscription.
Method 2: Transferring Purchased Music from iTunes
If you’ve purchased music from the iTunes Store, you can re-download it for free on your new iPhone.
- Open the iTunes Store app on your new iPhone.
- Tap More at the bottom of the screen (the three dots).
- Select “Purchased.”
- Tap “Music.”
- Find the music you want to download. You can tap the cloud icon next to an individual song or album to download it, or tap “Download All” to get everything.
Method 3: Using a Computer (Mac or PC)
This method is best for transferring non-purchased music, such as MP3 files you’ve added to your library from other sources.
- Connect your old iPhone to your computer (Mac or PC) and open the Music app (on a Mac with macOS Catalina or later) or iTunes (on a PC or older Mac).
- In the app, choose File > Devices > Transfer Purchases from [Your iPhone’s Name]. This will copy all of the music you’ve purchased from your iPhone onto your computer.
- Once the transfer is complete, eject your old iPhone and connect your new one.
- Select your new iPhone in the Music app or iTunes.
- Go to the Music tab and select “Sync Music.” You can choose to sync your entire music library or specific albums, artists, or playlists.
- Click Apply to begin the sync.
Method 4: Using AirDrop 💨
AirDrop is great for transferring a few select songs between devices.
- On both iPhones, make sure Bluetooth and Wi-Fi are on, and AirDrop is set to “Contacts Only” or “Everyone” in the Control Center.
- On the iPhone you’re sending from, open the Music app.
- Find the song you want to share and tap the three dots (•••) icon.
- Select “Share Song,” then choose AirDrop.
- Select the name of the new iPhone.
- On the new iPhone, a pop-up will appear. Tap “Accept” to receive the song.
Key Takeaways
- Apple provides multiple methods to transfer music between iPhones
- iCloud Music Library offers wireless syncing for Apple Music subscribers
- iTunes allows manual control over music transfers and syncing
Preparing Your iPhones for Transfer
Transferring music from one iPhone to another requires careful preparation. The following steps ensure a smooth and successful transfer process.
Ensure Compatibility and Update iOS
Check both iPhones for iOS compatibility. Older models may not support the latest iOS versions. To update iOS:
- Go to Settings > General > Software Update
- If an update is available, tap “Download and Install”
- Connect to Wi-Fi and a power source during the update
Updating iOS improves transfer reliability and security. It also ensures access to the latest features in the Music app.
Backup Music Files
Before transferring, back up your music files:
- Connect your iPhone to a computer with iTunes
- Select your device in iTunes
- Click “Back Up Now” under the Summary tab
For iCloud users:
- Go to Settings > [Your Name] > iCloud
- Turn on “iCloud Backup”
- Tap “Back Up Now”
Backing up protects your music collection in case of transfer issues.
Sign In With Your Apple ID
Use the same Apple ID on both iPhones to access your music library:
- Go to Settings > [Your Name]
- If not signed in, tap “Sign in to your iPhone”
- Enter your Apple ID and password
For iCloud Music Library users:
- Go to Settings > Music
- Turn on “Sync Library”
This step ensures your music purchases and iCloud Music Library are accessible on both devices.
Transferring Music Directly Between iPhones
AirDrop and Home Sharing offer convenient methods to transfer music between iPhones without cables or computers. These features allow quick sharing of individual songs or entire libraries over Wi-Fi.
Using AirDrop for Music Transfer
AirDrop enables wireless sharing of songs between nearby iPhones. To use AirDrop:
- Enable Wi-Fi and Bluetooth on both devices
- Open the Music app on the source iPhone
- Find the song to share
- Tap the three dots icon next to the track
- Select “Share” then “AirDrop”
- Choose the recipient iPhone
The recipient will get a notification to accept the song. AirDrop works for individual tracks or small selections. It’s best for sharing a few songs quickly.
Sharing Purchased Music Via Home Sharing
Home Sharing lets users access their entire iTunes library across devices on the same Wi-Fi network. To set up Home Sharing:
- Sign in with the same Apple ID on both iPhones
- Enable Home Sharing in Settings > Music
- Open the Music app on the receiving iPhone
- Tap “Library” then select the sharing account
This method gives full access to purchased music, including albums and playlists. It’s ideal for transferring large music collections. Home Sharing requires both devices to stay on the same network.
Using Cloud and Streaming Services
Cloud services and streaming platforms offer convenient ways to access and transfer music between iPhones. These methods eliminate the need for physical connections or storage limitations.
Syncing Music with iCloud
iCloud Music Library syncs music across Apple devices. Users can enable this feature in the iPhone’s Settings under Music. Toggle on “Sync Library” to start the process. iCloud stores music files in the cloud, making them accessible on any device signed in with the same Apple ID.
This method works for songs purchased from iTunes and tracks uploaded to iCloud Music Library. Users can add up to 100,000 songs to their library. iCloud automatically syncs new music additions across devices.
One drawback is the need for an internet connection to access cloud-stored music. Users can download songs for offline listening by tapping the download icon next to each track.
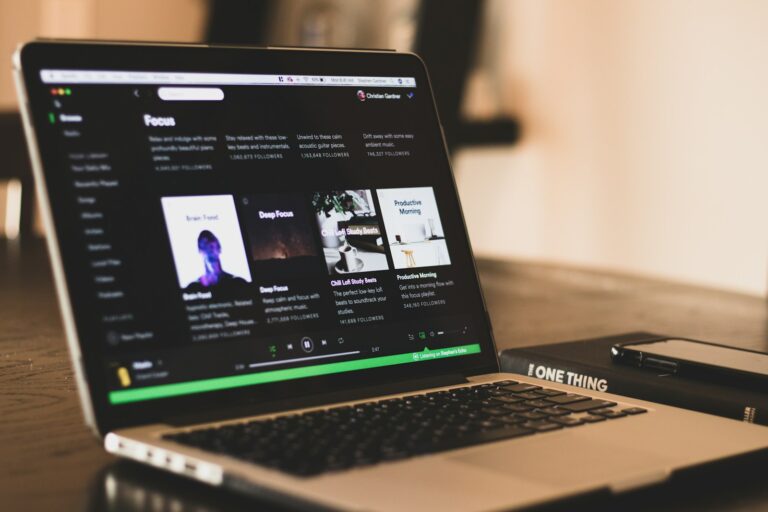
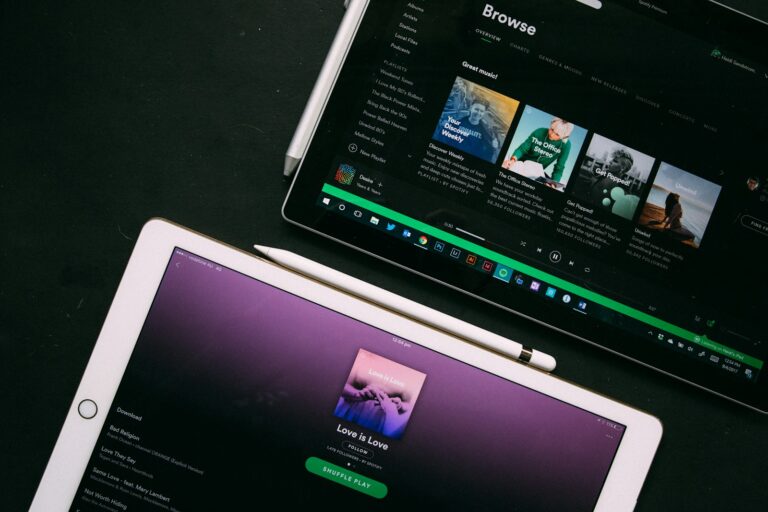
Utilizing Music Streaming Platforms
Music streaming services like Apple Music, Spotify, and YouTube Music offer vast libraries of songs. These platforms allow users to create playlists and save favorite tracks.
To use a streaming service, download the app on both iPhones. Sign in with the same account on each device. Playlists and saved music will appear on both phones automatically.
Many streaming services offer offline listening. Users can download songs, albums, or playlists for access without an internet connection. This feature is especially useful for travel or areas with poor network coverage.
Streaming services often provide personalized recommendations based on listening history. This can help users discover new music across their devices.
Alternative Music Transfer Solutions
iPhone users have several options beyond iTunes for transferring music between devices. These methods accommodate different needs and preferences.
Transferring Non-Purchased Music
Bluetooth offers a simple way to transfer non-purchased music between iPhones. To use this method, enable Bluetooth on both devices and ensure they are in close proximity. Select the desired songs on the source iPhone and choose the “Share” option. Pick the target iPhone from the available Bluetooth devices list.
For larger music libraries, cloud storage services like Dropbox provide an efficient solution. Upload music files to Dropbox from the source iPhone. On the target device, download the Dropbox app and sign in. Access the uploaded music files and download them to the new iPhone.
Using Third-Party Applications
Several third-party apps facilitate music transfer without iTunes. AnyTrans is a popular option that allows direct transfer of music files between iPhones. Connect both devices to a computer, launch AnyTrans, and select the music to transfer.
iMazing offers another user-friendly solution. This app enables wireless transfer of music files over a local Wi-Fi network. Install iMazing on both iPhones, ensure they’re on the same Wi-Fi network, and follow the app’s prompts to transfer songs.
These third-party apps often provide additional features like playlist management and file conversion, enhancing the music transfer experience.
Frequently Asked Questions
Transferring music between iPhones can be done through various methods. These options cater to different user preferences and technical setups.
How can I transfer my music from one iPhone to another using AirDrop?
To transfer music using AirDrop, ensure both iPhones have AirDrop enabled. On the source iPhone, open the Music app and select the desired song. Tap the share icon and choose AirDrop. Select the receiving iPhone from the list of available devices. Accept the transfer on the receiving iPhone.
What are the steps to transfer music between iPhones without using iTunes?
Users can transfer music without iTunes by using iCloud Music Library. Enable this feature in Settings > Music > Sync Library on both iPhones. The music will sync automatically if both devices are signed in to the same Apple ID.
Is it possible to transfer a playlist from one iPhone to another, and if so, how?
Transferring playlists is possible through iCloud Music Library. Enable this feature on both iPhones. The playlists will sync across devices if they are created in the Apple Music app and both iPhones use the same Apple ID.
Why did my music not transfer when I switched to a new iPhone?
Music may not transfer due to disabled iCloud Music Library, different Apple IDs, or incompatible file formats. Check these settings and ensure both devices are signed in to the same Apple ID with iCloud Music Library enabled.
How can I move music from an iPhone to another iPhone without utilizing a computer?
AirDrop offers a computer-free method for transferring music. Another option is using third-party apps designed for direct file transfers between iPhones. These apps typically require both devices to be on the same Wi-Fi network.
Can music be transferred between iPhones if they are linked to different Apple IDs?
Transferring music between iPhones with different Apple IDs is challenging. Options include using AirDrop for individual songs or creating a shared playlist if both users have Apple Music subscriptions. Family Sharing also allows music sharing between different Apple IDs.