Sharing your virtual reality adventures with friends and family can transform a solo experience into a group activity. The Meta Quest 2 (formerly Oculus Quest 2) lets you display your virtual world on a TV screen so others can see what you’re experiencing. To cast your Meta Quest 2 to a TV, you’ll need either a TV with built-in Chromecast functionality or a Chromecast device connected to your television, along with the Meta Quest headset and the Meta app on your smartphone.
The process is straightforward once you have the right equipment. You can initiate casting either through the Meta app on your phone or directly from the headset itself. This feature is perfect for party games, showing off new VR experiences, or helping guide new players through their first virtual reality adventures.
🎮 What You’ll Need
- A Meta Quest, Quest 2, or Quest 3 headset
- A TV with Chromecast built-in or a Chromecast device plugged into your TV
- A Wi-Fi connection (both the TV/Chromecast and Quest must be on the same network)
- Optionally, the Meta mobile app (for iOS or Android)
🥽 Method 1: Cast Directly from the Headset
This is the simplest way if your TV supports Chromecast.
Steps:
- Put on your headset.
- Press the Meta (Oculus) button on your right controller to open the universal menu.
- Select the clock icon on the left side to open Quick Settings.
- Choose “Cast”.
- A list of available devices will appear — select your TV or Chromecast device.
- Click “Next” and follow the on-screen instructions.
- You’ll see a confirmation in VR once casting begins. Your TV should now mirror your headset view.
✅ To stop casting:
Open the same Cast menu and select “Stop Casting.”
(Source: Meta Quest Help)
📱 Method 2: Cast Using the Meta App (Mobile)
If your TV doesn’t appear when casting from the headset, you can use the Meta app instead.
Steps:
- Make sure your TV/Chromecast and Quest headset are on the same Wi-Fi network.
- Open the Meta app on your phone.
- Tap the “Cast” icon (a headset with Wi-Fi waves) in the top-right corner.
- Choose your headset from the list.
- Select your TV or Chromecast device as the target.
- Tap “Start” to begin casting.
🧠 Tips & Troubleshooting
- If your TV doesn’t show up, ensure both devices are on the same Wi-Fi network and your TV supports Chromecast.
- For Roku, Samsung, or smart TVs without Chromecast, you can use an external Chromecast dongle or cast to your phone, then mirror your phone’s screen to the TV via AirPlay or Smart View.
- If casting lags, try moving your router closer or using a 5 GHz Wi-Fi band.
(Source: Tom’s Guide, OlenVR, iTechHacks)
🧩 Summary
| Method | Device Needed | Best For |
|---|---|---|
| From Headset | Chromecast-enabled TV | Quick, direct setup |
| From Meta App | Smartphone + TV | More control, backup method |
Key Takeaways
- You need a Chromecast-enabled TV or a Chromecast device (around $30) connected to your television to cast your Meta Quest 2 display.
- Casting can be initiated either through the headset’s Quick Settings menu or through the Meta app on your smartphone.
- The casting feature allows friends and family to see your VR experience on the TV screen, making virtual reality more social and accessible.
Understanding Oculus Quest 2 and TV Casting
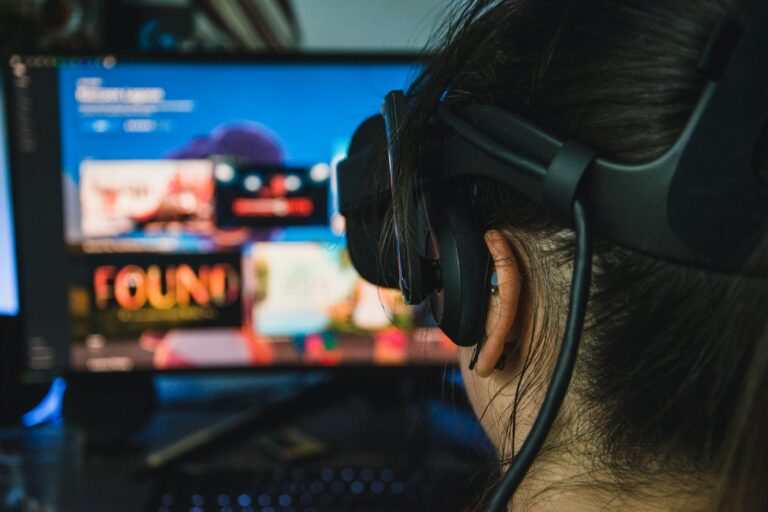
Casting your Oculus Quest 2 to a TV creates an immersive social experience where others can view what you’re seeing in virtual reality. This feature transforms VR from a solitary activity into shared entertainment.
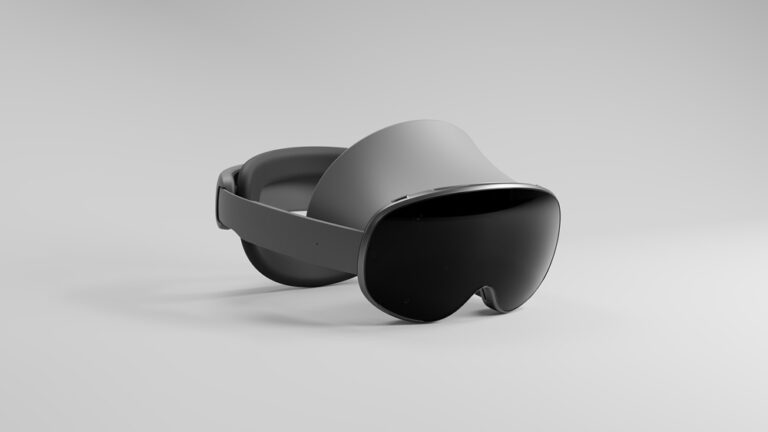
What Is Oculus Quest 2?
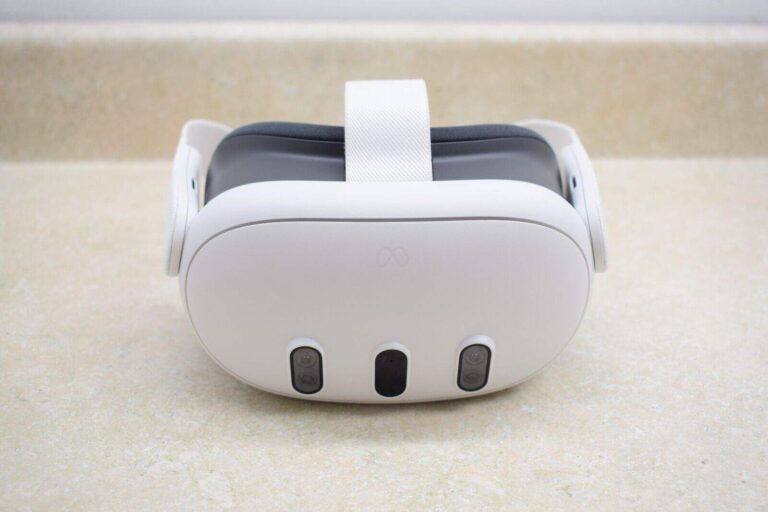
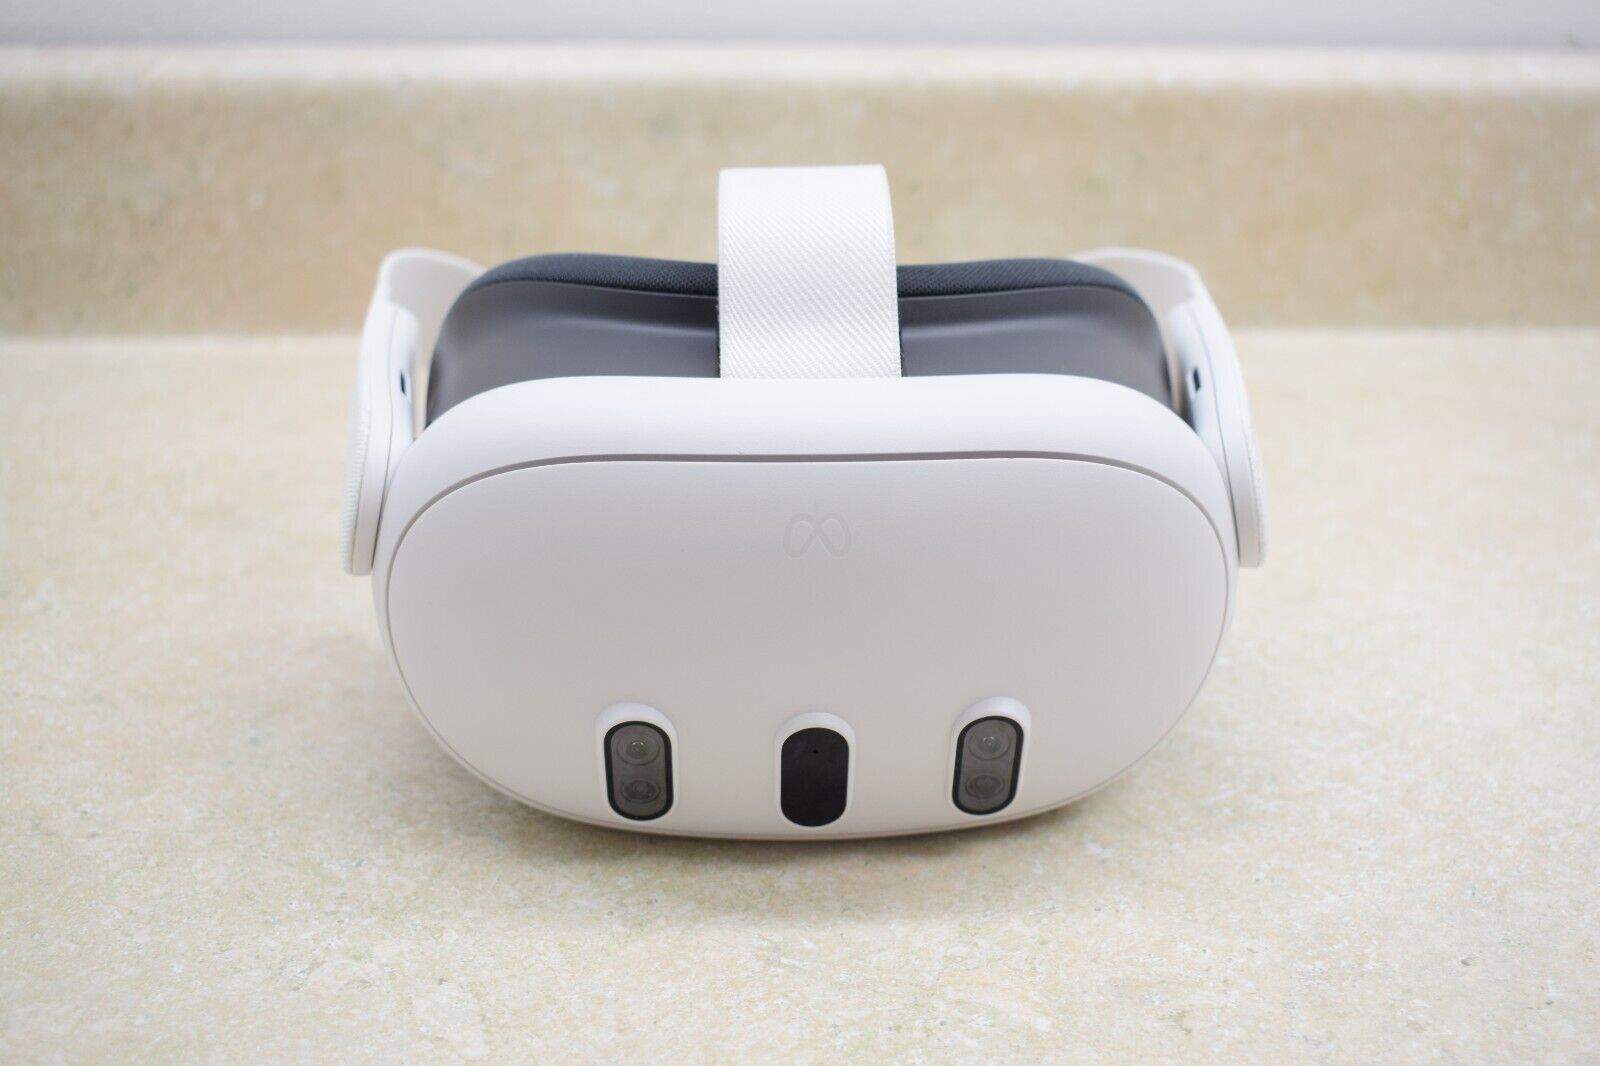
The Oculus Quest 2 (now known as Meta Quest 2) is a standalone virtual reality headset developed by Meta (formerly Facebook). Unlike earlier VR systems, it doesn’t require a PC or external sensors to operate.
This wireless headset features built-in tracking, high-resolution displays, and touch controllers that let users interact with virtual environments. The Quest 2 offers a diverse library of games, fitness applications, social platforms, and educational content.
The device runs on an Android-based operating system with a custom interface designed specifically for VR interactions. Its portability and ease of use have made it one of the most popular VR headsets on the market.
Meta continues to update the Quest 2 with new features and capabilities, including improved casting options for sharing experiences.
Benefits of Casting to TV
Casting your Quest 2 to a TV transforms VR from a solitary experience into social entertainment. Friends and family can see exactly what you’re experiencing in real-time.
Social benefits include:
- Allowing others to participate when taking turns with VR
- Creating party game experiences where players outside VR can contribute
- Helping new users get guidance from more experienced players
Practical advantages:
- Reduces the isolation often associated with VR
- Helps parents monitor what children are doing in VR
- Makes it easier to demonstrate VR to newcomers
Casting also helps reduce motion sickness for some users. Seeing the same visuals on-screen helps observers understand why the VR user is moving in certain ways.
Possible Devices for Casting
The Quest 2 offers several options for casting your VR experience to different screens:
Chromecast devices work seamlessly with Quest 2. Simply select your Chromecast from the casting menu in your headset or mobile app.
Smart TVs with built-in casting capabilities can receive Quest 2 streams directly. However, not all smart TV casting systems are compatible. TVs with Chromecast built-in work best, while Miracast systems may not connect properly.
Computers also serve as casting destinations. By visiting oculus.com/casting in a Chrome browser, users can view their Quest screen on a computer and then connect that computer to a TV via HDMI.
Mobile devices like phones and tablets can receive Quest casts through the Meta app, making them portable viewing options.
Prerequisites for Casting to TV
Before casting your Oculus Quest 2 to a TV, you need to ensure you have the right equipment, proper setup, and reliable network connection. These elements are crucial for a smooth casting experience.
Compatible Devices and TV Models
The Oculus Quest 2 doesn’t cast directly to just any TV. You’ll need a TV with built-in Chromecast or a separate Chromecast device connected to your TV’s HDMI port. Google Chromecast devices (including Chromecast Ultra and Google TV) work best for this purpose.
Smart TVs with built-in Chromecast functionality also work well. Unfortunately, Miracast is not supported for Quest 2 casting, so devices that only support this standard won’t work.
Some users attempt to use alternative methods like casting to a laptop first and then connecting it to a TV via HDMI, which can be a workaround if you don’t have a Chromecast device.
Setting Up Your Oculus Quest 2
Turn on your Oculus Quest 2 headset and make sure it’s fully updated. The headset needs to be properly configured with the Oculus mobile app on your smartphone.
Download the Oculus app from the App Store or Google Play if you haven’t already. This app will be needed to initiate casting in some methods.
Make sure your headset is charged sufficiently. Casting consumes additional battery power, so starting with at least 50% battery is recommended.
Enable casting permissions by pressing the white Oculus button on your controller to access the home menu when ready to cast.
Ensuring a Stable Wi-Fi Connection
All devices—your Quest 2, smartphone (if using the app for casting), and Chromecast device—must be connected to the same Wi-Fi network. This is essential for successful casting.
A strong and stable 5GHz Wi-Fi connection provides the best casting experience. If your network supports dual-band, ensure all devices connect to the same band.
Position your router in a central location with minimal obstacles between it and your devices. Walls and large objects can interfere with signal strength.
Consider reducing network congestion by disconnecting unused devices during casting sessions. Background downloads or streaming on other devices can impact casting quality.
Setting Up Your Chromecast Device
Before you can cast your Oculus Quest to your TV, you’ll need to properly set up your Chromecast device. This process involves installing the necessary app and connecting the device to your home network.
Installing the Google Home App
To begin setting up your Chromecast, first download the Google Home app on your smartphone. The app is available for both iOS and Android devices through their respective app stores.
Once installed, open the app and sign in with your Google account. If you don’t have one, you’ll need to create a new account.
Turn on your Chromecast device by plugging it into your TV’s HDMI port and connecting the power cable. Make sure your TV is set to the correct HDMI input.
In the Google Home app, tap the “+” icon in the top left and select “Set up device.” Choose “New device” and follow the on-screen instructions to detect your Chromecast.
Configuring Chromecast with Wi-Fi
After the app detects your Chromecast, it will guide you through connecting it to your Wi-Fi network. Ensure your smartphone is connected to the same Wi-Fi network you want to use for your Chromecast.
The app will display a code on both your phone and TV screen. Verify that these codes match and confirm to proceed.
Select your Wi-Fi network from the list and enter your password when prompted. For optimal performance, use a 5GHz network if available, especially when casting from Oculus Quest.
Once connected, you may be prompted to update the Chromecast firmware. Complete this step for best performance and compatibility with devices like Samsung TVs and Oculus Quest headsets.
Casting From the Oculus App to TV
The Oculus app provides a convenient way to share Quest 2 VR experiences on a larger screen. This method works well for most TVs with Chromecast capabilities and requires both devices to be connected to the same Wi-Fi network.
Connecting Oculus App with the Quest 2
To begin casting from the Oculus app, users need to ensure proper connectivity between their devices. The process starts with downloading the Oculus app on a smartphone from either Google Play or Apple App Store. After installation, users should open the app and log in with their Meta account.
The app must be paired with the Quest 2 headset. This happens automatically if the user has already set up their headset with the same account. If not, they’ll need to pair the Quest 2 by following the on-screen instructions.
Both the smartphone running the Oculus app and the Quest 2 headset must be connected to the same Wi-Fi network as the TV. This network connectivity is essential for successful casting.
Initiating the Cast from the App
Once the app is connected to the Quest 2, casting to a TV can begin. Users should open the Oculus app and locate the cast icon in the top-right corner of the screen. This icon resembles a headset with signal waves.
After tapping the cast button, the app will display available casting destinations. If the TV has Chromecast capability, it should appear in this list. Users should select their TV from the available options.
Some TVs might require additional steps:
- Smart TVs with built-in Chromecast: Select directly from the casting list
- TVs with external Chromecast dongles: Select the Chromecast device name
- Non-Chromecast TVs: First cast to the phone, then use screen mirroring to share the phone screen to the TV
After selection, the Quest 2’s view should appear on the TV screen within seconds, allowing everyone in the room to see the VR gameplay.
Using the Oculus Quest 2 to Initiate Casting
Casting your Oculus Quest 2 to a TV lets friends and family see what you’re experiencing in VR. The process can be started directly from the headset in just a few simple steps.
Navigating the Oculus Quest 2 Interface
To begin casting from the Quest 2, users need to access the quick settings menu. This is done by pressing the Oculus button on the right controller to bring up the universal menu.
From there, select the quick settings panel (typically shown as a small gear icon) located at the left side of the universal menu bar.
Once in quick settings, look for the “Cast” icon, which resembles a headset with wireless waves. This icon is usually found near the top of the quick settings panel.
The Cast option allows users to share their VR display with external devices that are connected to the same Wi-Fi network as the Quest 2 headset.
Selecting Your Casting Destination
After tapping the Cast icon, the Quest 2 will display a list of available devices. These may include:
- Smart TVs with built-in casting capabilities
- Chromecast devices connected to TVs
- Computer browsers at oculus.com/casting
- Mobile phones with the Oculus App installed
Select the desired destination device from the list. Some users prefer casting to a computer first and then connecting that computer to a TV via HDMI for better performance.
Once selected, confirm the casting connection. A notification will appear in the headset when casting begins successfully.
Troubleshooting Common Casting Issues
If casting issues occur, first verify that all devices are connected to the same Wi-Fi network. Different networks will prevent the Quest 2 from discovering casting destinations.
Restart both the Quest 2 headset and the receiving device if casting fails. Sometimes a simple reboot resolves connection problems.
For TV casting, ensure the television has Chromecast built-in or a Chromecast device connected. Standard TVs without these features cannot receive Quest 2 casts directly.
If audio problems occur during casting, check that:
- Volume is turned up on both devices
- No bluetooth headphones are connected to the Quest 2
- The receiving device’s sound output is properly configured
For persistent issues, try casting through the Oculus mobile app instead of directly from the headset.
Alternative Casting Methods
While Chromecast is a popular option for casting Quest 2 to TVs, there are several other solutions that work well for different setups. These alternatives can save money or use technology you might already have.
Using Third-Party Apps
Third-party apps offer flexible casting solutions when official methods don’t meet your needs. Screen mirroring apps like AirScreen can be downloaded on smart TVs or streaming devices to receive Quest content via your network.
For Android users, apps like Screen Cast and Web Cast create connections between your Quest, phone, and TV. This method works by:
- Casting from Quest to phone using the Meta Quest app
- Using the phone as a “bridge” to the TV
- Utilizing the phone’s screen sharing capabilities
Some apps support multiple protocols that work with various TV brands like Samsung, LG, and Sony. The best apps maintain video quality while minimizing lag between your movements and what appears on screen.
Casting Without Chromecast
Miracast technology offers a direct way to cast Quest to compatible TVs without additional hardware. Many Samsung TVs and other brands have built-in Miracast support, labeled as “Screen Mirroring” in settings.
To use this method:
- Cast from Quest to your phone first
- Open your phone’s screen mirroring function
- Select your TV from available devices
- Enjoy VR content on your TV
HDMI connections provide another reliable alternative. You can connect your laptop to the TV with an HDMI cable after casting to the laptop via the Oculus app or website. This wired approach often delivers better quality than wireless methods.
Some smart TVs also allow direct casting through the Meta Quest mobile app if they’re on the same WiFi network as your headset.
Advanced Casting Features
The Quest offers powerful options beyond basic casting that can elevate your VR viewing experience. These features allow for higher quality displays and more flexible connectivity between your headset and larger screens.
Utilizing Oculus Link for Enhanced Experience
Oculus Link transforms your Quest into a PC VR headset, offering superior casting quality to TVs. To use this feature, connect your Quest to a VR-ready PC using a high-quality USB cable. The official Link cable works best, but compatible third-party alternatives exist at lower prices.
Once connected, the PC becomes the middleman for casting. The process offers these advantages:
- Higher resolution output than standard wireless casting
- Reduced latency for more responsive viewing
- Access to PC VR games while casting
If experiencing connection issues, try these troubleshooting steps:
- Update both Quest and PC Oculus software
- Check USB port compatibility (USB 3.0 recommended)
- Verify the cable isn’t damaged
- Restart both devices if the Quest is not connecting to PC
Wireless Casting with Air Link
Air Link provides the benefits of Oculus Link without physical cables. This feature uses your Wi-Fi network to connect the Quest to a PC wirelessly. From there, casting to a TV becomes simple through the PC’s HDMI output.
To activate Air Link, both the headset and PC must be on the same network. A 5GHz Wi-Fi connection delivers the best performance. For optimal results, position the router close to both devices.
Performance depends heavily on network conditions. Some users report a 1-3 second delay between movement and what appears on screen. This lag is less noticeable with Air Link than standard casting methods.
Air Link supports customization options for balancing visual quality against performance. Users can adjust bitrate and refresh rate settings to find their ideal balance.
Sharing Your VR Experience
When you’re having fun in VR, you might want others to see what you’re experiencing. Sharing your Quest gameplay lets friends and family join in on the fun without needing to wear a headset themselves.
Live Streaming VR to Social Platforms
Live streaming your Meta Quest 2 gameplay allows real-time sharing with audiences worldwide. To begin streaming, you’ll need to connect your headset to platforms like YouTube or Facebook.
First, ensure your Quest and streaming device are on the same Wi-Fi network. Open the Oculus app on your phone, select your headset, and tap the “Cast” button. You can then select which platform you want to stream to.
For YouTube streaming, link your YouTube account through the Meta Quest settings. The process requires:
- Setting up a streaming account
- Configuring privacy settings
- Adjusting video quality (higher quality needs better internet)
Remember that live streaming VR games requires a stable internet connection with good upload speed. Some VR games may have restrictions on streaming due to copyright policies.
Recording and Uploading VR Gameplay
Recording your VR adventures lets you edit and share highlights later. The Meta Quest 2 has built-in recording capabilities that make capturing gameplay simple and straightforward.
To record gameplay:
- Press the Oculus button to access the menu
- Select the recording icon
- Press again to stop recording
The recorded videos save directly to your headset’s storage and can be accessed through the TV icon in your library. From there, you can share the recordings to your computer or phone for editing.
For better quality recordings, consider adjusting the recording settings in your headset. Higher resolution recordings take more storage space but look better when uploaded.
Popular VR games like Beat Saber and VRChat have vibrant communities that enjoy watching gameplay videos. Uploading edited highlights to platforms like YouTube can help build an audience interested in Virtual Reality content.
Frequently Asked Questions
Casting your Oculus Quest to a TV enhances the VR experience by letting others see what the player sees. These common questions address different methods and requirements for sharing VR content on larger screens.
What are the steps to cast Oculus Quest to a television using the native casting feature?
To cast using the Quest’s native feature, first ensure both the Quest headset and TV are connected to the same Wi-Fi network.
Press the Meta button on your controller to open the universal menu. Select Share and then Cast.
Choose your TV or Chromecast device from the displayed list of available devices. Once connected, the TV will display what the Quest user sees in the headset.
Is it possible to view Oculus Quest content on a TV without using a Chromecast device?
Viewing Quest content without Chromecast is possible but limited. Some smart TVs with built-in casting capabilities may work directly with the Quest system.
Another option is connecting a computer to the TV via HDMI and then casting the Quest to the computer first. This method requires additional setup steps and may introduce some lag.
Many users find that purchasing a Chromecast device (around $30) is the simplest solution for reliable casting.
What is the process for mirroring Oculus Quest 2 visuals to a Samsung TV?
For Samsung TVs with Chromecast capabilities or built-in casting features, open the universal menu on the Quest by pressing the Meta button. Select Share, then Cast.
The Samsung TV should appear in the list of available devices if it’s on the same Wi-Fi network. Select the TV and wait for the connection to establish.
For Samsung TVs without built-in casting support, connecting a Chromecast device to an HDMI port provides the necessary functionality.
Can content from the Oculus Quest be streamed to a television set directly from a smartphone?
Yes, the Quest can stream to a TV through a smartphone using the Meta app. First, ensure the Quest, smartphone, and TV (or Chromecast) are on the same Wi-Fi network.
Open the Meta app and tap the Cast icon in the top right corner. Select your Quest headset, then choose your TV or Chromecast as the casting destination.
This method is convenient when someone wants to initiate casting without interrupting the person using the headset.
How do I cast my Oculus Quest gameplay to a TV for group viewing?
For group viewing sessions, position the TV where everyone can see it comfortably. Make sure the Quest headset and TV are connected to the same Wi-Fi network.
Either use the headset method (pressing the Meta button, selecting Share, then Cast) or the smartphone method through the Meta app.
For optimal performance, minimize the distance between the Quest, the router, and the TV/Chromecast device to reduce potential lag or connection issues.
What methods are available for projecting Oculus Quest experiences onto a PC monitor?
The primary method for projecting to a PC monitor is using the Oculus casting website. On the Quest headset, go to Share and select Cast.
Choose “Computer” from the device list. On the PC, navigate to oculus.com/casting and log in with the same account as the Quest headset.
Alternatively, users can connect via the Meta PC application or use third-party streaming software for more advanced features and potentially better performance.