Creating memorable creature art requires more than just a pencil and imagination. Whether you’re developing characters for a game, illustrations for a book, or concept art for a film, bringing your creatures to life involves several important steps. The key to fleshing out compelling creature art lies in balancing creative exploration with thoughtful design principles that consider form, function, and storytelling.
The journey from loose sketch to finished creature design is a rewarding process that anyone can master with practice. By trying different angles and variations, you’ll develop a deeper understanding of your creature’s unique characteristics. Start with basic silhouettes and form lines before adding details that make your creation truly unique.
Digital tools like Photoshop can help take your creature designs to the next level. Using layers to create initial form lines and experimenting with different silhouettes gives you a solid foundation before adding textures, colors, and other finishing touches that bring your creation to life.
How to Flesh Out Your Creature Art: A Step-by-Step Guide
Creating compelling creature art goes beyond sketching a basic form—it’s about adding personality, depth, and realism to bring your creature to life. Here’s a detailed guide to help you flesh out your creature art effectively.
1. Start with a Loose Sketch
- Begin with rough shapes and forms to establish the creature’s silhouette and pose.
- Focus on the overall anatomy and proportions without worrying about details yet.
- Experiment with different body structures by combining features from various animals or mythical beings.
2. Define Anatomy and Structure
- Refine your sketch by adding muscle groups, bone structure, and joints.
- Consider how your creature moves—does it walk on two legs, four, or slither?
- Study real animals or anatomy references to make the creature believable, even if it’s fantastical.
3. Add Unique Features and Details
- Incorporate distinctive traits like horns, scales, feathers, fur, or armor.
- Think about the creature’s environment and lifestyle—does it need camouflage, weapons, or protective features?
- Small whimsical details, such as branches growing as horns or leaves on its body, can hint at its nature or origin and add intrigue.
4. Develop Textures and Surface Details
- Use shading and line work to convey texture—rough skin, smooth scales, or soft fur.
- Add scars, markings, or patterns that tell a story about the creature’s life.
- Consider lighting and how it interacts with different surfaces.
5. Incorporate Personality and Expression
- Give your creature facial expressions or body language that reflect its temperament or intelligence.
- Add props, armor, or clothing if your creature is sentient, to show culture or personality.
- This step transforms a generic beast into a character with a story.
6. Experiment and Iterate
- Continuously sketch and explore variations to find the most compelling design.
- Don’t be afraid to mix and match features or change proportions.
- Use digital tools like Photoshop or Clip Studio Paint for easy adjustments and layering.
7. Finalize with Color and Lighting
- Choose a color palette that suits the creature’s habitat and mood.
- Add highlights and shadows to emphasize form and depth.
- Consider atmospheric effects like mist, glow, or reflections to enhance realism.
Key Takeaways
- Start with simple silhouettes and form lines before adding complex details to your creature designs.
- Explore multiple angles and variations to fully understand your creature’s unique characteristics.
- Balance creativity with practical design considerations like anatomy, habitat, and the creature’s role in your story.
Understanding Creature Design Fundamentals
Creating believable creatures requires a solid foundation in both anatomy and imagination. Good creature design balances creativity with biological plausibility to produce compelling characters that feel like they could exist.
Exploring the Concept Art Process
The concept art process for creatures begins with research and reference gathering. You should study real animals to understand how biology works before inventing your own. Start with quick thumbnail sketches focusing on silhouettes—these help you explore multiple ideas rapidly.
Try creating 10-15 rough ideas before selecting the strongest options to refine. This initial exploration of form lines helps establish the creature’s basic shape and proportions.
Use these questions to guide your development:
- What environment does your creature inhabit?
- How does it move and feed?
- What are its defensive mechanisms?
Your sketches should evolve from simple shapes to more detailed drawings that show your creature from multiple angles.
Defining Character Design and Its Importance
Character design in creature creation goes beyond physical appearance to establish personality and purpose. Your creature’s features should tell a story about its life and behaviors.
Consider these key elements:
- Form follows function – physical traits should match the creature’s lifestyle
- Visual storytelling – design choices should communicate character
- Distinctiveness – memorable creatures have unique silhouettes
Acclaimed creature designer Terryl Whitlatch emphasizes that successful designs balance creativity with biological plausibility. Your creature should seem like it could actually survive in its intended environment.
When developing your character design, think about how different features create emotional responses. Sharp angles often read as dangerous while rounded shapes appear friendly or harmless.
Creating Your Creature’s Concept
Developing a strong conceptual foundation for your creature is essential for creating memorable fantasy beings. This process involves generating unique ideas, establishing character traits, and thoughtfully integrating fantasy elements.
Generating Ideas for Unique Creatures
Start by considering your creature’s story and its environment. What habitat does it live in? How does it interact with its surroundings? These questions help ground your fantasy creature in a believable context.
Try these idea generation techniques:
- Hybrid combinations: Mix two or more animals like the chimera (lion, goat, and snake) or create your own combinations
- Shape exploration: Begin with random shapes and develop them into creatures
- Cultural inspiration: Research mythology like the Japanese nue or European unicorn traditions
- Environmental adaptation: Design creatures based on specific environments (underwater, volcanic, aerial)
Keep a sketchbook of ideas that you can revisit. Quick thumbnail sketches can capture concepts before they slip away.
Characterizing Your Creature
Give your creature depth by developing its personality and behaviors. Is your demon calculating and patient, or impulsive and destructive? Perhaps your pixie is curious but shy around humans.
Consider these character aspects:
- Motivations: What drives your creature? Hunger, protection, curiosity?
- Intelligence level: Is it sentient, instinct-driven, or somewhere between?
- Social behavior: Does it live in groups or prefer solitude?
Designing monsters and creatures requires thinking about how they move and behave. Create a brief backstory that explains unusual features or behaviors.
Your creature’s personality should influence its design. A peaceful unicorn might have flowing lines and graceful proportions, while a vicious demon could feature sharp angles and aggressive postures.
Incorporating Fantasy Elements
Balance fantasy with believability to create convincing creatures. Even the most fantastical beings need some logic to their design.
Think about these fantasy aspects:
- Magical abilities: What special powers does your creature possess? How are these represented visually?
- Rule-breaking features: What biology rules can you bend? Wings on mammals or bioluminescence in land creatures?
- Symbolic elements: Use visual symbols that reinforce your creature’s nature (horns for power, multiple eyes for wisdom)
When creating strong creature designs, consider how fantasy elements serve a purpose. A pixie’s wings might be butterfly-like for beauty or dragonfly-like for speed.
Don’t just add fantasy elements for visual interest. Ask yourself why your chimera has three heads or why your unicorn’s horn spirals in a particular direction.
Digital Tools and Techniques
Digital software offers powerful capabilities to bring your creature designs to life with detail and dimension. The right tools and approaches can transform a basic sketch into a fully realized creation.
Choosing the Right Software
Photoshop remains an industry standard for creature design, offering extensive brush options and powerful transformation tools. Its flexibility allows you to create initial form lines and silhouettes that guide your overall design.
Alternative options include Clip Studio Paint, which excels in linework and texturing, or Procreate for iPad users seeking mobility without sacrificing power. Consider your workflow needs when selecting software.
When evaluating options, prioritize these features:
- Brush customization for unique textures
- Layer management for non-destructive editing
- Transform tools for proportion adjustments
- Color correction for mood establishment
Your budget and hardware capabilities should also factor into your decision. Many professionals use multiple programs at different stages of creature development.
Mastering Layers and Rendering
Effective layering is crucial for developing complex creatures. Start with a background layer for your initial sketch, then add separate layers for anatomy, skin texture, coloration, and lighting effects.
Use layer masks instead of erasing to preserve your original work. This non-destructive approach allows you to revisit and refine earlier decisions as your creature evolves.
For rendering, build depth gradually:
- Block in base colors on a layer beneath your linework
- Add a separate layer for shadows, set to multiply blend mode
- Create highlight layers using screen or overlay modes
- Develop texture details on dedicated layers
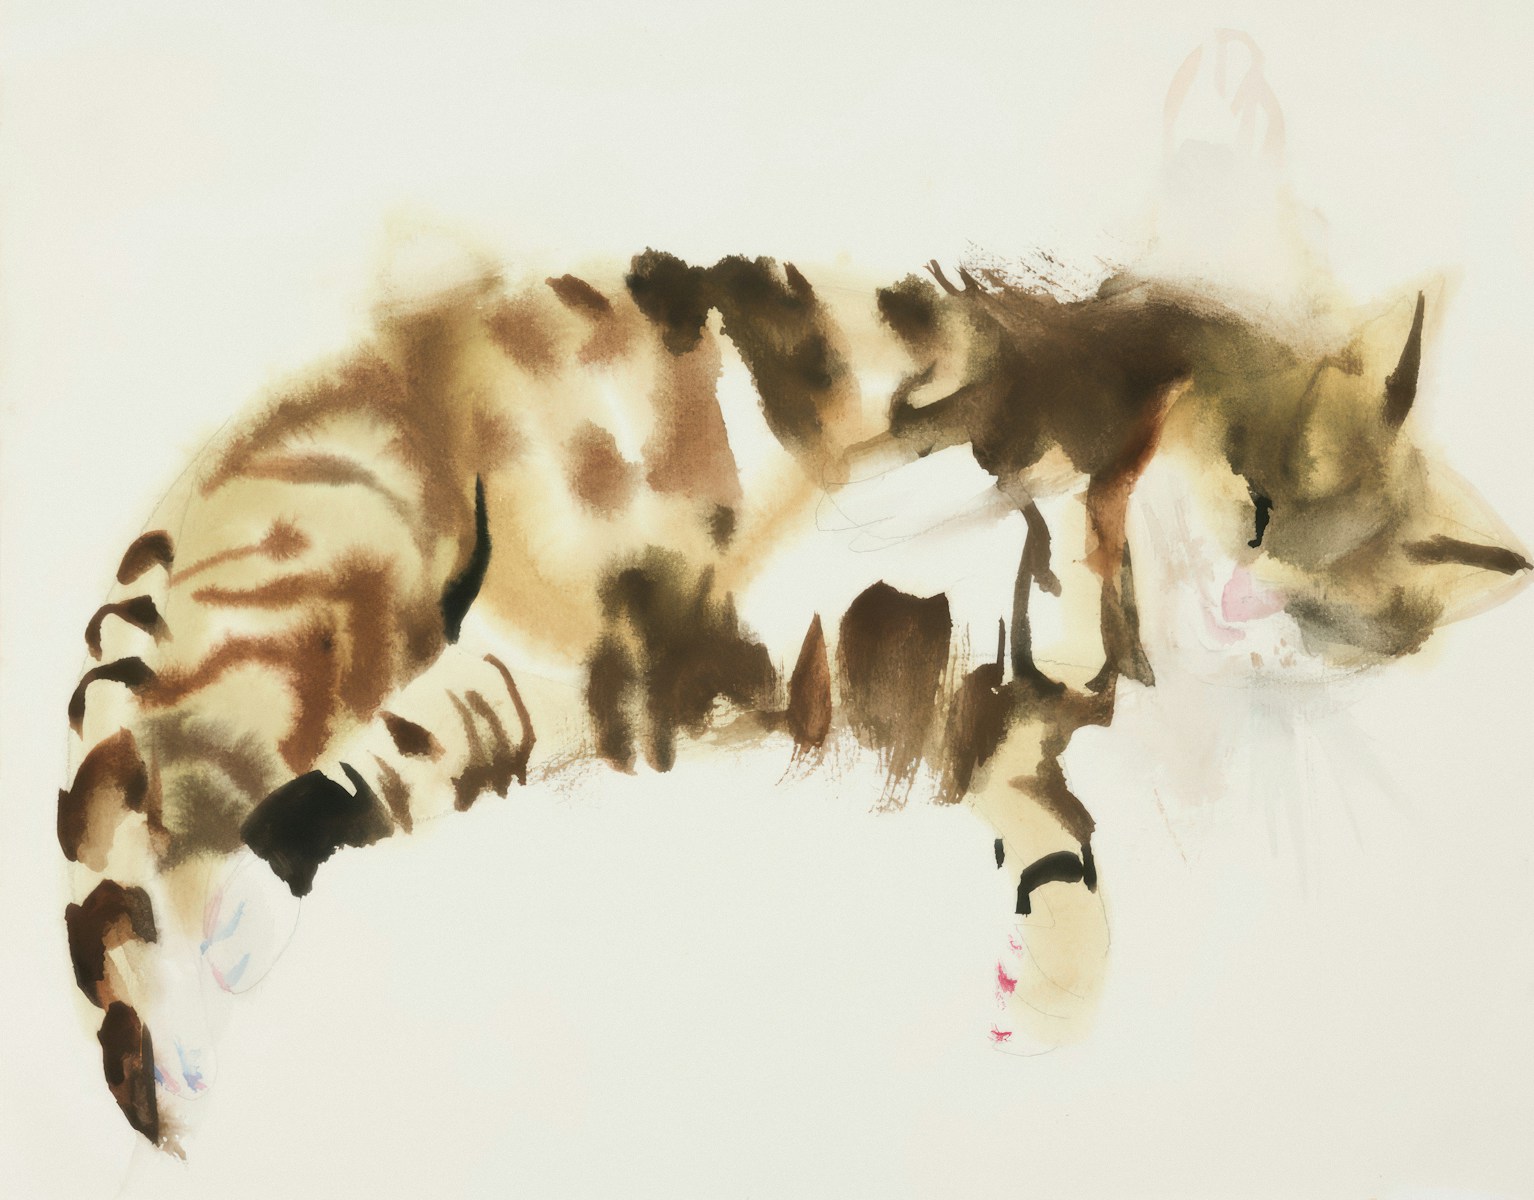
Try exploring different angles and variations of your creature to gain a deeper understanding of its characteristics. This helps maintain consistency in your final artwork.
Adjust opacity levels when working between layers to achieve subtle blending effects. This technique is particularly effective when creating translucent or organic elements in your creature designs.
Bringing Your Creature to Life
After establishing the basic form of your creature, it’s time to add details that make it feel real and dimensional. The right balance of anatomical elements and color choices will transform your sketch into a believable being.
Detailing Anatomy and Form
Start by identifying your creature’s key anatomical features. Think about how muscles connect to bone structure, even if your creation is fantastical. Try different angles and variations to understand your creature’s unique characteristics better.
Consider adding textures that make sense for your creature’s environment. Is its skin scaly, furry, or slimy? Does it have protective plates or specialized appendages?
Look at real animals for reference. Even the most imaginative creatures benefit from anatomical accuracy in key areas. Pay special attention to joints, facial features, and weight distribution.
Add initial form lines to establish volume before moving to detailed texturing. This helps maintain proportional balance throughout your design.
Establishing Contrast and Color
Color selection dramatically impacts how viewers perceive your creature. Choose a palette that reflects its habitat, behavior, and personality. Predators might have warning colors, while camouflaged creatures blend with their surroundings.
Create focal points through strategic contrast. The eye naturally moves to areas with the strongest value differences. Use this to highlight important features like:
- Eyes or sensory organs
- Unique appendages or weapons
- Distinctive markings or patterns
Add subtle value shifts to suggest three-dimensionality. Light areas appear to come forward, while darker areas recede. This technique helps your creature feel solid rather than flat.
Consider how light interacts with different surfaces. Scales reflect light differently than fur or skin. These final details often separate amateur designs from professional-quality creature art.
Preparing Creature Art for Different Media
Creature designs need specific adjustments depending on their final destination. Different media have unique technical requirements that affect how your artwork should be created and formatted.
Adapting Creature Art for Video Games
When creating creatures for video games, you need to consider technical limitations and gameplay functionality. Start by understanding the game engine‘s polygon count restrictions and texture resolution limits.
Design your creatures with animation in mind. Break down body parts into separate layers that can be rigged for movement. Consider:
- Silhouette readability – Can players instantly recognize your creature?
- Level of detail (LOD) systems – Create simpler versions for distant viewing
- Texture maps – Prepare normal, specular, and roughness maps
Your creature’s design should also communicate its function in gameplay. Enemy creatures need clear attack indicators, while friendly NPCs require recognizable interaction points. Test how your creature looks from various camera angles players will encounter.
Creature Art in Print and Marketing
Print media demands different considerations for your creature designs. Resolution becomes critical – prepare artwork at 300dpi minimum for print quality. Consider CMYK color profiles instead of RGB to avoid unexpected color shifts.
Scale matters tremendously in print. Your creature may appear on:
- Large posters and billboards
- Book covers and interior illustrations
- Merchandise like t-shirts or trading cards
For marketing materials, focus on creating memorable, distinctive features that work at various sizes. A creature might need a simplified version for small applications while maintaining its core identity.
Pay attention to composition when preparing marketing art. Position your creature to draw the viewer’s eye and leave appropriate space for text placement. Marketers often need “clean” versions without backgrounds and versions with dramatic environmental context.
Frequently Asked Questions
Artists face many challenges when creating detailed creature designs. These questions address common issues in developing memorable creature art, from technical skills to showcasing finished work.
What are effective techniques for adding detail to creature concept sketches?
Start with loose sketches of your creature and gradually refine them. Focus on one area at a time, adding texture and detail layers.
Consider the creature’s environment and how it shaped its physical features. This ecological approach makes your designs more believable.
Use reference images of real animals for inspiration. Combining features from different species can create unique textures while maintaining anatomical plausibility.
Which digital tools are recommended for creating detailed creature art?
Procreate offers intuitive brushes perfect for organic textures and is ideal for creature artists working on tablets.
ZBrush provides powerful 3D sculpting capabilities that let you create highly detailed creature models with realistic skin textures and anatomical features.
Adobe Photoshop with a drawing tablet remains an industry standard, offering extensive brush customization and layering options for complex creature illustrations.
Can you suggest exercises to improve anatomy understanding for creature design?
Study animal skeletons and muscle structures to understand how they function. This knowledge helps you create creatures with believable movement capabilities.
Practice drawing “inside-out” – sketch the skeleton first, then muscles, then skin. This builds understanding of how internal structures affect external appearance.
Create hybrid exercises where you combine anatomical features from different animals. This trains your brain to understand how various body systems might work together.
What are the best platforms to showcase creature artwork to a larger audience?
ArtStation caters to professional artists and industry recruiters, making it ideal for creature designers seeking career opportunities.
Instagram allows you to build a following through regular posting and strategic hashtags related to creature design and concept art.
Specialized Discord communities focused on creature design provide valuable feedback and connections with fellow artists working in similar fields.
How can artists overcome dissatisfaction with their creature illustrations?
Take breaks between creation sessions to view your work with fresh eyes. Sometimes distance provides new perspective on your creature designs.
Compare your work only to your previous pieces, not other artists. Track your improvement by reflecting on your favorite elements from past creations.
Create multiple iterations of the same creature. This reduces pressure on any single version and often leads to unexpected improvements.
What methods can help in making creature illustrations stand out in online galleries?
Develop a signature style that makes your creatures instantly recognizable. This might involve unique texturing methods or distinctive anatomical approaches.
Focus on storytelling elements in your illustrations. Creatures that hint at a larger world or narrative create curiosity and engagement.
Consider the emotional response your creature evokes. Fleshing out your character with personality traits visible in their design makes viewers connect more deeply with your creation.