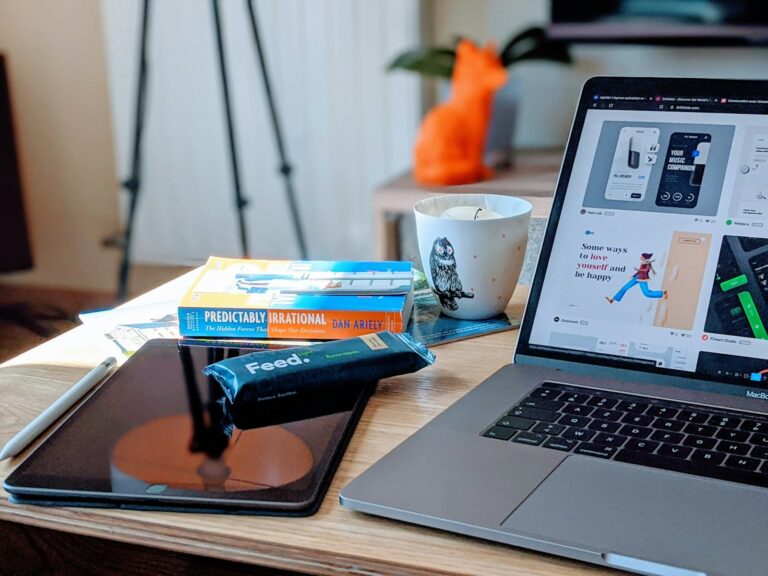
Recording yourself on a Mac is simple and can be done using built-in tools. QuickTime Player offers an easy way to capture video and audio on macOS without additional software. Users can select their preferred camera and microphone inputs before starting a new movie recording.
Mac owners have multiple options for self-recording. The Photo Booth app allows quick snapshots and short video clips. For more advanced needs, third-party apps provide extra features like screen recording and webcam overlay. These tools cater to various recording purposes, from video calls to content creation.
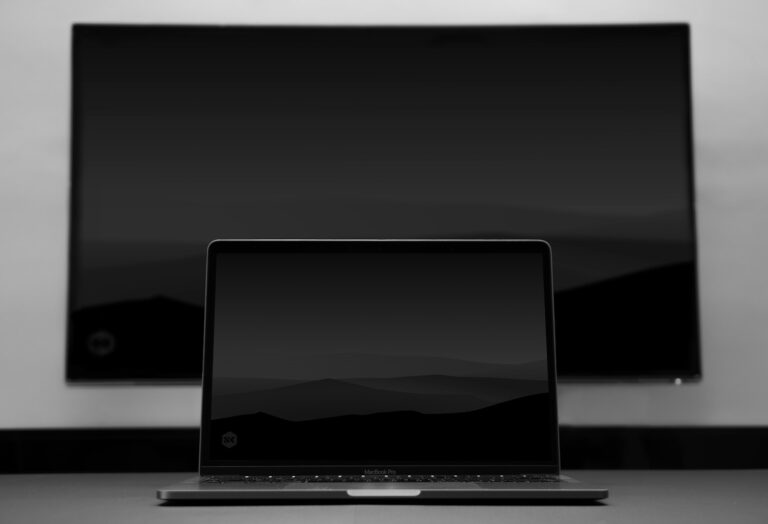
Proper preparation enhances recording quality. Good lighting, a clean background, and a reliable microphone improve the final result. Testing audio and video settings before important recordings helps avoid technical issues during capture.
Overview
macOS includes built-in tools that make screen recording simple — no extra software required. You can use QuickTime Player or the Screenshot Toolbar to capture your screen, webcam, and audio.
🎥 Option 1: Record with QuickTime Player
Step 1: Open QuickTime Player
- Go to Applications > QuickTime Player (or search “QuickTime Player” with Spotlight).
Step 2: Start a New Screen Recording
- Click File > New Screen Recording.
- The Screenshot Toolbar will appear at the bottom of the screen.
Step 3: Choose Recording Options
Click Options to customize:
- Save to: Choose where your recording will be saved.
- Microphone: Select your mic (e.g., “MacBook Microphone”) if you want to record your voice.
- Show Mouse Clicks: Turn this on if you want clicks highlighted in your video.
Step 4: Select Recording Area
- Click Record Entire Screen or Record Selected Portion, then drag to define the area.
Step 5: Start Recording
- Hit Record to begin.
- To include yourself on camera, open Photo Booth or another camera app and position it on screen before starting the recording.
Step 6: Stop and Save
- Click the Stop button in the menu bar (top right).
- Choose File > Save, name your file, and pick a location.
(Source: Apple Support)
🔊 Option 2: Record Screen and Audio Together
By default, QuickTime only records external audio (like your voice).
If you want system audio (e.g., app sounds or music), you’ll need an additional tool like BlackHole or Loopback to route internal audio into QuickTime.
A guide on this setup is available here: AppGeeker – QuickTime with Audio.
⚡ Option 3: Use the Screenshot Toolbar (macOS Mojave and Later)
Step 1: Open the Toolbar
Press Shift + Command + 5.
Step 2: Choose Recording Type
You’ll see options to:
- Record the entire screen
- Record a selected portion
Step 3: Adjust Options
Click Options to select:
- Save location
- Microphone input
- Timer and other settings
Step 4: Start and Stop Recording
- Click Record to start.
- When done, click the Stop button in the menu bar.
Your recording automatically appears as a thumbnail in the corner — click it to trim or save.
(Source: SimplyMac)
💡 Tips for Better Screencasts
- Use good lighting if recording yourself via webcam.
- Test your audio before starting.
- Close unnecessary apps to avoid distractions.
- Trim the recording in QuickTime by choosing Edit > Trim.
✅ Summary
| Task | Tool | Shortcut / Menu |
|---|---|---|
| Record screen | QuickTime / Screenshot Toolbar | Shift + Command + 5 |
| Record voice | QuickTime (select mic) | Options → Microphone |
| Record webcam | Photo Booth + Screen Record | Open Photo Booth before recording |
| Record internal audio | QuickTime + BlackHole | Setup audio routing |
Key Takeaways
- QuickTime Player provides a free, built-in option for Mac video recording
- Multiple recording tools cater to different user needs and skill levels
- Proper setup and testing ensure higher quality recordings
Preparing to Record Yourself on a Mac
Recording yourself on a Mac requires some preparation. Consider the environment and choose the right tool for your needs.
Choosing the Right Recording Environment
Select a quiet space with good lighting. Natural light from windows works well, but avoid backlighting. Minimize background noise by turning off fans or closing windows. A plain wall or tidy background looks best on camera. Position yourself at eye level with the camera for a flattering angle. Test your setup before recording to ensure everything looks and sounds good.
Selecting the Appropriate Recording Tool
Macs offer several built-in options for recording yourself. QuickTime Player is versatile and easy to use. It allows recording video and audio from the built-in camera and microphone. Photo Booth is simple for quick recordings or photos. iMovie provides more advanced editing features. For system audio capture, use QuickTime Player or third-party apps. Choose based on your needs – QuickTime for basic recordings, iMovie for editing, or Photo Booth for simplicity.
Recording with Built-In MacBook Tools
MacBooks come equipped with powerful built-in tools for video recording. These applications offer easy-to-use interfaces and versatile features for capturing high-quality videos.
Using QuickTime Player for Video Recording
QuickTime Player is a versatile application for recording videos on Mac. To start, open QuickTime Player from the Applications folder. Click “File” in the menu bar, then select “New Movie Recording.” A window will appear showing your webcam feed.
Click the down arrow next to the record button to choose your camera and microphone. Select the desired quality settings. When ready, click the red record button to start filming. Click it again to stop.
QuickTime Player allows users to trim recordings and export videos in various formats. It’s ideal for creating quick tutorials or recording short clips.
Capturing Video with Photo Booth
Photo Booth is another pre-installed Mac application for video recording. Launch Photo Booth from the Applications folder. Click the video camera icon at the bottom left to switch to video mode.
Photo Booth offers fun filters and effects to enhance recordings. Apply these by clicking the Effects button. To start recording, click the red record button. The app will count down before beginning.
Videos recorded in Photo Booth are automatically saved to the Photos library. Users can easily share these recordings via email or social media directly from the app.
Creating Video Messages in iMovie
iMovie, Apple’s video editing software, also allows for video recording. Open iMovie and create a new project. Click the camera icon above the timeline to access the recording feature.
Set up your shot using the preview window. Adjust lighting and positioning as needed. Click the red record button to start filming. iMovie offers basic editing tools to enhance your recording.
This method is great for creating polished video messages or incorporating webcam footage into larger projects. Users can add text overlays, transitions, and background music to their recordings.
Advanced Recording Features
Mac users can access sophisticated tools to enhance their recording capabilities. These features enable the creation of professional-quality videos for various purposes.
Screen Recording for Tutorials and Presentations
QuickTime Player offers built-in screen recording functionality. Users can capture their entire screen or select a specific area. This feature proves invaluable for creating tutorial videos or presentations.
To start a screen recording:
- Open QuickTime Player
- Click File > New Screen Recording
- Choose the desired recording area
For more control, third-party apps like AppGeeker Screen Recorder provide additional options. These include scheduled recordings, cursor effects, and picture-in-picture mode.
Screen recording tools often allow users to highlight mouse clicks or add annotations. These features help viewers follow along more easily in instructional videos.
Integrating System Audio with Soundflower
Capturing system audio enhances the quality of Mac recordings. Soundflower, a free third-party tool, enables this functionality.
Installation steps:
- Download Soundflower from the official website
- Install and restart the Mac
- Set Soundflower as the output device in System Preferences
Once installed, select Soundflower as the audio input in the recording software. This setup allows for the capture of both system sounds and microphone input simultaneously.
Soundflower proves particularly useful when recording app demonstrations or gameplay videos. It ensures viewers hear exactly what the presenter hears during the recording.
Using External Tools for Enhanced Control
Advanced users may opt for external tools to gain more control over their recordings. Hardware options include:
- External microphones for improved audio quality
- Capture cards for recording from other devices
- Lighting equipment for better video appearance
Software solutions offer additional features:
| Tool | Key Features |
|---|---|
| OBS Studio | Multi-source recording, live streaming |
| ScreenFlow | Advanced editing, motion graphics |
| Camtasia | Interactive quizzes, cursor effects |
These tools provide granular control over recording settings. Users can adjust frame rates, bitrates, and audio levels for optimal output quality.
Continuity Camera allows iPhones to serve as webcams for Macs. This feature enhances video quality without requiring additional hardware purchases.
Post-Recording Process
After capturing your video on Mac, refining and enhancing the footage is crucial. The post-recording phase involves editing your recordings and optimizing quality for a polished final product.
Editing Your Video Recordings
Mac offers several built-in and third-party options for video editing. iMovie, included with macOS, provides basic editing features. Users can trim clips, add transitions, and include text overlays. For more advanced editing, Final Cut Pro X offers professional-grade tools.
Key editing steps:
- Import footage into editing software
- Trim unwanted sections
- Add transitions between clips
- Insert titles or captions
- Adjust audio levels
- Apply color correction if needed
Some editors allow adding background music or voiceovers. This can enhance the overall quality of the video.
Improving Recording Quality
Enhancing video quality starts with proper setup during recording. Adjusting webcam settings can significantly impact the final result.
Tips for better quality:
• Ensure good lighting – natural light works best
• Use a high-quality external microphone for clear audio
• Position yourself correctly in frame
• Check camera focus before recording
Post-recording improvements:
- Adjust brightness and contrast in editing software
- Apply noise reduction to audio tracks
- Stabilize shaky footage with built-in tools
- Export in the highest quality format your computer can handle
Regular software updates for your Mac and recording applications can also lead to improved video quality. Testing different recording settings helps find the optimal configuration for your specific needs.
Frequently Asked Questions
Recording yourself on a Mac offers various options and methods. Here are answers to common questions about capturing video and audio on Mac devices.
How can I record a video of myself on my MacBook Pro?
Open QuickTime Player from the Applications folder. Click “File” and select “New Movie Recording.” Choose the desired camera and microphone from the dropdown menu next to the record button. Click the red record button to start capturing video.
What steps are needed to screen record with audio on a Mac?
Press Shift + Command + 5 to open the screen recording toolbar. Select “Record Entire Screen” or “Record Selected Portion.” Click “Options” to choose the audio source. Hit “Record” to begin. Stop the recording by clicking the stop button in the menu bar.
Can I record audio while screen recording on a MacBook Air, and how?
Yes, audio can be recorded during screen capture on a MacBook Air. Use the built-in screen recording tool (Shift + Command + 5). Click “Options” and select the desired microphone under “Audio.” Start the recording to capture both screen content and audio.
What is the process to record myself presenting on my Mac?
Launch QuickTime Player and create a new screen recording. Select the internal microphone for audio. Begin the recording and open your presentation software. Position yourself in a corner of the screen using your webcam. Stop the recording when finished.
Is there a way to record myself talking on my Mac during a video recording?
Use QuickTime Player to create a new movie recording. Select the internal microphone or an external mic for audio input. Click the record button and begin talking. The video will capture both your image from the webcam and your voice.
How do I use Photo Booth or similar applications to record a video on my Mac?
Open Photo Booth from the Applications folder. Click the video camera icon to switch to video mode. Press the red record button to start capturing. Click the stop button when finished. The recorded video will appear in the application’s library.