Are you tired of seeing that frustrating “printer not connected” message when you urgently need to print something? You’re not alone. Many people struggle to get their printers to communicate with their computers, whether using wireless networks or direct connections. The most common reasons for printer connection problems include incorrect network settings, outdated drivers, or simple physical connection issues that can usually be fixed with basic troubleshooting steps.
Printer connection issues often seem complex, but they typically have straightforward solutions. Sometimes it’s as simple as restarting both your printer and computer to refresh the connection. Other times, you might need to check if your printer and PC are connected to the same wireless network or verify that your USB cables are functioning properly.
With a few targeted steps, you can diagnose and fix most printer connection problems without calling technical support. The solutions often involve basic checks, network adjustments, or reinstalling printer drivers – techniques we’ll explore in this guide to get your printer back online quickly.
Why Your Printer Won’t Connect
Printers can fail to connect to a computer for several reasons — from simple cable issues to driver errors or network conflicts. Common causes include:
- Loose or damaged cables
- Outdated or missing printer drivers
- Network (Wi-Fi) connection problems
- Printer spooler service errors in Windows
- Incorrect default printer settings
- Firmware or software bugs
🧩 Step 1: Check Basic Connections
✅ For USB Printers:
- Make sure the printer is powered on.
- Disconnect and reconnect the USB cable securely on both ends.
- Try a different USB port on your computer.
- If possible, test the cable with another device to rule out damage.
✅ For Wireless (Wi-Fi) Printers:
- Ensure your printer is connected to the same Wi-Fi network as your computer.
- Print a Network Configuration Page from your printer’s menu to confirm its IP address.
- Restart your router, printer, and computer.
- Reconnect the printer to Wi-Fi using the printer’s control panel.
✅ For Bluetooth Printers:
- Turn on Bluetooth on both devices.
- Remove the printer from your paired devices list and re-pair it.
- Make sure the printer is within range and not connected to another device.
(source: GuideBros – Printer Not Connecting)
🧠 Step 2: Run the Windows Printer Troubleshooter (Windows 10/11)
Windows has a built-in tool that automatically detects and fixes common printer issues.
Steps:
- Go to Settings → Devices → Printers & Scanners.
- Select your printer → Manage → Run the troubleshooter.
- Follow the on-screen instructions to apply fixes.
If the printer isn’t listed, click Add a printer or scanner and let Windows search for it.
(source: Microsoft Support)
🔧 Step 3: Reinstall or Update Printer Drivers
Outdated or corrupted drivers are one of the most common causes of connection issues.
Steps:
- Press Windows + X → Device Manager.
- Expand Printers or Print queues.
- Right-click your printer → Uninstall device.
- Disconnect the printer, then reconnect it — Windows will reinstall the driver automatically.
- Alternatively, visit the printer manufacturer’s website (e.g., HP, Canon, Epson, Brother) and download the latest driver for your model.
💡 Tip: Always use official drivers — third-party ones can cause compatibility problems.
🌐 Step 4: Add the Printer Manually (Network Printers)
If your printer isn’t automatically detected, you can manually add it.
Steps:
- Go to Settings → Bluetooth & Devices → Printers & Scanners → Add device.
- Wait a few seconds; if your printer doesn’t appear, select Add manually.
- Choose Add a printer using a TCP/IP address or hostname.
- Enter the printer’s IP address (found on the printer’s network page).
- Follow the prompts to complete setup.
(source: PCMag – What to Do if Windows Can’t Connect to Your Printer)
🧹 Step 5: Restart the Print Spooler Service (Windows Only)
The Print Spooler manages all print jobs. If it crashes, your printer won’t respond.
Steps:
- Press Windows + R, type
services.msc, and hit Enter. - Find Print Spooler → Right-click → Restart.
- If the issue persists, right-click again → Properties → set Startup Type to Automatic.
(source: GeeksforGeeks – Fix Printer Connectivity Issues in Windows)
🔄 Step 6: Check Firewall or Security Software
Firewalls or antivirus software can sometimes block printer connections — especially over Wi-Fi.
Steps:
- Temporarily disable your firewall or antivirus.
- Try connecting the printer again.
- If it works, add your printer software as an exception in your firewall settings.
🧰 Step 7: Update Printer Firmware
Some printers require firmware updates to maintain compatibility with new operating systems.
Steps:
- Visit your printer manufacturer’s support page.
- Search for your model → Download and install the latest firmware update.
- Follow the manufacturer’s instructions carefully.
(source: Wintips.org – Fix Printer Not Working on Windows 10/11)
🖥️ Step 8: Try Connecting to Another Computer
If your printer still won’t connect:
- Connect it to another computer or laptop.
- If it works there, the issue is likely with your computer’s software or drivers.
- If it doesn’t, the printer may have a hardware or network issue.
🧩 Step 9: Reset the Printer to Factory Settings
As a last resort, reset your printer to its default configuration.
- Check your printer’s manual for reset instructions (usually under Settings → Restore Defaults).
- Reconnect it to your Wi-Fi or computer afterward.
✅ Summary of Fixes
| Issue | Solution |
|---|---|
| USB not detected | Try another cable/port |
| Printer offline | Restart printer and router |
| Wi-Fi printer missing | Reconnect to same network |
| Driver issues | Reinstall or update drivers |
| Spooler errors | Restart Print Spooler service |
| Firewall blocking | Add printer as an exception |
| Firmware outdated | Update via manufacturer’s site |
🏁 Final Thoughts
If your printer still isn’t connecting after trying all these steps:
- Contact your printer manufacturer’s support for model-specific help.
- For Windows users, consult Microsoft’s official troubleshooting guide: Fix Printer Connection and Printing Problems in Windows.
- For Mac users, go to System Settings → Printers & Scanners → Reset Printing System and re-add your printer.
In summary:
A printer not connecting to your computer is usually caused by driver issues, network errors, or spooler failures. By following these step-by-step troubleshooting methods — from checking connections to reinstalling drivers — you can quickly restore your printer to working order.
Key Takeaways
- Check physical connections and restart both devices before attempting more complex solutions.
- Ensure your printer and computer are connected to the same network and have compatible settings.
- Update or reinstall printer drivers when connection problems persist despite basic troubleshooting.
Preliminary Checks and Basic Troubleshooting
Before diving into complex fixes, it’s important to check the simple things first. Most printer connection issues can be resolved through basic troubleshooting steps that focus on physical connections, power status, and compatibility.
Inspect Hardware Connections
Start by examining all connections between your printer and computer. If using a USB cable, make sure it’s firmly plugged into both devices. Try disconnecting and reconnecting the USB cable to ensure a proper connection.
For network printers, check that the Ethernet cable is securely connected to both the printer and router. If using Wi-Fi, verify that your printer is connected to the same network as your computer. You can confirm this through your printer’s control panel settings.
Try using a different USB port on your computer or a different cable if available. Damaged or faulty cables are common culprits in connection problems. For wireless printers, try positioning the printer closer to your router to improve signal strength.
Verify Printer Power and Status
Ensure your printer is powered on and not in sleep mode. Look for power indicator lights on the front panel. Most printers have status lights that show if they’re ready, busy, or experiencing errors.
Restart your printer completely by turning it off, unplugging it from the power source, waiting 30 seconds, then plugging it back in and turning it on. This simple step often resolves temporary glitches.
Check for error messages or warning lights on your printer’s display panel. Paper jams, empty ink cartridges, or other hardware issues can prevent connectivity. Clear any error conditions before attempting to reconnect.
Make sure your printer is not showing an “Offline” status in your computer’s printer settings.
Check Computer and Printer Compatibility
Verify that your printer is compatible with your operating system. Most modern printers work with Windows 10/11 and macOS, but older printers might not have updated drivers for newer systems.
Check if your printer drivers are up-to-date by visiting the manufacturer’s website or using your computer’s device manager. Outdated drivers are a common cause of connection problems.
Try connecting your printer to a different computer if possible. This helps determine if the issue is with your computer or the printer itself. If the printer works with another device, your computer may have software conflicts or corrupted settings.
For network printers, make sure your computer’s firewall settings aren’t blocking printer communication. Temporarily disabling the firewall can help test if it’s causing connectivity issues.
Computer and Printer Network Settings
Network configuration issues are often at the heart of printer connection problems. When your printer won’t connect to your computer, checking these settings can quickly identify and resolve the underlying issue.
Assessing Network Configuration
Start by confirming that both your computer and printer are connected to the same network. This might seem obvious, but it’s a common oversight. If you’re using Wi-Fi, check that your printer hasn’t connected to a neighbor’s network or a guest network instead of your main one.
Restart your computer, printer, and router to clear any error states that might be preventing proper communication. This simple step resolves many connection issues instantly.
For wireless printers, verify the signal strength. Position your printer closer to the router if possible. Physical barriers like walls and large metal objects can interfere with Wi-Fi signals.
Check if your printer appears in your network devices list. On Windows, go to Settings > Network & Internet > View network computers and devices.
Updating Network Settings
Outdated network drivers often cause connection failures. Update your printer drivers through the manufacturer’s website rather than relying on Windows automatic updates.
For shared printers, check the security settings on the host computer. You may need to add “Everyone” to the security permissions and grant proper access rights.
If you’ve recently changed your network password, you’ll need to update it on your printer too. Most printers have a network settings menu where you can enter the new credentials.
Consider temporarily disabling your firewall to test if it’s blocking printer communication. If this resolves the issue, rather than leaving it off, add an exception for your printer in the firewall settings.
Confirming IP Address Allocation
Printers need proper IP addresses to communicate on your network. Check if your printer has a valid IP address through its control panel or by printing a network configuration page.
Most home networks use DHCP to automatically assign IP addresses. Verify that your router’s DHCP service is enabled. Sometimes, manually setting a static IP address for your printer can solve connection problems.
To check if IP address conflicts exist, try pinging your printer from your computer:
- Open Command Prompt
- Type
ping [printer's IP address] - Press Enter
If you receive replies, your computer can reach the printer on the network. No response indicates a network configuration issue.
For older printers, check if they support your current network protocol. Newer networks using IPv6 might cause issues with printers that only support IPv4.
Software and Drivers
When your printer won’t connect to your computer, the root cause often lies in outdated or corrupted software components. Software issues are among the most common reasons for printer connection problems.
Printer Driver Issues
Printer drivers act as translators between your computer and printer. When these drivers are missing or corrupted, your printer might show as “driver unavailable” or fail to connect properly.
To fix driver problems, try these steps:
- Uninstall existing printer drivers – Go to Settings > Apps > Apps and Features to find and remove any existing printer software
- Restart your computer to clear any remaining driver information
- Download fresh drivers directly from the manufacturer’s website rather than using Windows automatic driver installation
- Run the driver installer as administrator to ensure proper permissions
If your printer still won’t connect, check Device Manager by right-clicking the Start button and selecting “Device Manager.” Look for yellow warning symbols next to any printer devices, which indicate driver problems.
Update Windows and Printer Firmware
Outdated operating systems and printer firmware can cause connection failures. Windows updates often include critical printer compatibility improvements.
To update Windows:
- Go to Settings > Update & Security
- Click “Check for updates”
- Install any available updates
- Restart your computer after updates complete
For printer firmware updates:
- Visit your printer manufacturer’s website
- Look for the support or downloads section
- Enter your exact printer model
- Download and install any available firmware updates
Many modern printers have update utilities built into their control panels. Check your printer’s menu for a “Check for Updates” or “Firmware” option. Some printers can update firmware directly when connected to the internet.
Reconfiguring Security Software
Your security software can sometimes block printer connections, mistaking them for unauthorized network access. Firewalls and antivirus programs may need adjustment to allow printer communication.
To check if security software is causing issues:
- Temporarily disable your firewall and try connecting your printer again (remember to turn it back on afterward!)
- If this works, you need to add an exception for your printer in your firewall settings
For Windows Defender Firewall:
- Go to Control Panel > System and Security > Windows Defender Firewall
- Select “Allow an app or feature through Windows Defender Firewall”
- Find your printer software in the list and check both private and public networks
- Click OK to save changes
Third-party security software will have similar options. Look for settings related to application permissions, network access, or device connections. Some printer connection issues can be resolved by ensuring your printer and computer are on the same network segment.
Advanced Printer Configuration
When standard connection methods fail, advanced printer setup options can resolve connectivity issues. These approaches give you more control over how your printer interfaces with your computer and network.
Adding Printer Through Control Panel
Windows Control Panel provides more detailed printer setup options than basic wizards. To access this, go to Start > Control Panel > Devices and Printers. Click on Add a printer and select The printer that I want isn’t listed to see advanced options.
You can add a printer using its IP address by selecting Add a printer using a TCP/IP address or hostname. This bypasses usual discovery methods and creates a direct connection to your printer.
For older printers, you might need to select Add a local printer or network printer with manual settings and then choose the appropriate port and driver. Windows may prompt you to install drivers from the printer manufacturer’s website.
If your printer appears but shows as offline, right-click it and select See what’s printing. From the Printer menu, uncheck Use Printer Offline if it’s selected.
Modifying Wireless Router Settings
Router settings can significantly impact printer connectivity. Log into your router’s admin panel by typing its IP address (often 192.168.0.1 or 192.168.1.1) in your browser.
Check if MAC filtering is enabled. If so, add your printer’s MAC address to the allowed devices list. You can find this address in your printer’s network settings menu or printed on a network configuration page.
Ensure your router’s firmware is updated to the latest version. Outdated firmware can cause compatibility issues with newer printer models.
Consider assigning a static IP address to your printer through DHCP reservation. This prevents connectivity problems caused by changing IP addresses. Navigate to the DHCP settings in your router and assign a permanent IP to your printer’s MAC address.
Some routers have separate networks for 2.4GHz and 5GHz. Many printers only connect to 2.4GHz networks, so ensure this band is enabled.
Setting Up Printer for Wi-Fi Connectivity
Most modern printers have a dedicated Wi-Fi setup option in their control panel menu. Access this through Settings or Network options on your printer’s display.
Run your printer’s wireless setup wizard, which will scan for available networks. Select your network name (SSID) and enter the password when prompted. Some printers support WPS (Wi-Fi Protected Setup) for easier connection—press the WPS button on your router, then activate WPS on your printer within 2 minutes.
For direct Wi-Fi connection without a router, enable Wi-Fi Direct on your printer. This creates a printer-generated network you can connect to from your computer.
If your printer offers it, download the manufacturer’s mobile app. Many printer apps like HP Smart can diagnose and fix connection problems automatically and guide you through the setup process.
For persistent issues, try resetting your printer’s network settings to factory defaults. This clears any configuration errors that might be preventing proper connection.
Windows 10 Specific Procedures
Windows 10 offers dedicated tools to resolve printer connection issues quickly. These built-in utilities can save you time and frustration when your printer refuses to cooperate with your computer.
Utilizing Windows 10 Troubleshooters
Windows 10 includes powerful troubleshooting tools specifically designed to fix printer problems. To access the printer troubleshooter, click the Start button, then select Settings. Type “troubleshoot” in the search box and select Troubleshoot settings.
Under “Find and fix other problems,” look for Printer and click Run the troubleshooter. This automated tool will scan your system for common printer issues, such as:
- Driver problems
- Print spooler errors
- Connection interruptions
- Port configuration issues
Follow the on-screen instructions as the troubleshooter attempts to identify and fix the problem. The tool often resolves issues without requiring additional input from you.
If the printer is not recognized by Windows, you may need to restart both your printer and computer. Turn your printer off, wait 30 seconds, then turn it back on.
Windows Network Troubleshooting
For network printers, Windows 10 offers specific solutions to address connectivity problems. First, ensure your printer is properly connected to the same network as your computer.
Check your network settings by going to Start > Settings > Network & Internet. Verify that both your computer and printer are connected to the same Wi-Fi network or ethernet connection.
If Windows cannot connect to your printer, try these steps:
- Open Control Panel > Devices and Printers
- Right-click on your printer (if visible) and select Remove device
- Click Add a printer to reinstall it
- Let Windows search automatically or choose “The printer that I want isn’t listed”
For persistent issues, restart your print spooler service. Press Win+R, type “services.msc” and locate the “Print Spooler” service. Right-click on it and select Restart.
Professional Assistance and Support Options
Sometimes printer connection issues go beyond simple troubleshooting. When you’ve tried basic fixes and still can’t get your printer working, professional help might be your best option.
Using Manufacturer’s Help Resources
Most printer manufacturers offer comprehensive support options for their customers. If you have a Canon printer, their official website provides detailed troubleshooting guides specific to your model. These resources often include video tutorials and step-by-step instructions.
Manufacturer support websites typically offer driver downloads and firmware updates that might resolve your connection issues. Many companies now provide live chat support where technicians can guide you through complex problems in real time.
Phone support remains valuable for difficult problems. Be ready with your printer model number and a description of the issue before calling. Some manufacturers offer remote desktop assistance where technicians can connect to your computer to diagnose and fix problems directly.
Seeking Third-Party Support Services
Services like JustAnswer connect you with certified technicians who can provide personalized troubleshooting for your specific printer issue. These experts often have experience with various models and connection problems.
Local computer repair shops can offer hands-on assistance with printer connectivity issues. Many shops provide both in-store diagnostics and house calls for more convenient service.
When selecting a third-party service, look for:
- Technicians certified in your printer brand
- Clear pricing structures
- Positive customer reviews
- Guarantees on their work
Online forums and communities can also provide free advice from other users who’ve experienced similar problems. These communities often have dedicated sections for printer troubleshooting with helpful users willing to assist.
Frequently Asked Questions
Printer connection problems can be frustrating but most issues have straightforward solutions. Here are answers to common questions about printer connectivity problems.
How can I troubleshoot a printer not connecting via USB?
First, try a simple restart of both your computer and printer. This often resolves temporary communication issues.
Check your USB cable for any visible damage and try a different cable if possible. Sometimes cables can fail internally without showing external damage.
Ensure you’re using the correct USB port on your computer. Some printers work better when connected directly to the computer rather than through a USB hub.
Try installing the latest printer drivers from the manufacturer’s website instead of relying on Windows to find the correct drivers automatically.
What steps can be taken if a printer is not connecting wirelessly to a computer?
Make sure your printer and computer are connected to the same Wi-Fi network. If you have a dual-band router, check whether your devices are on different bands (2.4GHz vs 5GHz).
Verify that your printer’s wireless function is turned on and properly configured. Many printers have a wireless indicator light to show connection status.
Try restarting your router and printer. Power cycling these devices can clear temporary network issues that prevent proper communication.
Consider temporarily disabling your computer’s firewall to test if it’s blocking printer communication, then adjust settings accordingly.
How do I resolve a printer connectivity issue on Windows 10?
Run the Windows troubleshooter by going to Settings > Devices > Printers & scanners, selecting your printer, and clicking “Run the troubleshooter.”
Check if your printer appears offline in Windows. Right-click the printer and select “See what’s printing,” then from the Printer menu, uncheck “Use Printer Offline” if it’s selected.
Update or reinstall your printer drivers. Visit the manufacturer’s website to download the latest Windows 10 compatible drivers.
Try removing and re-adding your printer. Go to Settings > Devices > Printers & scanners, remove your current printer, then add it again.
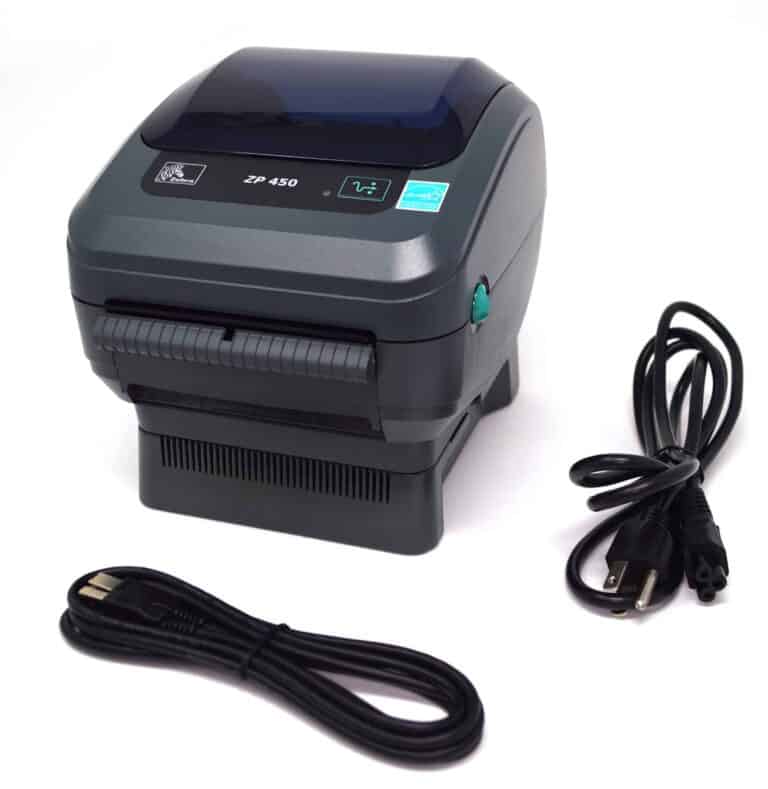
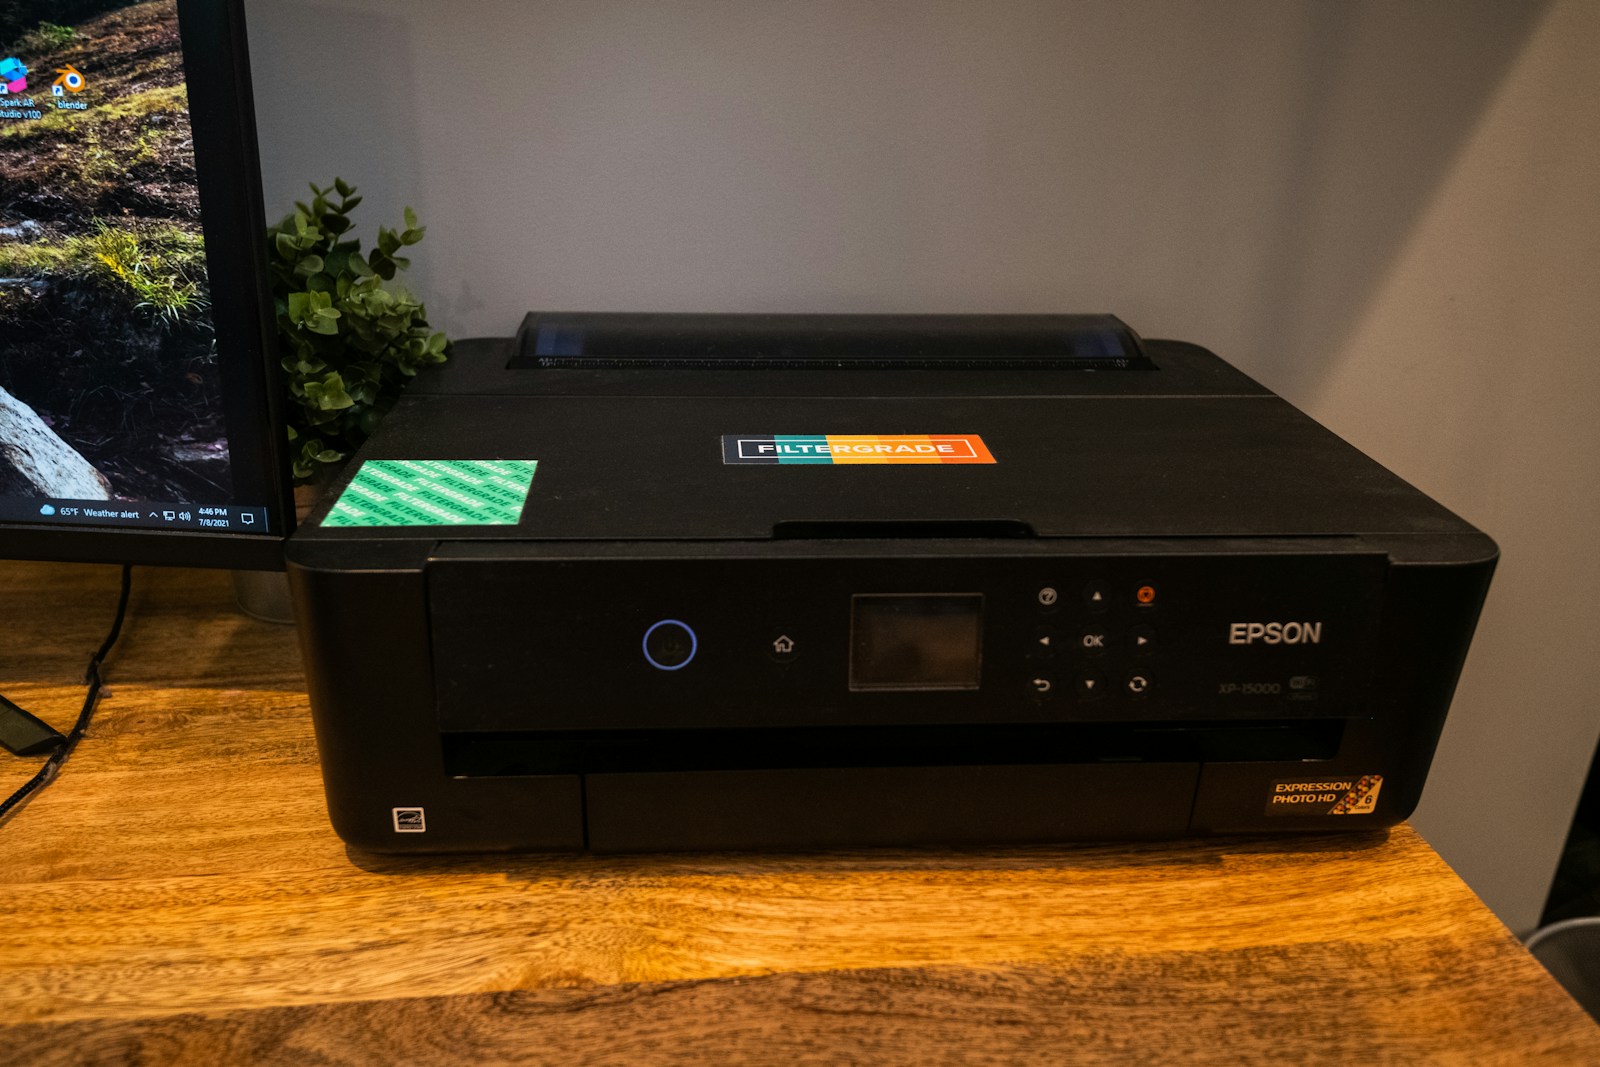
What are common solutions for an Epson printer failing to connect to a computer?
Download and install the latest Epson drivers and software from their official website instead of using the CD that came with the printer.
Check if your Epson printer needs a firmware update. Outdated firmware can cause connectivity issues with newer operating systems.
For wireless Epson printers, try the “Push Button Setup” (WPS) if your router supports it for a simpler connection process.
Reset your Epson printer’s network settings to factory defaults and reconfigure the connection. The process varies by model but is usually found in the printer’s setup menu.
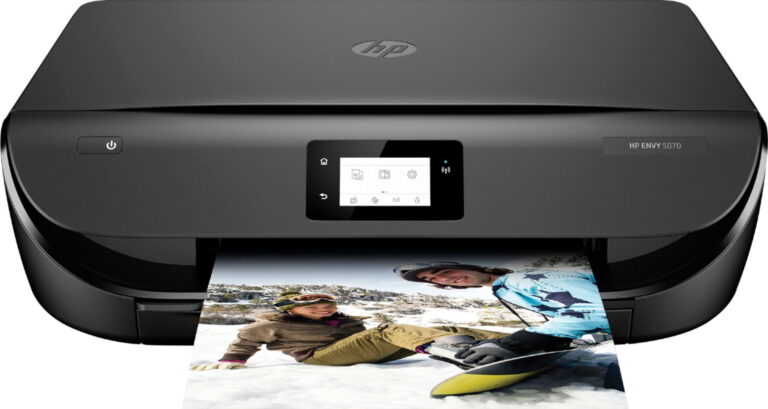
How can I fix a wireless connection problem with an HP printer?
Run the HP Print and Scan Doctor tool, which is designed to diagnose and fix common printer connection issues.
Check if your HP printer has a static IP address. Some network configurations work better when the printer has a fixed address rather than one assigned by DHCP.
For HP printers with touchscreens, print a Wireless Network Test report from the printer’s control panel to identify specific connection problems.
Try connecting your HP printer using the WPS method if your router supports it. This bypasses the need to enter network passwords manually.
What should be done when a printer is connected but not printing?
Check your print queue for stuck jobs. Sometimes clearing the queue can resolve issues where the printer appears connected but won’t print.
Verify that you have the correct printer selected as your default printer in Windows. You might be sending jobs to a different printer.
Check for low ink or toner, as some printers won’t attempt to print when supplies are depleted, even though they remain connected.
Ensure your printer isn’t in a special mode like cleaning cycle, maintenance mode, or paper size mismatch, which can prevent printing despite being connected.