The “You have no preferred wireless networks” error can frustrate Windows users trying to connect to Wi-Fi. This common issue often arises when a computer loses its saved network settings or encounters problems with network adapters. Resolving this error typically involves resetting network settings, updating drivers, or manually adding preferred networks.
Users can start troubleshooting by opening the Network and Sharing Center and running the Network Adapter Troubleshooter. If this doesn’t work, removing and re-creating the wireless network connection might help. This process involves accessing network properties, removing existing networks, and then reconnecting to the desired Wi-Fi network.
For persistent issues, users may need to reset their network settings completely. This can be done through the Windows Settings menu under the “Network & Internet” section. While this solution can be effective, it’s important to note that it will remove all saved network information, requiring users to reconnect to their Wi-Fi networks.
Understanding Wireless Network Preferences
What are Preferred Wireless Networks?
Your devices, like phones, tablets, and laptops, remember Wi-Fi networks you’ve connected to. This saved list contains the network’s name (SSID) and password. When you’re near a saved network, your device automatically tries to connect. These saved networks are your “preferred wireless networks.” Think of it as a shortcut for quick and easy Wi-Fi access.
Why the “No Preferred Networks” Message Appears
Seeing “You Have No Preferred Wireless Networks” isn’t an error. It simply means your device hasn’t saved any Wi-Fi networks yet. Here are common reasons:
- New Device: A brand-new device won’t have any saved networks.
- Reset Network Settings: Resetting network settings erases all saved Wi-Fi information.
- Manual Removal: You might have manually removed all saved networks.
What to Do
This message just gives information. Here’s how to build your preferred network list:
- Connect to Wi-Fi: The simplest way is to connect to the Wi-Fi networks you use.
- Open your device’s Wi-Fi settings.
- Pick the network you want.
- Type the password if needed.
- Manage Auto-Join: You can decide if your device automatically connects to saved networks.
- iOS (iPhone/iPad): Go to Settings > Wi-Fi, tap the “i” next to a network, and turn “Auto-Join” on or off.
- Android: The steps vary by device, but this option is usually in each saved network’s settings. Look for options like “Auto-connect” or similar.
Security and Prioritization
- Public Wi-Fi: Be careful with public Wi-Fi. It’s often not secure. A VPN can help protect your data.
- Network Order: Some devices let you choose which saved network to connect to first. This is useful if you have multiple Wi-Fi options.
Troubleshooting Tips
Sometimes, even with saved networks, your device might not connect automatically. Here are a few things to check:
- Wi-Fi is On: Make sure Wi-Fi is actually turned on in your device’s settings.
- Correct Password: Double-check you entered the Wi-Fi password correctly.
- Router Issues: Restart your Wi-Fi router. This often fixes temporary connection problems.
- Device Updates: Make sure your device’s software is up to date. Updates often include network improvements.
Comparison of Network Management Across Devices
| Feature | iOS (iPhone/iPad) | Android (General) |
|---|---|---|
| Accessing Wi-Fi Settings | Settings > Wi-Fi | Settings > Network & internet > Wi-Fi |
| Managing Auto-Join | Tap “i” next to network > Auto-Join | Varies by device, usually within individual network settings |
Key Takeaways
- The error often stems from lost network settings or adapter issues
- Troubleshooting steps include running diagnostics and recreating network connections
- Resetting network settings can resolve persistent problems but requires network reconnection
Understanding Network Preferences in Windows 10
Network preferences in Windows 10 allow users to manage and prioritize wireless connections. These settings control how devices connect to Wi-Fi networks and handle network adapters.
Exploring Network and Sharing Center
The Network and Sharing Center is a central hub for managing network connections in Windows 10. Users can access it by right-clicking the network icon in the taskbar and selecting “Open Network & Internet settings.”
Key features include:
- Viewing active networks
- Changing adapter settings
- Setting up new connections
- Troubleshooting network problems
The Network and Sharing Center provides a visual map of network connections, making it easy to identify and resolve issues quickly.
Network Adapter Fundamentals
Network adapters are hardware components that enable devices to connect to networks. Windows 10 supports various types of adapters, including Ethernet and Wi-Fi.
To view and manage network adapters:
- Open Device Manager
- Expand the “Network adapters” section
- Right-click an adapter for options
Users can update, disable, or uninstall adapters as needed. Properly functioning adapters are crucial for maintaining stable network connections.
Wi-Fi Adapter Driver Overview
Wi-Fi adapter drivers are software components that allow the operating system to communicate with wireless hardware. Keeping these drivers up-to-date is essential for optimal performance and security.
To check and update Wi-Fi adapter drivers:
- Open Device Manager
- Locate the Wi-Fi adapter
- Right-click and select “Update driver”
Windows 10 can automatically search for driver updates. Alternatively, users can download drivers from the manufacturer’s website for the latest features and fixes.
Outdated or corrupted drivers can cause connectivity issues. Regularly updating Wi-Fi adapter drivers helps prevent the “You have no preferred wireless networks” error.
Managing Wireless Networks
Effective wireless network management involves configuring settings and prioritizing connections. This ensures optimal performance and seamless connectivity for users.
Accessing Network Settings
To manage wireless networks, users need to access the network settings on their device. On Windows, press the Windows key + I to open Settings. Click on “Network & Internet” and select “Wi-Fi” from the left menu. Here, users can view available networks and manage existing connections.
For mobile devices, the process varies. On Android, go to Settings > Connections > Wi-Fi. On iOS, navigate to Settings > Wi-Fi. These menus allow users to toggle Wi-Fi on/off, connect to networks, and adjust advanced options.
Some routers offer web-based interfaces for network management. Users can access these by typing the router’s IP address into a web browser. Common addresses include 192.168.0.1 or 192.168.1.1.
Setting Priority for Wireless Networks
Windows allows users to set connection priorities. This feature is useful when multiple known networks are in range. To set priorities, go to Settings > Network & Internet > Wi-Fi > Manage known networks.
Click on a network and select “Properties.” Use the “Connect automatically” option to prioritize that network. Networks with this option enabled will be preferred over others.
For more control, users can adjust the order of preferred networks. In the same menu, click and drag networks to reorder them. The topmost network receives the highest priority.
Some devices offer additional priority settings. These may include options to prefer faster connections or networks with stronger signals. Check your device’s specific network settings for these features.
Troubleshooting Common Issues
Network connectivity problems can often be resolved through simple troubleshooting steps. Two key approaches to address “You have no preferred wireless networks” errors are resolving Wi-Fi connectivity issues and using the network reset feature.
Resolving Wi-Fi Connectivity Problems
Users can start by checking their Wi-Fi adapter. Right-click the network icon in the taskbar and select “Open Network & Internet settings”. Click on “Change adapter options” to view network connections. If the Wi-Fi adapter is disabled, right-click and enable it.
Updating network drivers can fix many issues. Open Device Manager, expand “Network adapters”, right-click the Wi-Fi adapter, and select “Update driver”. Choose “Search automatically for updated driver software”.
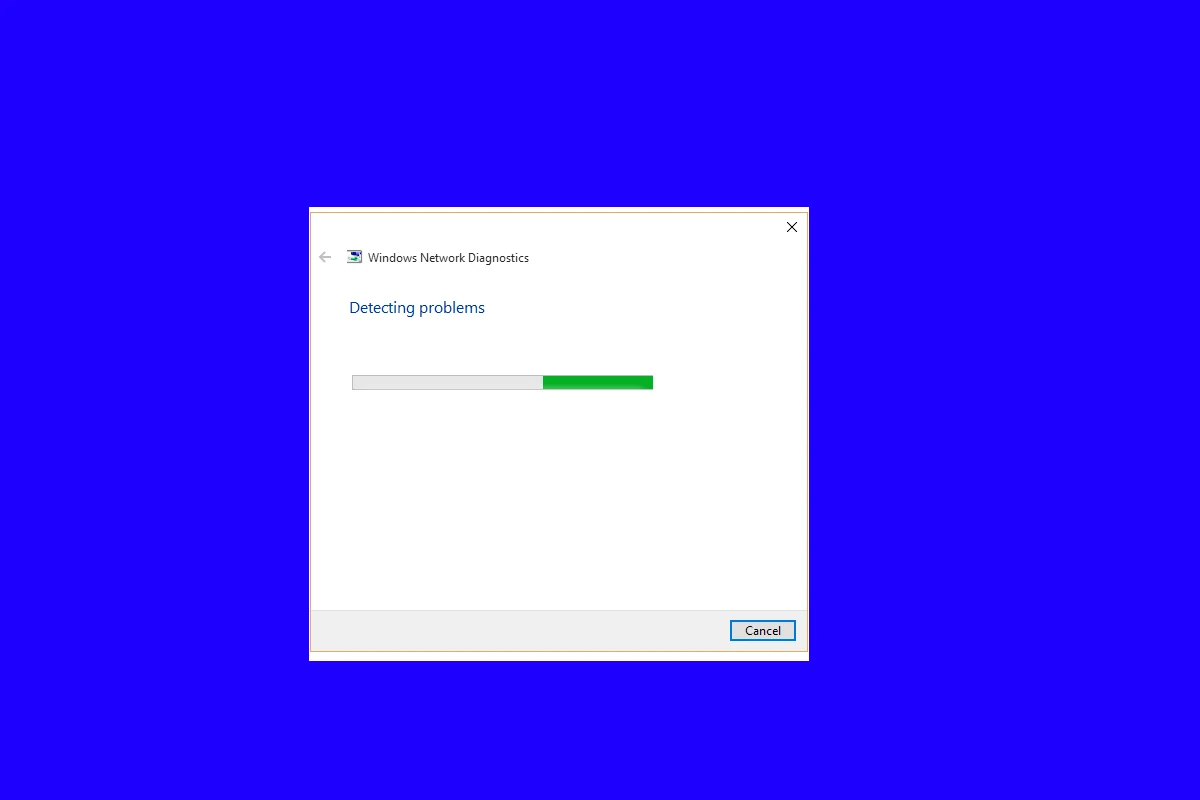
Running the Network Troubleshooter often solves common problems. Press Windows + I, click “System”, then “Troubleshoot”. Select “Additional troubleshooters”, then “Internet Connections” and follow the on-screen instructions.
If issues persist, try forgetting the network and reconnecting. Go to Settings > Network & Internet > Wi-Fi > Manage known networks. Select the problematic network and click “Forget”.
Utilizing the Network Reset Feature
Network Reset is a powerful tool for fixing persistent connectivity issues. It removes and reinstalls all network adapters and resets network settings to their defaults.
To use Network Reset:
- Open Settings
- Click “Network & Internet”
- Scroll down and select “Network reset”
- Click “Reset now”
This process will restart the computer. After rebooting, users may need to reinstall network software and reconnect to Wi-Fi networks.
Before using Network Reset, ensure all important network information is saved. This includes Wi-Fi passwords and VPN configurations, as they will be erased during the reset.
If problems continue after a network reset, check for Windows updates or consider contacting the device manufacturer for further assistance.
Frequently Asked Questions
Wireless network issues can be frustrating. Here are some common questions and solutions to help troubleshoot connection problems.
How can I resolve the ‘no preferred wireless networks’ issue on Windows 10?
Reset network settings to fix this problem. Go to Settings > Network & Internet > Status. Click “Network reset” and then “Reset now.” Restart your computer when prompted.
Another option is to remove and recreate the wireless network connection. Open Network Connections, right-click the wireless adapter, select Properties, and remove preferred networks.
What steps are needed to set up a preferred wireless network on Windows 10?
Click the network icon in the taskbar. Select your desired network and check “Connect automatically.” Enter the password if required. Windows will now prioritize this network.
To manually add a network, go to Settings > Network & Internet > Wi-Fi > Manage known networks. Click “Add a new network” and enter the details.
Why is my PC unable to detect any wireless networks?
Check if the Wi-Fi adapter is enabled. Press Windows key + X and select Device Manager. Expand “Network adapters” and ensure the wireless adapter is not disabled.
Verify that airplane mode is off. Open Settings > Network & Internet > Airplane mode and make sure it’s toggled off.
How do I troubleshoot issues with my wireless adapter or access point?
Run the built-in network troubleshooter. Go to Settings > Network & Internet > Status > Network troubleshooter.
Update or reinstall wireless adapter drivers. In Device Manager, right-click the adapter, choose “Update driver” or “Uninstall device” and restart.
What can cause an association status to fail during wireless network setup?
Incorrect password is a common cause. Double-check the network password and try reconnecting.
Incompatible security settings can also lead to failures. Ensure your device supports the network’s security protocol (e.g., WPA2, WPA3).
What methods are available to fix wireless connection problems on a computer?
Restart the router and modem. Unplug them for 30 seconds, then plug them back in and wait for full restart.
Forget the network and reconnect. Go to Settings > Network & Internet > Wi-Fi > Manage known networks. Select the network and click “Forget.”
Update Windows and network adapter drivers to ensure compatibility with the latest software and hardware.