Have you ever wondered why some songs sound better on certain devices? The secret often lies in a tool called an equalizer. An equalizer, or EQ for short, is a sound-shaping tool that lets you adjust different frequency bands within an audio signal. Equalization is the process of adjusting the volume of different frequency bands to improve sound quality or achieve a specific audio effect.
Think of an equalizer as a set of volume knobs for different parts of the sound spectrum. Bass sounds live in the lower frequencies, while treble occupies the higher end. When you see those sliding bars on your music app or stereo, you’re looking at an audio filter that isolates certain frequencies and allows you to boost or reduce them. This simple yet powerful tool helps you customize your listening experience to match your preferences or fix problematic audio.
What Is an Equalizer?
An equalizer (EQ) is a tool that adjusts the balance of different audio frequencies in a sound. It lets you boost or reduce specific frequency ranges so audio sounds clearer, richer, or better suited to your preferences or environment.
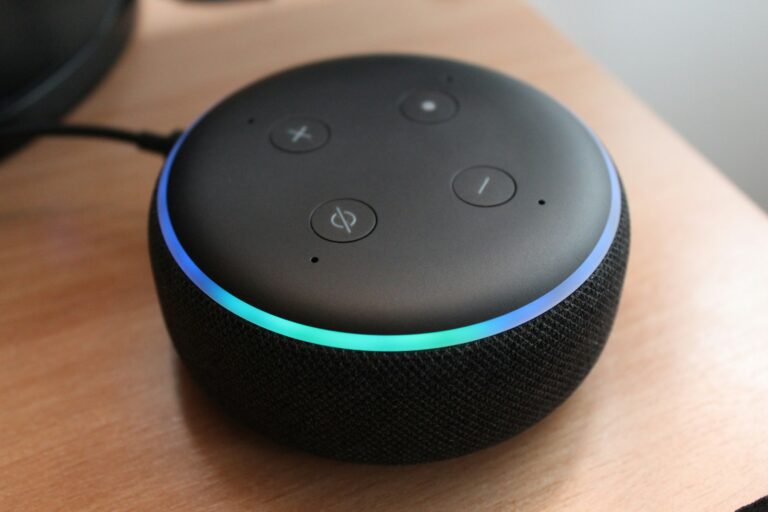
Equalizers are commonly found in music apps, smartphones, computers, car audio systems, headphones, TVs, and professional recording equipment.
How an Equalizer Works
Sound is made up of frequencies measured in Hertz (Hz):
- Low frequencies = bass
- Mid frequencies = vocals and instruments
- High frequencies = clarity and detail
An equalizer divides these frequencies into bands and lets you adjust each one independently. By raising or lowering a band, you change how prominent that part of the sound becomes.
Common Frequency Ranges Explained
| Frequency Range | What It Affects |
|---|---|
| 20–60 Hz | Sub‑bass (deep rumble, impact) |
| 60–250 Hz | Bass (warmth, fullness) |
| 250–500 Hz | Low mids (body of vocals/instruments) |
| 500–2 kHz | Mids (clarity, presence) |
| 2–6 kHz | Upper mids (speech intelligibility) |
| 6–20 kHz | Treble (brightness, detail) |
Types of Equalizers
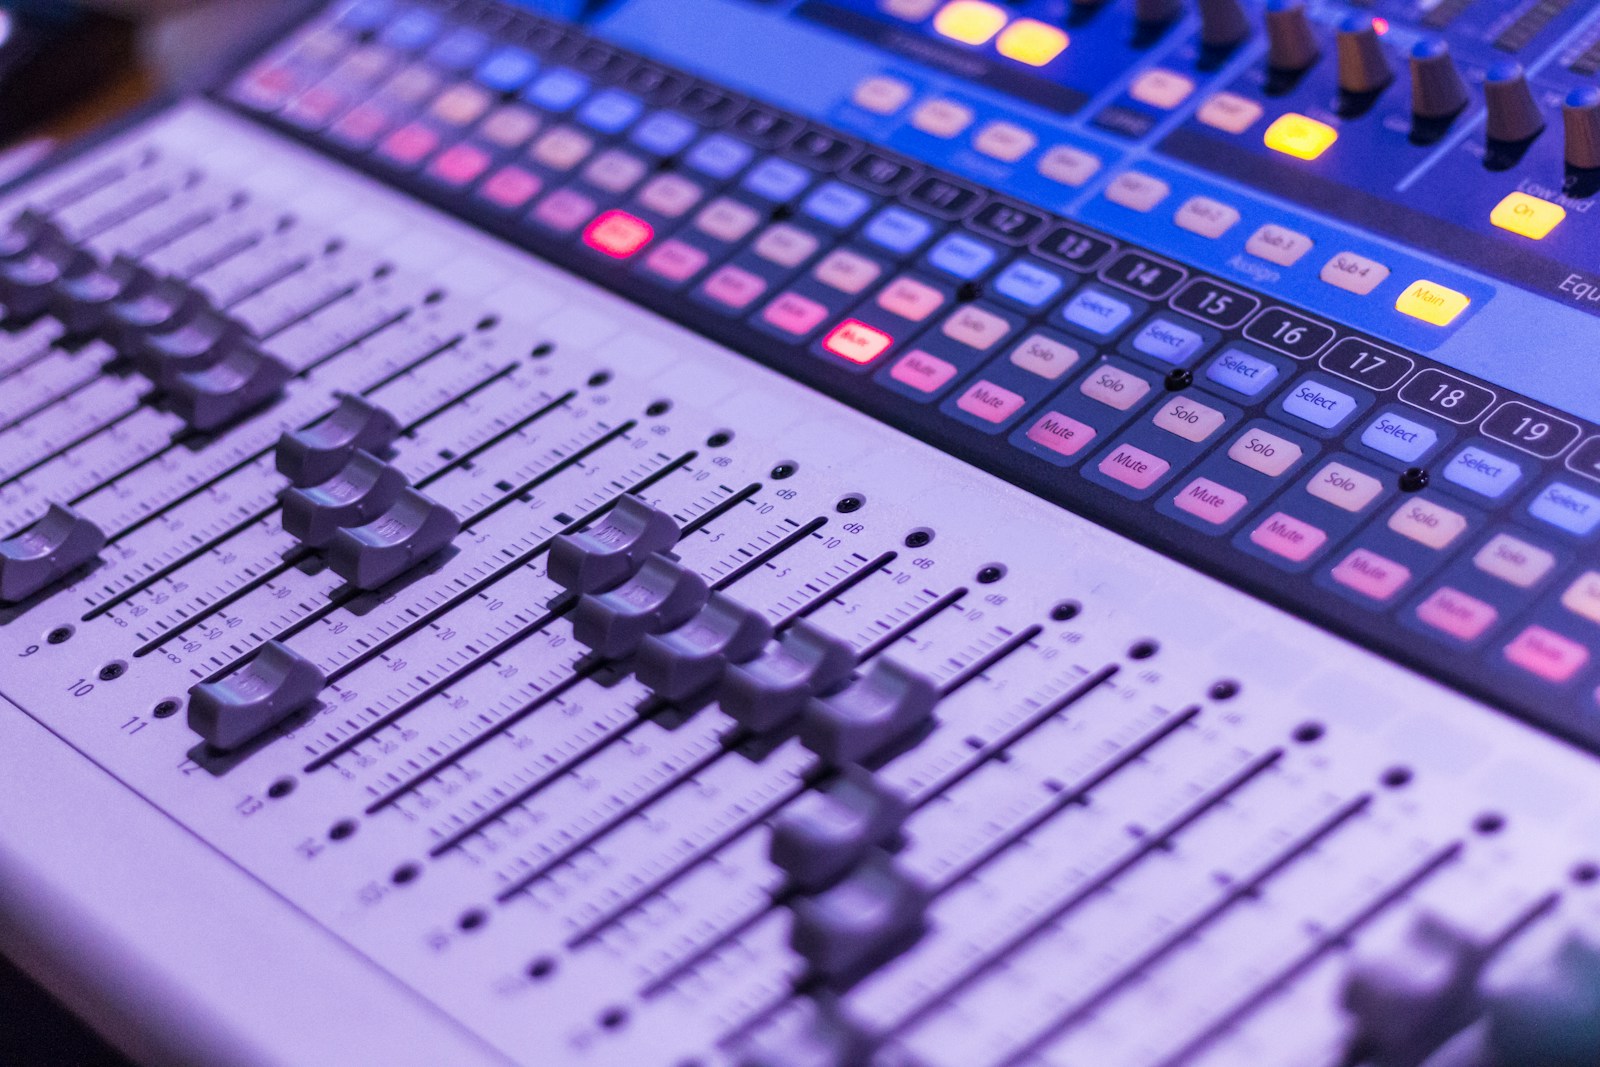
1. Graphic Equalizer
- Uses sliders for fixed frequency bands
- Common in consumer audio devices
- Easy to use but less precise
2. Parametric Equalizer
- Allows control over frequency, gain, and bandwidth
- Used in professional audio production
- Highly precise and flexible
3. Semi‑Parametric Equalizer
- Limited control compared to parametric EQ
- Often found in mixers and audio interfaces
4. Dynamic Equalizer
- Adjusts frequencies only when needed
- Combines EQ and compression
- Useful for vocals and live sound
Why Equalizers Are Used
- Improve sound quality
- Enhance bass or treble
- Make vocals clearer
- Compensate for poor speakers or headphones
- Adjust audio for room acoustics
- Reduce unwanted noise or harshness
EQ Presets Explained
Many devices offer presets like:
- Bass Boost – emphasizes low frequencies
- Treble Boost – enhances high frequencies
- Vocal – improves speech clarity
- Rock / Pop / Jazz – genre‑based tuning
- Flat – no frequency adjustment
Presets are convenient but may not suit every setup.
When to Use an Equalizer
✅ Listening to music
✅ Watching movies or TV
✅ Podcast or voice clarity
✅ Gaming (footsteps and effects)
✅ Music production and mixing
Common EQ Mistakes to Avoid
- Boosting too many frequencies at once
- Extreme adjustments that cause distortion
- Ignoring mid‑range frequencies
- Using the same EQ settings for all headphones or speakers
Simple EQ Tips for Beginners
- Start with a flat EQ
- Make small adjustments (±2–3 dB)
- Cut unwanted frequencies before boosting others
- Trust your ears, not just the visual sliders
Summary
An equalizer is a powerful tool that lets you shape sound by adjusting different frequency ranges. Whether you’re a casual listener or an audio professional, using EQ correctly can dramatically improve how your audio sounds.
Key Takeaways
- An equalizer divides audio into separate frequency bands that you can adjust independently to enhance sound quality.
- EQ settings can be customized for different music genres, listening environments, or to compensate for speaker limitations.
- Understanding basic EQ controls helps you achieve better audio balance and clarity in your everyday listening experience.
The Basics of Equalization
Equalization, or EQ, is a powerful tool that lets you shape the sound by adjusting specific frequencies. Understanding how it works and the different types available will help you create clearer, more balanced audio.
Definition and Function
Equalization is the process of adjusting the volume levels of specific frequencies within an audio signal. Think of it as a volume control for individual frequency ranges rather than the entire sound.
When you apply EQ, you’re essentially sculpting the tonal character of your audio. You can:
- Boost frequencies to enhance certain qualities
- Cut frequencies to reduce unwanted sounds
- Balance multiple tracks to prevent frequency masking
- Fix problems like muddiness or harshness
EQs work by dividing the audio spectrum (typically 20Hz to 20kHz) into different frequency bands. The low end (20-250Hz) controls bass, midrange (250Hz-4kHz) affects clarity and presence, while high frequencies (4kHz-20kHz) determine brightness and air.
Types of Equalizers
There are several types of EQs with different features and applications:
Graphic Equalizers provide fixed frequency bands with sliders that visually represent the EQ curve. They’re straightforward to use—just push sliders up to boost or down to cut frequencies. Most graphic EQs offer between 7-31 bands and are common in live sound environments.
Parametric Equalizers offer more precise control with three key parameters:
- Frequency selection (which frequency to adjust)
- Gain (how much to boost or cut)
- Q or bandwidth (how wide or narrow the affected range is)
These are typically preferred for studio work where detailed adjustments are needed. Other types include shelf EQs (boost/cut everything above or below a frequency) and notch filters (remove very specific problem frequencies).
Understanding Equalizer Parameters
When using an equalizer, you need to grasp several key parameters that control how sound is shaped. These controls give you precise command over the frequency spectrum and determine how dramatic or subtle your EQ adjustments will be.
Frequency Bands and Hertz (Hz)
Frequency is measured in Hertz (Hz), representing the number of sound waves per second. Lower numbers like 20-250 Hz control bass, while higher numbers like 2-20 kHz handle treble sounds.
Most equalizers divide the audio spectrum into multiple frequency bands. Basic EQs might have just three bands (bass, mid, treble), while more advanced parametric equalizers offer precise control over specific frequencies.
The human ear can typically hear frequencies between 20 Hz and 20 kHz (20,000 Hz). When adjusting your EQ, remember:
- Bass: 20-250 Hz (kick drums, bass guitar)
- Low-mids: 250-500 Hz (warmth, body)
- Mids: 500-2000 Hz (vocals, most instruments)
- High-mids: 2-4 kHz (presence, clarity)
- Highs: 4-20 kHz (air, brightness)
Amplitude: Boosts and Attenuation
Amplitude controls how much you increase (boost) or decrease (attenuate) a selected frequency range. This parameter is typically measured in decibels (dB).
When mixing, it’s often better to cut unwanted frequencies rather than boost desired ones. Audio engineers suggest using small adjustments of 1-3 dB when possible.
For problem frequencies, you might need deeper cuts. For example, you could attenuate around 200-300 Hz to reduce muddiness or cut at 4-5 kHz to tame harshness.
Boosting should be used thoughtfully. Adding 1-2 dB at 3 kHz can enhance vocal clarity, while a small boost around 80 Hz might add weight to a kick drum.
Q Factor and Bandwidth
The Q factor determines how wide or narrow your EQ adjustment will be. A higher Q value creates a narrower adjustment affecting fewer frequencies, while a lower Q creates broader changes.
Bandwidth is directly related to Q factor – it’s the range of frequencies affected by your EQ adjustment. With parametric EQs, you can precisely control the center frequency, gain, and bandwidth.
When to use different Q settings:
- Narrow Q (high values): Best for surgical corrections like removing specific resonances or feedback
- Medium Q: Good for shaping instrument tones
- Wide Q (low values): Better for gentle tonal adjustments across broader frequency ranges
Most mixing engineers use narrow Q settings for cuts and wider settings for boosts to create more natural-sounding results.
Operational Use of EQs
Equalizers serve as essential tools in audio processing, allowing you to shape sound according to specific technical requirements or creative goals. Understanding how to implement EQ effectively can dramatically improve your audio productions.
Mixer Integration
When working with a mixer, equalizers become part of a larger signal path. You’ll typically find EQ sections on each channel of a mixing console, allowing you to adjust frequencies before applying other effects. This positioning is strategic—it lets you clean up unwanted frequencies before they hit compressors or other dynamics processors.
Most mixers offer EQ controls directly on each channel strip. This integration streamlines your workflow, as you can quickly adjust EQ while monitoring levels, panning, and other parameters simultaneously.
For digital audio workstations (DAWs), EQ plugins can be inserted at various points in your signal chain. Consider whether you need to:
- Apply EQ before or after compression
- Use multiple EQ instances for different purposes
- Group tracks for bus EQ processing
Remember that the position of your equalizer in the signal chain affects how other processors respond to the audio.
Parametric vs Graphic EQs
Graphic equalizers provide visual slider representations of frequency bands. You’ll typically see 10-31 fixed frequency bands, each with its own slider for boosting or cutting. These are straightforward to use—simply push sliders up to boost frequencies or down to cut them. Many home stereos include simple graphic EQs with bass, mid, and treble controls.
In contrast, parametric equalizers offer more precise control with adjustable parameters:
- Frequency: Select the exact frequency to adjust
- Gain: Boost or cut the selected frequency
- Q/Bandwidth: Control how narrow or wide the affected frequency range is
Parametric EQs excel in surgical sound shaping, allowing you to target specific problem frequencies without affecting neighboring sounds. Many professional studios rely primarily on parametric EQs for their flexibility.
Semi-parametric EQs combine elements of both types, typically offering frequency and gain control with fixed bandwidth settings.
Equalizer Settings and Presets
Starting with EQ presets can help you learn common approaches to frequency treatment. Many equalizers include factory presets for instruments, voices, and common applications. These provide useful starting points but always require adjustment for your specific audio material.
When developing your own settings:
- Listen critically before making adjustments
- Make subtle changes (3dB or less is often enough)
- Use cuts more than boosts to maintain headroom
Your listening preferences will influence your EQ decisions. Some engineers prefer brighter mixes with enhanced high frequencies, while others favor warm, bass-rich sounds.
Creating a balanced mix often requires complementary EQ decisions across multiple tracks. For example, if you boost bass in a kick drum, you might need to cut competing low frequencies in bass guitar to prevent muddiness.
Remember to regularly bypass your EQ to compare the processed and unprocessed signals. This practice helps ensure your adjustments actually improve the sound.
Equalization Techniques
Equalization empowers you to shape sound by manipulating specific frequencies. These techniques help you solve common audio problems and enhance the overall quality of your mix.
Correcting Room Resonance and Feedback Issues
Room resonance creates unnatural boosts at certain frequencies, making your recordings sound hollow or boomy. To tackle this problem, use a parametric equalizer to identify problematic frequencies with a narrow boost, then apply a narrow cut at those same frequencies.
For live sound situations, feedback occurs when specific frequencies loop between microphones and speakers. You can prevent this by:
- Using a notch filter to target and reduce the exact feedback frequency
- Applying a high-pass filter on vocal microphones (around 100 Hz)
- Creating multiple narrow cuts rather than one wide cut to preserve sound quality
Quick tip: Record a room tone sample and analyze its frequency spectrum to find resonant frequencies before mixing.
Enhancing Musical Timbre and Tone
Every instrument has a unique tonal signature or timbre that can be enhanced through equalization. For vocals, a gentle boost around 3-5 kHz increases clarity while a slight lift at 10-12 kHz adds “air” and presence.
For guitars, consider these frequency ranges:
- 80-120 Hz: Adds warmth and body
- 2-4 kHz: Enhances pick attack and definition
- 6-8 kHz: Increases brightness without harshness
Drums benefit from targeted EQ adjustments too. Boost kick drums around 60-80 Hz for thump and 4-5 kHz for beater click. Snares typically need enhancement around 200 Hz for body and 5-8 kHz for snap.
Remember that subtle changes often work best. Small boosts of 2-3 dB can make a significant difference without making your mix sound processed or unnatural.
Managing Low-Frequency Noise and Rumble
Unwanted low-frequency noise can muddy your recordings and consume headroom in your mix. High-pass filters (also called low-cut filters) are your primary tool for addressing this issue.
Apply high-pass filters to most tracks in your mix:
- Vocals: 80-100 Hz
- Acoustic guitars: 80-100 Hz
- Electric guitars: 80-120 Hz
- Overhead drum mics: 150-200 Hz
For particularly problematic rumble from air conditioning, traffic or handling noise, you might need a steeper filter slope (24 dB/octave or greater) to effectively eliminate these sounds.
When working with bass-heavy instruments, use a shelving filter instead of a high-pass to retain some warmth while reducing excessive low-end buildup. This preserves the instrument’s fundamental tones while preventing mix congestion.
Advanced Concepts in Equalization
Once you’ve mastered the basics of EQ, exploring advanced techniques can transform your sound processing capabilities. These tools and concepts give you much more precise control over your audio.
Digital Signal Processing (DSP)
Digital Signal Processing forms the backbone of modern equalization tools. DSP algorithms allow your EQ to manipulate audio in ways that were impossible with analog equipment.
Most modern equalizers use complex mathematical algorithms to modify frequency components within milliseconds. These processes happen at the sample level, which means they can be incredibly precise.
When you use a digital EQ, you’re actually applying mathematical transformations to the audio samples. This enables features like:
- Zero-latency processing
- Visual feedback of frequency curves
- Precise automation of parameters
- Ability to save and recall presets
DSP technology also enables advanced EQ techniques like dynamic EQ and linear phase processing that respond intelligently to your audio.
Shelving and Filter Types
Understanding different filter types gives you powerful tools for shaping your sound with surgical precision.
High-pass and low-pass filters (also called HPF and LPF) are essential for cleaning up your mix. A high-pass filter removes frequencies below your chosen cutoff point, while a low-pass filter does the opposite, removing higher frequencies.
The roll-off (measured in dB per octave) determines how aggressively these filters work. Common settings include:
| Filter Slope | Roll-off Rate | Character |
|---|---|---|
| 6 dB/octave | Gentle | Natural |
| 12 dB/octave | Moderate | Musical |
| 24 dB/octave | Steep | Technical |
Shelf filters boost or cut all frequencies above or below a certain point. A low shelf filter affects bass frequencies, while a high shelf works on treble ranges.
Bandpass filters allow only a specific frequency range to pass through, combining both high-pass and low-pass functionality.
The Role of EQ in Sound Design
EQ is a crucial tool for creative sound design, allowing you to transform ordinary sounds into something extraordinary.
You can use equalization to shape the character of instruments or create entirely new sounds. By boosting certain frequencies while cutting others, you can emphasize specific characteristics of a sound.
For instance, boosting 2-5 kHz can make vocals cut through a mix, while a subtle boost around 100 Hz adds warmth to thin-sounding instruments.
Creative EQ techniques for sound design include:
- Extreme filtering to isolate specific elements
- Resonant peaks to create synthesizer-like effects
- Dramatic EQ automation for evolving soundscapes
- Mid-side EQ to manipulate the stereo field
When working with equalization in music production, think of EQ as both a corrective and creative tool. You can solve technical problems while simultaneously enhancing the emotional impact of your sound.
Practical Applications and Considerations
Equalizers offer powerful ways to shape sound for different environments and preferences. Understanding when and how to use EQ effectively can dramatically improve your listening experience and audio production results.
Volume Control vs Equalization
Many people confuse volume control with equalization, but they serve different purposes. Volume control adjusts the overall amplitude of an audio signal, making everything louder or quieter simultaneously. Equalization, on the other hand, lets you adjust specific frequency ranges independently.
When you increase bass using an equalizer, you’re not just making the entire track louder—you’re specifically boosting low frequencies while leaving mids and highs unchanged. This selective approach allows for more precise sound shaping than a simple volume knob.
Key differences:
- Volume control: Affects all frequencies equally
- Equalization: Targets specific frequency ranges
- Combined use: For best results, set proper EQ first, then adjust overall volume
Remember that excessive boosting of frequencies can lead to distortion. It’s often better to cut unwanted frequencies than to boost desired ones.
Achieving a Balanced Mix
Creating a balanced mix requires thoughtful application of equalization across different audio elements. Start by identifying frequency overlaps between instruments or voices that might cause muddiness or lack of clarity.
Common EQ strategies for better mixes:
- Cut before you boost – Reduce problematic frequencies before amplifying others
- Create space – Carve out different frequency areas for each element
- Focus on relationships – Think about how sounds interact, not just how they sound in isolation
When mixing vocals with instruments, try a slight cut around 200-300Hz in the instrumental tracks to create a “pocket” where voices can sit clearly. For drums and bass to coexist, consider a high-pass filter on bass around 40Hz and a low-pass filter on kick drums around 60Hz.
Use your ears rather than your eyes when equalizing. A technically “perfect” EQ curve might not sound as good as one that’s adjusted by careful listening.
Customizing EQ Settings for Listening Preferences
Your listening preferences are unique, and equalizers allow you to tailor audio to your specific tastes. Many music apps and devices offer preset EQ options labeled as “Rock,” “Jazz,” or “Classical,” but creating custom settings often yields better results.
Consider these factors when personalizing your EQ:
- Headphone/speaker characteristics – Compensate for equipment that might be bass-heavy or lacking treble
- Room acoustics – Adjust for echo, reflections, or dampening in your listening space
- Hearing sensitivity – Account for your personal hearing profile, especially if you have reduced sensitivity to certain frequencies
Start with small adjustments of 2-3dB rather than dramatic boosts or cuts. Make incremental changes and listen carefully between each modification.
Many modern equalizers also offer analyzer features that provide visual feedback about frequency content, which can help guide your adjustments when you’re unsure what’s missing or excessive in the sound.
Frequently Asked Questions
Equalizers play a crucial role in shaping sound across various audio applications. These powerful tools give you control over specific frequency ranges to achieve desired sonic results.
What are the functions of an audio equalizer in music production?
An equalizer in music production helps you balance frequencies within a mix. You can use it to cure a sound or enhance certain elements.
EQ allows you to cut muddy frequencies that might be cluttering your mix. You can also boost pleasing frequencies to bring out the best qualities in vocals or instruments.
Many producers use equalizers to create space for each element in a mix. By carving out specific frequency ranges for different instruments, you avoid frequency masking where sounds compete for the same sonic territory.
How does an equalizer affect the sound output of speakers?
Equalizers adjust how your speakers reproduce different frequencies. You can compensate for room acoustics by cutting or boosting frequency bands that your space might naturally enhance or diminish.
Speaker systems often have physical limitations that an equalizer can help address. For instance, smaller speakers might struggle with low frequencies, which you can partially remedy through EQ.
Many home theater systems include built-in equalizers to optimize sound for your specific speaker configuration. This helps deliver more balanced audio despite variations in speaker quality or placement.
In what ways can an equalizer improve the listening experience through headphones?
Headphone listening can benefit significantly from proper equalization to address frequency response irregularities. Many headphones have characteristic “signatures” that emphasize certain frequencies, which EQ can help neutralize.
You can create custom EQ presets for different music genres when using headphones. This allows you to enhance bass for electronic music or bring out mid-range clarity for vocal-focused tracks.
EQ can also help reduce listening fatigue during long headphone sessions. Cutting harsh high frequencies can make extended listening more comfortable without sacrificing detail.
Can you describe the various types of equalizers and their specific applications?
Parametric equalizers offer precise control with adjustable frequency, gain, and Q (bandwidth) parameters. These are ideal when you need surgical precision to address specific frequency issues.
Graphic equalizers divide the spectrum into multiple fixed bands with individual sliders. They provide visual feedback and are commonly found in consumer audio equipment.
Dynamic equalizers automatically adjust their processing based on the incoming signal. These are excellent for controlling problematic frequencies only when they become excessive.
Linear phase equalizers maintain phase coherence across the frequency spectrum. These are valuable in mastering applications where preserving the original sound character is essential.
How does an equalizer contribute to effective communication in audio engineering?
Equalizers help audio engineers establish a common sonic language when discussing sound. Terms like “boost the highs” or “cut the lows” refer to specific EQ operations that professionals understand.
During live events, equalizers prevent feedback by identifying and reducing problematic frequencies. This ensures clear communication between performers and audience without distracting squeals.
In podcast production, EQ helps make voices more intelligible by emphasizing speech frequencies. This critical adjustment ensures your message comes through clearly to listeners.
What role does an equalizer play in sound frequency adjustment?
An equalizer functions as a filter that connects to a volume knob, allowing you to control specific frequency ranges. It divides the audio spectrum into separate bands that you can adjust independently.
You can use an equalizer to shape the tonal balance of any audio signal. This helps create a more pleasing sound by bringing forward desirable frequencies and reducing problematic ones.
EQ enables you to address the full frequency spectrum from lows (20-250 Hz) through mids (250-4000 Hz) to highs (4000-20000 Hz). Each range affects how you perceive different aspects of sound, from the foundation to the details.