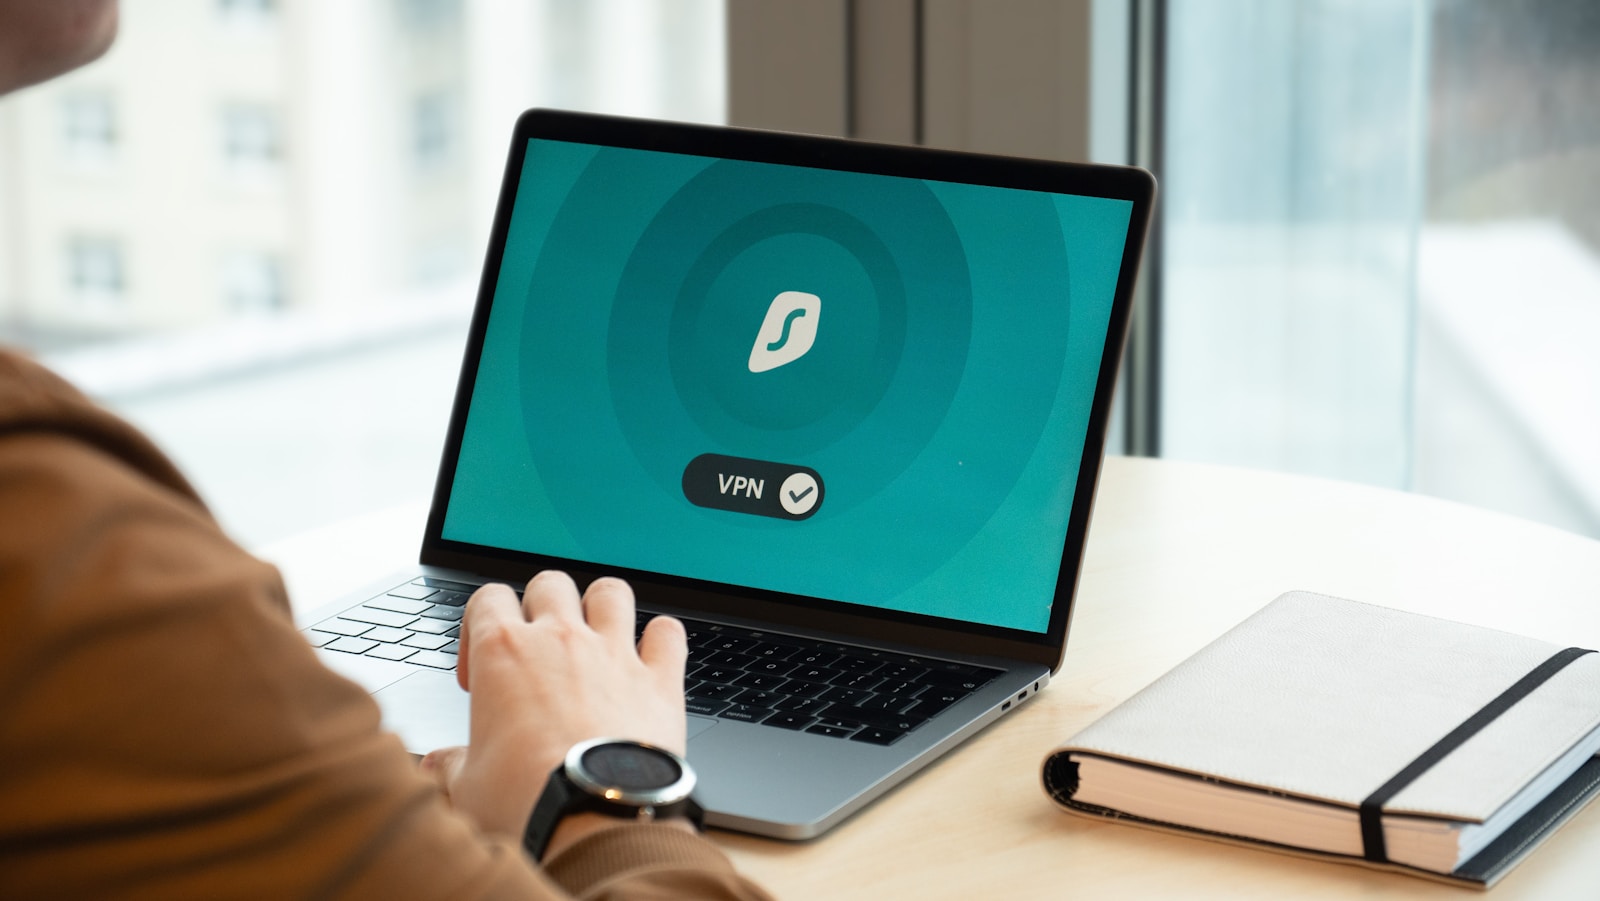
Setting up a VPN on your router is a smart way to protect all your home devices at once. Instead of installing VPN software on each device, you can configure it directly on your router. A router-level VPN setup provides encryption for every connected device in your home, including smart TVs, gaming consoles, and IoT gadgets that don’t normally support VPN apps.
Before getting started, you’ll need to check if your router is compatible with VPN configurations. Many standard routers don’t support VPNs, but you can install custom firmware like DD-WRT or OpenWRT to add this capability. Some VPN providers also offer specific setup guides for popular router models, making the process much easier.
The actual setup process varies depending on your router’s firmware and your VPN provider. You’ll typically need to access your router’s control panel through a web browser, look for VPN settings, and enter configuration details provided by your VPN service. While this might sound technical, most providers offer step-by-step instructions to help you through the process.
✅ Why Put a VPN on a Router?
Normally, you install a VPN app on each device (phone, laptop, etc.). But by putting the VPN directly on your router:
- Every device connected to your Wi‑Fi is automatically protected.
- You don’t need to install the VPN on each device separately.
- It’s especially useful for devices that don’t support VPNs (like smart TVs or game consoles).
(Source: Security.org, PCMag)
🛠️ Step 1: Check if Your Router Supports VPN
Not all routers can run VPN software. You’ll need:
- A VPN‑compatible router (some brands like Asus, Netgear, and Linksys support this).
- Or a router that can be flashed with custom firmware like DD‑WRT, OpenWRT, or Tomato.
👉 Tip: Check your router’s manual or the manufacturer’s website.
🛠️ Step 2: Choose a VPN Provider
Pick a VPN service that supports router installations. Popular choices include NordVPN, ExpressVPN, Surfshark, and ProtonVPN.
- Make sure they provide router configuration files (usually
.ovpnfiles).
🛠️ Step 3: Log in to Your Router Settings
- Connect your computer to the router.
- Open a browser and enter your router’s IP address (commonly
192.168.1.1or192.168.0.1). - Log in with your admin username and password.
🛠️ Step 4: Upload VPN Configuration
This step varies depending on your router:
- If your router has built‑in VPN support:
- Go to the VPN or Advanced Settings section.
- Select Add VPN or OpenVPN client.
- Upload the
.ovpnfile from your VPN provider. - Enter your VPN username and password.
- Save and connect.
- If your router doesn’t support VPNs by default:
- You may need to flash it with custom firmware (like DD‑WRT).
- After flashing, follow the firmware’s VPN setup instructions.
⚠️ Warning: Flashing firmware incorrectly can break your router. Only do this if you’re comfortable with advanced setup.
🛠️ Step 5: Test the Connection
- Connect a device to your Wi‑Fi.
- Visit whatismyip.com to check if your IP address has changed.
- If it shows your VPN location instead of your real one → ✅ success!
🌟 Extra Tips
- Split tunneling: Some routers let you choose which devices use the VPN and which don’t.
- Performance check: VPNs can slow down your internet slightly. Test speeds and adjust server locations.
- Keep firmware updated for security.
⚡ Key Takeaways
- Setting up a VPN on your router protects all devices at once.
- You need a VPN‑compatible router and a VPN provider with router support.
- Setup involves logging into your router, uploading the VPN config, and testing the connection.
👉 In short: Installing a VPN on your router gives your entire home network encrypted protection—perfect for privacy, streaming, and security.
Key Takeaways
- Router-level VPN setup protects all connected devices simultaneously without installing separate apps.
- You need a VPN-compatible router or one that supports custom firmware installation.
- Most VPN providers offer detailed guides for different router models to simplify the configuration process.
Understanding VPNs and How They Work
A VPN (Virtual Private Network) creates a secure, encrypted connection between your devices and the internet. This technology shields your online activities from prying eyes and allows you to browse with greater privacy.
The Role of VPNs in Internet Security
VPNs play a crucial role in protecting your online data from various threats. When you connect to a VPN service, your internet traffic travels through an encrypted tunnel to a remote VPN server before reaching its destination. This encryption prevents your Internet Service Provider (ISP), hackers, and other third parties from viewing your online activities.
The protection extends beyond just browsing habits. VPNs mask your IP address, replacing it with the address of the VPN server. This makes it much harder for websites and services to track your location and identity.
For businesses, VPNs create secure connections for remote workers accessing company resources. This ensures sensitive company data remains protected even when employees connect from public Wi-Fi networks that might otherwise be vulnerable to attacks.
Types of VPNs: From Site-to-Site to Remote Access
Different VPN types serve various connectivity needs. Site-to-Site VPNs connect entire networks to each other, allowing multiple offices of the same company to share resources securely. These are typically used by larger organizations with multiple locations.
Remote Access VPNs, on the other hand, let individual users connect to a private network from any location. This is the type most commonly used by individuals and remote workers who need to access their company’s resources from home or while traveling.
Some VPN types to consider:
- SSL VPNs: Work through web browsers, requiring no special software
- IPsec VPNs: Offer high security but may need specific client software
- Client-based VPNs: Require an application installed on your device
- Clientless VPNs: Allow access through web portals without installing software
The VPN connection you choose depends on your specific needs, whether for personal privacy or business security requirements.
Assessing Your VPN Needs
Before setting up a VPN on your router, you need to understand what protocols work best for your situation and how they might affect your internet experience.
Determining the Right VPN Protocol
When setting up a VPN on your router, choosing the right protocol is crucial. Different protocols offer varying levels of security, speed, and compatibility.
Common VPN Protocols:
- OpenVPN: Highly secure and widely supported on many routers. It’s open-source and offers excellent balance between security and speed.
- IKEv2/IPSec: Fast and stable, especially when switching networks. Works well on newer router models.
- WireGuard: Newest protocol with lightweight code and fast speeds.
- L2TP/IPSec: More secure than PPTP but might be slower than newer options.
- PPTP: Oldest protocol with weak security. Only use if your router doesn’t support others.
If you’re unsure if your router is VPN compatible, check your device manual or search online for your specific model plus “VPN compatible.”
The Impact of VPN on Connection Speed
Using a VPN on your router will affect your internet speed. The extent depends on several factors you should consider before setup.
Factors affecting VPN speed:
- Distance to VPN server – Closer servers generally provide faster connections
- Router processing power – Older or budget routers may struggle with VPN encryption
- Protocol choice – Some protocols prioritize security over speed
Your baseline internet speed matters too. If you start with 100 Mbps, a 10-30% reduction might be acceptable. But on slower connections, the impact could be more noticeable.
You can minimize speed loss by choosing a protocol that balances security and performance. WireGuard and IKEv2 typically offer the best speeds, while OpenVPN provides good all-around performance.
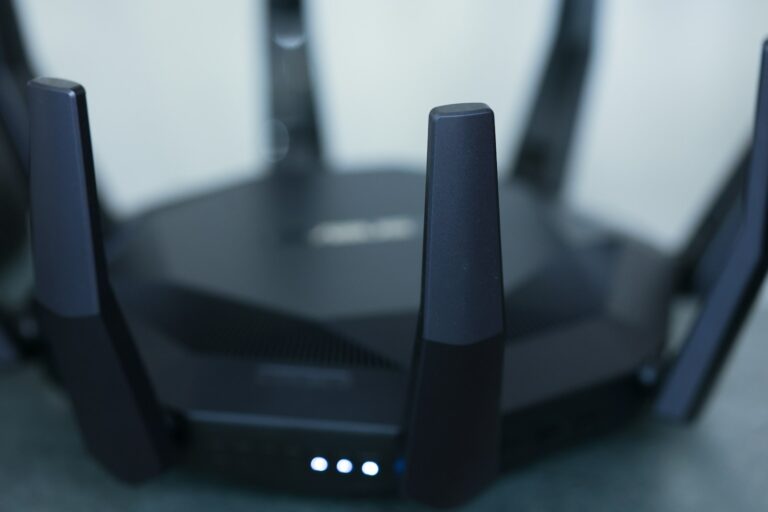
Choosing a Compatible Router
Not all routers support VPN functionality, and finding the right one is essential for protecting your entire home network. The hardware specifications and firmware capabilities determine whether your router can handle VPN connections effectively.
Requirements for VPN Routers
When shopping for a VPN-compatible router, you need to check several key specifications. The router should have a processor fast enough to handle encryption and decryption processes that VPNs require. Look for:
- At least 800 MHz CPU (1.2 GHz or higher recommended)
- Minimum 256 MB RAM (512 MB or more is better)
- 128 MB flash storage or more
- Support for custom firmware like DD-WRT, OpenWRT, or Tomato
You should also verify that your router has built-in VPN software. Many standard routers lack this feature. The easiest way to confirm compatibility is to check the manual or Google your exact model plus “VPN compatible”.
Recommended VPN Routers
Several router brands and models stand out for their VPN capabilities. These options provide reliable performance for home networks:
Pre-configured VPN routers:
- ASUS RT-AX88U (supports multiple VPN protocols)
- Linksys WRT3200ACM (excellent for custom firmware)
- Netgear Nighthawk R7000 (good balance of price and performance)
Flashing custom firmware like DD-WRT or OpenWRT to compatible routers is another option. This approach can transform a regular router into a VPN-ready device.
When choosing your router, consider the number of devices you’ll connect simultaneously. More devices mean you need stronger hardware. Also check if the router supports your preferred VPN client, as some routers work better with specific VPN services.
Pre-Setup Considerations
Before installing a VPN on your router, you need to verify compatibility and understand how your network functions. These factors will determine whether your setup will work smoothly or face technical obstacles.
Checking Compatibility with Your ISP
Some Internet Service Providers (ISPs) have policies that restrict VPN usage or block certain VPN protocols. Before you set up a VPN on your router, check your ISP agreement for any limitations.
Look for terms like “prohibited services” or “acceptable use policy” in your contract. Some ISPs may throttle your connection speed if they detect VPN traffic, especially during peak hours.
Common restrictions include:
- Blocking of specific VPN ports
- Limiting bandwidth for encrypted connections
- Restricting access to certain VPN protocols like OpenVPN or WireGuard
You should also verify if your ISP uses a technique called “deep packet inspection” which can identify and potentially block VPN traffic. If your ISP is restrictive, you might need to configure your VPN to use stealth protocols or obfuscated servers.
Understanding Network Address Translation (NAT)
NAT is a critical concept when setting up a VPN on your router. It allows multiple devices in your home to share a single public IP address by translating private IP addresses to your router’s public address.
When you install a VPN on your router, it creates a second layer of NAT. Your traffic flows from your devices through your router’s NAT, then through the VPN tunnel, and finally through the VPN server’s NAT before reaching the internet.
This double NAT configuration can cause complications:
- Port forwarding becomes more complex
- Gaming and peer-to-peer applications may experience higher latency
- Some streaming services might detect and block VPN connections
You might need to adjust your router’s NAT settings to “Open” or enable specific VPN passthrough features to ensure smooth operation. Modern routers often have built-in VPN clients that handle these issues automatically.
Setting Up VPN on Your Router
Setting up a VPN directly on your router provides network-wide protection without installing separate software on each device. The process requires access to your router’s admin panel and specific settings configurations.
Firmware Upgrade and Initial Setup
Before starting, check if your router supports VPN functionality. Many standard routers have limited VPN capabilities, so you might need to install custom firmware like DD-WRT or OpenWRT to enable VPN support.
To begin, access your router’s administration panel by typing its IP address (typically 192.168.0.1 or 192.168.1.1) into your browser. Log in with your credentials.
If you need custom firmware, back up your current router configuration first. Then download the appropriate firmware version for your router model from the official website.
Upload the new firmware through your router’s update section. This process may take several minutes, and your router will restart automatically.
Once upgraded, set a strong password for your admin panel to prevent unauthorized access to your network settings.
Configuring VPN Client and Server Settings
Navigate to the VPN section in your router settings. You’ll typically find this under advanced settings in a tab labeled “VPN client”, though the exact location varies by router brand.
Select your preferred VPN protocol. OpenVPN is highly secure and widely supported, while WireGuard offers excellent speed. Other options may include L2TP/IPsec or PPTP.
To configure the client:
- Enter the VPN server address provided by your VPN service
- Input your username and password or upload certificate files
- Specify encryption settings as recommended by your provider
- Save the configuration
Some routers allow creating multiple VPN configurations, letting you switch between servers or providers. You may need to follow specific setup guidelines from your VPN provider for optimal configuration.
Authenticating Devices on the Network
After setting up your VPN connection, you’ll need to manage how devices connect through it. Most routers offer two options: force all traffic through the VPN or allow selective routing.
For complete protection, enable “Force all clients to use VPN” in your router settings. This ensures every device automatically uses the encrypted connection.
If you prefer selective routing, create rules to determine which devices use the VPN. This is useful when you want only certain devices protected or need to exclude devices that don’t work well with VPNs.
You can authenticate devices through:
- MAC address filtering
- IP-based rules
- Device groups
Test your connection by visiting a website that shows your IP address. If correctly configured, it should display your VPN server’s location rather than your actual location.
Step-by-step tutorials are available online for specific router models if you encounter difficulties during setup.
Advanced VPN Configuration
Once you’ve set up the basic VPN connection on your router, you can enhance security and functionality through advanced configuration options. These settings allow for greater control over connection protocols and how devices on your network interact with the VPN.
Managing VPN Pass-Through Settings
VPN pass-through is a router feature that allows VPN traffic to pass through your network address translation (NAT) firewall. To configure this setting, access your router’s configuration panel and locate the security or firewall section.
Most modern routers have VPN pass-through enabled by default, but you should verify this setting if you’re experiencing connection issues. Look for options labeled “IPsec Pass-Through,” “PPTP Pass-Through,” or “L2TP Pass-Through.”
You can toggle these settings on or off depending on which VPN protocols you want to allow through your network. Enabling all protocols offers maximum compatibility but may slightly impact security.
For enhanced control, some advanced routers like ASUS models let you specify which devices can use pass-through, creating a more selective approach to VPN access.
Implementing L2TP/IPsec and PPTP Connections
L2TP/IPsec and PPTP are common VPN protocols with different security profiles. To set up L2TP/IPsec on your router, you’ll need to configure IKE policy settings in your router’s VPN section.
For L2TP/IPsec, enter these details:
- Authentication method: Pre-shared key or certificates
- Encryption algorithm: AES-256 (recommended)
- Hash algorithm: SHA-256
- DH Group: Group 14 or higher for better security
PPTP configuration is simpler but less secure. You’ll only need:
- Server address
- Username and password
- Optional encryption settings
Some routers may not show VPN client options in their standard interface. In this case, you might need to install alternative firmware like DD-WRT or OpenWRT to access these advanced configuration options.
Maintaining Your VPN Router
Setting up your VPN router is just the first step. Regular maintenance ensures your connection remains secure and performs optimally over time.
Updating VPN Software and Security Features
Your router’s VPN software requires regular updates to protect against new security threats. Check for firmware updates on your router manufacturer’s website at least once every three months. Many DD-WRT and OpenWRT routers offer automatic update notifications to simplify this process.
When updating, always download firmware from official sources to avoid compromised software. Before applying updates, back up your current configuration to prevent losing your settings.
Some VPN providers push security patches automatically, but you should verify this in your account settings. Important security features to keep updated include:
- Encryption protocols (OpenVPN, WireGuard)
- Authentication methods
- Firewall rules
- DNS leak protection
After updates, verify that your VPN connection still works properly by checking that your IP address has changed.
Monitoring VPN Connection Speeds and Stability
Your VPN router may experience performance issues over time. Set up a regular testing schedule to monitor your connection speeds and stability.
Use speed testing tools like Speedtest.net or Fast.com to compare your VPN speeds against your normal connection. Keep a simple log of results to identify trends:
| Date | Normal Speed | VPN Speed | Notes |
|---|---|---|---|
| March 1 | 100 Mbps | 82 Mbps | Peak hours |
| March 15 | 100 Mbps | 65 Mbps | After update |
If you notice significant drops, try changing VPN servers or protocols. Many VPN services offer specialized servers for different activities like streaming or gaming.
Check your router’s CPU and memory usage through its admin panel. VPN encryption requires processing power, and an overloaded router can cause instability. Consider a router upgrade if you consistently see high resource usage.
Integrating Multiple Devices and Platforms
Setting up a VPN on your router lets you protect all connected devices without installing separate apps on each one. Your entire network benefits from encrypted traffic and enhanced privacy regardless of operating system.
Connecting Windows, Mac, and iOS Devices
When your VPN is configured on your router, connecting your various devices becomes straightforward. Windows 11 computers automatically use the VPN connection when they connect to your home network. You don’t need to install a separate VPN client on each device.
For Mac computers, the process works similarly. Once connected to your router, they inherit the VPN protection without additional configuration steps. This integration saves you time and ensures consistent protection.
iOS devices like iPhones and iPads also benefit from router-level VPN. Simply connect to your WiFi network, and your internet traffic routes through the VPN tunnel automatically.
If you have devices that don’t support VPN apps directly, router-based VPN setup is particularly valuable. Smart TVs, gaming consoles, and IoT devices all gain VPN protection this way.
Setting Up VPN for Remote Devices
When you’re away from home, you can still connect to your VPN-enabled router. This creates a secure connection to your home network from anywhere in the world.
To enable remote connections, you’ll need to:
- Configure port forwarding on your router
- Set up a DDNS service if you don’t have a static IP address
- Use an OpenVPN client on your remote device to establish the connection
Many premium VPN services like NordVPN allow up to 10 simultaneous connections, which helps when connecting multiple remote devices.
For business users, you can secure a static public IP address through your VPN provider to maintain consistent remote access to your network equipment like NAS drives.
If you have numerous devices, consider providers like Surfshark or NordVPN that offer robust multi-device support without compromising connection quality.
Securing Your VPN Router
Once you’ve set up your VPN on your router, it’s essential to secure this central point of your network. A properly secured VPN router ensures your privacy stays protected and prevents unauthorized access to your network.
Implementing Strong Password Practices
Creating a strong password for your VPN router is your first line of defense against intruders. Change the default admin credentials immediately after setting up your router.
Your password should be at least 12 characters long and include a mix of uppercase letters, lowercase letters, numbers, and special characters. Avoid using personal information like birthdays or names that could be easily guessed.
Consider using a password manager to generate and store complex passwords. Many routers also offer two-factor authentication (2FA) features – enable this when available for an extra layer of security.
Remember to update your router password every 3-6 months. Never share your router credentials, even with trusted individuals. If you need to provide access, most modern VPN routers allow you to create guest accounts with limited permissions.
Certificate Management for VPN Connections
VPN certificates are digital files that verify the authenticity of your connection and enhance security. Many VPN providers use certificates to establish encrypted connections between your router and their servers.
When setting up certificate-based authentication:
- Download certificates only from your official VPN provider
- Store backup copies in a secure location
- Set calendar reminders for certificate renewals
- Verify certificate information before installation
Most modern VPN routers support both pre-shared key (PSK) and certificate-based authentication. While PSK is easier to set up, certificate-based connections offer superior security by preventing man-in-the-middle attacks.
You can check certificate validity in your router’s admin panel. If your certificate becomes compromised, immediately regenerate or request a new one from your VPN provider. Outdated certificates can leave your connection vulnerable to security breaches.
VPN Troubleshooting
Setting up a VPN on your router can sometimes lead to connection issues. When problems occur, knowing how to diagnose and fix them will save you time and frustration.
Common VPN Connection Issues and Solutions
One of the most frequent problems is the inability to connect to your VPN after setting it up. If your connection fails, first check if your regular internet is working properly through the router. A simple router restart can often resolve temporary connection issues.
If you’ve recently changed routers, make sure your DHCP scope and default gateway settings match your previous configuration. Mismatched network settings frequently cause VPN connection failures.
Slow connection speeds are another common complaint. Try connecting to a server closer to your location to improve performance. Most VPN providers offer multiple server options, and choosing one with less traffic can significantly boost your speeds.
Checking your VPN client software for updates is also essential. Outdated software may contain bugs that prevent proper connections. Similarly, ensure your router’s firmware is current, as manufacturers frequently release patches for security and compatibility issues.
How to Reset or Recover VPN Configurations
If troubleshooting doesn’t resolve your connection problems, you might need to reset your VPN configuration. Before making changes, always back up your current configuration file. Most routers have an export function in their admin panel that allows you to save these settings.
To perform a reset, access your router’s configuration panel by typing its IP address into your browser (commonly 192.168.0.1 or 192.168.1.1). Navigate to the VPN tab in your router settings and remove the problematic configuration.
For reinstallation, you’ll need to:
- Download a fresh OpenVPN configuration file from your provider
- Import the new configuration into your router
- Enter your authentication credentials again
- Save and apply the new settings
If you’ve forgotten your VPN credentials, most providers offer account recovery options through their websites. Look for “forgot password” options or contact customer support with your account email.
For persistent issues, consider checking if your router fully supports your VPN protocol. Some older routers have limited compatibility with newer VPN standards like WireGuard or IKEv2.
Leveraging VPN for Business Applications
Virtual Private Networks offer powerful security and flexibility benefits for businesses of all sizes. They provide secure access to sensitive data and systems while expanding your connectivity options.
Deploying Site-to-Site VPN for Corporate Networks
When you need to connect multiple office locations securely, setting up a site-to-site VPN is the ideal solution. This configuration creates an encrypted tunnel between your offices, making them function as a single network.
Start by selecting compatible VPN-capable routers for each location. Business-grade options from Cisco, Fortinet, or SonicWall work well for this purpose.
Configuration involves:
- Establishing static IP addresses at each endpoint
- Setting up identical encryption protocols
- Creating matching access rules
- Configuring proper routing tables
The main benefit is seamless resource sharing across locations. Your employees can access files, databases, and applications regardless of their physical office.
For small businesses, this approach eliminates the need for expensive dedicated leased lines while maintaining high security standards.
Integrating Cloud Services Like AWS with VPN
Connecting your router-based VPN to cloud services like AWS creates a hybrid infrastructure that combines the security of private networks with the flexibility of cloud computing.
AWS offers dedicated VPN connection options that integrate directly with your router-based VPN setup. This allows you to treat AWS resources as extensions of your corporate network.
Key steps include:
- Set up a Virtual Private Gateway in your AWS VPC
- Configure your on-premises VPN router as a Customer Gateway
- Establish IPsec tunnels between them
- Define appropriate route tables
This integration enables secure access to cloud-hosted applications and databases from your office network. Your team can work with sensitive data in AWS while maintaining compliance requirements.
You can also implement redundant connections for improved reliability during peak usage times or outages.
Frequently Asked Questions
Setting up a VPN on your router can seem complex, but with the right guidance, you can protect all your home devices with a single configuration. Many popular router brands support VPN integration through built-in options or manual setup processes.
How can I configure a VPN on my TP-Link router?
To set up a VPN on your TP-Link router, first check if your router model supports VPN functionality. Not all TP-Link routers have this capability.
Log into your router’s admin panel by typing the IP address (usually 192.168.0.1 or 192.168.1.1) in your browser. Navigate to the VPN section under Advanced Settings.
Select OpenVPN or PPTP protocol depending on what your VPN service provides. Enter the server details, username, and password from your VPN provider and save the configuration.
What are the steps to install NordVPN on my router?
NordVPN can be installed on compatible routers through their setup guides. First, access your router’s control panel through a web browser.
Look for the VPN or OpenVPN client section in your router settings. Download the NordVPN server configuration files from their website.
Upload these files to your router, enter your NordVPN credentials, and connect to your preferred server location. Some routers may require you to flash custom firmware like DD-WRT or Tomato first.
What is the procedure for setting up ExpressVPN on my router?
ExpressVPN offers a user-friendly setup process for routers. Begin by signing into your ExpressVPN account and generating router credentials.
Access your router’s admin panel and navigate to the VPN section. Enter the server address, username, and password provided by ExpressVPN.
For Asus routers, ExpressVPN offers a custom firmware that simplifies the process with an easy-to-use interface. Just download their router app and follow the installation wizard.
Is it possible to use a free VPN service with my router?
Free VPN services typically don’t support router configurations. Most free VPNs only offer apps for individual devices with limited data and fewer server options.
If you attempt to set up a free VPN on your router, you may encounter connectivity issues or find that the service simply doesn’t work. Free VPNs often lack the necessary OpenVPN configuration files needed for router setup.
For whole-home protection, investing in a paid VPN service is recommended as they provide better support, security features, and reliable connection speeds.
How do I integrate Surfshark VPN into my home router configuration?
Surfshark VPN integration starts by logging into your router’s admin panel. Look for the VPN client section in your router settings menu.
Download the OpenVPN configuration files from your Surfshark account. These files contain server information needed for the connection.
Upload the configuration files to your router, enter your Surfshark credentials, and select your preferred server location. Some routers may require manual configuration of encryption settings.
What are the advantages of installing a VPN on my home Wi-Fi router?
Installing a VPN directly on your router protects all connected devices simultaneously without installing separate apps on each device. This includes smart TVs and gaming consoles that don’t normally support VPN apps.
A router-level VPN provides consistent privacy protection for everyone using your network. Your entire household benefits from encrypted connections and IP masking.
Router VPNs stay active continuously, ensuring your connected devices remain protected even when you forget to turn on individual VPN apps. This comprehensive protection creates a secure environment for all your home internet activities.