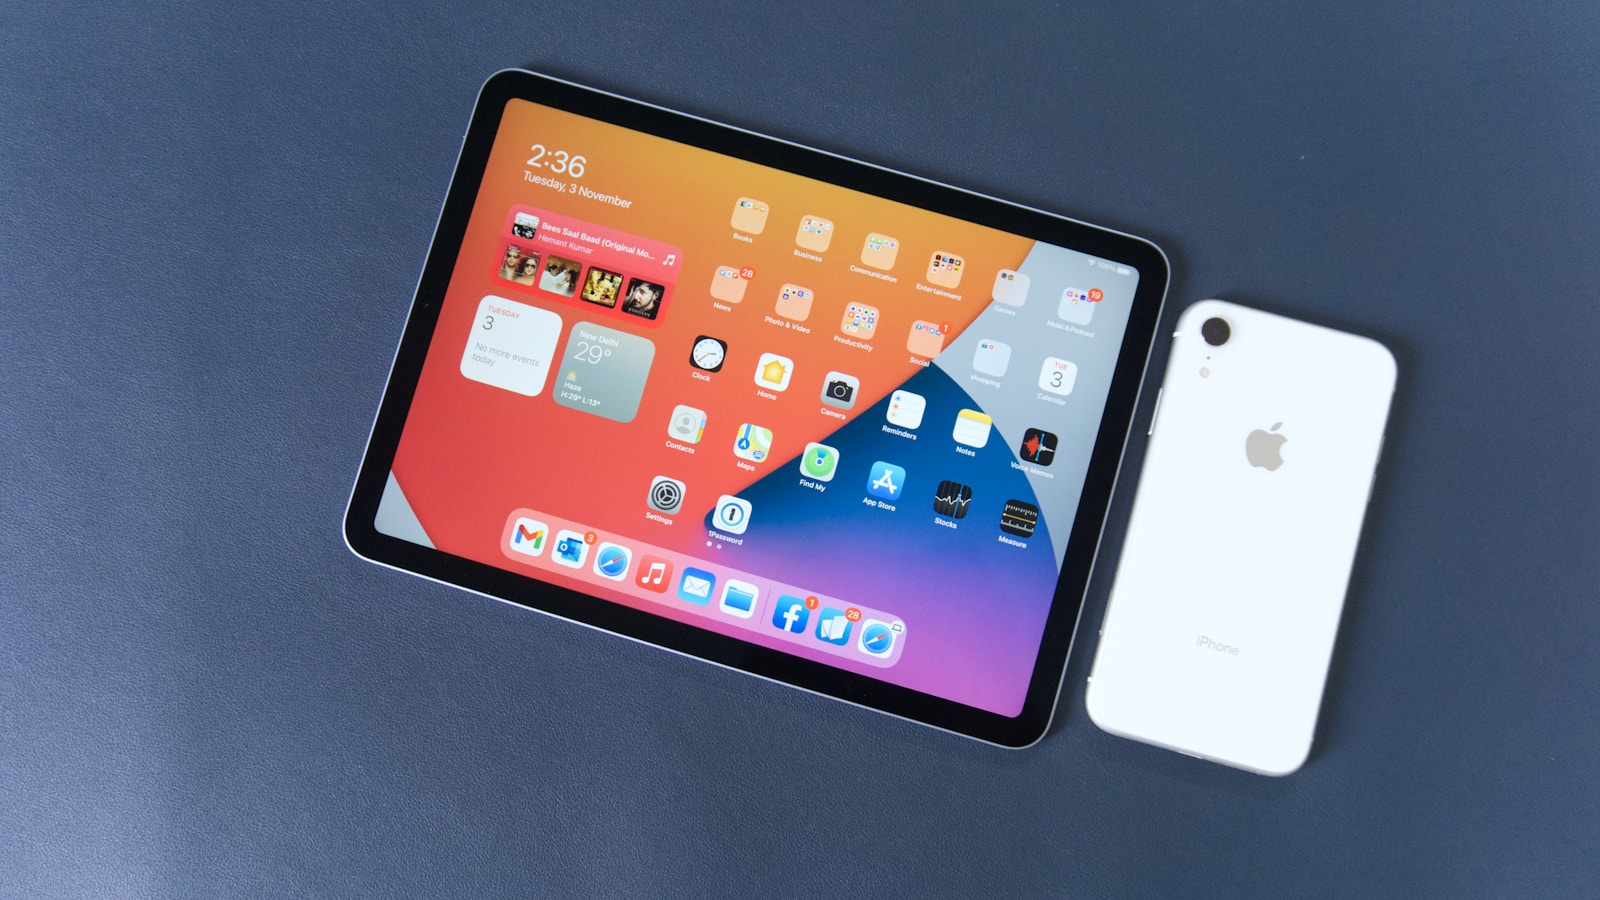
Transferring photos from an iPhone to an iPad can be a simple process. The quickest way to move photos between these devices is by using AirDrop. This method allows for wireless transfer of images when both devices are close to each other. Users need to enable AirDrop on their iPhone and iPad to use this feature.
Another option for photo transfer is iCloud sync. This method works well for users who want to keep their photos updated across all their Apple devices. By turning on iCloud Photos, images will automatically sync between the iPhone and iPad when connected to Wi-Fi.
For those who prefer a wired connection, using a USB cable to connect the iPhone to the iPad is also possible. This method requires a camera adapter or card reader. It can be useful when transferring a large number of photos or when dealing with limited internet connectivity.
Whether you want to share vacation snapshots or sync your entire photo library, there are several easy ways to move photos between your iPhone and iPad — wirelessly or with a cable.
🔹 Option 1: Use AirDrop (Fast & Wireless)
Best for: Quickly sending a few photos between nearby devices.
Steps:
- Enable AirDrop on both devices:
- On your iPhone and iPad, open Control Center.
- Press and hold the Wi-Fi icon → tap AirDrop → choose Everyone for 10 Minutes or Contacts Only.
- Select photos to send:
- On your iPhone, open the Photos app.
- Tap Select, choose the photos you want, then tap the Share icon.
- Send via AirDrop:
- Tap the AirDrop icon → choose your iPad from the list.
- Accept on your iPad:
- Tap Accept when prompted.
- The photos will appear in your Photos app automatically.
✅ Pros: Fast, no cables or internet required.
⚠️ Cons: Devices must be close together and AirDrop enabled.
🔹 Option 2: Use iCloud Photos (Automatic Sync)
Best for: Keeping all your photos synced across Apple devices.
Steps:
- On both your iPhone and iPad:
- Go to Settings → [Your Name] → iCloud → Photos.
- Turn on Sync this iPhone/iPad (or iCloud Photos on older versions).
- Connect both devices to Wi-Fi and power.
- Your photos will automatically appear on both devices once uploaded to iCloud.
✅ Pros: Automatic, seamless syncing.
⚠️ Cons: Requires iCloud storage space and internet connection.
🔹 Option 3: Use a Cable and Finder/iTunes
Best for: Transferring large photo libraries without using iCloud.
Steps (Mac or PC):
- Connect your iPhone to your computer using a USB cable.
- Open Finder (Mac) or iTunes (Windows).
- Import photos from your iPhone to your computer.
- Disconnect your iPhone and connect your iPad.
- Use Finder/iTunes to sync the imported photos to your iPad.
✅ Pros: No internet required; good for large transfers.
⚠️ Cons: Requires a computer and manual syncing.
🔹 Option 4: Use Third-Party Apps (No iCloud Needed)
If you don’t want to use iCloud or cables, apps like Photo Transfer App, Send Anywhere, or SHAREit can help.
Example (Photo Transfer App):
- Install the app on both your iPhone and iPad.
- Connect both to the same Wi-Fi network.
- Open the app → choose Send on iPhone and Receive on iPad.
- Select your photos and start the transfer.
✅ Pros: Easy wireless transfer without iCloud.
⚠️ Cons: Some apps may limit free transfers.
🔹 Option 5: Use Shared Albums
Best for: Sharing specific photo collections with others or between devices.
Steps:
- On your iPhone, open Photos → Albums → + → New Shared Album.
- Name the album, add your iCloud account (same as iPad), and tap Create.
- Add photos to the shared album.
- On your iPad, open Photos → Shared Albums to view them.
✅ Pros: Great for selective sharing.
⚠️ Cons: Lower resolution than iCloud Photos.
💡 Tips for Smooth Transfers
- Keep both devices updated to the latest iOS/iPadOS version.
- Ensure both are signed into the same Apple ID for iCloud-based methods.
- If using AirDrop, make sure Bluetooth and Wi-Fi are turned on.
- Use Wi-Fi 6 or higher for faster wireless transfers.
🏁 Summary: Best Method for You
| Method | Best For | Internet Needed | Speed | Ease |
|---|---|---|---|---|
| AirDrop | Quick local transfers | ❌ | ⚡⚡⚡ | ⭐⭐⭐⭐ |
| iCloud Photos | Automatic syncing | ✅ | ⚡ | ⭐⭐⭐⭐⭐ |
| Finder/iTunes | Large libraries | ❌ | ⚡⚡ | ⭐⭐⭐ |
| Third-Party Apps | No iCloud users | ✅ | ⚡ | ⭐⭐⭐ |
| Shared Albums | Curated sharing | ✅ | ⚡ | ⭐⭐⭐⭐ |
✅ Final Recommendation:
- Use AirDrop for quick transfers.
- Use iCloud Photos for automatic syncing across devices.
- Use Finder/iTunes if you prefer offline control.
Sources:
- Apple Support – Transfer Files Between Devices
- SolveYourTech – Transfer Photos Wirelessly
- wikiHow – Transfer Photos from iPhone to iPad
- AppGeeker – Transfer Photos Without iCloud
Key Takeaways
- AirDrop offers quick wireless transfer of photos between nearby devices
- iCloud Photos syncs images across Apple devices automatically
- Wired connections provide an alternative for large transfers or limited internet
Preparing Your Devices for Transfer
Before transferring photos from iPhone to iPad, proper device setup is crucial. This involves checking compatibility, configuring iCloud, and ensuring stable network connections.
Ensuring Compatibility Between Devices
The first step is to verify that both devices run compatible iOS versions. To check:
- On iPhone: Go to Settings > General > About
- On iPad: Follow the same path
Look for the “Software Version” line. Ideally, both devices should run the latest iOS version. If not, update them:
- Connect to Wi-Fi
- Go to Settings > General > Software Update
- Tap “Download and Install” if available
Updating ensures access to the latest features and transfer methods.
Setting Up iCloud on Both Devices
iCloud setup is key for seamless photo syncing. To configure:
- Go to Settings on both devices
- Tap your Apple ID at the top
- Select “iCloud”
- Turn on “Photos”
Make sure both devices use the same Apple ID. If not:
- Sign out of the current account
- Sign in with the correct Apple ID
Enable “iCloud Photos” to automatically sync all photos across devices.
Checking Network Connections
A stable internet connection is vital for smooth transfers. To ensure this:
- Connect both devices to the same Wi-Fi network
- Check Wi-Fi signal strength (full bars ideal)
- Test internet speed on both devices
If Wi-Fi is unstable, try these fixes:
- Move closer to the router
- Restart the router
- Use a different Wi-Fi network
For large photo libraries, a fast and stable connection is crucial to avoid interruptions during transfer.
Transferring Photos Using AirDrop
AirDrop offers a quick and wireless method to transfer photos from iPhone to iPad. This feature uses Bluetooth and Wi-Fi to create a direct connection between devices.
Enabling AirDrop on iPhone and iPad
To use AirDrop, users must first enable it on both devices. They can access AirDrop settings through Control Center. On iPhones with Face ID, users swipe down from the top-right corner. On older models, they swipe up from the bottom of the screen.
In Control Center, users press and hold the network settings card. They then tap AirDrop and choose either “Contacts Only” or “Everyone.” The “Everyone” option allows transfers with any nearby Apple device, while “Contacts Only” limits transfers to known contacts.
Selecting and Sharing Photos with AirDrop
Once AirDrop is enabled, users can start transferring photos. They open the Photos app on their iPhone and select the images they want to share. After selecting, they tap the Share button, typically represented by a square with an arrow pointing up.
In the sharing menu, users look for the AirDrop section. Their iPad’s name should appear as an option. Tapping the iPad’s name initiates the transfer. The recipient device will display a prompt to accept the incoming photos.
For successful transfers, both devices must be within close range, typically within 30 feet. Users should also ensure that both Bluetooth and Wi-Fi are turned on for AirDrop to function properly.
Using iCloud to Sync Photos
iCloud offers a seamless way to keep photos in sync across Apple devices. This method allows users to access their entire photo library from both iPhone and iPad.
Turning on iCloud Photos
To enable iCloud Photos, users need to access their device settings. On the iPhone, open the Settings app and tap the user’s name at the top. Select iCloud, then Photos. Toggle on the “iCloud Photos” option.
For the iPad, the process is similar. Go to Settings, tap the user’s name, select iCloud, and then Photos. Turn on “Sync this iPad” to enable iCloud Photos.
Once activated, photos will automatically upload to iCloud. This process may take some time, depending on the library size and internet speed. It’s best to connect to Wi-Fi and keep devices plugged in during the initial sync.
Understanding My Photo Stream and Camera Roll
My Photo Stream is a feature that uploads recent photos to iCloud for 30 days. It doesn’t count against iCloud storage limits. Camera Roll, now called “All Photos” in newer iOS versions, stores all photos taken with the device.
iCloud Photos syncs the entire library across devices. It uses iCloud storage space but provides full access to all photos on any device. Users can choose to optimize iPhone storage to save space by keeping smaller versions on the device.
For those with limited iCloud storage, My Photo Stream can
Alternative Transfer Methods
Several options exist for transferring photos from iPhone to iPad beyond wireless methods. These include using iTunes with a wired connection, external storage devices, and third-party apps.
Transferring via iTunes with a Wired Connection
iTunes offers a reliable way to transfer photos between Apple devices. Users need a USB cable and a computer with iTunes installed.
Steps:
- Connect iPhone to computer with USB cable
- Open iTunes and select the iPhone
- Click “Photos” in the sidebar
- Check “Sync Photos” and choose folders to sync
- Apply changes and disconnect iPhone
- Repeat process with iPad to receive photos
This method works well for large transfers but requires a computer as intermediary. It’s best for users who regularly sync devices with iTunes.
Using External Storage Devices and Card Readers
External storage devices provide a physical way to move photos between devices. This is useful when Wi-Fi is unavailable or for transferring large photo libraries.
Options include:
- USB flash drives with Lightning connectors
- Wireless hard drives
- SD card readers for iPhone/iPad
Steps:
- Connect storage device to iPhone
- Select photos to export in Photos app
- Copy photos to storage device
- Disconnect from iPhone and connect to iPad
- Import photos to iPad’s Photos app
This method is versatile and doesn’t require internet. It’s ideal for photographers who work with many high-resolution images.
Leveraging Third-Party Applications
Many third-party apps facilitate photo transfers between iOS devices. These apps often provide additional features like file management and cloud storage integration.
Popular apps include:
- Documents by Readdle
- PhotoSync
- Send Anywhere
These apps typically use Wi-Fi Direct or Bluetooth for transfers. They’re user-friendly and don’t require iTunes or iCloud. Some offer free versions with basic transfer capabilities.
Steps vary by app but generally involve:
- Installing app on both devices
- Selecting photos on iPhone
- Choosing iPad as destination
- Initiating transfer
Third-party apps are great for users who want more control over file transfers and management on their iOS devices.
Frequently Asked Questions
Transferring photos from an iPhone to an iPad can be done through various methods. These include using cables, wireless options, and cloud services.
What steps are needed to transfer photos from an iPhone to an iPad using a USB cable?
Connect the iPhone to the iPad with a USB cable. Open the Files app on the iPad. Select the iPhone under Locations. Navigate to the DCIM folder. Choose the photos to transfer. Tap “Copy” and select a destination folder on the iPad. Paste the photos into the chosen location.
What is the process for transferring photos from an iPhone to an iPad without using iCloud?
Use iTunes to sync photos. Connect the iPhone to a computer and open iTunes. Select the device and click on the Photos tab. Choose the folders to sync. Apply the changes. Disconnect the iPhone and connect the iPad. Repeat the process to sync the photos to the iPad.
How can one transfer photos from an iPhone to an iPad wirelessly?
Enable Wi-Fi on both devices. Open the Photos app on the iPhone. Select the photos to transfer. Tap the Share button. Choose AirDrop and select the iPad. Accept the transfer on the iPad. The photos will be saved in the Photos app.
Is there a way to automatically sync photos between an iPhone and an iPad?
Turn on iCloud Photos on both devices. Go to Settings > [Your Name] > iCloud > Photos. Toggle on iCloud Photos. This will sync all photos across devices automatically when connected to Wi-Fi.
Can I use AirDrop to transfer photos from my iPhone to my iPad, and if so, how?
Enable AirDrop on both devices. On the iPhone, open Photos and select images. Tap the Share button. Choose AirDrop and select the iPad. Accept the transfer on the iPad. Photos will appear in the Photos app.
What methods are available for transferring photos if my iPad does not have a USB-C port?
Use AirDrop for wireless transfer. Sync through iCloud Photos. Email photos to yourself. Use third-party cloud services like Google Photos or Dropbox. Transfer via iTunes on a computer.