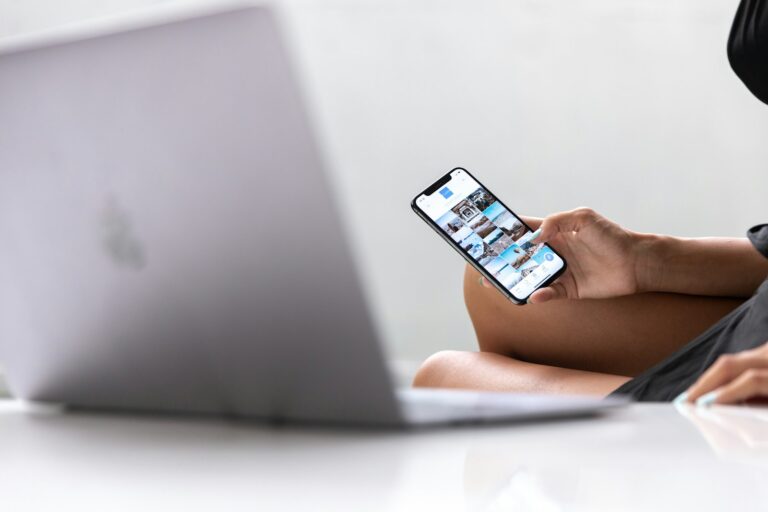
Taking screenshots on your Lenovo computer is a quick and easy way to capture whatever is on your screen. Whether you need to save information for later, share something interesting with friends, or document an error message, knowing how to take a screenshot can save you time and hassle. On Lenovo laptops, you can take a full-screen screenshot by pressing the Windows key + Print Screen, or capture a specific area by using Windows + Shift + S to open the snipping tool.
Lenovo devices running Windows 10 offer multiple screenshot methods depending on what you need to capture. The Snipping Tool provides flexible options for capturing specific sections of your screen, while the Print Screen key works for grabbing everything at once. For Lenovo Chromebooks, the process is slightly different—you’ll need to press Ctrl + Switch Window to capture the entire screen.
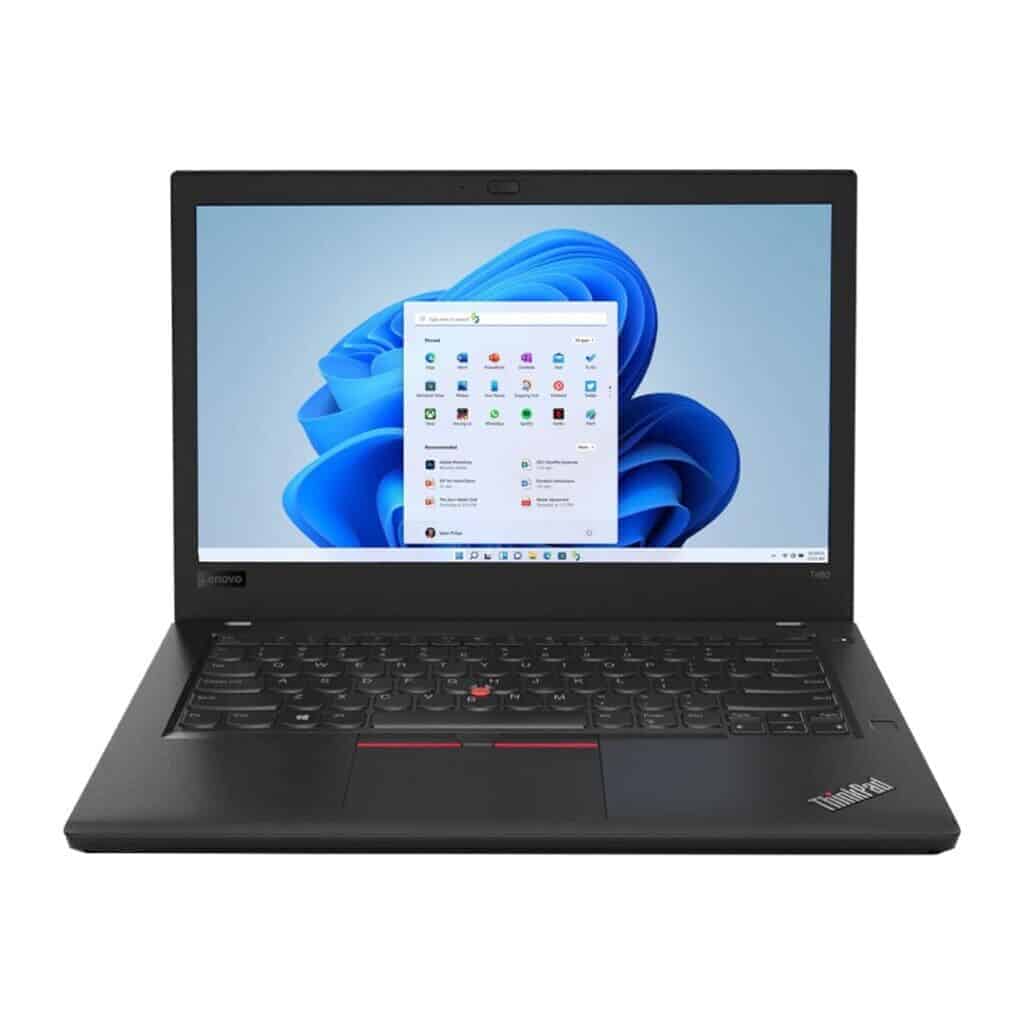
How To Take a Screenshot on a Lenovo Device
Taking a screenshot on a Lenovo device is quick and easy once you know the right method. Because Lenovo makes Windows laptops and desktops, Android tablets, Chromebooks, and smartphones, the steps can vary depending on the device you’re using. This guide covers all common Lenovo devices, including keyboard shortcuts, built‑in tools, and alternative methods.
How To Take a Screenshot on a Lenovo Windows Laptop or Desktop
Most Lenovo computers run Windows, and there are several screenshot options available.
Method 1: Print Screen (Full Screen)
- Press PrtScn
Copies the entire screen to the clipboard.
Paste it into an app like Paint, Word, or Photos using Ctrl + V.
Method 2: Windows + Print Screen (Auto-Save)
- Press Windows key + PrtScn
The screen briefly dims, and the screenshot is automatically saved.
📁 Saved Location:Pictures > Screenshots
Method 3: Alt + Print Screen (Active Window Only)
- Press Alt + PrtScn
Captures only the active window and copies it to the clipboard.
Method 4: Snipping Tool / Snip & Sketch
Best for custom screenshots.
- Press Windows + Shift + S
- Choose:
- Rectangular snip
- Freeform snip
- Window snip
- Full‑screen snip
- Screenshot is copied to clipboard and can be saved manually
Method 5: Lenovo Keyboard Function Key
Some Lenovo laptops require:
- Fn + PrtScn
This depends on your keyboard layout.
How To Take a Screenshot on a Lenovo Chromebook
Lenovo Chromebooks use ChromeOS shortcuts.
Full Screen Screenshot
- Press Ctrl + Show Windows (▢▢)
Partial Screenshot
- Press Ctrl + Shift + Show Windows
📁 Screenshots are saved in the Downloads folder.
How To Take a Screenshot on a Lenovo Android Tablet or Phone
Method 1: Power + Volume Down
- Press and hold Power + Volume Down
- Release after the screen flashes
The screenshot is saved to Gallery or Photos.
Method 2: Three‑Finger Gesture (If Enabled)
- Place three fingers on the screen
- Swipe down
Enable via: Settings > System Navigation > Gestures
Method 3: Google Assistant
- Say “Hey Google, take a screenshot”
How To Take a Screenshot on Lenovo Tablets (Windows)
For Lenovo Windows tablets:
- Press Windows logo button + Volume Down
Where Are Screenshots Saved?
| Device Type | Screenshot Location |
|---|---|
| Windows PC | Pictures > Screenshots |
| Chromebook | Downloads |
| Android Phone/Tablet | Photos / Gallery |
| Windows Tablet | Pictures > Screenshots |
Screenshot Not Working? Try These Fixes
- Press Fn + PrtScn instead of PrtScn
- Check if Print Screen is disabled in Lenovo Vantage
- Update keyboard or system drivers
- Restart the device
- Ensure screenshot shortcuts aren’t reassigned
Best Screenshot Method by Use Case
| Task | Best Method |
|---|---|
| Entire screen | Windows + PrtScn |
| One window | Alt + PrtScn |
| Custom area | Windows + Shift + S |
| Fast mobile capture | Power + Volume Down |
Final Thoughts
Lenovo devices offer multiple ways to take screenshots, whether you’re on Windows, ChromeOS, or Android. Once you know the right shortcut for your device, capturing and sharing your screen becomes effortless.
Key Takeaways
- Screenshots on Lenovo Windows laptops can be taken using Windows+Print Screen for full screen or Windows+Shift+S for selective captures.
- Lenovo Chromebook users should press Ctrl+Switch Window to capture their entire screen.
- All screenshots are automatically saved to your Pictures folder or Photos app for easy access and sharing.
Understanding Screenshots
Screenshots are digital images that capture exactly what appears on your computer screen. They serve as visual documentation that can be shared, saved, or analyzed for various purposes.
What Is a Screenshot?
A screenshot (also called screen capture) is a digital image that shows the contents of a computer screen at a specific moment. Think of it as taking a photo of your screen.
Taking a screenshot creates an exact copy of what you see on your display. This capability is built into most operating systems, including Windows on Lenovo computers.
Screenshots can capture:
- The entire screen
- A specific window or application
- A selected portion of the screen
Unlike screen recording, which captures video of on-screen activity over time, screenshots freeze a single moment for reference.
Uses of Screenshots
Screenshots serve many practical purposes in daily computer use. They provide visual evidence and clear communication in numerous situations.
Professional Uses:
- Documenting software bugs or errors
- Creating step-by-step tutorials
- Saving receipt confirmations from online purchases
- Capturing important information that might change
Personal Uses:
- Saving social media posts
- Capturing interesting information to reference later
- Sharing what’s on your screen with friends or family
Many professionals rely on screen captures for technical support. IT specialists often request screenshots to better understand computer problems that users are experiencing.
Screenshots also serve as excellent teaching tools when explaining digital processes to others who might be less tech-savvy.
Preparation Before Taking a Screenshot
Before capturing your screen on a Lenovo computer, it’s important to prepare properly. This ensures you get the exact image you want without distractions or interruptions.
Checking Battery Life
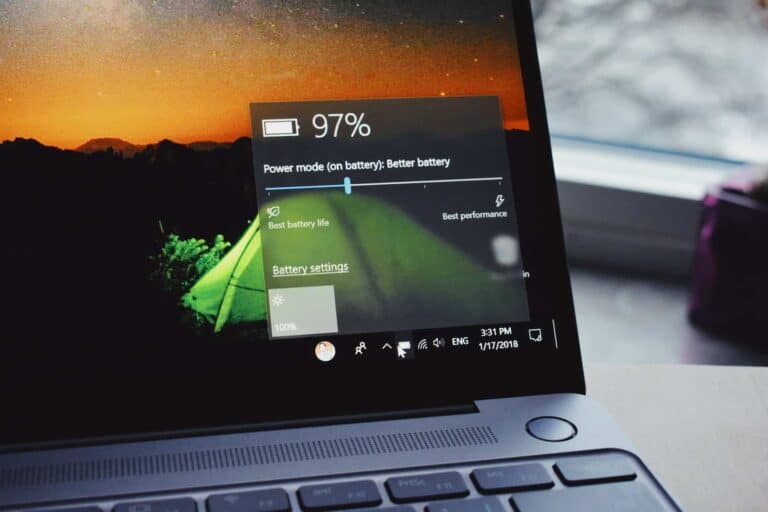
When taking screenshots on a Lenovo laptop, battery life is an important consideration. A low battery can cause your computer to enter power-saving mode unexpectedly, potentially disrupting your screenshot process.
To check your battery level, look at the battery icon in the taskbar at the bottom right of your screen. Hover over it to see the exact percentage remaining.
For optimal results, make sure your Lenovo device has at least 20% battery life before taking important screenshots. Better yet, connect your laptop to a power source if possible. This prevents any unexpected shutdowns or performance throttling.
If you plan to take multiple screenshots, keeping your device plugged in ensures consistent performance throughout the process.
Selecting the Active Window
Choosing the correct active window is crucial for capturing exactly what you need. On Lenovo computers, you can take screenshots of specific windows rather than the entire screen.
To select the active window:
- Click on the window you want to capture
- Make sure it’s fully visible and not obscured by other windows
- Resize the window if needed for better composition
- Close any unnecessary or sensitive information that shouldn’t appear
For the clearest screenshots, consider closing unnecessary background applications. This reduces visual clutter and prevents unwanted notifications from appearing.
Use Alt+Tab keyboard shortcut to quickly cycle through open windows until you find the one you need to capture. Once selected, position it properly on screen before proceeding with your screenshot.
Methods to Take a Screenshot on Lenovo Laptops
Capturing screenshots on Lenovo laptops can be done through several built-in methods that don’t require additional software. Each approach offers different levels of flexibility for capturing exactly what you need.
Using Keyboard Shortcuts
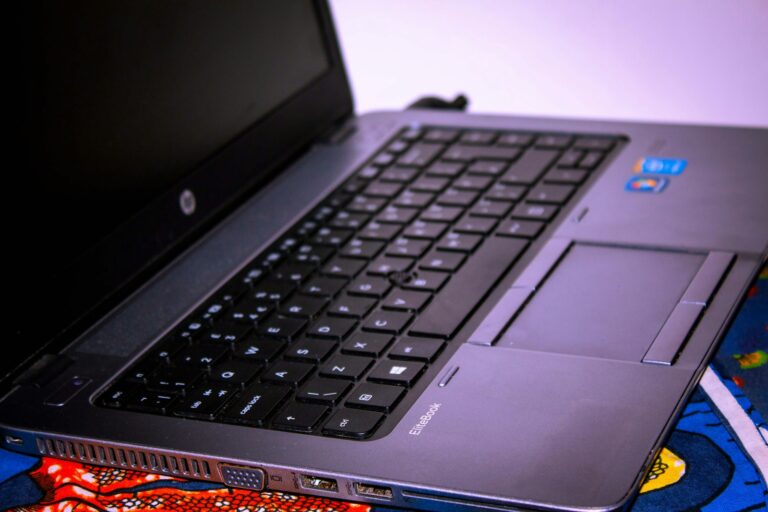
The simplest way to take a screenshot on Lenovo laptops is using the Print Screen key (often labeled as PrtSc or PrtScn). This key is typically located in the upper-right section of the keyboard.
For a full-screen capture, users can press the PrtSc key alone. The image is copied to the clipboard, ready to be pasted into any application.
To save the screenshot directly as a file, pressing Windows + PrtSc will capture the entire screen and automatically save it to the Pictures > Screenshots folder.
On Lenovo Yoga and other models, users can capture the active window by pressing Alt + PrtSc, which only captures the currently open window rather than the entire display.
For Lenovo ThinkPad models that lack a dedicated PrtSc key, the combination Fn + PrtSc often works to achieve the same function.
Using Snipping Tool in Windows
Windows offers the Snipping Tool for more precise screenshots on Lenovo laptops. This tool allows users to select exactly what they want to capture.
The quickest way to access the Snipping Tool is by pressing Windows + Shift + S. This activates the snipping overlay, allowing users to select the type of screenshot they want.
Users can choose from four capture modes:
- Rectangular snip: Drag to select a rectangular area
- Freeform snip: Draw any shape to capture
- Window snip: Select a specific window
- Fullscreen snip: Capture the entire screen
After selecting an area, the screenshot is copied to the clipboard. A notification appears that can be clicked to open the Snip & Sketch app for editing and saving.
Using Quick Settings Panel
Windows 10 and 11 users can access screenshot tools through the Quick Settings panel on their Lenovo laptops.
To access this feature, click on the Notifications icon in the taskbar (bottom right) or press Windows + A to open the Action Center. In Windows 11, this becomes the Quick Settings panel.
Within the panel, users can find the Screen snip button. Tapping this button launches the same snipping overlay as the Win+Shift+S shortcut.
This method is particularly useful for Lenovo Yoga and touchscreen models where using the touchscreen interface might be more convenient than keyboard shortcuts.
Using Third-Party Tools
For advanced screenshot capabilities on Lenovo laptops, third-party tools offer enhanced features beyond the built-in Windows options.
Lightshot provides a simple interface with quick editing tools. After installation, it replaces the traditional PrtSc function, allowing users to select areas and apply basic edits before saving.
Awesome Screenshot works as a browser extension for capturing web content. It’s particularly useful for capturing entire webpages, including parts that extend beyond the visible screen.
These tools offer additional features like:
- Cloud uploading and sharing
- Text recognition (OCR)
- Scrolling captures
- Annotation tools
- Screenshot scheduling
Most third-party tools can be configured to start automatically with Windows, making them readily available whenever needed on Lenovo laptops.
Taking Screenshots on Different Operating Systems
Lenovo devices run on various operating systems, each offering unique methods for capturing screenshots. These built-in tools make it easy to save images of your screen for documentation, sharing, or troubleshooting purposes.
Screenshots on Lenovo with Windows OS
Windows-powered Lenovo laptops provide several ways to capture screenshots. The simplest method is pressing the Print Screen key (often labeled PrtScn), which captures the entire screen. For more precision, the Alt+Print Screen combination captures only the active window.
Windows 10 and Windows 11 users can use the Windows+Shift+S keyboard shortcut to access the Snipping Tool, which provides options for rectangular, free-form, window, or full-screen captures.
Another efficient method involves pressing Windows+Print Screen, which automatically saves the screenshot as a PNG file in the Pictures > Screenshots folder.
For more advanced needs, the Snipping Tool (on older versions) or Snip & Sketch application offers editing capabilities and multiple capture modes.
Screenshots on Lenovo with Chrome OS
Lenovo Chromebooks use Chrome OS, which has its own screenshot system. Users can capture the entire screen by pressing the Ctrl+Show Windows key (the key that resembles a rectangle with two lines).
For partial screenshots, pressing Ctrl+Shift+Show Windows activates the screenshot tool, allowing users to select a specific area of the screen. After selection, the screenshot saves automatically to the Downloads folder.
Chrome OS also offers a Screen Capture tool accessible from the Quick Settings menu. This tool provides options for capturing still images or recording videos of the screen.
The captured screenshots can be accessed immediately through the notification that appears, or later through the Files app in the Downloads folder.
Types of Screenshots
Lenovo laptops support different screenshot methods to capture exactly what you need. Each type serves specific purposes depending on whether you need to capture everything on your screen or just a selected area.
Full-Screen Screenshot
Taking a full-screen screenshot captures everything displayed on your Lenovo laptop monitor. This is useful when you need to document your entire desktop or an application that fills the screen.
The simplest method is pressing the Windows key + Print Screen simultaneously. When you do this, your screen will briefly dim to indicate the screenshot was taken successfully.
These full-screen captures are automatically saved as image files in the Pictures > Screenshots folder on your computer. No additional editing is needed to capture everything on your display.
For Lenovo users who need to document software issues or save webpage content, full screenshots provide complete context without missing any details.
Partial Screenshot
Sometimes you only need to capture a specific portion of your screen rather than everything. Partial screenshots give you more control over exactly what gets captured.
Windows offers several options for partial captures on your Lenovo device:
- Rectangular snip: Draw a box around the content you want to capture
- Window screenshot: Select a specific open window
- Free-form snip: Draw any shape around your desired content
The Snipping Tool and Snip & Sketch applications come pre-installed on most Lenovo laptops. Access them by typing their names in the Windows search bar.
For quick partial screenshots, press Windows key + Shift + S. This activates the snipping overlay, allowing you to select the exact portion of your screen you want to capture.
Post-Screenshot Processing
After capturing a screenshot on your Lenovo device, several options exist for organizing, enhancing, and sharing your images. The right post-processing approach can help transform basic screenshots into more useful visual assets.
Saving and Sharing Screenshots
When you take a screenshot on a Lenovo laptop, the image is automatically saved to your clipboard for immediate use. This makes it easy to paste directly into documents, emails, or messaging apps.
For permanent storage, you can paste the screenshot into an image editing program and save it. Alternatively, pressing Windows + Print Screen will save screenshots directly to the Pictures > Screenshots folder.
Lenovo tablets store screenshots in the device’s Gallery app or Downloads folder. If you’re having trouble finding saved screenshots, check both locations.
Sharing options include:
- Email attachments
- Cloud storage (OneDrive, Google Drive)
- Social media platforms
- Messaging applications
If screenshots aren’t saving properly, try restarting your device to resolve potential software glitches.
Editing Screenshots
Basic editing can enhance your screenshots and make them more useful. Microsoft Paint, included with Windows, offers simple editing tools for screenshots.
Paint allows you to:
- Crop unwanted portions
- Highlight important areas
- Add text annotations
- Draw arrows or shapes to direct attention
For more advanced editing, Windows includes the Snipping Tool and Snip & Sketch applications which offer annotation features immediately after capture.
Third-party screenshot tools provide additional editing capabilities like blurring sensitive information, adding shadows, or creating step-by-step instruction guides.
Many Lenovo users prefer to edit screenshots before sharing to remove personal information or emphasize specific content. The editing process doesn’t need to be complicated – even basic cropping and highlighting can significantly improve clarity.
Troubleshooting Common Screenshot Issues
Taking screenshots on Lenovo devices occasionally presents challenges that can be resolved with simple fixes. Understanding the common issues and their solutions will help you capture your screen content without frustration.
Screenshot Not Working
If you’re unable to save screenshots on your Lenovo tablet, try restarting your device. This often resolves temporary system glitches that prevent screenshot functionality.
For Lenovo computers running Windows, check if any conflicting applications are running in the background. Some users have found that exiting Citrix Workspace can restore screenshot capabilities immediately.
Storage issues might also prevent screenshots from saving properly. Ensure your device has sufficient available storage space. On tablets and phones, verify that screenshot permissions are enabled in your settings.
If problems persist on Windows devices, try using the built-in Snipping Tool alternative instead of traditional methods.
Screenshot Keyboard Shortcuts Not Functioning
The Print Screen (PrtSc) key is the primary screenshot method on Lenovo laptops, but sometimes it requires specific conditions to work properly. Check your Num Lock status as some Lenovo keyboards require Num Lock to be turned off for Print Screen to function.
Try these alternative keyboard shortcuts if the standard PrtSc button isn’t working:
- Windows + Shift + S: Opens the Snipping Tool for partial screenshots
- Alt + PrtSc: Captures only the active window
- Windows + PrtSc: Saves the screenshot directly to Pictures > Screenshots folder
For Lenovo tablets and phones, the standard Power + Volume Down combination might need to be held longer (2-3 seconds) than you expect. Some models use different combinations like Power + Home button instead.
Special Considerations for Lenovo Devices
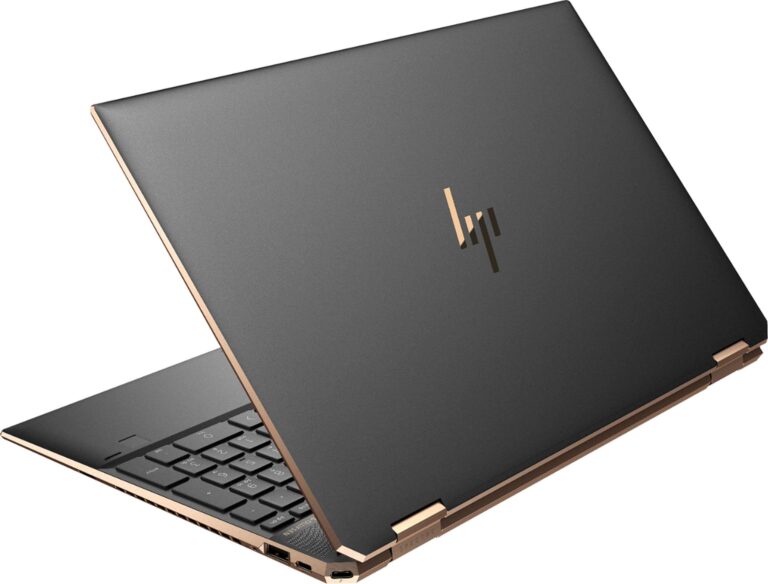
Lenovo laptops and tablets have unique screenshot features that vary by model. Different keyboard layouts and hardware designs across the ThinkPad and Yoga lines require specific techniques for capturing screen images.
Taking Screenshots on Lenovo ThinkPad
ThinkPad models typically include the dedicated Print Screen (PrtSc) key in the upper-right section of the keyboard. Users can press the Windows key and PrtSc simultaneously to capture the entire screen. When successful, the screen will briefly dim to indicate the screenshot has been taken.
For ThinkPad models with the Fn key, some may require using the Fn+PrtSc combination if the standard method doesn’t work. This is common in more compact ThinkPad models where keys serve dual functions.
ThinkPad users can also utilize the Windows Snipping Tool for more precise screenshots:
- Press Windows + Shift + S to open the snipping menu
- Select the desired snipping mode (rectangular, freeform, window, or fullscreen)
- Use the cursor to select the area to capture
The screenshot will be copied to the clipboard and a notification will appear, allowing for quick editing and saving.
Taking Screenshots on Lenovo Yoga in Tablet Mode
Lenovo Yoga devices present unique screenshot methods when used in tablet mode. Since the keyboard is often folded away or inaccessible, hardware button combinations become essential.
When in tablet mode, Yoga users can press the Power button + Volume Down buttons simultaneously to capture the full screen. Hold both buttons for about a second until the screen flashes or dims.
Some Yoga models also support gesture-based screenshots:
- Swipe from the right edge of the screen to open Action Center
- Tap the Screen Snip button
- Select the type of screenshot you want to take
For Yoga devices running Windows 10 or newer, the three-finger swipe down can also capture the screen in tablet mode if this gesture is enabled in touchpad settings.
Accessing Screenshots in ‘My Files’
By default, Windows stores Lenovo screenshots in the Pictures folder under a Screenshots directory. To access these files quickly:
- Open File Explorer
- Navigate to This PC > Pictures > Screenshots
For screenshots taken using PrtSc, the images are automatically saved with the filename “Screenshot” followed by a number.
Lenovo devices with Vantage software may offer additional screenshot organization tools. Open Lenovo Vantage from the Start menu to check for customized screenshot settings and storage locations.
Some Yoga and ThinkPad models may save screenshots to OneDrive if this feature is enabled. Check your OneDrive Pictures folder if you can’t locate screenshots in the local Pictures directory.
Frequently Asked Questions
Taking screenshots on Lenovo devices varies slightly depending on the specific model and operating system. These methods work across different Lenovo products including laptops, tablets, and Chromebooks.
What is the procedure for capturing a screenshot on a Lenovo ThinkPad?
On a Lenovo ThinkPad, users can press the “PrtSc” (Print Screen) key to capture the entire screen. This automatically saves the screenshot to the clipboard.
For capturing just the active window, pressing “Alt + PrtSc” is the solution. To save screenshots directly to the Pictures folder, pressing “Windows key + PrtSc” creates and saves the image automatically.
ThinkPad users can also use the Snipping Tool or Snip & Sketch by pressing “Windows key + Shift + S” to take more customized screenshots of specific areas.
Can you describe how to take a screenshot on a Lenovo tablet?
Lenovo tablets typically use a button combination to capture screenshots. Users can press and hold the Power button and Volume Down button simultaneously for a few seconds.
The screen will flash and the device may make a camera shutter sound to indicate the screenshot has been taken. Screenshots are usually saved in the Gallery app or Photos folder.
If this method doesn’t work, restarting the tablet might resolve any issues preventing screenshots from being saved.
What steps are involved in taking a screenshot on a Lenovo Chromebook?
On a Lenovo Chromebook, pressing the “Ctrl + Show Windows” key combination captures a full-screen screenshot. The Show Windows key looks like a rectangle with two lines and is typically located in the top row of the keyboard.
For a partial screenshot on a Chromebook, pressing “Ctrl + Shift + Show Windows” allows users to select an area to capture. The screenshot will appear in the notification area and save to the Downloads folder.
Chromebook screenshots can also be accessed in the Files app under “Downloads.”
How do I use the Print Screen key to take a screenshot on a Lenovo laptop?
The Print Screen key (labeled as “PrtSc”) on a Lenovo laptop captures the entire screen when pressed. This sends the image to the clipboard.
To save the screenshot as a file, users can paste it into an image editing program like Paint and save it. Alternatively, pressing “Windows + PrtSc” automatically saves the screenshot as a PNG file in the Pictures > Screenshots folder.
For capturing just the active window, pressing “Alt + PrtSc” works effectively on most Lenovo laptops.
What method can be used to take a screenshot on a Lenovo laptop operating with Windows 7?
On a Lenovo laptop with Windows 7, pressing the “PrtSc” key captures the entire screen to the clipboard. Users need to paste this image into Paint or another image editor to save it.
Windows 7 also includes the Snipping Tool, which can be found in the Start menu under Accessories. This tool allows for more precise screenshots of selected areas, windows, or full-screen captures.
After taking a snip with the Snipping Tool, users can annotate the screenshot before saving it as a file.
Is there a specific way to take a screenshot on a Lenovo laptop using Windows 11?
Windows 11 on Lenovo laptops offers several screenshot methods. Users can press “Shift + Windows logo key + S” to open Snip & Sketch, which allows for rectangular, freeform, window, or full-screen captures.
The traditional “PrtSc” key still works to capture the entire screen to the clipboard. Windows 11 also enables “Windows key + PrtSc” to automatically save screenshots to the Pictures > Screenshots folder.
Windows 11 introduces a Screenshot button in the Quick Settings menu, accessible by clicking the network/volume/battery icons in the taskbar. This provides another convenient way to capture screenshots on Lenovo devices.