Ever found your Android phone showing the wrong time? Having accurate date and time settings on your Android device is essential for many apps to function properly. Whether your phone’s clock is wrong after traveling across time zones or you need to adjust it for other reasons, changing these settings is a straightforward process.
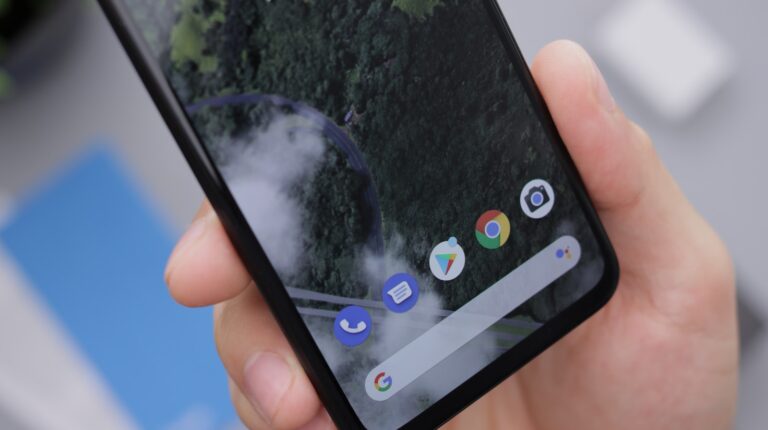
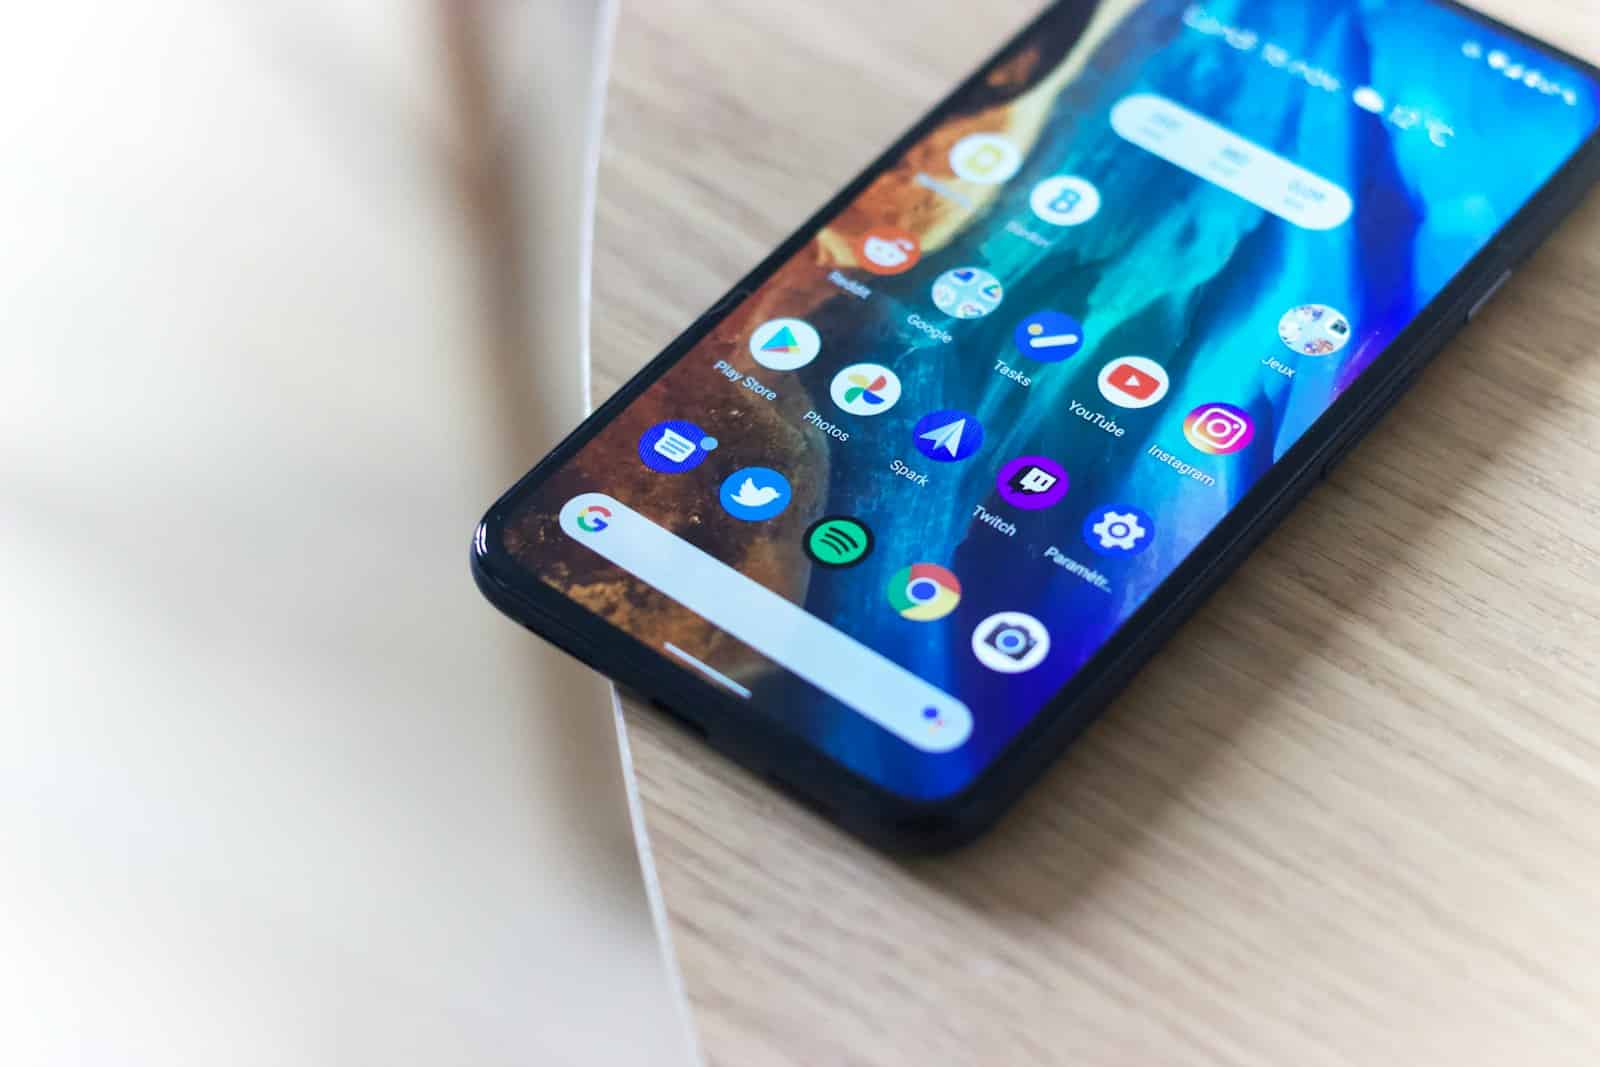
To change date and time on Android, go to Settings > System > Date & time, where you can either enable automatic settings or toggle them off to make manual adjustments. This simple process works for most Android devices including Samsung, Google Pixel, and other brands, though the exact menu names might vary slightly depending on your device manufacturer.
Many users don’t realize that incorrect time settings can cause problems with banking apps, calendar notifications, and even some social media features. Taking a minute to ensure your device displays the correct information can save you from missing important appointments or experiencing app synchronization issues.
Here are the steps to change the date and time on an Android device:
How To Change Date & Time on Android
✅ 1. Open Settings
- Unlock your phone and tap the Settings app (usually a gear icon).
✅ 2. Go to System or General Management
- Scroll down and tap System (on some phones, it may be called General Management).
✅ 3. Tap on Date & Time
- Select Date & time from the list of options.
✅ 4. Turn Off “Automatic Date & Time”
- If the setting is enabled, toggle off “Set time automatically” or “Automatic date & time”.
- This allows you to manually adjust the time and date.
✅ 5. Set the Date and Time Manually
- Tap Set date to choose a new date from the calendar.
- Tap Set time to adjust the clock manually.
✅ 6. Change the Time Zone (Optional)
- Tap Select time zone or Time zone to change your location if needed.
✅ 7. Toggle 24-Hour Format (Optional)
- If you prefer 24-hour time, toggle on “Use 24-hour format.”
These steps may vary slightly depending on your Android device brand (Samsung, Google Pixel, OnePlus, etc.), but the process is generally the same. Once set, your device will reflect the new time and date across all apps and system functions.
Key Takeaways
- Android’s date and time can be set automatically using network-provided time or manually adjusted in the system settings.
- Incorrect time settings can cause app synchronization problems and missed notifications on your device.
- Time zone settings can be adjusted separately, which is particularly useful for travelers or remote workers.
Understanding Date and Time Settings on Android
Properly managing date and time settings on Android devices ensures apps run correctly and communications remain synchronized. These settings affect everything from calendar appointments to message timestamps.
Overview of Date and Time Functions
Android provides several ways to manage time settings on your device. You can access these options through the Settings app by navigating to “System” and then “Date & Time.” Most Android phones offer automatic time settings that sync with network providers.
The Clock app also provides access to time settings. Users can tap the menu (three dots) and select Settings to modify time options.
Key date and time functions include:
- Automatic date & time: Uses network-provided time
- Automatic time zone: Updates your time zone based on location
- Manual settings: Allows custom date and time input
- Time format: Choose between 12-hour or 24-hour format
Some manufacturers like Samsung offer slightly different menu paths, but the core functions remain similar across Android devices.
The Importance of Accurate Date and Time
Accurate time settings are crucial for many smartphone functions. When a device has incorrect time settings, several problems can occur.
Apps that require precise timing, such as banking applications and two-factor authentication tools, may malfunction with incorrect time settings. These apps rely on synchronized clocks for security features.
Communication tools depend on accurate timestamps. Messages, emails, and calendar events need correct timing to display properly in conversation threads.
Battery optimization features also rely on accurate time. Many Android devices use time-based schedules for background processes.
Network connections often verify time stamps during connection attempts. Incorrect time settings can prevent successful connections to certain secure websites or services.
For travelers, enabling automatic time zone updates ensures the device adjusts seamlessly when crossing time zones without manual intervention.
Accessing Date and Time Settings
Finding and adjusting the date and time on your Android device requires navigating through the settings menu. The process is straightforward but may vary slightly depending on your Android version and device manufacturer.
Navigating to Settings Menu
To begin changing your date and time settings, you’ll first need to open the Settings app on your Android device. Look for the gear icon in your app drawer or swipe down from the top of your screen twice to access the quick settings panel, then tap the gear icon.
Some Android phones offer a shortcut through the Clock app. You can open your device’s Clock app and tap More, then Settings to access time-related options.
For newer Android versions, once in Settings, scroll down and look for “System” settings. Tap on this option to access more advanced system controls including date and time settings.
Locating Date and Time Options
After accessing the System menu, look for the “Date & time” option. On some devices, you might find it directly in the main Settings menu without needing to go through System first.
Once you’ve found the Date & time settings, you’ll see several options including:
- Automatic date & time – Uses network-provided time
- Set time automatically – Can be turned off to manually adjust the time
- Set time zone automatically – Determines your time zone based on location
- Time format – Choose between 12-hour or 24-hour format
If you need to set a specific time zone, tap on the time zone option. You can then select your location from the list to update your device’s time zone.
Setting Date and Time Manually
Android phones let you set the date and time manually when you prefer not to use automatic settings. This gives you control over your device’s clock and calendar functions, which can be helpful when traveling or if your network time is incorrect.
How to Set Time Manually
To set the time manually on your Android device, you first need to disable the automatic time setting. Open your device’s Settings app and look for “Date & Time” (sometimes found under “System” or “General Management”).
Toggle off the “Automatic time” or “Use network-provided time” option. Once disabled, the time setting options will become available for manual adjustment.
Tap on “Set time” and a clock interface will appear. You can adjust the hours and minutes by scrolling up or down. Some devices show a digital clock while others display an analog clock face where you can move the hands.
Remember that changing the time manually might affect apps that rely on accurate time synchronization, such as banking apps or two-factor authentication.
How to Set Date Manually
Setting the date manually follows a similar process to changing the time. In the same “Date & Time” settings menu, ensure that automatic date is turned off.
Tap on “Set date” to open a calendar interface. Most Android devices display a monthly calendar where you can:
- Select the year (usually by tapping the year at the top)
- Choose the month (by tapping the month or using arrows)
- Tap on the specific day
After selecting your desired date, tap “OK” or “Done” to save your changes. The date change will apply immediately across your device.
Some apps may display warnings if they detect your date is significantly different from the network time. This is a security feature to prevent time-based fraud.
Choosing 12-Hour or 24-Hour Format
Android offers both 12-hour (AM/PM) and 24-hour (military time) formats to display time on your device. To change this setting, navigate back to the “Date & Time” menu.
Look for the “Use 24-hour format” option, which is typically a simple toggle switch. When turned on, your device will display times in 24-hour format (like 15:30 instead of 3:30 PM).
When using 12-hour format, the system adds AM or PM indicators to distinguish between morning and afternoon times. The 24-hour format eliminates the need for these indicators and is preferred in many countries outside the US.
This setting affects how time appears throughout your device—in the status bar, Clock app, and most other applications that display time.
Using Automatic Date and Time Settings
Android phones can automatically update their date and time settings using network information. This ensures your device always displays the correct time without manual adjustments.
Enabling Automatic Time
To enable automatic date and time on your Android device, open the Settings app on your phone. On Android 9, tap “System” and then “Date and Time.” If you’re using Android 8, select “General Management” followed by “Date and Time” instead.
Turn on Auto date & time by tapping the switch or checkbox. When enabled, your phone will automatically sync with your mobile network’s time servers.
If you encounter any issues with automatic time settings, verify that your device has an active network connection. Without proper network connectivity, your phone cannot receive the correct time information.
Benefits of Network-Provided Time
Using network-provided time offers several advantages for Android users. First, it ensures accuracy across all applications that rely on time data, such as calendar appointments, scheduled alarms, and time-sensitive transactions.
Network time automatically adjusts for time zone changes when you travel, eliminating the need to manually update settings. This is particularly useful for frequent travelers who move between different time zones.
The system also handles daylight saving time adjustments automatically. Users won’t need to remember when to move clocks forward or backward, as the network provides these updates.
Battery life improves slightly with automatic settings since the device doesn’t need to maintain its own time calculations. The phone simply receives periodic updates from network servers.
Adjusting Time Zone Settings
Setting the correct time zone on your Android device ensures your clock displays the right time and that your calendar events appear at the right hours. Android offers both automatic and manual options for time zone settings.
Selecting Your Time Zone Manually
To manually set your time zone on Android, first open the Settings app on your device. Scroll down and tap on Date & Time or System > Date & Time depending on your Android version. Turn off the automatic time zone option by disabling the toggle switch next to “Set time zone automatically.”
Now you can select your time zone manually. Tap on Time Zone or Select time zone option. Android provides two ways to choose:
- Select by region (city)
- Select by UTC offset (GMT)
For most users, selecting by region is easier. Simply scroll through the list of cities and tap on one in your time zone. Your device will immediately update to the new time zone settings.
Using Automatic Time Zone
The automatic time zone feature uses your device’s location services to determine the correct time zone. To enable it, open Settings and navigate to the Date & Time section.
Find the option labeled “Automatic time zone” or “Set time zone automatically” and toggle it ON. Your Android device will use GPS and network location to detect where you are and set the appropriate time zone.
This setting is particularly useful for travelers who cross time zones frequently. When you arrive in a new location, your phone will automatically adjust the time without any manual intervention.
If automatic time zone isn’t working correctly, ensure your GPS and location services are enabled in your device settings. Sometimes a quick restart of your device can also resolve time zone detection issues.
Customizing Date and Time Formats
Android devices offer several options to personalize how dates and times appear across your system. These customization features help users set their preferred format based on regional preferences or personal taste.
Selecting Date Format
On Android phones, users can change the date format through the system settings. To modify this:
- Open the Settings app
- Scroll down and tap System
- Select Date & Time
- Look for Select Date Format option
Most Android devices support common date formats including:
- MM/DD/YYYY (month/day/year)
- DD/MM/YYYY (day/month/year)
- YYYY/MM/DD (year/month/day)
Some users prefer the day/month/year format as it’s common in many countries outside the US. Others, particularly those who organize files by date, may prefer the year-first format.
The chosen format affects how dates appear in the notification bar, calendar, and other system applications.
Choosing Time Display Format
Time display formats can also be customized on Android devices. Users have the option to switch between 12-hour and 24-hour time formats.
To change the time format:
- Navigate to Settings
- Tap System then Date & Time
- Toggle the Use 24-hour format switch
The 24-hour format (sometimes called military time) displays times from 00:00 to 23:59, eliminating the need for AM/PM indicators. Many professional settings and international organizations prefer this format for clarity in writing and communication.
The 12-hour format shows times from 1:00 to 12:59 with AM or PM indicators. This is commonly used in casual settings in the United States and some other countries.
Some Android devices also allow for advanced time display customizations including showing seconds or hiding the clock completely.
Frequently Asked Questions
Setting the correct date and time on Android devices is essential for proper app functioning and syncing calendars. These common questions address specific issues users face when managing time settings across different Android phone models.
What are the steps to manually adjust the date and time settings on an Android device?
To manually change date and time on Android, first open the Settings app. Scroll down and tap on “General Management” or search for “Date & Time” in the settings search bar.
Turn off the “Automatic date and time” option. This allows manual adjustments to both date and time settings.
You can now set the time and date manually by tapping on each option and selecting your preferred values.
How can I access and change the date and time settings on a Samsung smartphone?
On Samsung devices, users need to swipe up on the home screen to access apps. Then they should tap the Settings app icon.
Next, they must tap on General management within Settings. From there, select “Date and time” to access all time-related options.
Samsung phones also offer additional customization options for the clock format, including 12-hour or 24-hour display preferences.
Is it possible to set the time and date automatically on my Android phone?
Yes, Android phones can automatically update time and date. This feature uses network-provided time and works when connected to mobile data or Wi-Fi.
To enable this, go to Settings, find “Date & Time,” and toggle on “Automatic date and time” or “Use network-provided time.” This setting ensures accurate time updates without manual intervention.
The phone will then sync with network servers to maintain precise time, even when traveling between time zones.
Why does my Android device display the incorrect date and time even though it’s set to update automatically?
Incorrect automatic time may occur due to poor network connectivity issues. The phone cannot receive updated time information without a stable connection.
Sometimes, the service provider might be experiencing technical problems with their time servers. This temporary issue typically resolves itself.
Battery optimization settings might also restrict background processes that update time. Check if the system clock app has any battery restrictions enabled.
How do I navigate to the Clock settings on my Android phone to alter the time?
On most Android devices, the clock settings can be accessed by opening the Clock app and tapping the three-dot menu icon. Select “Settings” from this menu.
Alternatively, users can access clock settings through the main Settings app. Search for “Clock” in the search bar at the top of the Settings screen.
Some manufacturers place clock settings under “System” or “General Management” categories, depending on the Android version and UI customization.
What could be the reasons for my Android phone not updating the time and date correctly?
A software bug in the current Android version might prevent proper time updates. Installing the latest system updates often resolves these issues.
Time zone detection problems can occur when traveling. Users may need to disable automatic time zone selection and choose it manually.
Apps requiring special time permissions might interfere with system time. This is uncommon for regular users but can happen with specialized timing apps that use the AlarmManager system service.