Screen recording on Mac is a useful feature for creating tutorials, capturing gameplay, or saving important video calls. Stopping a screen recording is just as important as starting one. To stop a screen recording on Mac, users can click the Stop button in the menu bar, use keyboard shortcuts like Command + Control + Esc, or utilize the Touch Bar on compatible MacBook models.
Mac offers multiple ways to end screen recordings, catering to different user preferences and setups. QuickTime Player, the default screen recording tool on Mac, provides a straightforward interface for managing recordings. Alternative third-party apps like Zight also offer robust screen recording capabilities with easy-to-use stop functions.
Understanding how to efficiently stop screen recordings enhances productivity and saves storage space. Users can choose their preferred method based on their Mac model and personal workflow. Mastering these techniques ensures smooth and hassle-free screen recording experiences on Mac devices.
🖥️ 1. If You Used the Screenshot Toolbar (Shift + Command + 5)
The Screenshot Toolbar is the built-in macOS tool for screen recording.
To stop recording:
- Look at the menu bar (top-right corner of your screen).
- You’ll see a Stop ⏹️ icon — click it.
- The recording will automatically save to your Desktop (or another folder if you changed the save location).
Shortcut alternative:
Press Command + Control + Esc to instantly stop the recording.
(Source: ScreenApp.io)
🎥 2. If You Used QuickTime Player
QuickTime Player also allows you to record your screen.
To stop recording:
- While recording, look for the Stop button ⏹️ in the menu bar.
- Click it to end the recording.
- QuickTime will open a preview window — you can then save or edit the file.
If the preview doesn’t appear, check your Desktop or Movies folder.
(Source: MacObserver)
⚙️ 3. If the Recording Is Stuck or Frozen
Sometimes, macOS can hang while recording. Try these steps:
- Press Command + Option + Esc to open Force Quit.
- Select QuickTime Player or Screenshot and click Force Quit.
- Reopen the app and check your Desktop — macOS often auto-saves partial recordings.
(Source: SofTechToday)
🧭 4. Stopping Screen Recording in macOS 26 (Latest UI)
In macOS 26 (2025 version), Apple refined the recording interface slightly.
To stop recording:
- Click the Stop icon in the menu bar, just like before.
- Your file is saved automatically to your chosen location (usually Desktop).
(Source: All Things How)
✅ Quick Summary
| Method Used | How to Stop Recording | Default Save Location |
|---|---|---|
| Screenshot Toolbar | Click Stop icon or press Command + Control + Esc | Desktop |
| QuickTime Player | Click Stop icon in menu bar | Desktop or Movies folder |
| Stuck Recording | Force Quit app | Desktop (auto-saved) |
Key Takeaways
- Mac provides multiple methods to stop screen recordings, including menu bar controls and keyboard shortcuts
- QuickTime Player is the default screen recording tool on Mac with built-in stop functions
- Efficient screen recording management improves workflow and conserves storage space
Understanding Screen Recording on Mac
Mac devices offer built-in screen recording capabilities and additional options through QuickTime Player. These tools allow users to capture their screen activity for various purposes.
The Basics of Built-In Screen Recording
Macs have a built-in screen recording feature accessible through keyboard shortcuts or the Screenshot toolbar. Users can start a recording by pressing Shift + Command + 5 to open the toolbar. This displays options to record the entire screen or a selected portion.
The toolbar offers settings like microphone selection and save location. To begin recording, users click the Record button. A stop button appears in the menu bar during active recordings.
To stop a recording, users can click the stop button in the menu bar or use the keyboard shortcut Command + Control + Esc. The recorded video then saves to the chosen location.
QuickTime Player’s Role in Screen Recording
QuickTime Player provides additional screen recording features on Mac. Users can launch QuickTime and select File > New Screen Recording to start.
QuickTime offers options to record the full screen or a selected area. It also allows users to choose audio input sources, including system audio or external microphones.
To stop a QuickTime recording, users can click the stop button in the menu bar or use Command + Control + Esc. QuickTime then opens the recorded video for preview and editing.
QuickTime recordings can be saved in various formats and easily shared or exported for further use.
Stopping a Screen Recording
Ending a screen recording on Mac can be done through multiple methods. These include using the stop button, keyboard shortcuts, and the Screenshot toolbar.
Using the Stop Button
The stop button provides a simple way to end screen recordings. When a recording is in progress, a small icon appears in the menu bar at the top of the screen. This icon looks like a circle with a square inside. To stop the recording:
- Locate the icon in the menu bar
- Click on the icon
- Select “Stop Recording”
The recording will end immediately. QuickTime Player will open automatically, showing a preview of the recorded video.
Keyboard Shortcuts for Efficiency
Keyboard shortcuts offer a quick and efficient method to stop screen recordings. Here are some useful shortcuts:
- Command + Control + Esc: This combination stops the current screen recording
- Shift + Command + 5: Opens the Screenshot toolbar, where you can stop the recording
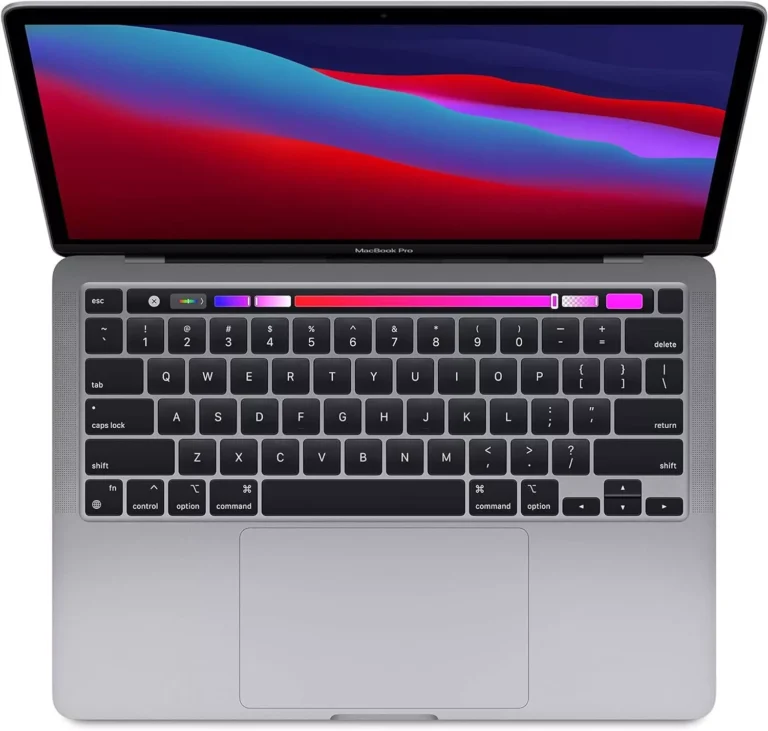
For users with a Touch Bar, there may be a dedicated stop button available during recording. This provides an additional convenient option to end the capture.
The Screenshot Toolbar Approach
The Screenshot toolbar, introduced in macOS Mojave, offers a comprehensive set of screen capture tools. To use it for stopping a recording:
- Press Shift + Command + 5 to open the toolbar
- Look for the “Stop Recording” button in the control panel
- Click the button to end the recording
This method is particularly useful if you’re already using the Screenshot toolbar for other purposes. It provides a centralized location for managing all screen capture activities.
Handling Screen Recording Issues
Screen recording on Mac can sometimes encounter problems. Software glitches and unresponsive applications are common issues users face.
Resolving Software Glitches
Software glitches can disrupt screen recording on Mac. These issues often stem from system errors or conflicts between applications. To fix them:
- Restart the Mac
- Update macOS and recording software
- Clear system cache
If the problem persists, reset NVRAM or SMC. These steps can resolve many software-related recording issues.
For recurring glitches, check Activity Monitor. It shows which processes use excessive resources. Quit unnecessary background apps to free up system memory and processing power.
Force Quitting Unresponsive Applications
Screen recording apps may freeze or become unresponsive. In such cases, force quitting is necessary. Here are three methods:
- Use Command + Option + Esc to open Force Quit Applications window
- Right-click the app icon in the Dock and select Force Quit
- Use Activity Monitor to end the process
The Esc key can stop some screen recordings. Press Command + Control + Esc for QuickTime recordings.
If force quitting doesn’t work, restart the Mac. This action closes all running processes and often resolves stubborn application issues.
Optimizing Screen Recording Settings
Screen recording on Mac offers various options to enhance the quality and efficiency of captures. QuickTime Player, the default recording tool, provides basic settings for most users.
To access recording settings, open QuickTime Player and select “New Screen Recording” from the File menu. A control panel appears with several customization options.
Users can choose the microphone source for audio recording. Options typically include the built-in microphone or external devices. Selecting the appropriate audio input ensures clear voiceovers.
Video quality settings allow adjustment of resolution and frame rate. Higher settings produce better quality but larger file sizes. Lower settings are suitable for quick captures or when storage space is limited.
For desktop recordings, users can select full screen or a specific portion. This feature helps focus on relevant areas and reduces file size.
MacOS offers system-level screen recording permissions. These can be managed in System Preferences under Security & Privacy. Users can grant or revoke access for specific apps.
Some third-party screen recording apps provide additional features like scheduled recordings or advanced editing tools. These may be worth exploring for users with specific needs.
Testing different settings before important recordings is recommended. This ensures optimal quality and performance for each unique recording scenario.
Frequently Asked Questions
Mac users have various methods to stop screen recordings. These techniques include using QuickTime, keyboard shortcuts, and system features across different Mac devices.
What are the steps to terminate a screen recording session using QuickTime on Mac?
Open QuickTime Player. Start a new screen recording. Click the Stop button in the menu bar when finished. The recording will save automatically.
Can you detail the process to halt screen recording using keyboard shortcuts on a Mac?
Press Command + Control + Esc to stop a screen recording instantly. This shortcut works system-wide and is effective for most recording tools on Mac.
In what way can one disable ongoing screen recording through Mac’s Screen Time feature?
Open System Preferences. Select Screen Time. Click Content & Privacy. Disable Screen Recording under App Limits. This prevents unauthorized recordings.
What is the procedure to end a screen recording with audio on a Mac?
Start the recording with audio enabled. Click the Stop button in the menu bar. Alternatively, use the Command + Control + Esc shortcut to end the recording with audio.
How does one conclude a screen capture session on a MacBook Air, including with sound?
Begin the screen capture with sound. Press the Stop button in the menu bar. Or use keyboard shortcuts like Command + Control + Esc to stop the recording quickly.
What are the instructions for stopping a screen recording on various Mac devices?
On iMac, MacBook Pro, or Mac mini, click the Stop button in the menu bar. Use Command + Control + Esc on any Mac device. These methods work across all Mac models.

